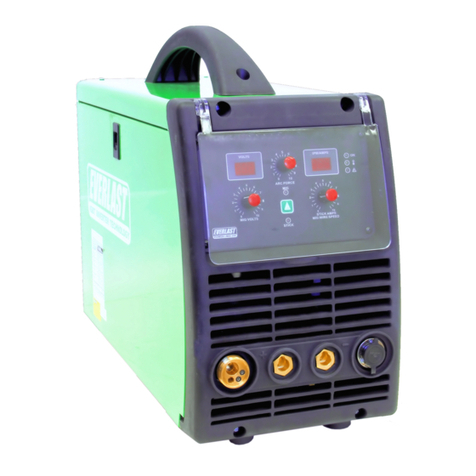
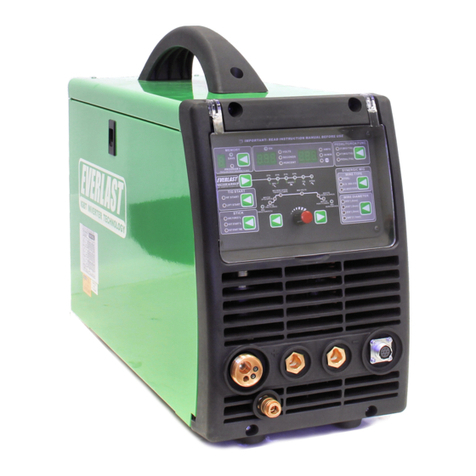
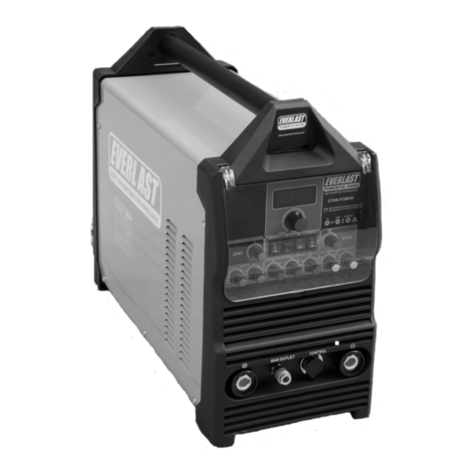
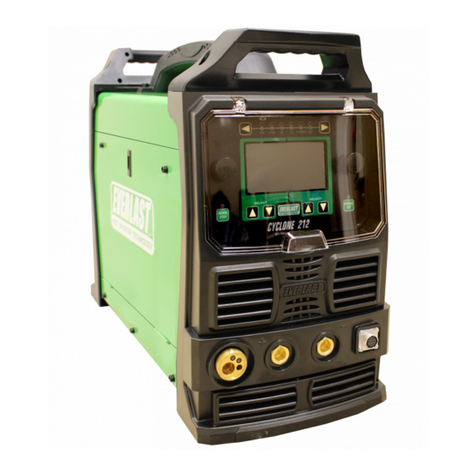
4
THANK YOU! We appreciate you as a valued customer and hope that you will enjoy years of use from your welder/plasma cutter multi-process unit. We
work to please the customer by providing a well supported, quality product. To make sure that you receive the best quality ownership experience,
please see below for important information and time sensitive details.
What to do right now:
1. Print your receipt from your conrmation email that should have been sent to you after your purchase and put it up for safe keeping. If you do not
have one, contact us at 1-877-755-9353 (US customers) or 1-905-570-1818 (Canadian Customers). You will need this if anything should ever
happen for original owner verication (if bought as a gift, original receipt will still be needed, or explanation sent to Everlast).
2. Read this manual! A large number of tech and service calls are a result of not reading the manual from start to nish. Do not just scan or casually
peruse this manual. There are different features and functions that you may not be familiar with, or that may operate differently than you expect.
Even if you have expertise in the eld of welding, you should not assume this unit operates like other brands or models you have used.
3. Carefully unpack and inspect all items immediately. Look for missing or damaged items. Please report any issues within 48 hours (72 hours on
weekend or holidays) of receiving your product,. Take pictures if you are able and contact us at 1-877-755-9353, ext. 207 if any issue is discov-
ered between 9 am and 5 pm Eastern Time M-F (US customers) or at 1-905-570-1818 (Canadian Customers) between 9am and 4 pm weekdays
except on Fridays when hours are from 9 am to 12pm Eastern. If outside of the US or Canada, contact your in-country/or regional distributor di-
rect at their service number.
What to do within the next 2-3 days:
1. Make sure your electrical system is up to date and capable of handling the inrush and rated current of the unit. Consult and use a licensed and
knowledgeable electrician. If you have downloaded this manual in expectation of delivery, get started now.
2. Make sure this machine is plugged in, turned on, and tested with every process and major feature, checking for proper function. You have a 30
day period to test and thoroughly check out the operation of this unit under our 30 day satisfaction period. If something is wrong, this policy co-
vers shipping on the unit (30 day satisfaction policy applies to the USA only for the 48 lower states and D.C., territories and provinces are exclud-
ed) or any incidental parts that may be needed to resolve any issue. After this 30 day period, if you nd something wrong with the unit, you will not
receive the benet of free shipping back and forth to resolve this issue. Your unit is still covered under the 5 year parts/labor warranty, but ship-
ping is covered by the customer after the 30 day period is over. The rst 30 days of operation with any electronic item is the most critical and if
any issue will happen, it will often happen during this time. This is why it is very important that you put this unit to work as soon as possible. Any
issue should be reported within 48 hours (72 if on the weekend or holiday). Everlast will not be liable for any shipping after that time.
What to do within the next 30 days:
Visit our website (US customers). Go to www.everlastwelders.com. Navigate to the resources tab and to the “product registration” page to register
your product. While keeping your receipt/proof of purpose is still required for verication of ownership, registering will help us keep your details
straight and establish a chain of ownership. Don’t worry, though, your warranty is still valid if you can’t do this. Remember: Always keep your receipt
even if you register. You may want to staple a copy to your manual.
What to do if you have a warranty issue or problem with the unit:
1. Unplug the unit. (Also do this before any maintenance or cleaning is done.)
2. Do not attempt a self-repair until authorized by an Everlast representative. This does not include performing routine maintenance such as point gap
adjustments or regular internal cleaning. Any third party repairs are not covered under warranty, and can further damage your unit.
3. Within 24-48hours, (or by the next working business day) you must contact U.S. tech support at 1-877-755-9353 ext 207(U.S. hours are 9 am to
5pm Eastern for tech support and 9 am to 5 pm Pacic for the business/sales ofce). If you are in Canada contact 1-905-570-1818 (Canada hours
are 9am to 4pm M-Th, 9am to 12pm Fri). Although phone contact is preferred to establish a warranty claim, you may send an email to
tech@everlastwelders.com (US) or mike@everlastwelders.ca (Canada) along with your contact information and brief explanation of the issue and
ask for a follow up call. If you contact us via phone, and you do not reach a live person, please leave a brief message with the nature of your prob-
lem and your contact information. You should expect a call back within 24 hours. It is also a good idea to follow up the message with an email.
4. Be prepared with as much information as possible when you talk with a tech advisor, including a details of the failure, settings, and application of
the unit. NOTE: A Proof-Of-Purchase (receipt) is required before returning the unit for warranty or before warranty parts can be sent to you.
5. Keep in mind that, you may be asked to check a few basic things. Before you call, having a screwdriver and volt/ohm meter at hand is a good idea
and will save time. Many issues can be resolved over the phone. If the issue cannot be resolved over the phone/email, you may be given an op-
tion to return the unit, or have a part shipped to you, at Everlast’s discretion. Keep in mind, you may be asked questions that seem basic, or ele-
mentary to your knowledge base. These are not meant to question your knowledge, but rather to make sure nothing is overlooked. However the
tech chooses to proceed, please cooperate with the process, even if you think you know what the cause or issue is. You may be asked to check
something or open the unit during the diagnosis. This does not void the warranty! Opening the unit is a part of routine maintenance and cleaning.
This is an important step. The willingness of the customer to work with tech support can save lots of time and accelerate the warranty process. For
