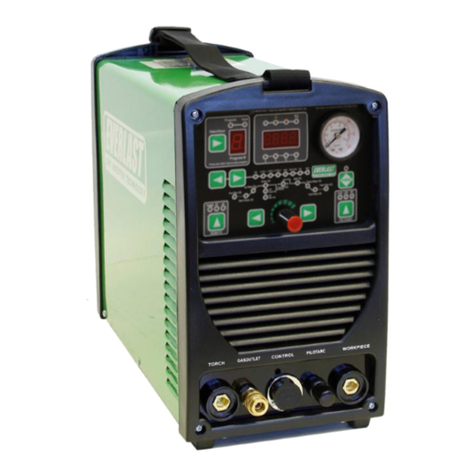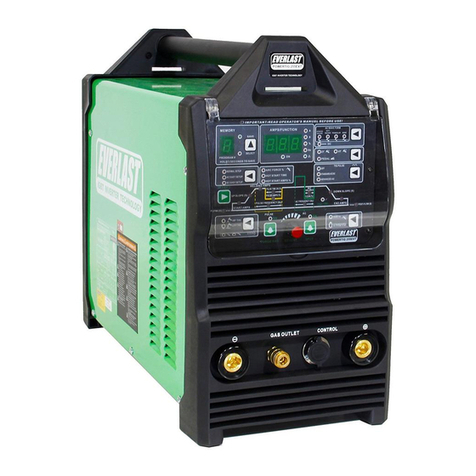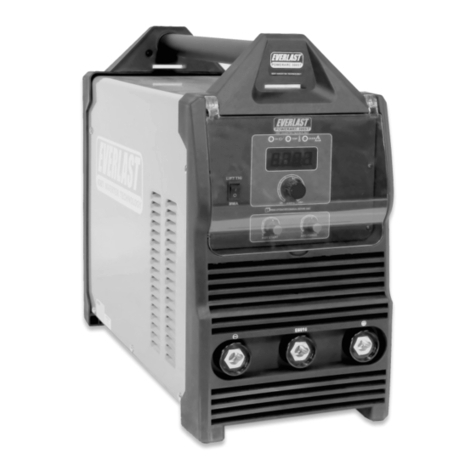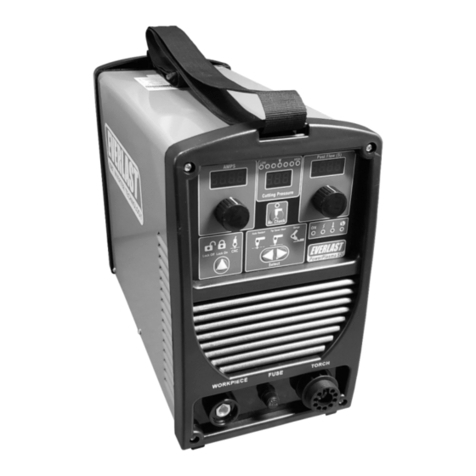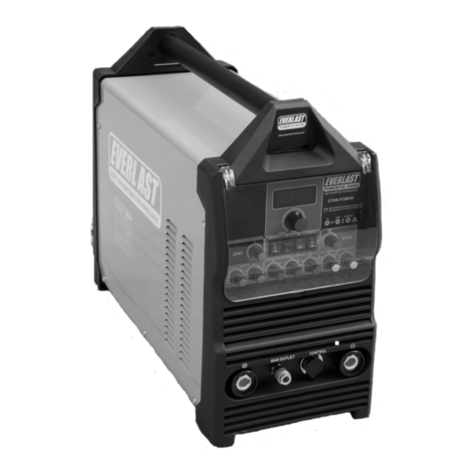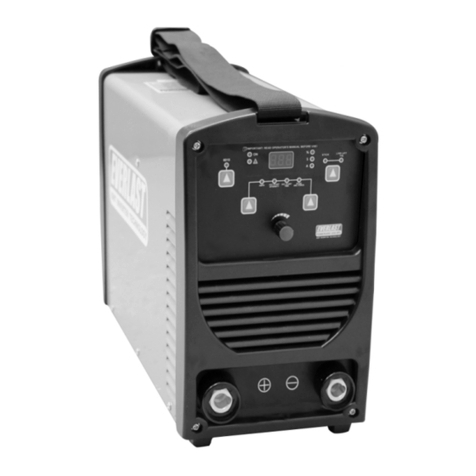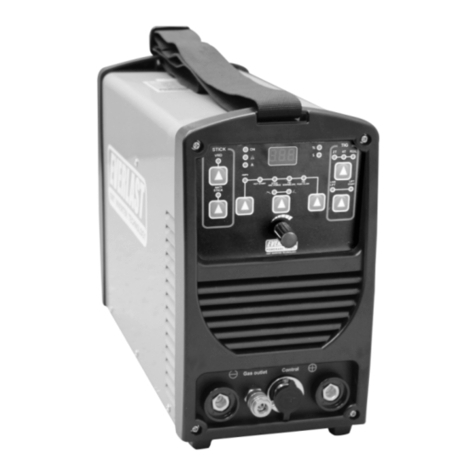
GENERAL OPERATION
AC TIG INSTRUCTIONS (aluminum)
1. Set AC/DC s itch to AC. Connect your ground clamp to your ork piece.
2.
PULSED/DC s itch. This function only orks for TIG Pulse Mode machines, For PULSED
mode, set the Base
Current, Pulse Adjustment and Clear Width Adjustment as desired.
3. S itch on the MAIN po er and set your desired elding AMPS.
4. Set the argon gas output regulator, pre and post flo (refer to figure X).
5. Set the Clear Width according to the degree of oxidization of the ork pieces.
6. S itch on the elding torch, the electromagnetic valves ill click on, HF electricity should is auditable and
output gas present.
Note: Press the s itch on the elding torch for several seconds to completely fill the hose ith argon gas in the torch
(purging air). You are ready to eld. After elding; the post gas output ill continue for several seconds to protect
the eld.
7. If using the optional foot pedal controller. Adjust the elding AMPS on the front panel to 0. In the event the
pedal controller is used, the elding amperage ill be adjustable ith the pedal controller.
8. Adjust the time of pre-flo , post-flo and slope-do n”, according to the practical application.
9. The distance bet een tungsten and ork pieces should be in the range of 2mm to 4mm. Press the s itch of eld-
ing torch, you ill hear and see HF electricity releasing presents bet een the tungsten and ork pieces.
DC TIG INSTRUCTIONS (Steel and Stainless)
1. Set the AC/DC s itch to DC. Connect your ground clamp to your ork piece.
2. PULSED/DC s itch. This function only orks for TIG Pulse Mode machines , for PULSED mode, set the Base
Current, Pulse Adjustment and Clear Width Adjustment as desired.
3. S itch on the MAIN po er and set your desired elding AMPS.
4. Set the argon regulator, pre and post flo (refer to figure X).
5. S itch on the elding torch, the electromagnetic valves click on, HF electricity should be auditable and gas output
presents.
Note: Press the s itch on the elding torch for several seconds, to completely fill the hose ith argon gas (purging
air). At this point you are ready to eld. After elding; the post gas output continue for several seconds to protect
the eld.
6. S itch on the elding torch, the electromagnetic valves ill click on, HF electricity should be auditable and
output gas present.
Note: Press the s itch on the elding torch for several seconds to completely fill the hose ith argon gas in the torch
(purging air). You are ready to eld. After elding; the post gas output ill continue for several seconds to protect
the eld.
7. If using the optional foot pedal controller. Adjust the elding AMPS on the front panel to 0. In the event the
pedal controller is used, the elding amperage ill be adjustable ith the pedal controller.
8. Adjust the time of pre-flo , post-flo and slope-do n”, according to the practical application.
9. The distance bet een tungsten and ork pieces should be in the range of 2mm to 4mm. Press the s itch of eld-
ing torch, you ill hear and see HF electricity releasing presents bet een the tungsten and ork pieces.
MMA/Stick welding (AC or DC)
1. Set the AC/DC for the desired metal. DC to steel and AC for aluminum.
2. Connect the MMA torch as mentioned on page 6 section 2
3. Set your AMPS as desired (for the thickness of your ork pieces) and connect your ground clamp to your ork piece.
4. Turn on the MAIN po er, no other settings are required, you are ready to stick eld.
USERS
’
MANUAL EVERLAST Super P series - 7 -
