10
2.1 General Description, Purpose and Features.
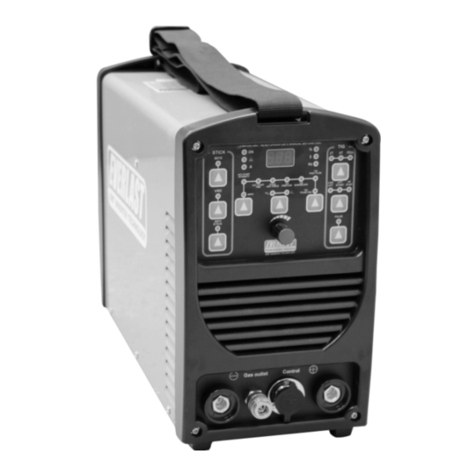
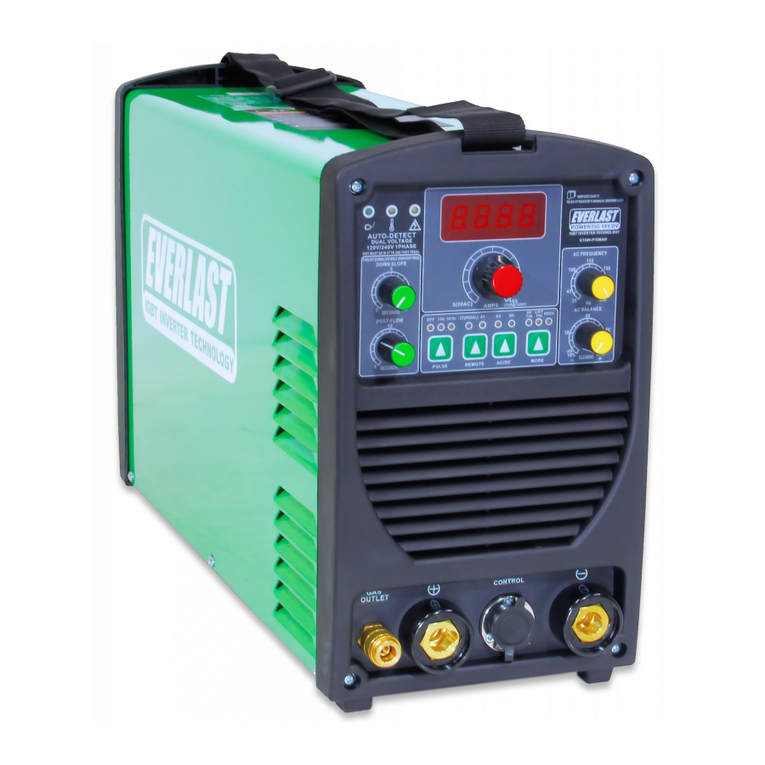
PowerARC 210STL:
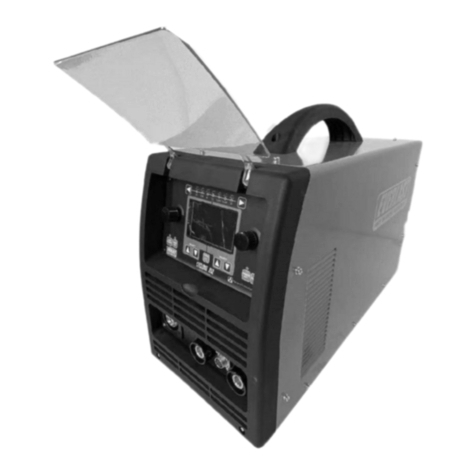
The PowerARC 210STL is a digitally controlled
inverter welder that provides DC stick and DC
TIG welding capability (DC SMAW/DC GTAW)
wrapped up in a completely portable design.
The new digital design has allowed the incorpo-
ration of extra features and improve overall per-
formance. It has also improved serviceability
and reliability of the unit by reducing internal
circuitry and discrete structures. The welder is
ideal for welding tasks where portability and
commercial performance are required. With
120V/240V single phase capability, the unit can
be operated almost anywhere a power outlet is
found, and can be used with small clean pow-
ered generators rated for at least 9000 surge
watts (240V). (USA/Canada models only. Other
regions may vary.)
Stick Features.
The improved Stick arc performance of the
PowerARC 210STL includes the ability to weld
with E6010/Cellulose rod type as well as the
ability to weld with almost any other type of
welding rod. The smooth and stable Stick weld-
ing characteristics of the PowerARC series are
well known, particularly with iron powder type
rods. However, the addition of the E6010 func-
tion on this machine makes setting the unit up
for cellulose rods simple as touching a button to
attain the crisper, more driving arc performance
that is needed to weld with this type of rod.
The addition of adjustable arc force control, hot
start intensity and duration further refines the
performance of the machine with all welding
rods. Adjustable Hot start in stick mode reduc-
es rod sticking while striking an arc by provid-
ing a controlled surge of amps to temporarily
increase welding wattage. Similarly, the adjust-
able arc force controls the intensity of the amp
reaction to the arc length and by providing ex-
tra current to the arc when the arc length is
shortened and voltage begins to fall below 20
volts. This prevents the arc from extinguishing
and helps to improve overall arc performance in
all position welds by increasing amps to main-
tain a level welding wattage (Remember: Volts x
Amps = Watts). However, if the rod should
stick fast in the weld, the anti-stick function of
the machine will terminate weld output within 3
seconds so the rod can be more easily removed
and the chance of accidental arc flashing of the
user or bystanders will be reduced. Voltage
reduction technology (VRD) has been added to
meet low OCV requirements on jobsites where
the chances of electrocution may be present.
TIG Features.
Additionally the unit has been improved in TIG
function and features. The user now has 2
choices for starting the arc, which can be cho-
sen to match the type of operation that is re-
quired in different circumstances. The low con-
tamination Live lift function provides a continu-
ously live arc and allows the arc to be struck
without the use of a foot pedal or torch switch
that is needed to initiate the arc. The torch will
always remain live, and when contact is sensed,
the current is lowered to allow an easier time of
lifting the torch without the tungsten sticking
fast in the target weld area. The torch is simply
placed on the metal and lifted up to start the arc
and then the current automatically increases
once contact is broken. This is typically used
where a foot pedal is not practical, such as
pipeline or boiler work, under vehicles or on roll
cages. The disadvantage is that the Tungsten is
live all the time and an arc could be accidentally
struck, causing eye flash, burn or serious injury.
The second function, while similar, provides a
safer alternative, by preventing a situation
where live tungsten could accidentally cause an
arc strike if it is touched to the metal. The Lift
TIG Start function also provides a clean, inter-
ference free start for electronically sensitive
areas where high frequency (HF) arc starting is
restricted or prohibited. However, the lift TIG
function must be used with the torch switch,
torch amptrol or foot pedal to start the arc. This
is best for operations that are used with bench-
work, or fixed welding areas where production
welding and fabrication takes place.
NOTE: This unit is DC output only. This unit is
not intended to TIG weld aluminum or magnesi-
um. However, the unit can be used to stick weld
aluminum with specially designed aluminum
stick welding electrodes (rods). Flux -coated
aluminum stick welding rods are expensive. Oth-
er than occasional use for emergency repair, are
not generally considered a economically viable
alternative to AC TIG welding or MIG welding
aluminum. While DC+ and DC– TIG have both
been used to weld aluminum in the past, both
have technical and practical issues. AC TIG is
generally considered to be far superior, and is
generally considered by professionals the best
method of welding aluminum.
2.2 Basic Overview and operation.
Basic Welding Package.
The PowerARC 210STL package includes a stick
welding package as standard equipment with an
additional TIG torch and accessory package
available as an option. The stick package in-
cludes a stick electrode holder with cable, and a
General Setup and OperationSection 2

