manuals.online logo
Brands
  1. Home
  2. •
  3. Brands
  4. •
  5. EXFO
  6. •
  7. Laboratory Equipment
  8. •
  9. EXFO LTB-8 User manual

EXFO LTB-8 User manual


LTB-8
Accessing Connectors and Ports
USB 3.0 host ports
On/Off button
LEDs
Ethernet (RJ-45) management port for local access
(to connect a portable computer to the unit)
Built-in display (for network /system
information)
Module LEDs
Module eject button
(one per module slot)
Module slots
Removing Modules
2
4Hold the module by its sides or by the retaining screws (NOT by the
connectors) and pull it out.
CAUTION
If your unit is on, wait until the status of the module
switches to “Safe to Remove” in ToolBox X, or the H/S LED
turns steady blue on the unit’s front panel
Wait for the H/S LED to turn steady blue.
3Turn the two retaining screws counterclockwise until they are loose
(do not remove them completely).
Retaining screws
(can be used as handles to
safely pull the module out)
Understanding the Other LEDs
Green, steady: The unit is on.
Green, slow blinking: The unit is Hibernation mode.
Green, rapid blinking: The unit is in Sleep mode.
Green: The unit is working properly and is ready.
Green, blinking: The initialization of the unit is underway.
Yellow: Non-critical hardware error detected.
Red: Critical hardware error detected.
Lit: Reading or writing operations are currently performed on the hard disk.
1
Press to prepare the corresponding module
for safe removal.
OR
From ToolBox X, click the button.
Quick Reference Guide
© 2016 EXFO Inc. All rights reserved.
Printed in Canada (2016-07)
P/N: 1069334 Version: 1.0.0.1 For more information,
refer to the user guide.
Enter the connection information:
The default static IP address is: 192.168.200.1. The IP address is
also visible from the built-in display on the front of the unit.
The default user name is: admin.
The default password is: !Exfo123.
Configuring Your Unit At First Startup Inserting Modules
1
2
Place the module horizontally so that the connector pins are at the back, and the protruding edges are
facing downwards.
Insert the protruding edges of the module into the grooves and push all
the way to the back. the way to the back.
Note: There is no need to turn off your unit before inserting a
module.
Turn the two retaining screws clockwise to secure the module in place.
Its faceplate should be flush with the front panel of the unit.
4
Connect the provided power cord
to the unit and a power outlet.
5
Flip the main power switch to the
On position (its LED should
light up).
LED of the main power switch
7
Press to turn the unit on.
Note: You may have to modify the IP address of the
computer to make sure that the computer and
unit can “see” each other. The IP address of the
computer must be within the same range of
addresses as the IP address of the unit
(ex.: 192.168.200.20).
Note: If several units are connected to the same
network with the default static IP address, you
may have to modify the IP addresses of these
units to avoid connection problems (not
accessing the right unit).
8On the computer, start the AMT Remote Access
application.
9
10
Click to have access to the unit and
the applications exactly as if you
were in front of the unit with a
monitor, a keyboard, and a mouse
connected to it.
11 Follow the on-screen instructions. The user documentation will be accessible during the setup.
1From a computer (laptop), go to http://www.exfo.com/software/exfo-apps.
2Under PC Software, look for the
AMT Remote Access application, and download it.
3Double-click the file that you have just downloaded to
start the installation, and follow the on-screen
instructions.
6Connect one end of a network cable to the front or rear
management port of the unit ( ) and the other end to an
Ethernet port of the computer.
CAUTION
To avoid damaging your unit, use it only with modules
approved by EXFO (refer to the unit’s technical
specifications).
Understanding the Module LEDs
H/S (blue LED)
Blinking: The module is in a transition state (being prepared for removal, or being detected
by the system).
Steady: The module can be removed safely.
IN USE (green LED)
Blinking: A test or a measurement, using the module, is underway.
Steady: The module is in use.
ERROR (red LED)
Steady: The module is in error.
3
Current IP address of the unit

Other manuals for LTB-8

1

Other EXFO Laboratory Equipment manuals

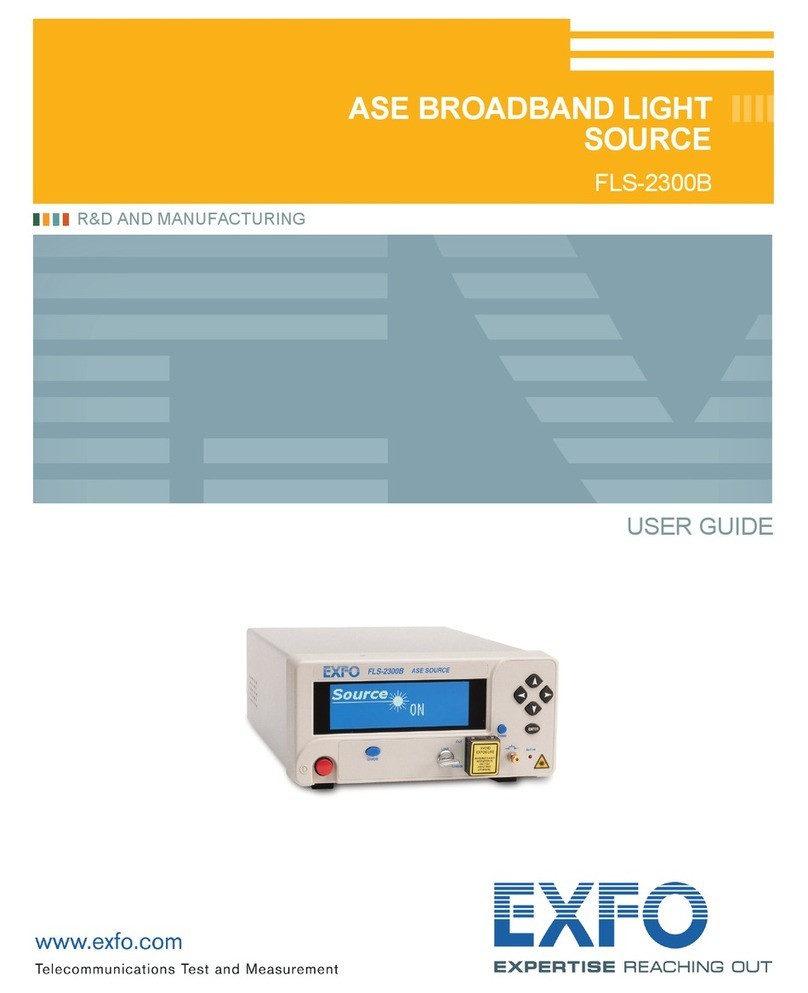
EXFO FLS-2300B User manual

EXFO

EXFO FLS-2300B User manual

EXFO FLS-2300B User manual

EXFO

EXFO FLS-2300B User manual

EXFO IQ Series User manual

EXFO

EXFO IQ Series User manual

EXFO IQS-636 User manual

EXFO

EXFO IQS-636 User manual

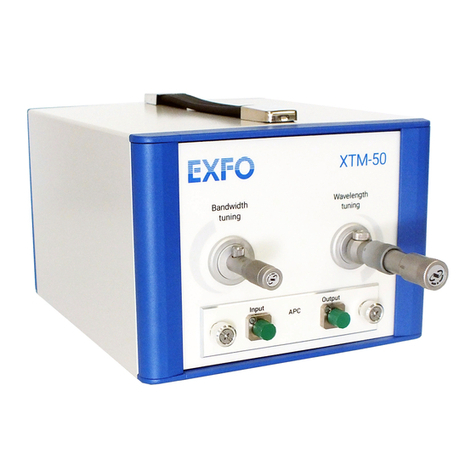
EXFO XTM-50 Series User manual

EXFO

EXFO XTM-50 Series User manual

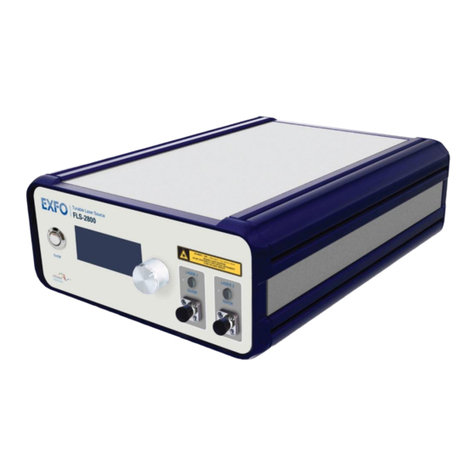
EXFO FLS-2800 User manual

EXFO

EXFO FLS-2800 User manual

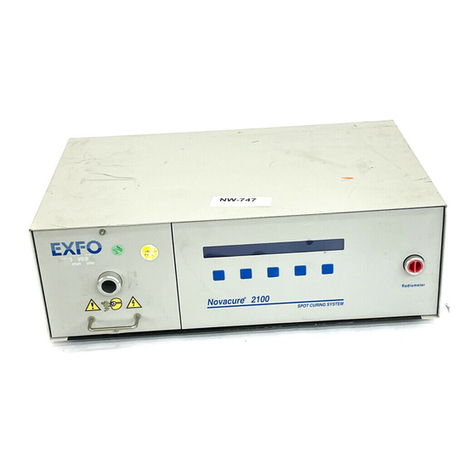
EXFO Novacure 2100 User manual

EXFO

EXFO Novacure 2100 User manual

EXFO OSICS Operating instructions

EXFO

EXFO OSICS Operating instructions

EXFO XTM-50 Series User manual

EXFO

EXFO XTM-50 Series User manual

Popular Laboratory Equipment manuals by other brands

Gilson PIPETMAN G quick guide

Gilson

Gilson PIPETMAN G quick guide

Thermo Electron 3940 Series Operating and maintenance manual

Thermo Electron

Thermo Electron 3940 Series Operating and maintenance manual

Yamato DP23C manual

Yamato

Yamato DP23C manual

SCIEX 6500 series Site planning guide

SCIEX

SCIEX 6500 series Site planning guide

Deltec PF 501 Operating instructions and spare parts list

Deltec

Deltec PF 501 Operating instructions and spare parts list

CASHIDO 10 Second Machine Commercial OH6800 Series user manual

CASHIDO

CASHIDO 10 Second Machine Commercial OH6800 Series user manual

Appleton appMIX instruction manual

Appleton

Appleton appMIX instruction manual

Metrohm 814 manual

Metrohm

Metrohm 814 manual

Agilent Technologies 1260Infinity II Bio-inert FractionCollector user manual

Agilent Technologies

Agilent Technologies 1260Infinity II Bio-inert FractionCollector user manual

IKA ROTAVISC manual

IKA

IKA ROTAVISC manual

Sarstedt SAHARA-TSC Instructions for use

Sarstedt

Sarstedt SAHARA-TSC Instructions for use

biochrom EZ Read 400 quick start guide

biochrom

biochrom EZ Read 400 quick start guide

ThermoFisher Scientific invitrogen Countess 3 user guide

ThermoFisher Scientific

ThermoFisher Scientific invitrogen Countess 3 user guide

Hach Portable Spectrophotometer DR 2800 user manual

Hach

Hach Portable Spectrophotometer DR 2800 user manual

Spectro-UV E Series Operator's manual

Spectro-UV

Spectro-UV E Series Operator's manual

Thermo Scientific ModulyoD instruction manual

Thermo Scientific

Thermo Scientific ModulyoD instruction manual

Thermo Scientific Dionex IonPac AS31 product manual

Thermo Scientific

Thermo Scientific Dionex IonPac AS31 product manual

Koehler K23900 Operation and instruction manual

Koehler

Koehler K23900 Operation and instruction manual

manuals.online logo
manuals.online logoBrands
  • About & Mission
  • Contact us
  • Privacy Policy
  • Terms and Conditions

Copyright 2025 Manuals.Online. All Rights Reserved.