manuals.online logo
Brands
  1. Home
  2. •
  3. Brands
  4. •
  5. Extel
  6. •
  7. Gate Opener
  8. •
  9. Extel XB250 User manual

Extel XB250 User manual

This manual suits for next models

1

Other Extel Gate Opener manuals

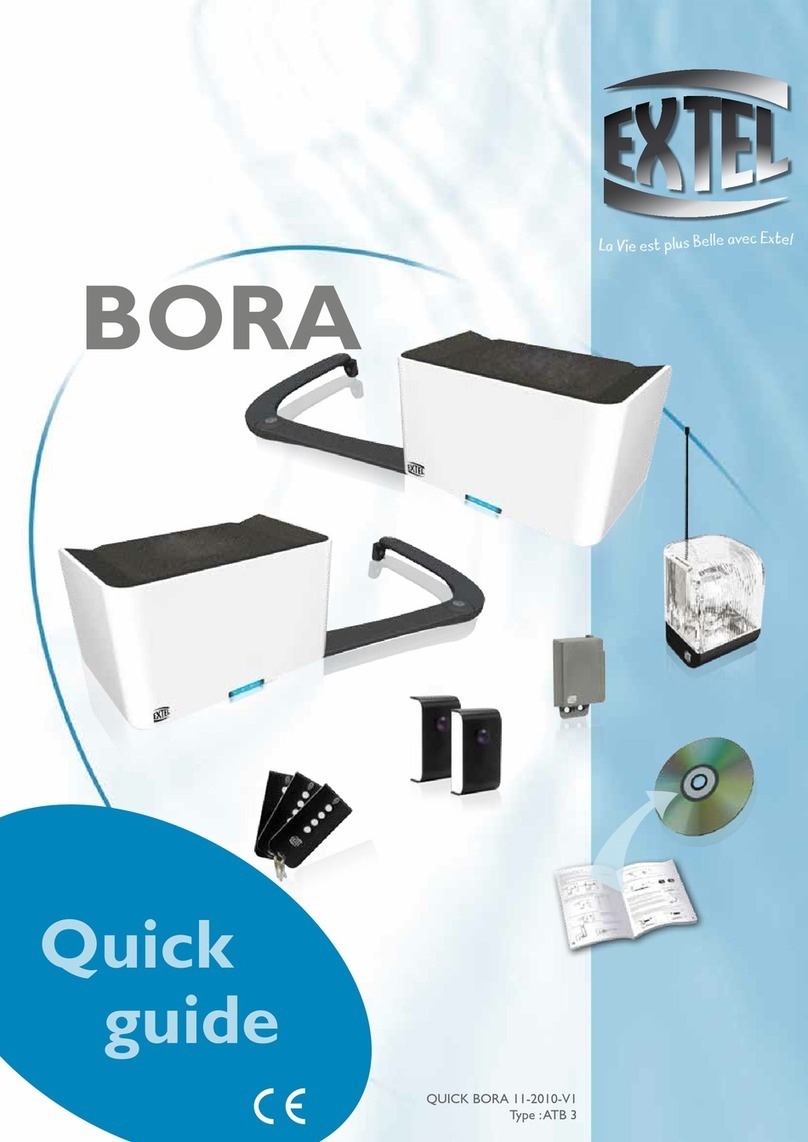
Extel BORA User manual

Extel

Extel BORA User manual

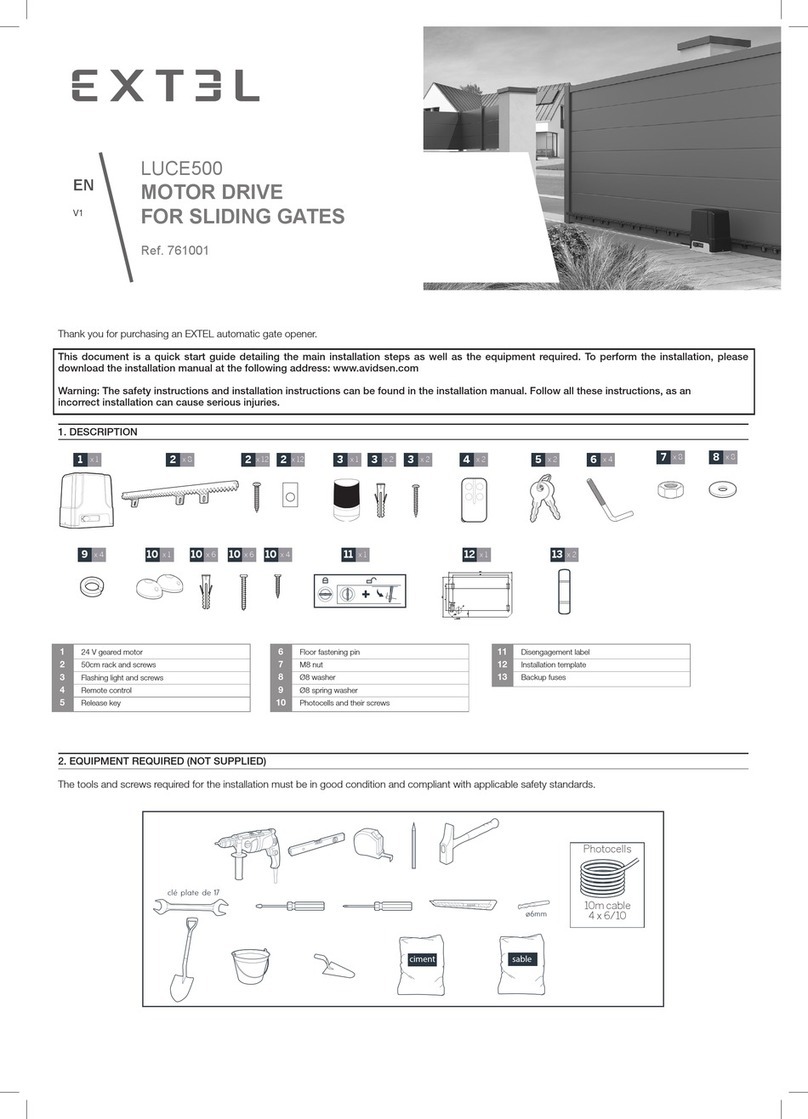
Extel LUCE500 User manual

Extel

Extel LUCE500 User manual

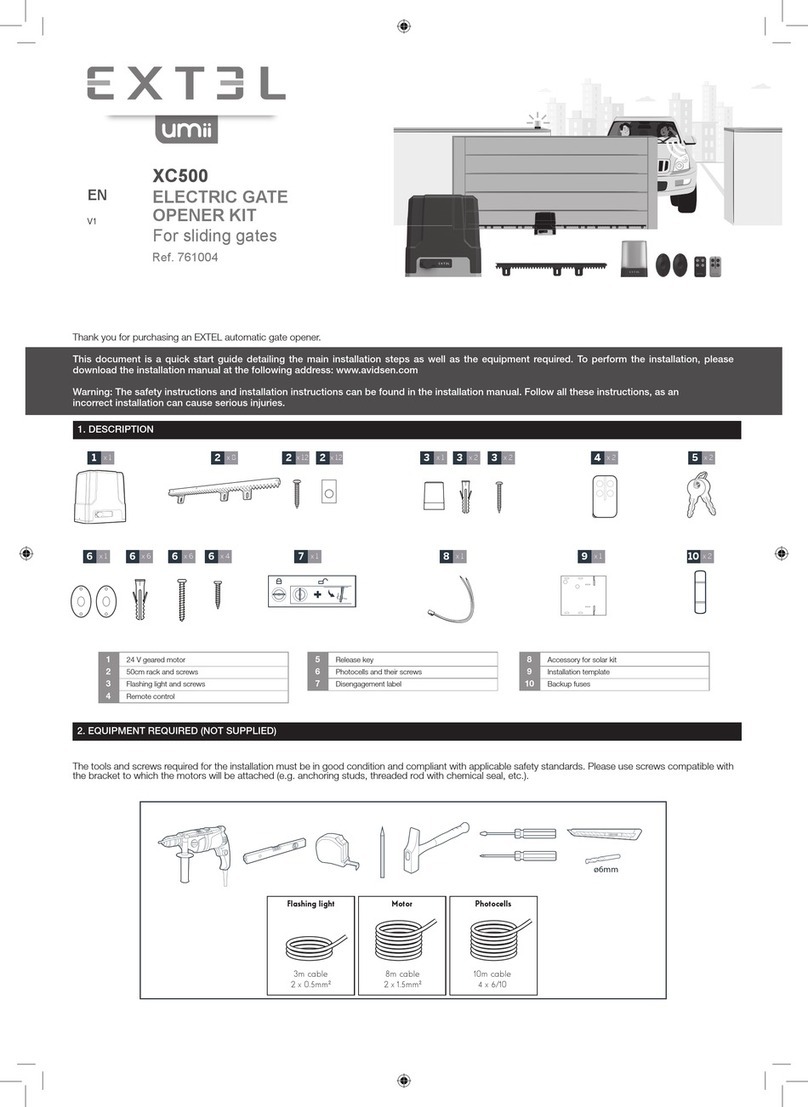
Extel Umii XC500 User manual

Extel

Extel Umii XC500 User manual

Extel VERA User manual

Extel

Extel VERA User manual

Extel Bora User manual

Extel

Extel Bora User manual

Extel XV250 User manual

Extel

Extel XV250 User manual

Popular Gate Opener manuals by other brands

Nortek Security & Control Mighty Mule HD272 installation manual

Nortek Security & Control

Nortek Security & Control Mighty Mule HD272 installation manual

tousek TURN 10 Installation and operating instructions

tousek

tousek TURN 10 Installation and operating instructions

SOMFY AXOVIA 220B RTS installation instructions

SOMFY

SOMFY AXOVIA 220B RTS installation instructions

Nice HySecurity CBOX1050 Installation and programming manual

Nice HySecurity

Nice HySecurity CBOX1050 Installation and programming manual

CAME FROG-PM4 installation manual

CAME

CAME FROG-PM4 installation manual

Aprimatic ONDA 500 installation instructions

Aprimatic

Aprimatic ONDA 500 installation instructions

Turnstiles FSW 900 manual

Turnstiles

Turnstiles FSW 900 manual

Erreka BUL BL33 Quick installation and programming guide

Erreka

Erreka BUL BL33 Quick installation and programming guide

Beninca R1-2 WBV quick start guide

Beninca

Beninca R1-2 WBV quick start guide

Erreka VULCAN D user manual

Erreka

Erreka VULCAN D user manual

Motorline professional FORT User& installer's manual

Motorline professional

Motorline professional FORT User& installer's manual

Beninca BOB5024 manual

Beninca

Beninca BOB5024 manual

AGA GATEMASTER 900 HD installation manual

AGA

AGA GATEMASTER 900 HD installation manual

Cardin BL Series manual

Cardin

Cardin BL Series manual

Westfalia 85 27 06 instruction manual

Westfalia

Westfalia 85 27 06 instruction manual

Riello Elettronica CARDIN ACE FAST Instruction handbook

Riello Elettronica

Riello Elettronica CARDIN ACE FAST Instruction handbook

Telcoma ARM Instruction handbook

Telcoma

Telcoma ARM Instruction handbook

Telcoma ACE Instruction handbook

Telcoma

Telcoma ACE Instruction handbook

manuals.online logo
manuals.online logoBrands
  • About & Mission
  • Contact us
  • Privacy Policy
  • Terms and Conditions

Copyright 2025 Manuals.Online. All Rights Reserved.

2. EQUIPMENT REQUIRED (NOT SUPPLIED)
The tools and screws required for the installation must be in good condition and compliant with applicable safety standards.
Please use screws compatible with the bracket to which the motors will be attached (e.g. anchor studs, threaded rod with chemical seal, etc.)
1 drill
1 fl at head screwdriver 1 pencil
1 spirit level
1 x 13mm spanner
1 measuring tape
1 Phillips screwdriver
Photocells
¡[
[ [
¡[ ¡
Attaching the
brackets
on the gate:
Choose a screw/nut
system compatible
with the thickness of
the gate. There are 4
attachment points
10m cable
4 x 6/10
Flashing light Motor Attaching the motors
onto the posts
3m cable
2 x 0.5mm2
8m cable
2 x 1.5mm2
Thank you for purchasing an EXTEL automatic gate opener.
This document is a quick start guide detailing the main installation steps as well as the equipment required. To perform the installation, please
download the installation manual at the following address: www.avidsen.com
Warning: The safety instructions and installation instructions can be found in the installation manual. Follow all these instructions, as an as
incorrect installation can cause serious injuries.
1Motor lock screws
2Post mounting bracket
3Main motor with electronic card
4Secondary motor
5Screws for attaching the rear arm to the
motor
6Rear arm
7Pin
8Pin axis
9Front arm
10 Gate mounting bracket
11 Photocells and screws
12 Flashing light and screws
13 Remote controls
14 Override key
15 Installation template
16 Accessories for the solar kit
17 Backup fuses
1x 2 2x 2
13 x 2
6x 2 7x 4
8x 4
9x 2 10 x 2
3x 1 4x 1 5x 2
12 x 1 12 x 2 12 x 2 14 x 1 15 x 1
17 x 1
16 x 1
V1
EN
Ref. 761005
XB250
ELECTRIC GATE
OPENER KIT
For 2-panel swing gates
11 x 1 11 x 6 11 x 6 11 x 4
1. DESCRIPTION
3. INSTALLATION
Safety guidelines: Please refer to the installation manual for all safety instructions.
To perform the installation, please download the installation manual at the following address: www.avidsen.com
Overview:
The cables used must be appropriate for outdoor use (such as H07RN-F for example). The cable run between the two posts must comply with applicable
standards (NFC 15-100). The power cable of the opposite geared motor must run 80cm deep with red warning mesh.
Motors
Inner side of the property
Flashing light
1
2
3
4
5
List of cables:
2-wire Cable Max length
1 230VAC power line Cable 3 x 2.5mm2 (more than 30m long)
Cable 3 x 1.5mm2 (less than 30m long) Unlimited
2 Flashing light Cable 2 x 0.5mm2 15m
3 Secondary motor 2 x 1.5mm² cable 10m
4 Reception photocell (RX) 4 x 6/10 cable 10m
5 Transmission photocell (TX) 4 x 6/10 cable 10m
The installation is a 4-step process:
1. Installing the motors, the flashing light and the photocells (the main motor is fixed to the post with the power supply).
2. Electrical connection:
- of the secondary motor to the electronic card (in the main motor)
- of the flashing light to the electronic card (in the main motor)
- of the photocells to the electronic card (in the main motor)
- connection of the transformer to the mains. This connection must be performed by qualified personnel (electrician, etc.)
- of optional products such as a videophone, a keypad or a backup battery.
3. Getting started from the EXTEL UMII application
Download the app to your smartphone:
Register on the EXTEL UMII app and add your motor (the blue light on the motor should flash, if it doesn’t, perform a reset). Then follow the steps for a faster setup.
Advanced settings can be configured in the app. Please refer to the manual for more information.
Getting started from the electronic card "in manual mode"
- Initiate the auto-learning process: Press the button 3 times. The orange light will flash whilst the motor sweep learning process is in progress.
- Add a remote control: Press the button once. The green light will flash until the remote control is paired. Press the button on the top left of the remote control to
pair it with the motor.
- Reset: Press and hold the button for 8 seconds. The light will flash purple 5 times to confirm that the reset is complete. The light will flash blue again to indicate
that you can add the motor to the app.
4. Operational testing: To familiarise yourself with the automatism and ensure it operates properly, read the chapter on usage and conduct operational tests (open/
close, initiate obstacle detection, cut the photocell beam). Upon completion of these tests, you may have to modify certain settings (e.g. motor power).
4 - EU DECLARATION OF CONFORMITY
avidsen declares that the equipment complies with the essential applicable requirements of RED Directive 2014/53/EU.
Directive 2014/35/EU: (protection of users’ health and safety)
Directive 2014/30/EU: (protection requirements relating to electromagnetic compatibility).
Directive 2014/53/EU: (efficient use of the radio spectrum, in order to avoid harmful interference).
The full declaration of compliance is available on the website www.avidsen.com
Tours, 12/06/2023
Alexandre Chaverot, CEO
Pour en savoir plus :
www.quefairedemesdechets.fr
Avidsen
19 avenue Marcel Dassault - ZAC des Deux Lions - 37200 Tours - France