Extreme Canopy EMX ALPHA User manual
Other Extreme Canopy Tent manuals
Extreme Canopy
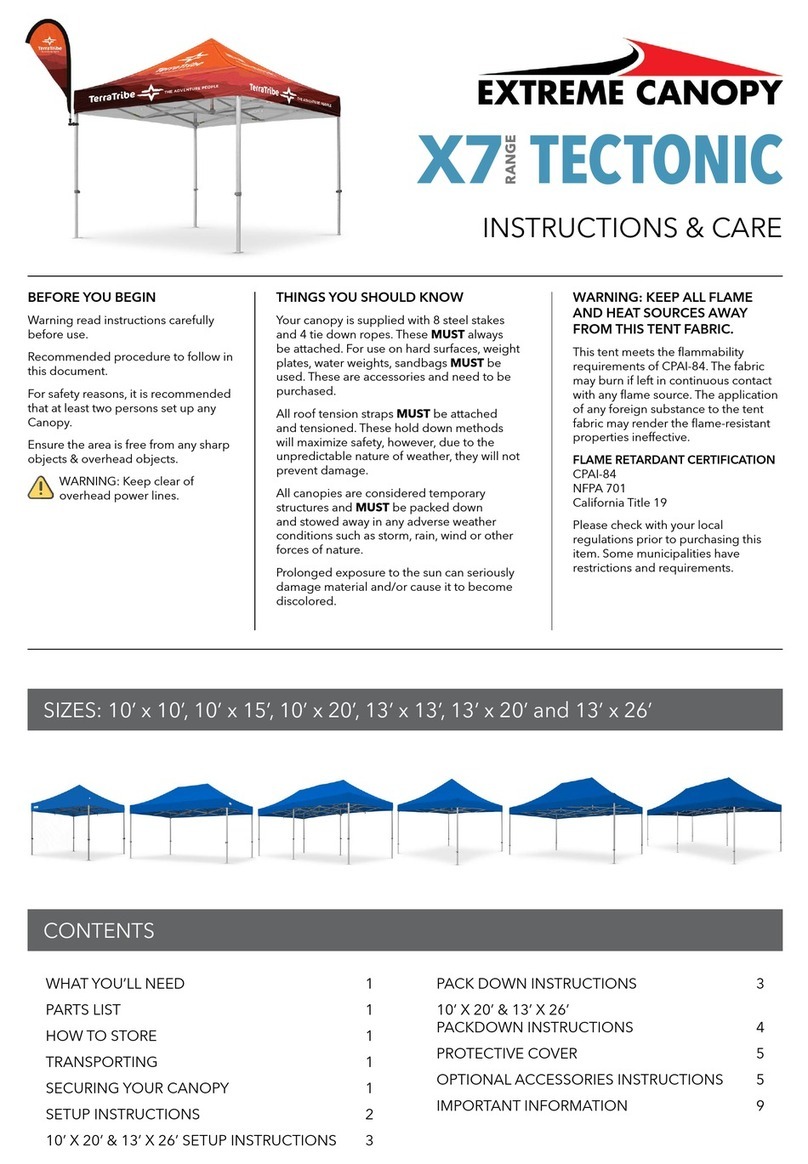
Extreme Canopy X7 RANGE TECTONIC User manual

Extreme Canopy
Extreme Canopy X7 RANGE TECTONIC User manual
Extreme Canopy
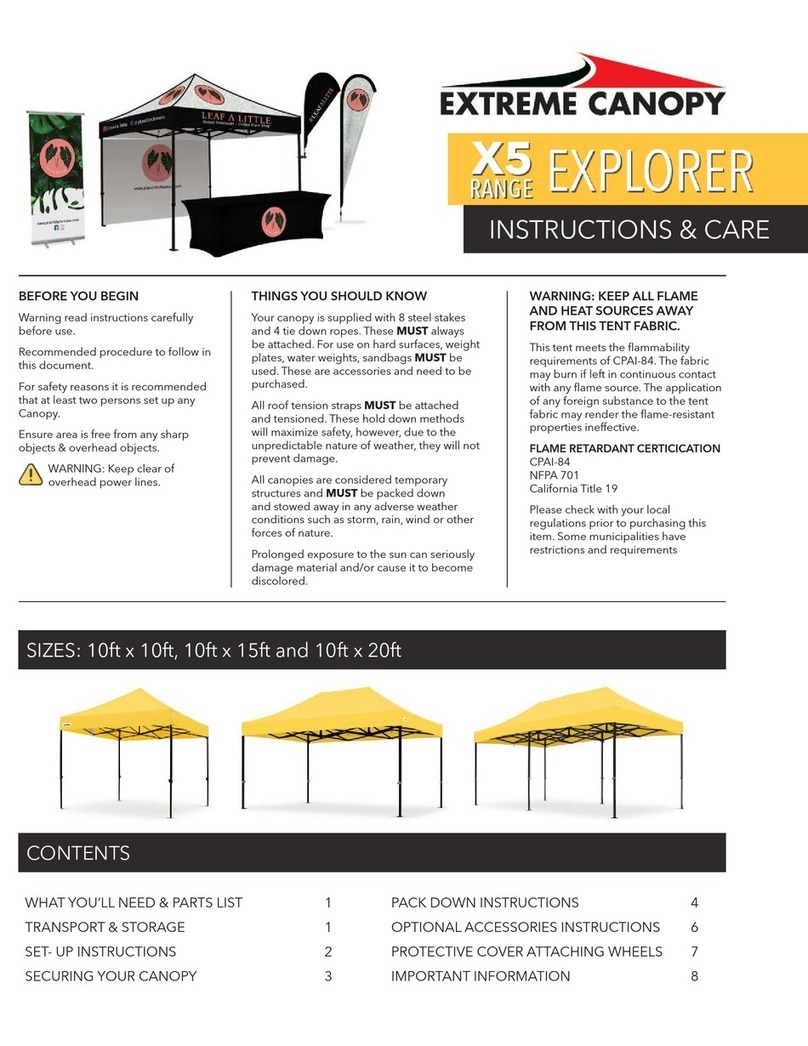
Extreme Canopy X5 RANGE User manual
Extreme Canopy
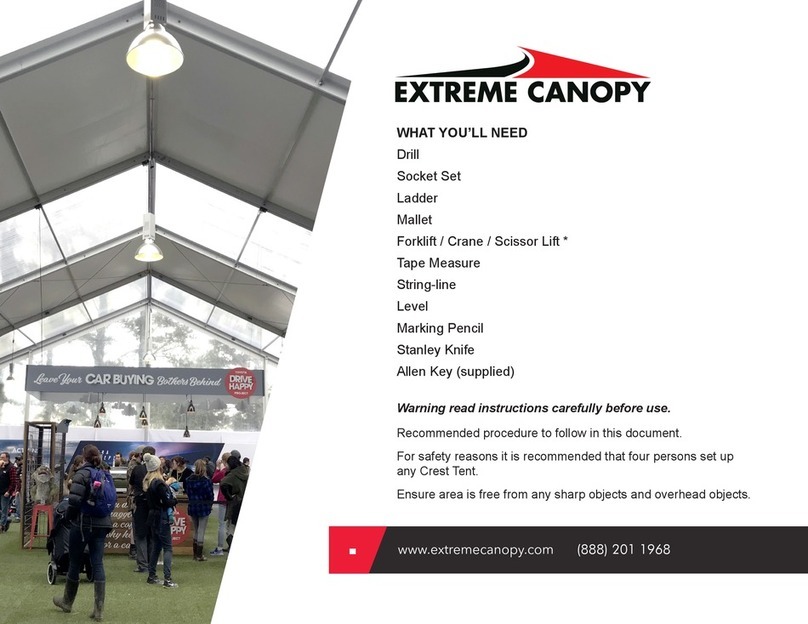
Extreme Canopy CREST User manual

Extreme Canopy
Extreme Canopy EMX ALPHA User manual

Extreme Canopy
Extreme Canopy PAVILION User manual
Extreme Canopy
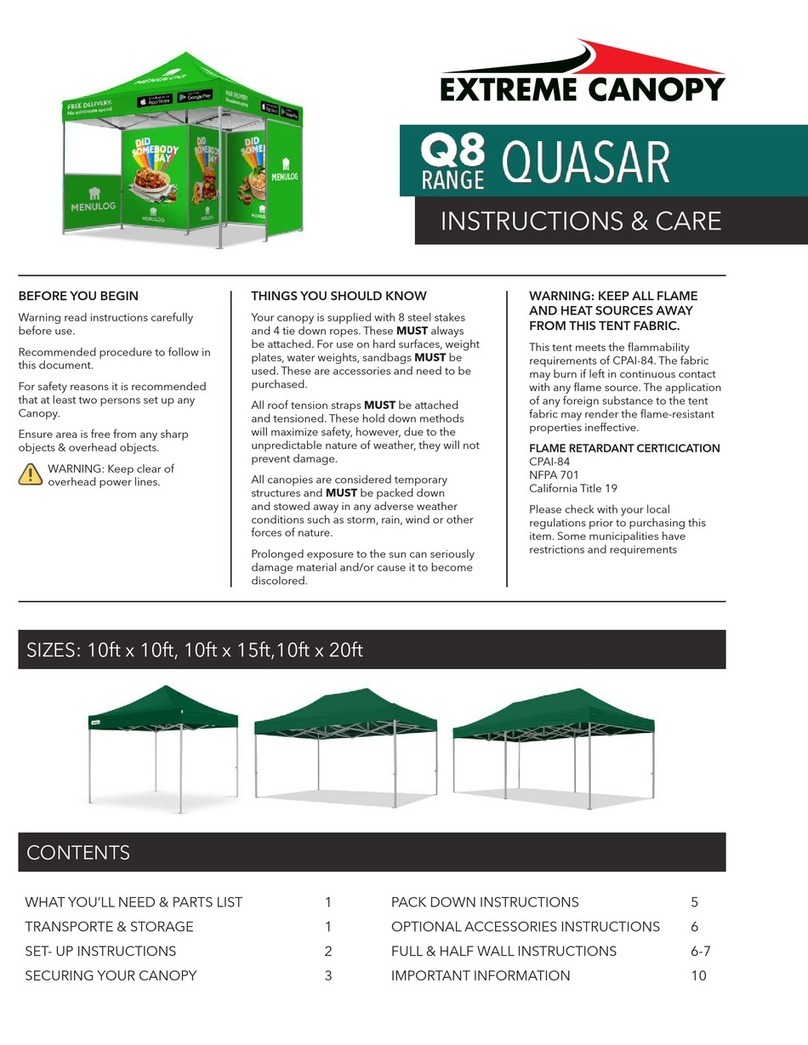
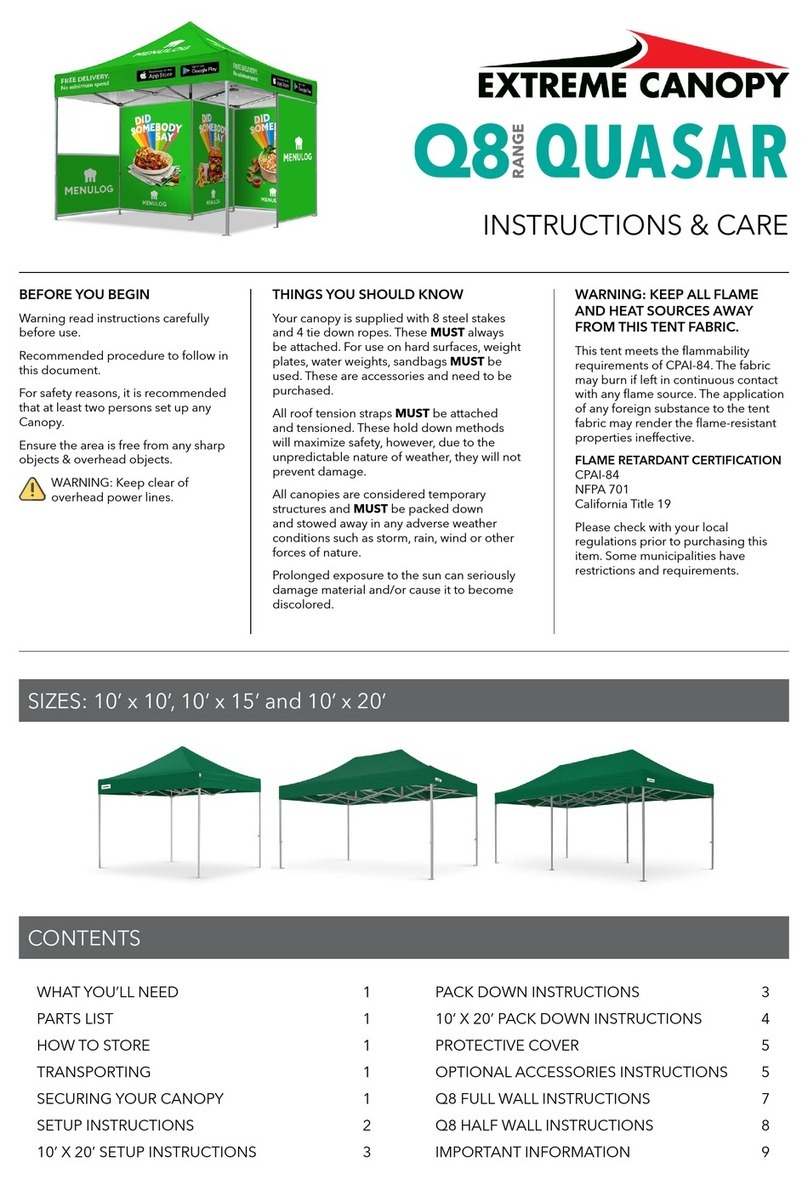
Extreme Canopy QUASAR Q8 Series User manual
Extreme Canopy
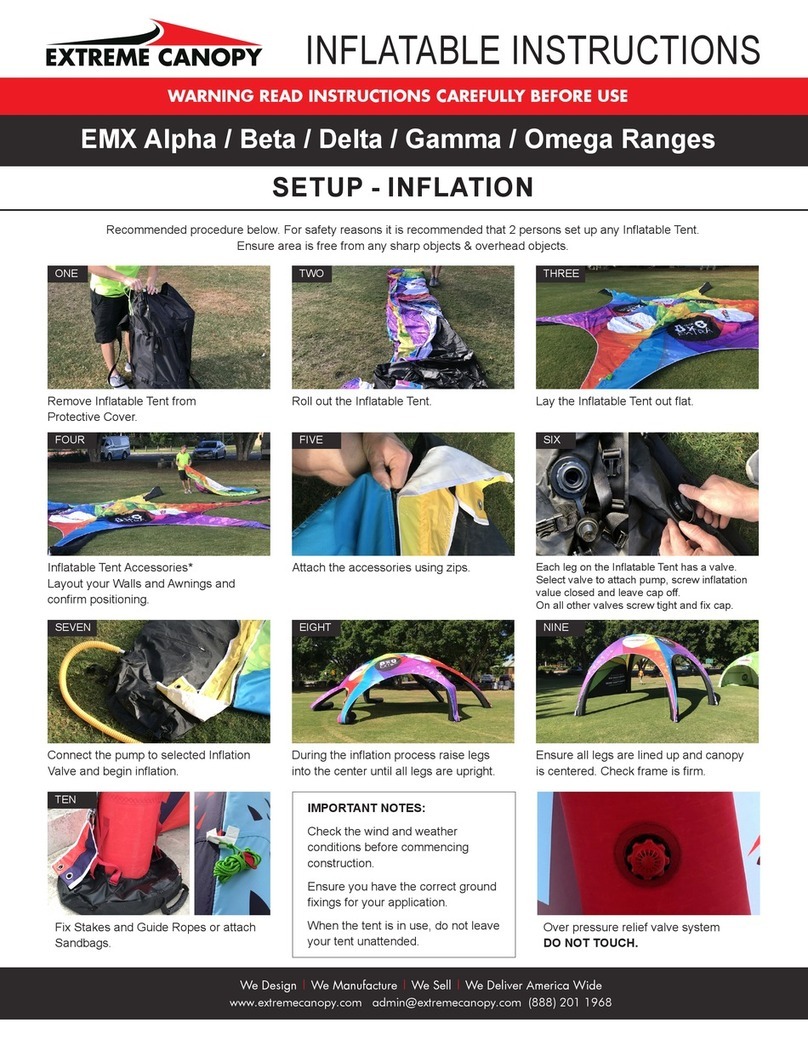
Extreme Canopy EMX Alpha Series User manual
Extreme Canopy
Extreme Canopy QUASAR Q8 Series User manual
Popular Tent manuals by other brands

Coleman
Coleman 2000033134 Assembly & instruction manual

Ozark Trail
Ozark Trail W784.1 Assembly instructions and owner's manual

SlingFin
SlingFin CrossBow 2 instructions

Coleman
Coleman 9600-141 instructions

Palram
Palram Arizona 5000 Wave - WINGS manual

COVERPRO
COVERPRO 56184 Owner's manual & safety instructions


