manuals.online logo
Brands
  1. Home
  2. •
  3. Brands
  4. •
  5. Extreme marquees
  6. •
  7. Tent
  8. •
  9. Extreme marquees CREST User manual

Extreme marquees CREST User manual

WARNING READ INSTRUCTIONS CAREFULLY BEFORE USE
6m x 12m CREST INSTRUCTIONS
Recommended procedure below. For safety reasons it is recommended that four persons set up any marquee.
Ensure area is free from any sharp objects & overhead objects.
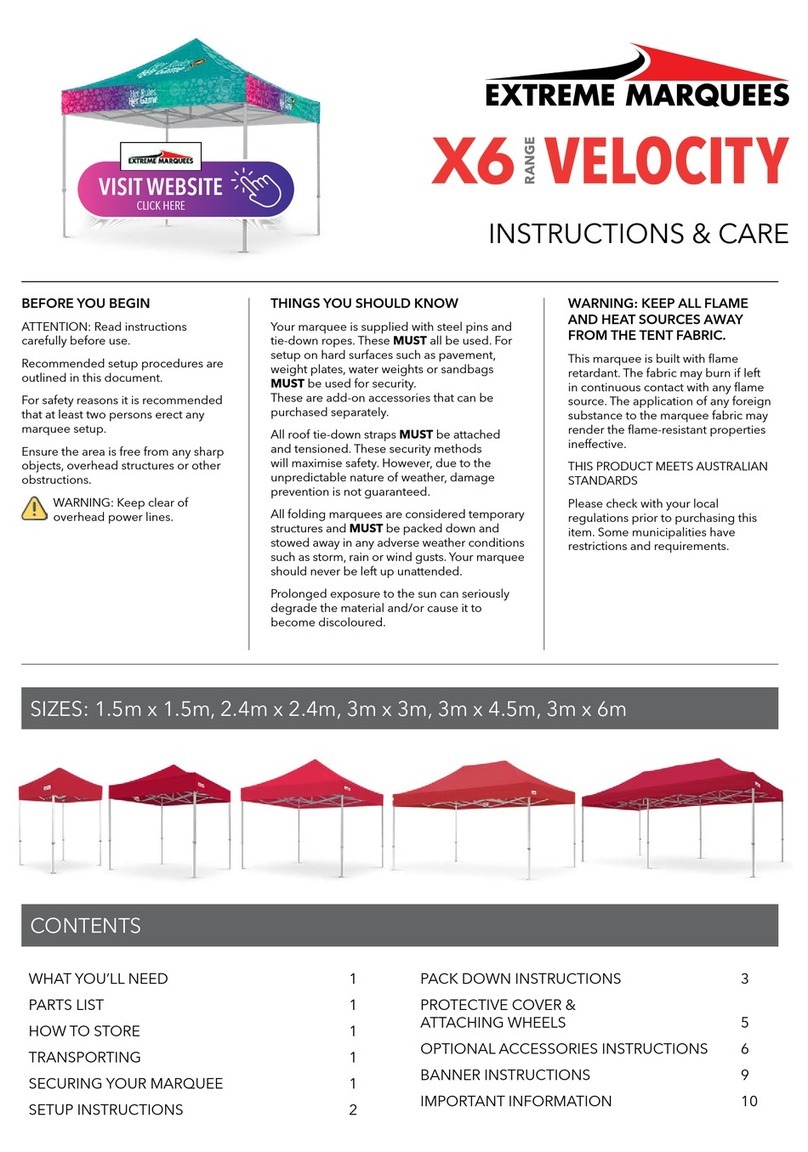
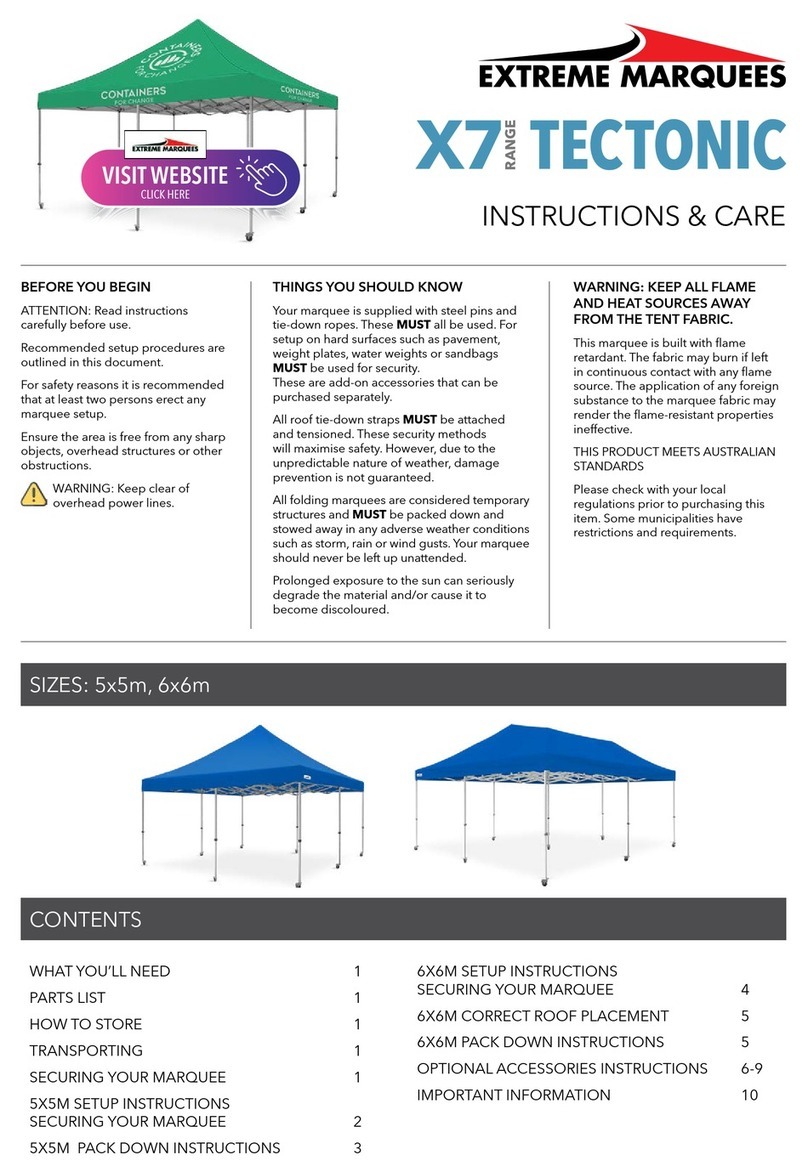
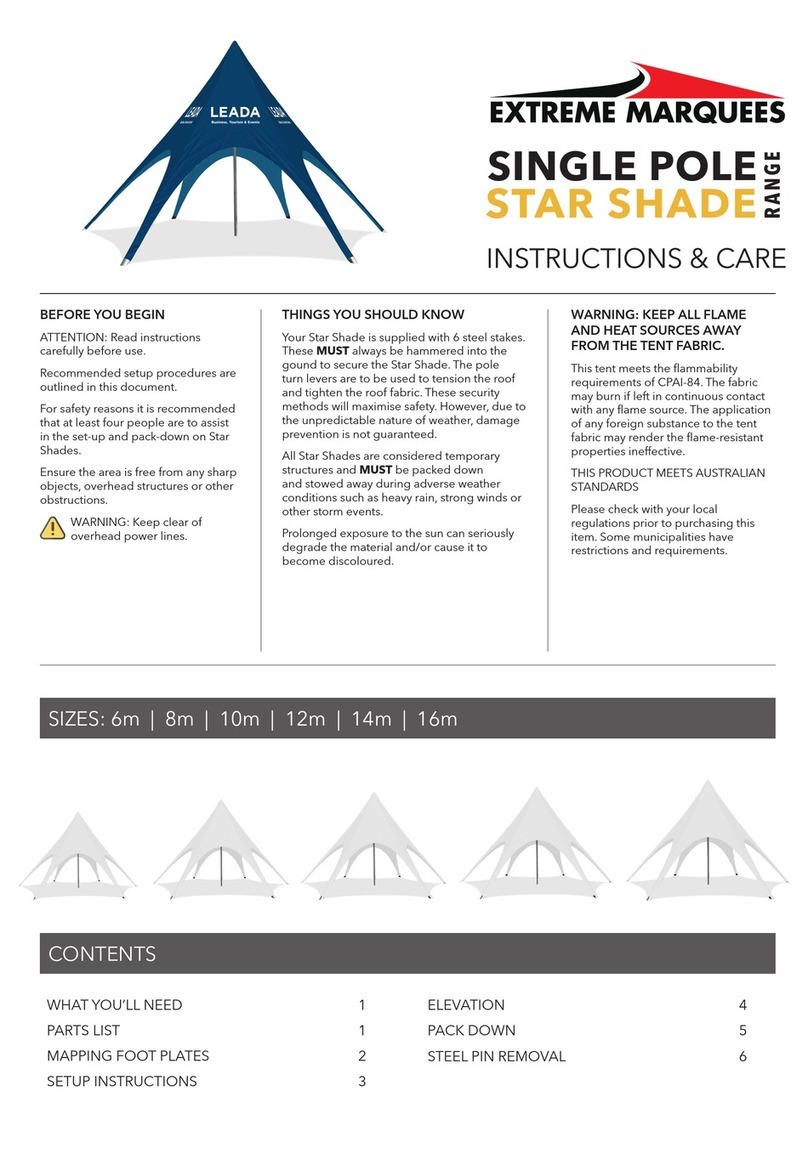
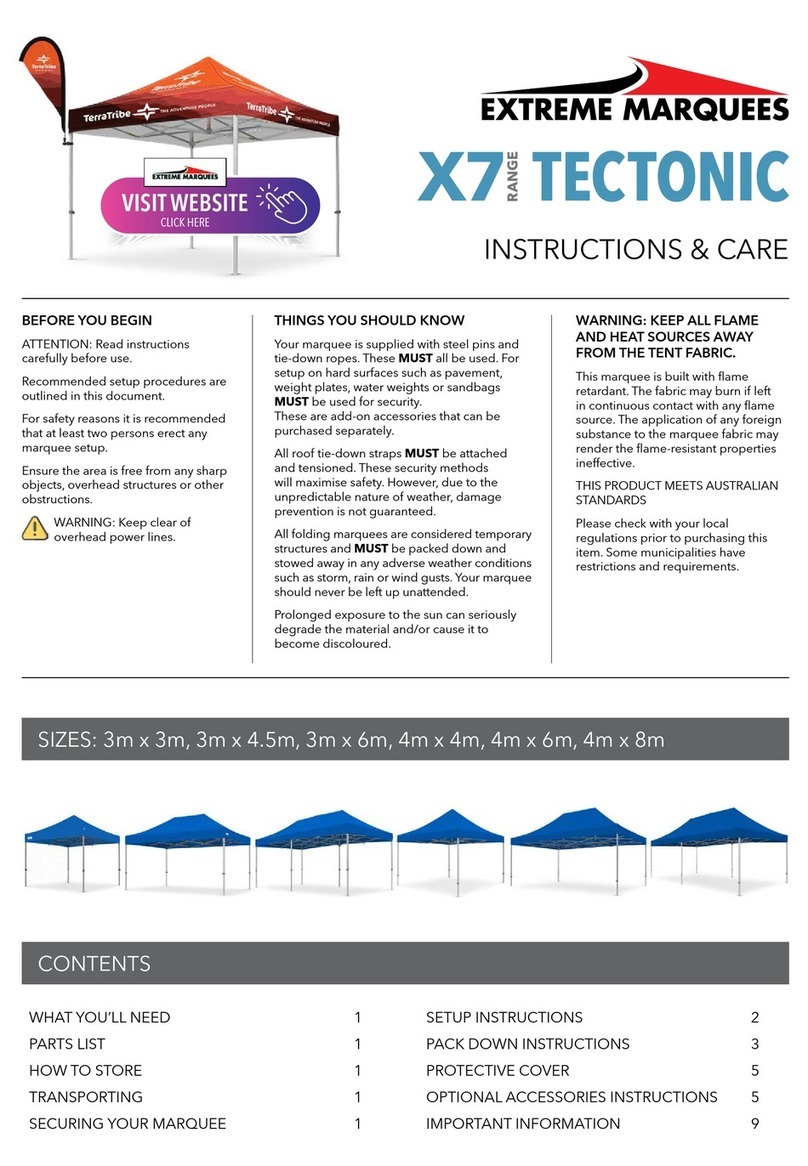
This is a feature image and not specific to the order.
Instruction of Installation 6m Span Tent
We design | We manufacture |We sell |We Deliver Australia wide www.extrememarquees.com.au admin@extrememarquees.com.au 1300 850 832
Page 2
6m x 12m CREST INSTRUCTIONS
DO85655 - Solbrew - Solomon BreweriesLtd
23/03/2017
No. Item No. Item
A001 Girder A013B Inner Connector of Fabric Controlling Bar B
A002 Left & Right Pole A014 Round Fabric Controlling Bar of Sidewall
A003 Tie-in A015 Round Fabric Controlling Bar of Gable Sidewall
A004 Square Tube A016 Groundwork of Left and Right Pole
A005 Side Purline A017 Groundwork of Gable Pole
A006 Side Purline of Gable A018 Screw of Fabric Controlling Bar
A007 Pole of Gable A019 Cable Wire
A008 Cross Strut B001 Roof Covering
A011 Fabric Controlling Bar of Roof Covering B002 Gable Fabric
A012 Fabric Controlling Bar of Gable B004 Sidewall on Two Length Sides
A013A Inner Connector of Fabric Controlling Bar A B005 Sidewall on Two Width Sides
Foot Plate
Tension Bar
Bottom Wall Bar
Wire Cable
Tension Bar
Foot Plate of Gable Pole
Bottom Wall Bar
Roof Beam
Cross Base
We design | We manufacture |We sell |We Deliver Australia wide www.extrememarquees.com.au admin@extrememarquees.com.au 1300 850 832
Page 3
6m x 12m CREST INSTRUCTIONS
DO85655 - Solbrew - Solomon BreweriesLtd
23/03/2017
We design | We manufacture |We sell |We Deliver Australia wide www.extrememarquees.com.au admin@extrememarquees.com.au 1300 850 832
Page 4
6m x 12m CREST INSTRUCTIONS
DO85655 - Solbrew - Solomon BreweriesLtd
23/03/2017
We design | We manufacture |We sell |We Deliver Australia wide www.extrememarquees.com.au admin@extrememarquees.com.au 1300 850 832
Page 5
6m x 12m CREST INSTRUCTIONS
DO85655 - Solbrew - Solomon BreweriesLtd
23/03/2017
Step 2
Distribution Diagram of Groundwork
As shown in the figure, find the position of
each groundwork. Since the groundwork of
the tent is fixed with the pole, so don’t need
to fix the groundwork on the ground at the
begging.
When the tent finish the installation, use
steel nails or expansion bolt or loading
plate to fix it.
Distribution Diagram of Groundwork
Distance is from middle to middle
As shown in the figure, find the position of each footplate. Since
the footplate of the marquee is fixed to the pole, you don’t need
to fix the footplate to the ground at the beginning.
When the tent installation is finished, use the steel pins or
expansion bolt or loading plate to fix the marquee.
We design | We manufacture |We sell |We Deliver Australia wide www.extrememarquees.com.au admin@extrememarquees.com.au 1300 850 832
Page 6
6m x 12m CREST INSTRUCTIONS
DO85655 - Solbrew - Solomon BreweriesLtd
23/03/2017
Fixing on the ground
1. Fasten all footplates to the ground with
expansion bolts.
2. The distance between foot plates is
per drawing Distribution Diagram of
Groundwork
Fixing on the ground
1. Fasten all groundwork to ground by
expansion bolts.
2. Fix tent partly shows as picture in right.
The space between part is 3m.
Step 3
We design | We manufacture |We sell |We Deliver Australia wide www.extrememarquees.com.au admin@extrememarquees.com.au 1300 850 832
Page 7
6m x 12m CREST INSTRUCTIONS
DO85655 - Solbrew - Solomon BreweriesLtd
23/03/2017
For Cable Wire
We design | We manufacture |We sell |We Deliver Australia wide www.extrememarquees.com.au admin@extrememarquees.com.au 1300 850 832
Page 8
6m x 12m CREST INSTRUCTIONS
DO85655 - Solbrew - Solomon BreweriesLtd
23/03/2017
We design | We manufacture |We sell |We Deliver Australia wide www.extrememarquees.com.au admin@extrememarquees.com.au 1300 850 832
Page 9
6m x 12m CREST INSTRUCTIONS
DO85655 - Solbrew - Solomon BreweriesLtd
23/03/2017
Installation Step 3- Picture 3
We design | We manufacture |We sell |We Deliver Australia wide www.extrememarquees.com.au admin@extrememarquees.com.au 1300 850 832
Page 10
6m x 12m CREST INSTRUCTIONS
DO85655 - Solbrew - Solomon BreweriesLtd
23/03/2017
We design | We manufacture |We sell |We Deliver Australia wide www.extrememarquees.com.au admin@extrememarquees.com.au 1300 850 832
Page 11
6m x 12m CREST INSTRUCTIONS
DO85655 - Solbrew - Solomon BreweriesLtd
23/03/2017
We design | We manufacture |We sell |We Deliver Australia wide www.extrememarquees.com.au admin@extrememarquees.com.au 1300 850 832
Page 12
6m x 12m CREST INSTRUCTIONS
DO85655 - Solbrew - Solomon BreweriesLtd
23/03/2017
Assembly Drawing of Structure
1. Once the all frame sections have been assembled.
Lift Frame 1 up into the upright position.
2.Lift Frame 2 up while keep first section upright.
(for safety reasons three to four installers required to
support the sections whilst being installed, ropes are
included for bracing) ( See Drawing 1)
3.Connect Frame 2 to frame 1 by installing the cross
braces, fasten the cross braces on to the uprights
using the fastening points. ( See Drawing 3)
4. Attach side purlins to Frame 1 and then attach
Frame 2. Fasten square tubes to girders of Frame 1
and Frame 2. (Drawing 2)
5. Lift remaining frame sections and repeat assembly
process.
6. Fasten the remaining braces when frame is
assembled.
7. Fix wire cable between Frame 1 and 2 on roof
beams in a cross section. (Drawing 3)
For more detail refer to the following pages.
Step 4
Assembly Drawing of Structure
1.List Piece 1 up after all parts of it
has been connected to each other.
2.List Piece 2 up while keep piece
upright. (Support the poles by three
or four installers) (Drawing 1)
3.Connect Piece 2 to Piece 1 by cross
struts and fasten them to the right part
of Piece 1 and Piece 2.
4.Fix side purline. Fasten square tubes
to girders of Piece 1 and Piece 2.
(Drawing 2)
5.Lift Piece 3, then connect it to the
unit of Piece 1 and Piece 2 by side
purlines and square tubes. List the
rest Pieces up and fix them one by
one in the same way.
6.Fasten the rest four struts when l
ast piece is set up.
7.Fix wire cable in the first room and
last one. (Drawing 3)
Drawing 1
Drawing 2
Drawing 3
Assembly Drawing of Structure
We design | We manufacture |We sell |We Deliver Australia wide www.extrememarquees.com.au admin@extrememarquees.com.au 1300 850 832
Page 13
6m x 12m CREST INSTRUCTIONS
DO85655 - Solbrew - Solomon BreweriesLtd
23/03/2017
We design | We manufacture |We sell |We Deliver Australia wide www.extrememarquees.com.au admin@extrememarquees.com.au 1300 850 832
Page 14
6m x 12m CREST INSTRUCTIONS
DO85655 - Solbrew - Solomon BreweriesLtd
23/03/2017
We design | We manufacture |We sell |We Deliver Australia wide www.extrememarquees.com.au admin@extrememarquees.com.au 1300 850 832
Page 15
6m x 12m CREST INSTRUCTIONS
DO85655 - Solbrew - Solomon BreweriesLtd
23/03/2017
Assembly Drawing of Fabric
Roof Covering Fabric
Unpack the Roof-Cover and put it onto a ground
to avoid it getting dirty or damaged;
Throw 2 pieces of Setup-Ropes over the one bay of the
frame;
Tie one end of one rope onto the “D” ring at the corner of
the roof cover. Repeat on other roof fabric.
Lift the Roof-Cover up to the eaves and feed the Keder
track rope into the grooves of the Roof-Beams
Slowly slide the Roof-Cover into the bay by pulling on the
other end of each rope. Care is required to ensure that the
ropes are pulled uniformly and together;
Pull until the Roof-Cover reaches the opposite eaves;
taking care not to drag the sheet on the ground.
Repeat the procedure until all Roof-covers have been
pulled on.
CAUTION: Roof-Cover has to be completely inserted into
the groove of the Roof-Beam.
Gable Fabric
Divide the Gable cover in to two pieces;
Pulling each triangle up the Keder grooves.
Connect the two triangles together with the chords.
Assembly Drawing of Fabric
Roof Covering Fabric
1.Put roof covering near each two poles one by one.
2.Put one piece of fabric pulling pole to roof covering fabric
(one of the width side), in where there is a fabric channel. Tie
a hemp rope to each end of the fabric pulling pole, then throw
the ropes to the contrary side of tent.
3.Put the length side of roof covering fabric to the channels in
girders, then pull the rope which has been threw to the contrary
side toward the direction which is pointed out by arrowheads
shows in drawing.
4.Put the 5m fabric controlling bar when fabric reaches the
contrary side.
5.Finish the rest pieces of roof covering fabric one by one in
the way shows above.
Gable Fabric
1..One installer on the roof carefully
2..Put the side of the gable fabric into
the relative channels one by one.
(Start from the wider side)
3.. Zip up the slide fastener.
Step 5
We design | We manufacture |We sell |We Deliver Australia wide www.extrememarquees.com.au admin@extrememarquees.com.au 1300 850 832
Page 16
6m x 12m CREST INSTRUCTIONS
DO85655 - Solbrew - Solomon BreweriesLtd
23/03/2017
Assembly Drawing of Fabric
Side Fabric
1.Select gable sidewall fabric apart from the rest sidewall
fabric, whose width is about 5m.
2.Put the sides of sidewall fabric in the channels in poles.
(The side with plastic buckles should be in the top side)
3.Put fabric buckles to relative side purline.
4.Zip up the slide fastener in the center of each piece of
sidewall fabric.
Step 6
Assembly Drawing of Fabric
Wall Fabric
1.Select walls for the Front and Rear, width could be different to
the side walls. Put wall to the side.
2. To attach the walls to the frame
2.1) Select the inside and outside of wall. Top of the wall has the
round tracking.
2.3) Working from top of the frame to the ground. Insert the side
wall into the upright post tracking.
We design | We manufacture |We sell |We Deliver Australia wide www.extrememarquees.com.au admin@extrememarquees.com.au 1300 850 832
Page 17
6m x 12m CREST INSTRUCTIONS
DO85655 - Solbrew - Solomon BreweriesLtd
23/03/2017
Tensioning the Roof Covers & Triangle Covers
Once all Roof-Covers and Gable Ends attached,
simply slide in the Tension-Bars into the pocket of
the Roof-Cover and Gable-Triangle cover.
Then, fix the connection of the Tension-Bar by
tensioning the rigging screws as below drawing.
Side Triangle
Side Triangle
Roof Cover
We design | We manufacture |We sell |We Deliver Australia wide www.extrememarquees.com.au admin@extrememarquees.com.au 1300 850 832
Page 18
6m x 12m CREST INSTRUCTIONS
DO85655 - Solbrew - Solomon BreweriesLtd
23/03/2017
Assembly Drawing of Fabric Bottom
of Wall Bar
Sliding the steel bars into the bottom
the wall panels and then fix to uprights.
As per the below illustrations 1 and 2.
Step 8
As show in Drawing 1, infix
the Fabric Controlling Round
Bar to the hole, after all
completed; use screw to fasten
it as show in Drawing 2.
Assembly Drawing of Fabric Controlling Round Bar
We design | We manufacture |We sell |We Deliver Australia wide www.extrememarquees.com.au admin@extrememarquees.com.au 1300 850 832
Page 19
6m x 12m CREST INSTRUCTIONS
DO85655 - Solbrew - Solomon BreweriesLtd
23/03/2017
Caution
1. Don’t put heavy items on the components
when they are being transported.
2. The PVC should be cleaned with neutral
detergent other than any acidic or alcohol
solutions. Only pack the pvc when it is dried
thoroughly
3. Keep the storage house clean and dry, and
check the goods regularly when the tent has
not been used for a long time.
4. Choose the appropriate method of ground
fixings according to the type of surface.
A. Concrete ground(the thickness of
concrete layer should be not be less than
17cm),expansion bolt M16x100 is suggested.
B. Grass or Sand , Steel Pins are suggested.
C. DO NOT USE Expansion bolts and steel nails
on grass or sand surfaces. Foot Weight plates
are suggested and the correct use of weight as
per Engineering Certificates.
5. Wind rating as per engineering certificate,
please review for weather conditions.
6. If in snowy areas please remove snow when
more then 10cm thick.
7. Do not attach roof and wall fabric until frame
is assembled and secured.
8. When the marquee is in use, do not leave
your marquee unattended.
9. When the Marquee is use and if part of the
structure looks damaged or not fit for purpose
the marquee should be dismantled at once for
safety reasons.
We design | We manufacture |We sell |We Deliver Australia wide www.extrememarquees.com.au admin@extrememarquees.com.au 1300 850 832
Page 20
6m x 12m CREST INSTRUCTIONS
DO85655 - Solbrew - Solomon BreweriesLtd
23/03/2017

Other Extreme marquees Tent manuals

Extreme marquees SINGLE POLE STAR SHADE User manual

Extreme marquees

Extreme marquees SINGLE POLE STAR SHADE User manual

Extreme marquees EMX Beta Series User manual

Extreme marquees

Extreme marquees EMX Beta Series User manual

Extreme marquees PAVILION User manual

Extreme marquees

Extreme marquees PAVILION User manual

Extreme marquees X7 Tectonic Series User manual

Extreme marquees

Extreme marquees X7 Tectonic Series User manual

Extreme marquees X7 Tectonic Series User manual

Extreme marquees

Extreme marquees X7 Tectonic Series User manual

Extreme marquees FS 84 Series User manual

Extreme marquees

Extreme marquees FS 84 Series User manual

Extreme marquees EMX ALPHA User manual

Extreme marquees

Extreme marquees EMX ALPHA User manual

Extreme marquees X6 VELOCITY User manual
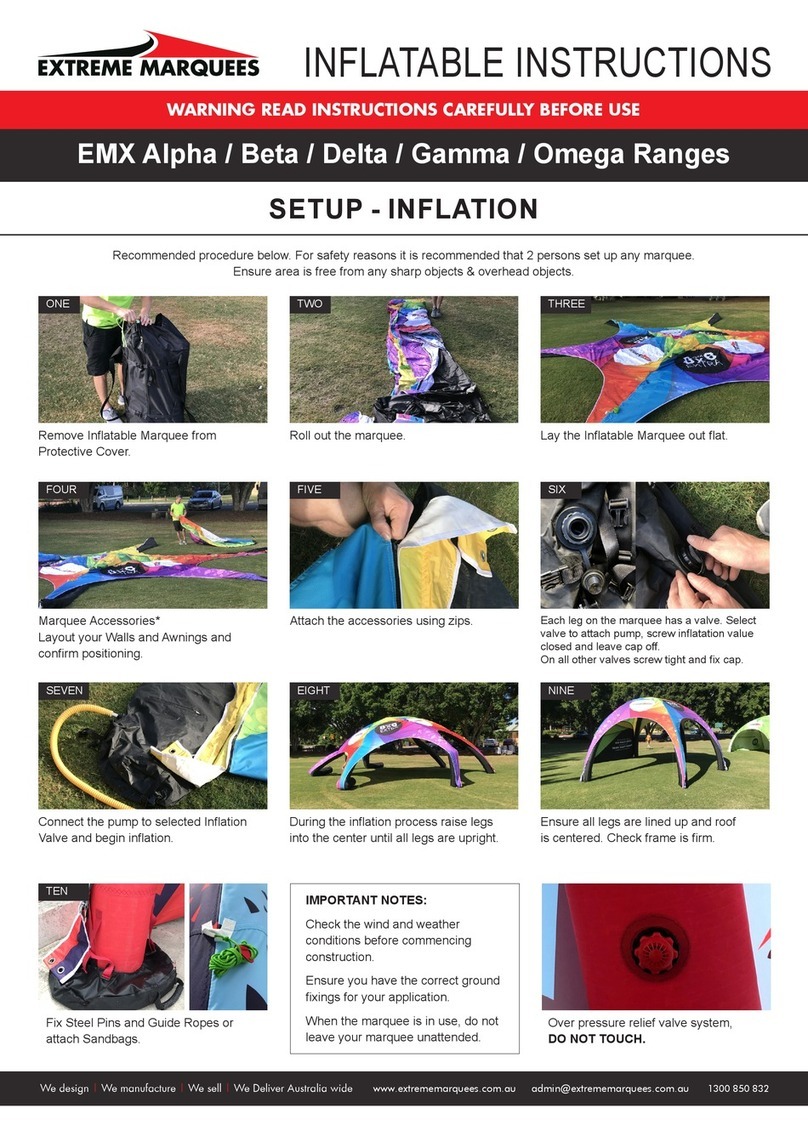
Extreme marquees

Extreme marquees X6 VELOCITY User manual

Extreme marquees Q8 QUASAR User manual
Extreme marquees

Extreme marquees Q8 QUASAR User manual

Popular Tent manuals by other brands

GigaTent POP UP POD owner's manual

GigaTent

GigaTent POP UP POD owner's manual

Zempire NEO Series Pitching instructions

Zempire

Zempire NEO Series Pitching instructions

Bonga PROFLEXX SINGLECOATED 6,5 M X 10 M manual

Bonga

Bonga PROFLEXX SINGLECOATED 6,5 M X 10 M manual

nomad TARP VALLEY VIEW 2 quick start guide

nomad

nomad TARP VALLEY VIEW 2 quick start guide

Tentandtable.com HIGH PEAK FRAME TENT 20 x 20 Assembly instructions

Tentandtable.com

Tentandtable.com HIGH PEAK FRAME TENT 20 x 20 Assembly instructions

Coopers of Stortford 11006 Instructions for use

Coopers of Stortford

Coopers of Stortford 11006 Instructions for use

Boutique Camping ADVENTURE ATTACHING YOUR TENT PROTECTOR instruction manual

Boutique Camping

Boutique Camping ADVENTURE ATTACHING YOUR TENT PROTECTOR instruction manual

Crivit 273728 Assembly instructions

Crivit

Crivit 273728 Assembly instructions

Dometic FTC operating manual

Dometic

Dometic FTC operating manual

TerraNation HAREKOHU PLUS Disassembly instructions

TerraNation

TerraNation HAREKOHU PLUS Disassembly instructions

myToys 4239141 Assembly instructions

myToys

myToys 4239141 Assembly instructions

ShadeTree The Greenbriar Assembly instructions

ShadeTree

ShadeTree The Greenbriar Assembly instructions

Tarptent Cloudburst 3 Setup

Tarptent

Tarptent Cloudburst 3 Setup

UK Tents Professional Prime 3m Series Assembly instructions

UK Tents

UK Tents Professional Prime 3m Series Assembly instructions

GigaTent POP UP PRIVACY POD owner's manual

GigaTent

GigaTent POP UP PRIVACY POD owner's manual

Denver Tent Company The Colorado Tent Maroon Bell Set Up & Care Instructions

Denver Tent Company

Denver Tent Company The Colorado Tent Maroon Bell Set Up & Care Instructions

Coleman 2000007828 Setup instructions

Coleman

Coleman 2000007828 Setup instructions

Coleman 2000007825 Setup instructions

Coleman

Coleman 2000007825 Setup instructions

manuals.online logo
manuals.online logoBrands
  • About & Mission
  • Contact us
  • Privacy Policy
  • Terms and Conditions

Copyright 2025 Manuals.Online. All Rights Reserved.