manuals.online logo
Brands
  1. Home
  2. •
  3. Brands
  4. •
  5. Extreme marquees
  6. •
  7. Tent
  8. •
  9. Extreme marquees SINGLE POLE STAR SHADE User manual

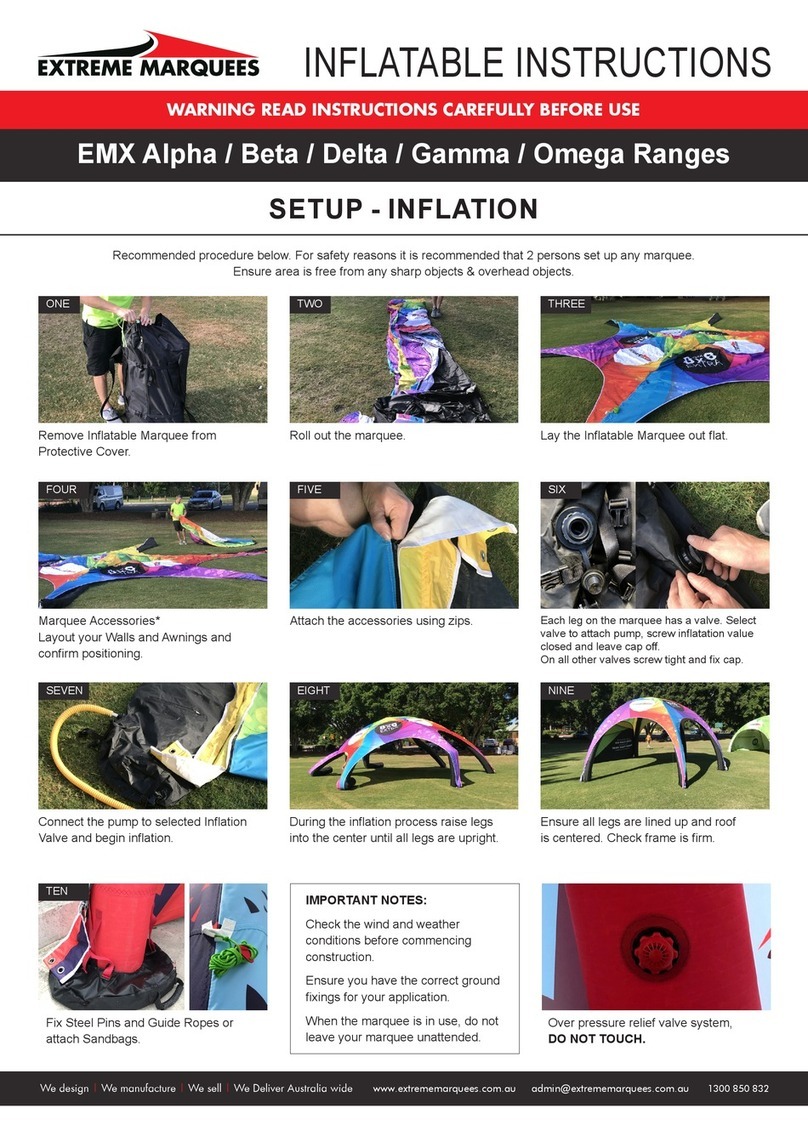
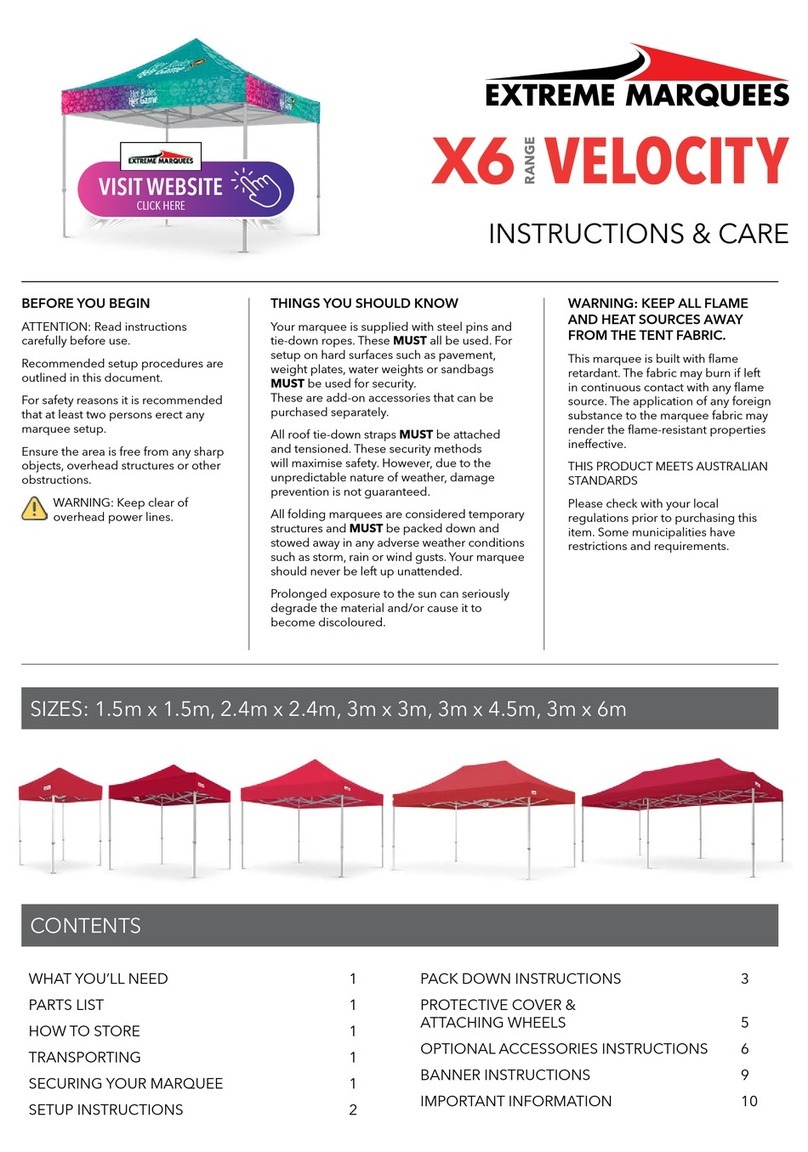
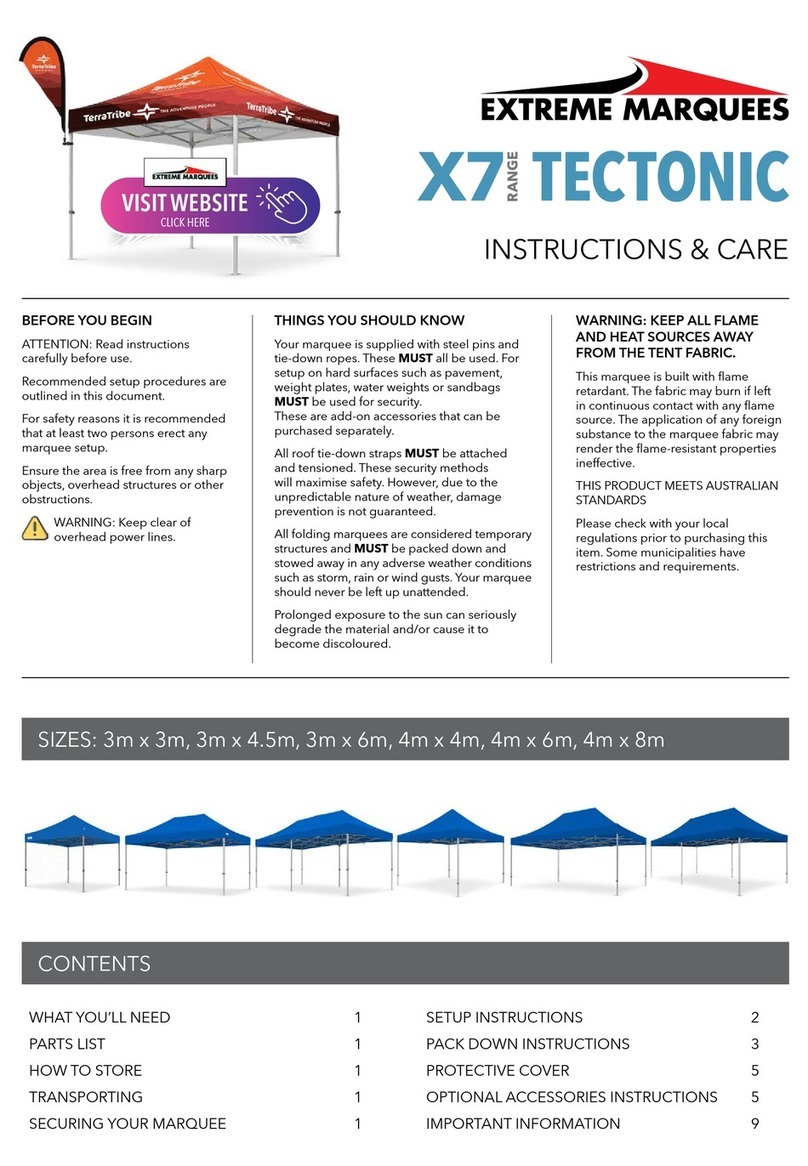
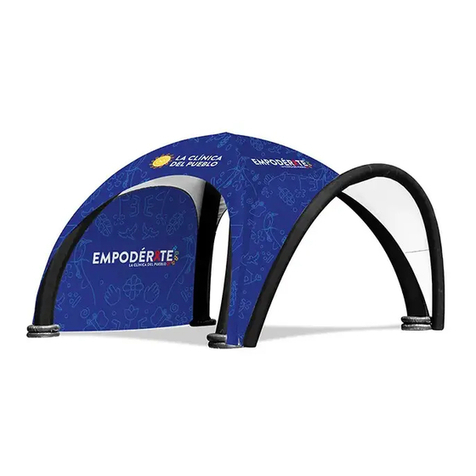
Extreme marquees SINGLE POLE STAR SHADE User manual

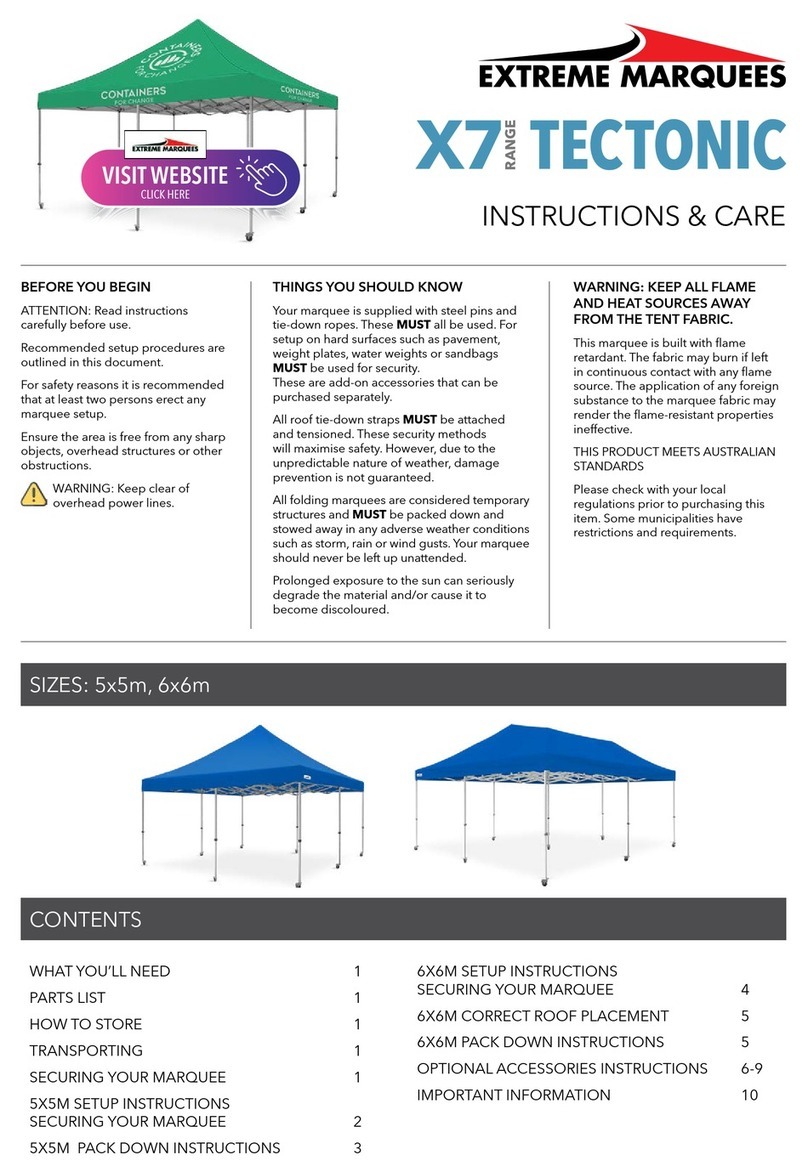
BEFORE YOU BEGIN
ATTENTION: Read instructions
carefully before use.
Recommended setup procedures are
outlined in this document.
For safety reasons it is recommended
that at least four people are to assist
in the set-up and pack-down on Star
Shades.
Ensure the area is free from any sharp
objects, overhead structures or other
obstructions.
WARNING: Keep clear of
overhead power lines.
THINGS YOU SHOULD KNOW
Your Star Shade is supplied with 6 steel stakes.
These MUST always be hammered into the
gound to secure the Star Shade. The pole
turn levers are to be used to tension the roof
and tighten the roof fabric. These security
methods will maximise safety. However, due to
the unpredictable nature of weather, damage
prevention is not guaranteed.
All Star Shades are considered temporary
structures and MUST be packed down
and stowed away during adverse weather
conditions such as heavy rain, strong winds or
other storm events.
Prolonged exposure to the sun can seriously
degrade the material and/or cause it to
become discoloured.
WARNING: KEEP ALL FLAME
AND HEAT SOURCES AWAY
FROM THE TENT FABRIC.
This tent meets the flammability
requirements of CPAI-84. The fabric
may burn if left in continuous contact
with any flame source. The application
of any foreign substance to the tent
fabric may render the flame-resistant
properties ineffective.
THIS PRODUCT MEETS AUSTRALIAN
STANDARDS
Please check with your local
regulations prior to purchasing this
item. Some municipalities have
restrictions and requirements.
SIZES: 6m | 8m | 10m | 12m | 14m | 16m
CONTENTS
WHAT YOU’LL NEED 1
PARTS LIST 1
MAPPING FOOT PLATES 2
SETUP INSTRUCTIONS 3
ELEVATION 4
PACK DOWN 5
STEEL PIN REMOVAL 6
STAR SHADE
SINGLE POLE
RANGE
1
WHAT YOU’LL NEED
Stanley Knife / Scissors to open boxes. Only cut where symbol is shown on boxes.
Mallet / Hammer to secure steel pins.
PARTS LIST
Standard package items listed below. Please note accessories are not listed here.
SPECIFICATIONS FOR FOOT PLATE MAPPING
All Double Pole Star Shade size measurements listed below. Measurements to be referred to when mapping foot plates.
Aluminium Poles
5m pole x4 piece
6m pole x5 piece
6x Steel Pins Foot PlatePin Puller
1x Roof Fabric
1x Protective Bag
1x String Line
SIZE LENGTH FOOTING WIDTH HEIGHT
6m 6m 3m 5m
8m 8m 4m 5m
10m 10m 5m 5m
12m 12m 6m 6m
14m 14m 7m 6m
16m 16m 8m 6m
2
Steel Pin
Width One
Foot Plate
MAPPING OUT FOOT PLATES
Please read instructions completely before setting up your Star Shade. Make sure you have all the components identified on the Parts List.
Recommended procedure below. For safety reasons it is recommended that four people are requiard for set-up and pack down.
1. Loop one end loop of the stringline through the foot
plate spike.
3. Using the stringline and the tape measure start mapping out the steel pins. Refer to table on page 1 for footing width (FW)
measurements for specic star shade size.
2. Push foot plate spike into the ground.
FW
FW
FW
FW
FW
FW
FW
3
1. With all the steel pins correctly mapped out start hammering
them into the ground using a sledge hammer.
3. Attach the four foot plates currently in place to the steel pins
in the ground.
5. Attach the pole section with the turn lever next followed by the
remaining poles.
2. Lay the roof fabric on the ground behind the steel pins with the
closest four foot plates lining up to the steel pins .
4. Attach the top section of the centre pole (shortest plain pole)
to the roof fabric caps.
SET-UP INSTRUCTIONS
For safety reasons it is recommended that four people are requiard for set-up and pack down.
4
1. Begin elevation with the two people holding the centre pole to
guide it into the air.
3. All four people will guide the star shade into the air untill the
centre pole is virticle.
5. Once the roof and centre pole are up correctly, insert the base
of the pole into the foot plates.
2. While the pole is being lifted the two other people will pull on
the two unconnected foot plates.
4. With the centre pole virtical the last two foot plates are to be
attached to the steel pins in the ground.
6. Adjust the height of centre pole using the turn levers to tighten
the roof fabric. This helps to stabilise the poles as well.
ELEVATION
The following steps requiar four people to assist in the elevation of the Star Shade. One person on the pole to guide it into the air. Another person
on the pole to secure the bottom of the pole into the centre foot plate. Two people pulling and securing the final two foot plates to the steel pins.
5
PACK DOWN
Before beginning the Star Shade pack down, please ensure the area is clear and four people are present to assist.
1. One persone is to wind down the centre pole to loosen the
roof tension.
2. Two people are to assist in removing the centre pole foot
plate. One person pulling the pole whilst the second is guiding
the base.
3. Two more people will then hold the two roof fabric foot plates.
They will be needed to guide the roof too the ground.
4. At the same time all four people will begin to lower the Star
Shade to the ground.
5. Roll or fold roof fabric inside-out to protect artwork and fabric
during storage. Roof must be completely dry before packing into
the protective bag.
6. Disassemble the centre pole and pack into the protective
storage bag along with steel pins one removed.
6
WALL ATTACHING
Single Star Shades have the option to addon a wall to the sides. These walls are available to fit the sort or long open arch areas. They are easily
added to the roof fabric by attaching to the Velcro. To detatch a wall simply pull in the wall fabric to relias the Velcro. Be sure to always store walls in
the protective bags provided.
SPEEL PIN REMOVAL
1. Using the pin puller provided to remove all steel pins from
the ground.
2. Attach the pin puller to the top of the pin. Using the pin pull
leverage the pin out of the ground.
IMPORTANT INFORMATION
Your marquee is supplied with 8 steel stakes and 4 tie-down
ropes. These MUST always be attached. For setup on hard
surfaces such as pavement, weight plates or sandbags MUST
be used for security. These are add-on accessories that can be
purchased separately.
All roof tie-down straps MUST be attached and tensioned.
These security methods will maximise safety. However, due to
the unpredictable nature of weather, damage prevention is
not guaranteed.
All marquees are considered temporary structures and MUST
be packed down and stowed away during adverse weather
conditions such as heavy rain, strong winds or other storm
events.
WARRANTY
Warranty covers manufacture’s defaults only. Warranty does
NOT cover products or parts which have been altered or
modified in any manner. This warranty does NOT apply to
damage caused by wind, rain, storms or other forces of
nature, nor does it cover accidental or deliberate damage of
the product. Damage caused by these events may be covered
under your home or business insurance policy. This warranty
does NOT apply if the setup of the product does not conform
to product instructions. This express warranty is provided in
lieu of all other warranties, explicit or implied.
Extreme Marquees is NOT responsible for products damaged
in transit.
If you are making a warranty claim for a manufacturer fault for
reasons other than the above, please complete our Warranty
Claim Form - www.extreme-marquees.com.au/resource-
centre/ - and email it to the following address: warehouse@
extreme-marquees.com.au
Please complete the form and return it to us with photos to
preview the manufacturer fault cited.
Alternatively, if seeking replacement parts outside of warranty
please fill out the Replacement Parts form and return to us at:
warehouse@extreme-marquees.com.au. We will arrange a
quotation and dispatch the required parts as soon as possible
- www.extreme-marquees.com.au/marquee-spare-parts/
MANUFACTURER’S WARRANTY
PRODUCT WARRANTY
Frame 5 Years
FABRICS
Plain 580gsm PVC / Crest PVC 5 Years
Printed 550gsm PVC 2 Years
Clear PVC 2 Years
Your product not listed? Contact us for warranty information.
MAINTENANCE
PROTECTIVE COVERS
Ensure all protective covers are clean and dry before fitting
to any of your marquee products.
CROSS WIRES & TIE-DOWN STRAPS
Inspect regularly to ensure they are fit for use.
CLEANING
Do not use solvents on any part of the Marquee.
ROOF & WALLS
When cleaning your marquee (roof, walls or valance panels)
use a soft mop and any mild household cleaning fluid such
as dish detergent mixed with warm water.
When cleaning the roof of your marquee we recommend
that the tent is fully opened and secured into position.
Remove any leg extensions or accessories such as side walls
as these can be cleaned separately.
We recommend that the roof of your marquee be cleaned
regularly in proportion to the frequency of use.
Allow your marquee to completely dry before packing down
and fitting the protective cover. This will prevent mildew and
mould growth.
SMALL STAINS
Simply clean with a general-use mild household detergent
and a clean cloth.
REPAIRS & SPARE PARTS
ROOF
Should your marquee roof be damaged, please contact the
Extreme Marquees Office. We will assess the damage and
either suggest a repair centre or arrange to return the roof
to our Warehouse/Office. In the case of an issue covered
under warranty, claim forms can be found on our website -
https://www.extreme-marquees.com.au/resource-centre/
FRAME
Should your marquee frame be damaged contact us for
options.
DO NOT drag marquee protective covers as this can cause
wear and tear and may cause damage to your marquee.
PRODUCTION & DELIVERY
Extreme Marquee will endeavour to meet all customer due
dates and deadlines. However, as there are many aspects
out of our direct control such as third party freight providers,
we can never guarantee an arrival date. As such, Extreme
Marquees does not accept liability for any missed due dates,
nor do we accept any refund request based on this premise.
Extreme Marquees has an outstanding reputation for
meeting the tightest deadlines and our team will continue to
strive for excellence in this regard.
RETURNS POLICY
100% Satisfaction Guaranteed
As part of the Extreme Marquee experience, it is our
commitment to provide superior products. If you are not
completely satisfied with your Extreme Marquee purchase
for any reason, we will do our best to rectify. You can return
your product for a replacement or refund within thirty (30)
days of your purchase. The product must be in new, unused
condition. Extreme Marquees does NOT accept returns for
any custom printed products unless the custom printed
product has a fault under our manufacturers warranty.
Extreme Marquees’ guarantee does not cover ordinary wear
and tear or damage caused by improper use, or weather-
caused damage such as storms, rain or wind.
If you have received your Extreme Marquee purchase and it
has a manufacturing defect in the materials or workmanship,
please fill out our Warranty Claim Form - https://www.
extreme-marquees.com.au/resource-centre/ - and email it to
the following address: logistics@extreme-marquees.com.au
Before returning any part or product to Extreme Marquees
please contact us to obtain specific return shipping
instructions at logistics@extreme-marquees.com.au or call us
on 1300 850 832.
Extreme Marquees can arrange the product return for a
change of mind, however, the customer will be invoiced
for the shipping costs. In addition, when processing a
refund due to change of mind a component of the original
price will be non-refundable. This amount will be equal to
the delivery fees charged by the courier company. If you
receive a faulty or damaged product, a replacement will be
provided to you.
You can return your purchase from Extreme Marquees by
courier regardless of if you have made your purchase on
www.extreme-marquees.com.au or over the phone.
AUSTRALIA P 1300 850 832
admin@extreme-marquees.com.au
3 Bailey Court, Brendale,
Queensland, Australia 4500
SHOP ONLINE www.extreme-marquees.com.au
NEW ZEALAND P 0800 424 313
admin@extrememarquees.co.nz
2-37 Glenmore Drive, Warkworth,
Auckland, New Zealand 0910
SHOP ONLINE www.extrememarquees.co.nz
This manual suits for next models

1

Other Extreme marquees Tent manuals

Extreme marquees X6 VELOCITY User manual

Extreme marquees

Extreme marquees X6 VELOCITY User manual

Extreme marquees CREST User manual

Extreme marquees

Extreme marquees CREST User manual

Extreme marquees EMX Beta Series User manual

Extreme marquees

Extreme marquees EMX Beta Series User manual

Extreme marquees X7 Tectonic Series User manual

Extreme marquees

Extreme marquees X7 Tectonic Series User manual

Extreme marquees PAVILION User manual

Extreme marquees

Extreme marquees PAVILION User manual

Extreme marquees Q8 QUASAR User manual

Extreme marquees

Extreme marquees Q8 QUASAR User manual

Extreme marquees X7 Tectonic Series User manual

Extreme marquees

Extreme marquees X7 Tectonic Series User manual

Extreme marquees EMX ALPHA User manual

Extreme marquees

Extreme marquees EMX ALPHA User manual

Extreme marquees FS 84 Series User manual

Extreme marquees

Extreme marquees FS 84 Series User manual

Popular Tent manuals by other brands

Vaude FERRET XT 3P user manual

Vaude

Vaude FERRET XT 3P user manual

skandika outdoor FALKENBERG 4 Setup Instruction

skandika outdoor

skandika outdoor FALKENBERG 4 Setup Instruction

Wechsel Sentinel 10061000 quick start guide

Wechsel

Wechsel Sentinel 10061000 quick start guide

Coleman Montana Big Sky 9278B247 instructions

Coleman

Coleman Montana Big Sky 9278B247 instructions

Harbor Freight Tools 69039 Owner's manual & safety instructions

Harbor Freight Tools

Harbor Freight Tools 69039 Owner's manual & safety instructions

Kiwi Camping Harrier 6 Tourer KC077-031 instructions

Kiwi Camping

Kiwi Camping Harrier 6 Tourer KC077-031 instructions

Wolder Brico EASY 150X80 manual

Wolder Brico

Wolder Brico EASY 150X80 manual

Quictent Class A RV Cover user manual

Quictent

Quictent Class A RV Cover user manual

GigaTent AC001 owner's manual

GigaTent

GigaTent AC001 owner's manual

Boutique Camping Luna Emperor instruction manual

Boutique Camping

Boutique Camping Luna Emperor instruction manual

TMG TMG-GH2560 product manual

TMG

TMG TMG-GH2560 product manual

sweeek. LUTECIA manual

sweeek.

sweeek. LUTECIA manual

SlingFin LFD quick start guide

SlingFin

SlingFin LFD quick start guide

Coleman Fast Pitch Dome Setup instructions

Coleman

Coleman Fast Pitch Dome Setup instructions

Woods 076-3237-0 owner's manual

Woods

Woods 076-3237-0 owner's manual

Everbilt NS OPP 64 quick start guide

Everbilt

Everbilt NS OPP 64 quick start guide

IKH XK6276 instruction manual

IKH

IKH XK6276 instruction manual

PHI VILLA GA020-BR Use and care guide

PHI VILLA

PHI VILLA GA020-BR Use and care guide

manuals.online logo
manuals.online logoBrands
  • About & Mission
  • Contact us
  • Privacy Policy
  • Terms and Conditions

Copyright 2025 Manuals.Online. All Rights Reserved.