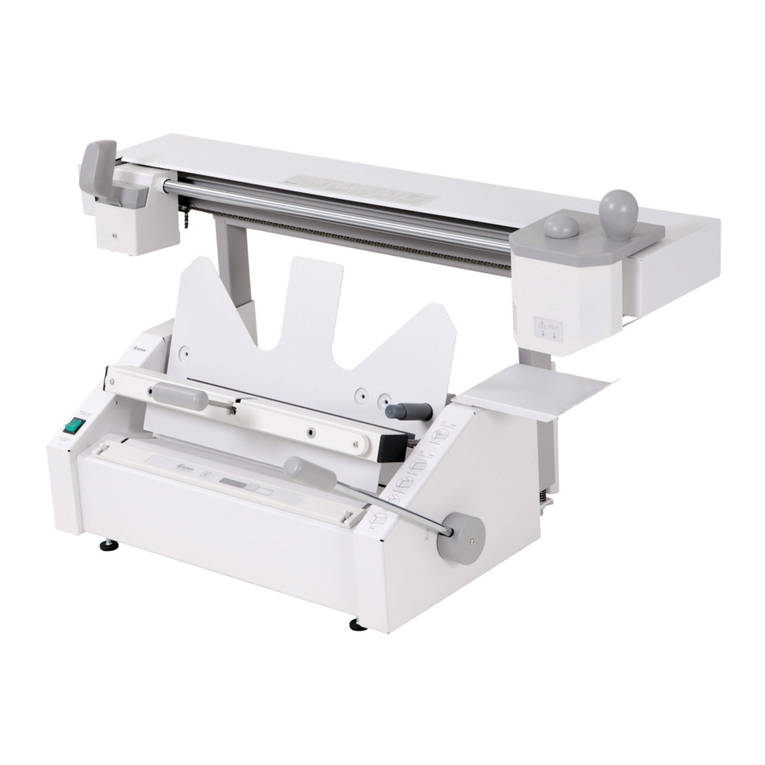
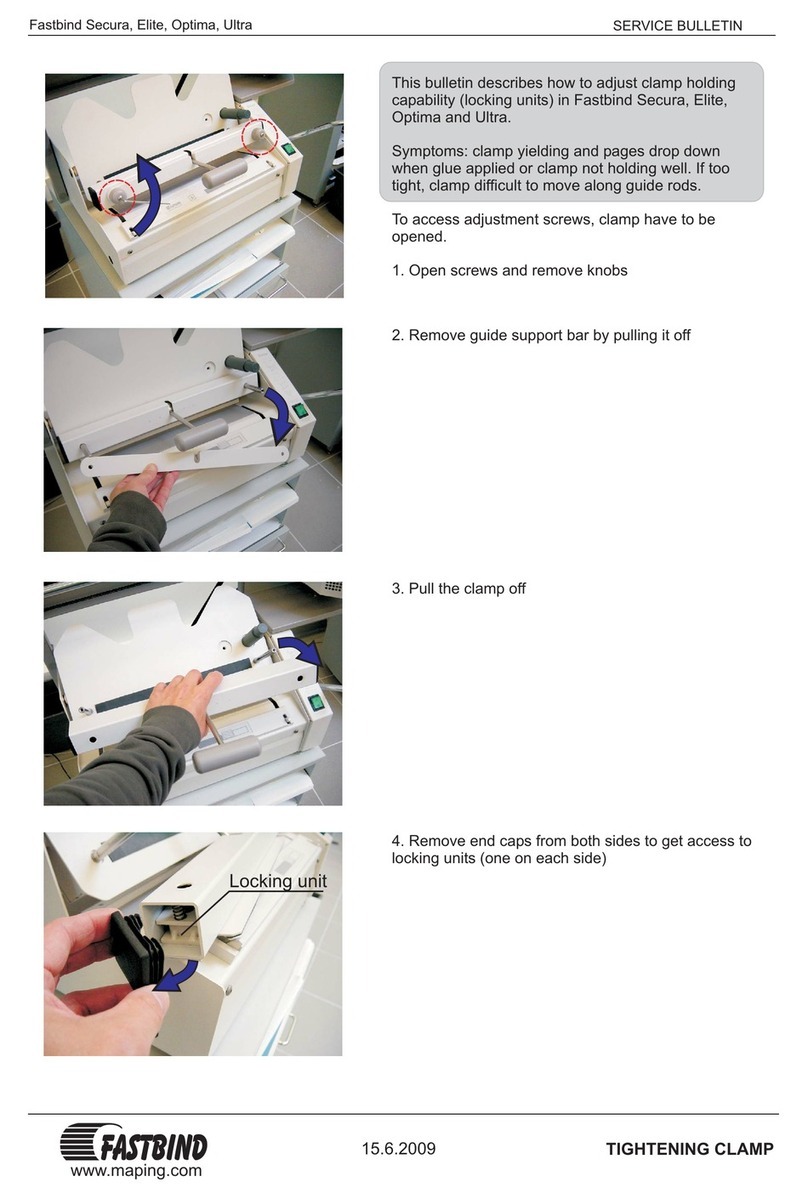
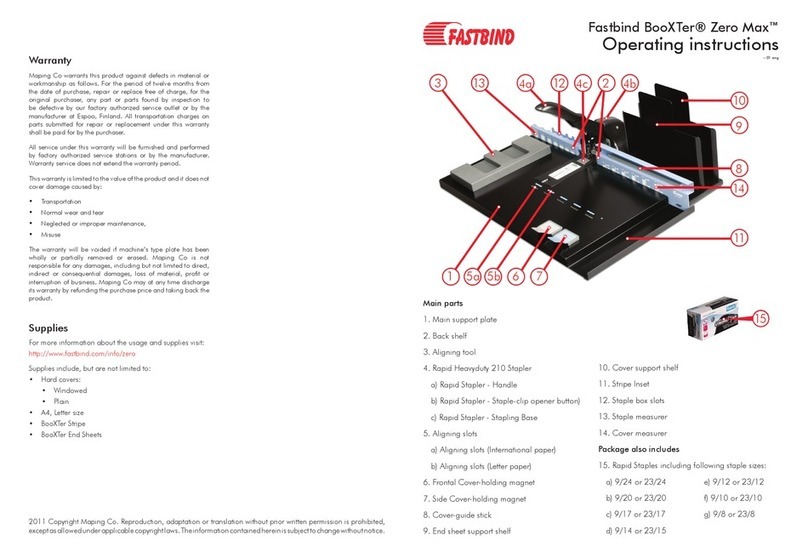
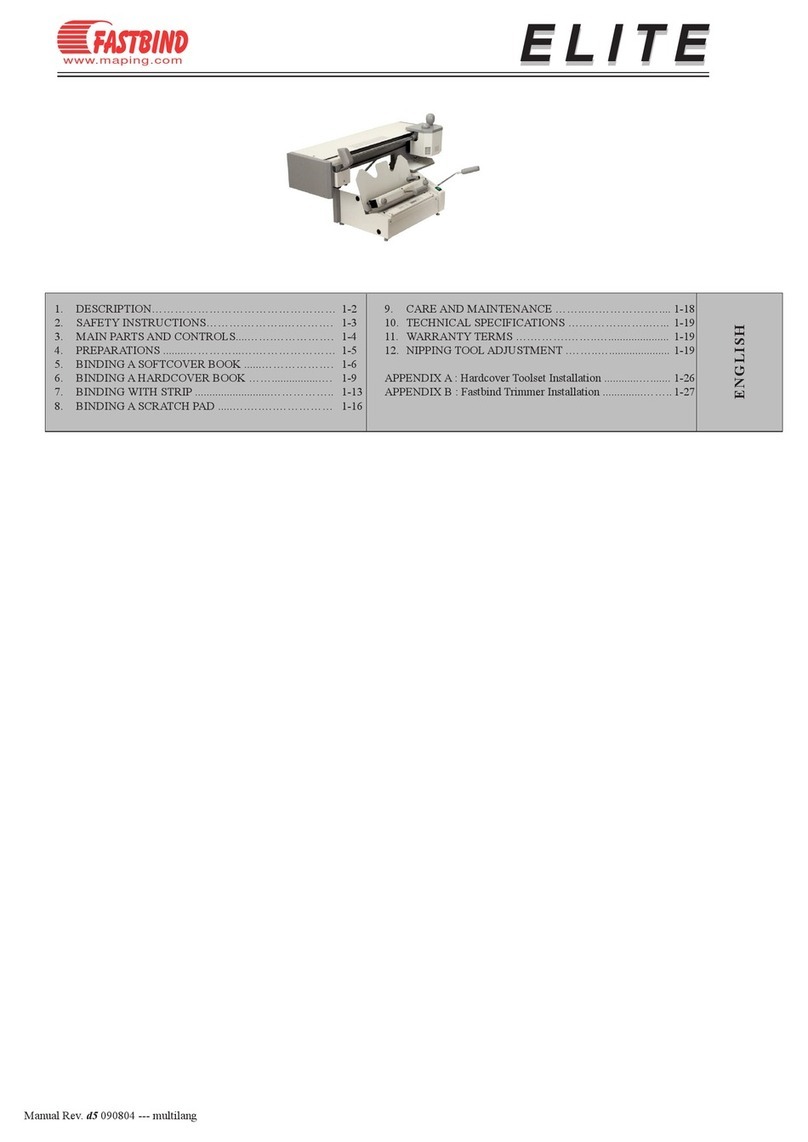
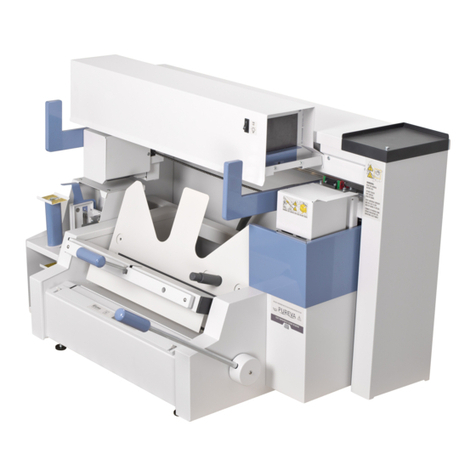
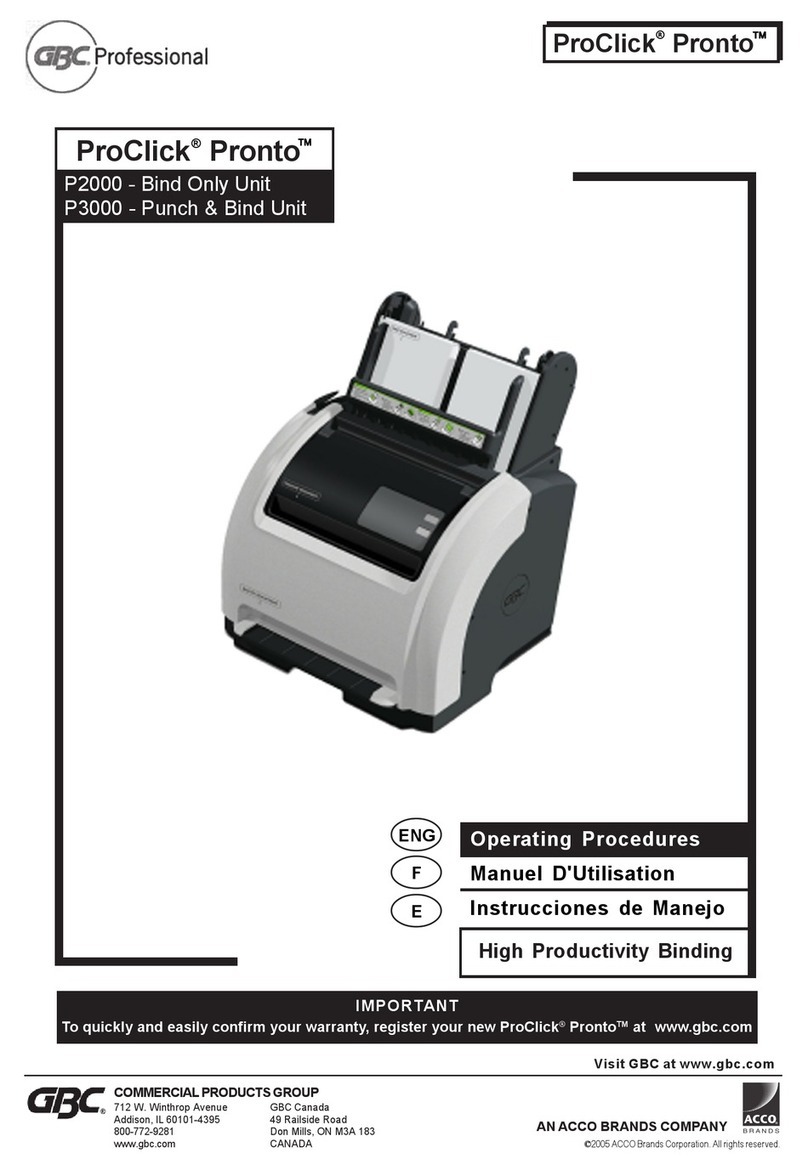
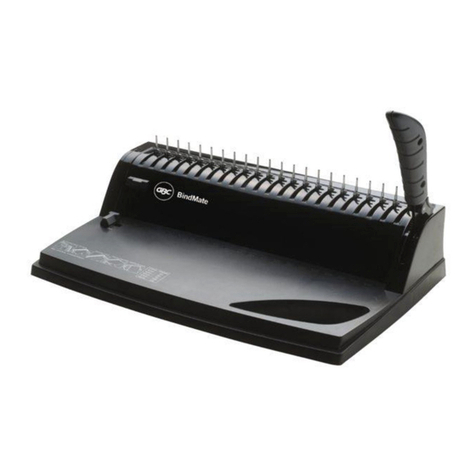
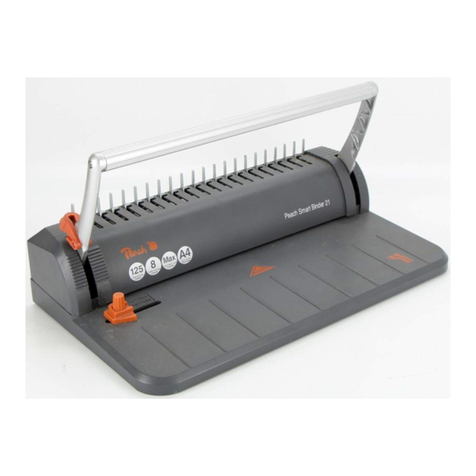
Fastbind Elite User manual

www.maping.com
ELITE
ELITE
Manual Rev. d5 090804 --- multilang
1. DESCRIPCIÓN…………………………………………4-3
2. SEGURIDAD…………………………………………...4-4
3. ELEMENTOS PRINCIPALES Y CONTROLES………4-6
4. INICIO…………………………………………………..4-7
5. ENCUADERNACIÓN CON TAPABLANDA …………4-9
6. ENCUADERNACIÓN CON TAPADURA……………4-12
7. ENCUADERNADO CON CINTA ……………………4-16
8. ENCUADERNAR UN TACO (LIBRO SIN TAPA) …4-20
9. CUIDADO Y MANTENIMIENTO ……….…………4-22
10. ESPECIFICACIONESTÉCNICAS……………………4-23
11. SOLUCIÓN DE PROBLEMAS ………………………4-24
12. TÉRMINOS DE LA GARANTÍA ……………………4-25
APÉNDICE A: Instalación de las herramientas de tapa dura.4-26
APÉNDICE B: Instalación de la cizalla Fastbind……………4-27
ESPAÑOLPOLISH
1. EINLEITUNG…………………………………………3-3
2. SICHERHEIT……….………..………….....................3-4
3. HAUPTBESTANDTEILE UND BEDIENELEMENTE.3-6
4. INSTALLATION ........…………...….……………..…...3-7
5. BINDEN EINES SOFTCOVER-BUCHES............…….3-9
6. BINDEN EINES HARDCOVER-BUCHES............…3-12
7. BINDEN MIT STRIPS..............................…………….3-16
8. BINDEN EINES ABREISSBLOCKS..….…………….3-20
9. PFLEGE UND WARTUNG..............……………….…3-22
10. TECHNISCHE DATEN.................. .……….……..…..3-23
11. STÖRUNGSBEHEBUNG....... .……..…......................3-24
12. GEWÄHRLEISTUNG............... ...……..….……..…...3-25
ANLAGE A : Installation des hardcover-werkzeugs..... …...3-26
ANNEXE B : Installation des Fastbind trimmers ...........…3-27
DEUTSCH
1. CHARAKTERYSTYKA MASZYNY 5-2
2. ZASADY BEZPIECZEŃSTWA 5-3
3. GŁÓWNE CZĘŚCI I ELEMENTY STEROWNICZE 5-4
4. PRZED UŻYCIEM MASZYNY 5-5
5. OPRAWA KSIĄŻEK Z MIĘKKĄ OKŁADKĄ 5-6
6. OPRAWA KSIĄŻEK Z TWARDĄ OKŁADKĄ 5-9
7. OPRAWA W TAŚMY SAMOPRZYLEPNE 5-13
8. OPRAWA BLOCZKÓW Z KARTKAMI DO WYDZIERANIA 5-16
9.
CZYNNOŚCI ZWIĄZANE Z OBSŁUGĄ BIEŻĄCĄ MASZYNY
5-18
10. PODSTAWOWE DANE TECHNICZNE 5-19
11. WYBRANE PROBLEMY TECHNICZNE 5-19
12. WARUNKI GWARANCJI 5-19
DODATEK A:
Instalacja zestawu narzędzi do oprawy w twardą okładkę
5-26
DODATEK B:
Instalacja modułu docinającego okładki
5-27
1. DESCRIPTION…………………………………………2-3
2. REGLES DE SECURITE……….………..………….....2-4
3. PIECES PRINCIPALES ET CONTROLES....……….... 2-6
4. PREPARATIONS ........…………...….…………….…...2-7
5. RELIER AVEC UNE COUVERTURE SOUPLE …….2-9
6. RELIER AVEC UNE COUVERTURE RIGIDE........…2-12
7. RELIER AVEC UNE BANDE..................…………….2-16
8. RELIER UN BLOC-NOTES.....….….….……………..2-20
9. ENTRETIEN ET MAINTENANCE ……………….…2-22
10. SPECIFICATIONS TECHNIQUES .……….……..…..2-23
11. TABLEAU DE DEPANNAGE .……..….......................2-24
12. CONDITIONS DE GARANTIE ...……..….……..…...2-25
ANNEXE A : Installation du kit pour couverture rigide …...2-26
ANNEXE B : Installation du massicot ……..….…….....…2-27
FRANÇAIS
1. DESCRIPTION…………………………………………1-3
2. SAFETY INSTRUCTIONS……….………..………….1-4
3. MAIN PARTS AND CONTROLS....…….…………….1-6
4. PREPARATIONS ........…………...….…………………1-7
5. BINDING A SOFTCOVER BOOK ......……………….1-9
6. BINDING A HARDCOVER BOOK ……................…1-12
7. BINDING WITH STRIP ..........................…………….1-16
8. BINDING A SCRATCH PAD .....….….….…………1-20
9. CAREANDMAINTENANCE……..….………….…...1-22
10. TECHNICALSPECIFICATIONS….……….……..…..1-23
11. TROUBLESHOOTING….……….……..….................1-24
12. WARRANTYTERMS….……….……..…....................1-25
APPENDIXA: HardcoverToolsetInstallation............….......1-26
APPENDIXB: FastbindTrimmerInstallation ..............……..1-27
ENGLISH

www.maping.com
rev. d5 Elite Multilang
© 2004.12 Maping Co
1. Scratch pad
2. Softcover
3. Hardcover
4. Strip
Paper Guide
Model Nipping Tool
SHSH
S for softcover and H hardcovers. Please note that the Hardcover toolkit is an
accessory consisting of hardcover paperguide and hardcover nipping tool.
xx
xx
x
xx
x
x
x
x
Binding Types
and Required Tools
Congratulations on your purchase of the Fastbind Elite hot melt book binding
machine - the current flag ship of Fastbind models!
Elite offers Fastbinds cutting edge rotary binding technology and takes the
concept further by offering excellent binding charasteristics even with difficult
materials. New double roller roughener broadens binding material range by
providing necessary tools to open paper grain with coated papers. As before,
various cover materials can be processed without time consuming adjustments.
One binding machine to handle a whole range of paper products from simple tear-
off pads to demanding hard cover applications!
We believe that Elite brings tabletop document binding onto a completely new
level and wish you productive moments with it!
General
Elite can be used to bind various paper and cardboard products. All four binding
types can be done with two simple tool sets and with the same machine settings.
The machine is normally delivered with softcover tool set and hardcover tools are
available as an accessory. Following table lists which tools can be used each of
the four binding types:
Section 1
DESCRIPTION
Binding Possibilitiess
Elite uses hot melt adhesive for binding and works properly only with hot melt
type of adhesives. This means that adhesives designed for other purposes, or
containing organic ingredients for instance, cannot be used. The manufacturer
recommends Fastbind Hot Melts, which have optimal melting point - viscosity
combination for Fastbind machines and thus suits for all binding work done with
Elite. Moreover, this adhesive is nontoxic and can be used safely indoors.
Hot Melt Adhesives
DESCRIPTION
1 - 1

REV. d5 Elite Multilang
© 2004.12 Maping Co
www.maping.com
Before installing and operating Fastbind Elite, the safety instructions and
recommendations in this User’s Manual must be studied carefully. In this way one
can ensure to get the most out of the new binding machine and operate it safely.
Store this document within easy reach of personnel operating or maintaining the
unit.
Section 2
SAFETY
Operate Safely
Safety Symbols Following symbols are used to warn against dangers or possible sources of
danger. Become familiar with them.
WARNING: Failure to observe may result in personal
injury, death or equipment damage.
CAUTION: Hot surface or hot material. Failure to
observe may result in burns.
CAUTION: Failure to observe may result in equipment
damage.
•Note that the machine weights 52 kg (~105 lb)! When handling the
machine, two persons should always be used. Do not lift from the
rail!
•Install the machine on a stable horizontal surface, close to a power
outlet.
•Fastbind book binding machines are designed for indoor use only.
Avoid drafty, mois and dusty environment. For normal operation, the
ambient temperature range should be +15 to +30 °C.
Handling and Location
Power Supply •Before using the machine, check that the operating voltage and other
specifications indicated on machine’s identity plate match with the
specifications of the power source. This plate is located at the rear of
the machine.
•This unit may only be connected to properly earthed power outlet.
•Never damage, modify or place heavy objects on the power cord. Do
not use the machine if the power cord is bundled, knotted or damaged.
When unplugging the power cord, always grasp the plug to pull it out.
•Switch off the unit and pull out the mains plug prior to all cleaning and
maintenance.
!
!
SAFETY
170 ºC !
!
1 - 2

www.maping.com
rev. d5 Elite Multilang
© 2004.12 Maping Co
•Use only Fastbind Hot-Melt adhesives for binding. Caution: using
other than Fastbind adhesives will invalidate the warranty and the
manufacturer is not responsible for any damage caused.
•Add only new, clean and dry hot melt glue to reservoir. Collecting
accidentally dropped glue granulates from dirty floor for instance can
block glue applicator and requires expensive service work.
•Do not re-use hotmelt drops from the drop collector tray. These
contain impurities that can block the applicator! From binding
quality perspectivem, chemical properties of the recycled glue are
inferior.
•All of the machine covers, panels and safety labels must be in place
when operating the machine.
•Machine needs to warm up properly before it is ready to use (20
min). Moving adhesive applicator before adhesive has completely
liquefied will damage the machine.
•Do not attempt to alter or modify the machine. It contains high-
voltage components and unexpected faults or electric shock might
occur. Modification will invalidate the warranty.
•Turn the machine off when you have finished working with it.
Even if the machine has unlimited continuous working time, leaving it
on and idle degrades hot melt glue slowly. This can lead to adhesive
‘overcooking’, which blocks the applicator. External timer available as
an external accesory.
•Use only original Fastbind accessories and spare parts approved by the
manufacturer to ensure that the unit can be operated safely. For service
and maintenance, contact Fastbind authorized service outlet.
Operating Machine
Adhesive Applicator
!
!
170 ºC !
SAFETY
!
!
N O
NO
glue
recycling
MAX. LEVEL
DO NOT OVERFILL!
MELTED GLUE
IS HOT !
MIN. LEVEL
•Keep the glue reservoir cap on except when adding hot-melt adhesive.
Foreign objects or substances in the adhesive reservoir can seriously
damage applicator.
•Hot-melt glue and parts within the cover of the adhesive applicator
are hot and can cause skin burns. Let the machine cool down properly
before touching this area.
In case of burns:
• Immediately cool affected skin areas using cold, clean water.
• Do not forcefully remove hot melt material from the skin.
• Seek medical attention immediately.
•Glue roller under adhesive applicator is high precision part and designed
for paper contact only. Foreign objects such as paper clips or staples
damage roller easily. Do not try to rotate the roller by force.
Roughener •Roughener is intended for clean paper only. Using roughner on warm
(soft) glue will block the rollers.
1 - 3

REV. d5 Elite Multilang
© 2004.12 Maping Co
www.maping.com
Connectto grounded
poweroutlet only!
Connectto grounded
poweroutlet only!
www.maping.com
www.maping.com
Serialno xx-xx
220V, 50-60Hz
Madein inland
Serialno xx-xx
220V, 50-60Hz
Madein inland
ELITE
ELITE
23
23
26
27
28 24
25
29
Connectto grounded
poweroutlet only!
www.maping.com
Serialno xx-xx
220V, 50-60Hz
Madein inland
ELITE
12
3
4
6
8
7
9
10
11
12
13
14
15
17
18
19
20
21
5
22
16
www.maping.com
H
www.maping.com
S
Section 3
MAIN PARTS AND CONTROLS
MAIN PARTS AND CONTROLS
Machine Overview
H -nipping tool for hard covers
Rail height adjustment screws
Rail height locking screws
Table angle adjustment (table down)
Table angle adjustment (table up)
Type plate with serial number
Main connector
Fuse holder with fuse: 230V 6.3 A (T)
23.
24.
25.
26.
27.
28.
29.
1.
2.
3.
4.
5.
6.
7.
8.
Applicator guide
Hand Knob
Reservoir Cap
Adhesive Applicator
Drop Collector with Drop Tray
Turn Table
Paper Guide (Soft or Hardcover)
Knob and Support Rod
Operating Handle
Main Switch
Clamp Handle
Leveling foot
Spine Pressing Tool (nipping tool)
Cam Driving Nipping Tool
Positioning Deck
Clamp
Back Support
Clamp Guide Rod
Roughener
Cover for adjustment elements
Roughener handle
Rail
9.
10.
11.
12.
13.
14.
15.
16.
17.
18.
19.
20.
21.
22.
S -nipping tool for soft covers
1 - 4

www.maping.com
rev. d5 Elite Multilang
© 2004.12 Maping Co
To prepare your machine for use:
a) Remove the packing and protective material. When handling the machine,
two persons should be used. Do not lift from the rail!
b) Check the delivery for any damage incurred during transportation.
Confirm that the shipment corresponds with the details in the delivery
note. Inform dealer and sender immediately about possible damages or
incomplete shipment.
Each standard package(*) contains:
• One binding machine unit equipped with
• Οne softcover paperguide and
• Οne softcover nipping plate (marked with “S”)
• One power cable
• This User’s Manual
(*) Definition of standard package may vary in different countries
c) Select a good location for your machine
• Position the machine on a steady horizontal surface close to a
power outlet
• When selecting the location, remember that the machine weights
52 kg (105 lb)
• For your own convenience, make sure that there is enough
space around the machine for papers, covers and other necessary
supplies.
d) Rotate the turntable to down (DN) position (see the printed scale next
to a operating handle). Open the clamp by pulling the clamp handle and
remove the power cord and possible test books.
e) Remove the reservoir cap and check the glue level in the adhesive
applicator. Hot-melt adhesive should always cover the minimum
level plate. This plate with
multiple holes is visible
when glue has melted and
can be seen from the filling
opening. If the glue level
is low, add more hot-melt
to the applicator. Take care
not to overfill the adhesive
reservoir. Do not re-use hot
melt drops from the drop
collector tray.
Section 4
SETUP
Initial Check-Up
!
Locating the machine
Preparations
SETUP
MELTED GLUE
IS HOT!
MAX. LEVEL
DO NOT
OVERFILL!
MIN. LEVEL
1 - 5

REV. d5 Elite Multilang
© 2004.12 Maping Co
www.maping.com
Note that the applicator can be moved only when the machine has
warmed up. At the room temperature hot melt in the reservoir is still
solid and thus blocks the roller rotation.
f) Connecting the power cord
• Once you have checked that local power supply matches with
the machine’s operating voltage, connect the mains lead.
• Press the main switch to turn the machine on. The green power
indicator light should light up green.
g) Let the machine warm up for 20 minutes. During this time glue in the
applicator’s reservoir melts, and the applicator will run easily along the
guide rail. Now the machine is ready to use.
Note that even the best hot melts degrade during the time in high
temperatures. To preserve adhesive’s chemical properties and minimize
energy consumption, turn the machine off when not working with it.
Alternatively one can use external timer to switch off the electricity after pre-
set time limit. Timer is available as an optional accessory.
SETUP
1 - 6

www.maping.com
rev. d5 Elite Multilang
© 2004.12 Maping Co
5.1.1
5.1.2
a)
a) b)
c)
b)
Before you begin, ensure that
• Τhere is glue in the applicator reservoir (Fastbind Hot-Melt)
• Machine has warmed up at least 20 min
• Soft cover nipping plate is attached (marked with “S”)
• Τhe paper guide is in place (either “S“ or optional H-model)
• Τhe turntable is in the normal position (the hand lever in
N-position)
Release and open the clamp by pulling the clamp handle
down and towards you.
a) Insert the cover between the clamp and turntable. It
will slip in easily if you lift the turntable slightly using
the clamping handle.
b) Align the cover against the paper guide. Place the
cover so that the front page faces turntable.
Place the book block between the cover and clamp.
a, b) Adjust the block from side and top carefully to
ensure that it aligns correctly with the cover.
c) Push out air between the pages with both hands.
5.1 LOADING COVER AND PAPERS
Section 5
BINDING A SOFTCOVER BOOK
Check List
Binding procedure
BINDING A SOFTCOVER BOOK
1 - 7

REV. d5 Elite Multilang
© 2004.12 Maping Co
www.maping.com
5.1.4
5.1.3
5.2.1
5.2.2
a) b)
Turn the table over (UP) by pushing the operating handle up.
a, b) Fold the cover back.
5.2. ROUGHENING AND HOT MELT APPLICATION
THICK BOOKS OR BOOKS WITH COATED PAPER:
Roughen book spine 1-3 times. Repeat if necessary.
Roughening opens the paper grain on book spine and
improves binding result with difficult materials. Note that
roughening several times increases spine width. Too heavy
roughening results unsquare book spine.
Run adhesive applicator along the book spine using four step
method illustrated below. It gives the highest binding strength
and can be recommended for all binding types shown in this
manual.
Push the clamp forward and lock it by lifting the clamp
handle up. To keep the turntable still during this action, put
your left hand on clamp’s left knob when lifting the handle.
BINDING A SOFTCOVER BOOK
Four step method. Note that glue is not applied
right to te edge with every pass.
For bindings with easy material, simply apply glue once or
twice along the whole spine length. For thicker books or
books with coated paper, apply glue 2-3 times.
1 - 8

www.maping.com
rev. d5 Elite Multilang
© 2004.12 Maping Co
5.2.3
5.3.1
5.3.2
5.3.3
a) b)
a)
Immediately after hot melt application, it is recommended to
pull slightly from the cover to secure the binding between the
cover and first pages.
Release the clamp by lowering the handle and pull it up.
Remove the book by lifting the turntable slightly with the
clamp handle.
If the cover does not require trimming, the book is ready. The
book can be blattered, but the binding has not yet reached the
maximum strength.
Complete curing time depends on the type of hot melt, but
for thick books bound with Fastbind Type 1 hot melt, the
recommended waiting time is 15 to 30 minutes. The final
strength is reached after the first 24 hours.
Push the handle down firmly and hold for 5 - 7 seconds to
press the spine and fold the cover.
Turn the table back into the starting position by pulling the
hand lever. Given that hot melt tacks (starts to dry) in 2 -
3 seconds, swift but gentle actions provide the best result.
Caution: Do not slam the table against the table limit stops
as this can damage the machine
5.3. PRESSING THE SPINE
BINDING A SOFTCOVER BOOK
5.4. TRIMMING WITH FASTBIND TRIMMER (ACCESSORY)
To cut the longer tail of the cover off, place the book in the
middle of the cutting support and slip the cover into slot.
Hold the book with your fingers and move the cutter all the
way cross the book. If necessary, trim twice.
1 - 9

REV. d5 Elite Multilang
© 2004.12 Maping Co
www.maping.com
1.1
a) b)
6.1.1
Before you begin, ensure that
• Τhere is glue in the applicator reservoir (Fastbind Hot-Melt)
• Machine has warmed up at least 20 min
• Ηard cover nipping plate is attached (marked with “H”)
• Τhe turntable is in normal position
• Τhe hardcover paper guide is attached (H- model)
PREPARATIONS:
a. Fold the hardcover in your hands to pre-form ‘folding lines’ down
the spine against the spine board.
b. Add tacky lining sheets as the first and last page of the paper block
with the silicone release paper outwards. Jog the complete block
and align them against the paper guide.
Release the clamp by pulling the clamp handle down and
towards you. Insert the cover between the clamp and turntable.
It will slip in easily if you lift the turntable slightly using the
clamping handle. Place the cover so that the front page faces
turntable.
6.1. LOADING COVER AND PAPERS
Section 6
BINDING A HARDCOVER BOOK
Check List & Preparations
Binding procedure
BINDING A HARDCOVER BOOK
a,b ) Press the cover spine against positioning deck.
Spine width
(mm)
Paper block
thickness (mm)
No. of sheets
(pages)
8 4 ± 1,0 35 - 55
10 6,5 ± 1,0 55 - 75
12 8,5 ± 1,0 75 - 95
14 10,5 ± 1,0 95 - 115
16 12,5 ± 1,0 115 - 135
18 14,5 ± 1,0 135 - 155
20 16,5 ± 1,0 155 - 175
NO. OF PAGES FOR DIFFERENT HARDCOVERS
Table applies to FASTBIND supplies only!
1 - 10

www.maping.com
rev. d5 Elite Multilang
© 2004.12 Maping Co
b)
b)
d)
b)
a)
a)
c)
a)
6.1.2
6.1.3
6.1.4
6.1.5
Secure the hardcover behind the sprung outer collar of the
paper guide.
Place the book block between the cover and clamp.
a, b) Adjust the block from side and top carefully to ensure
that it aligns correctly with the cover.
c) Push out air between pages using both hands.
d) Cover and papers properly aligned against back
support.
a) Pull out the outer collar of the guide and slide the
cover edge under its rim.
b) The spring force of this collar will hold the hardcover
in place.
Hold papers against turntable with your left hand as shown in
the picture. Push the clamp forward and lock it by lifting the
clamp handle up with right hand.
Turn the table over (UP) by pushing the operating handle up.
a,b) Fold the cover back and the block is ready for adhesive
application.
BINDING A HARDCOVER BOOK
1 - 11

REV. d5 Elite Multilang
© 2004.12 Maping Co
www.maping.com
b)
6.2.2
6.2.3
6.3.1
6.2.1
c)
a)
a) b)
6.2. ROUGHENING AND HOT MELT APPLICATION
THICK BOOKS OR BOOKS WITH COATED PAPER:
Roughen book spine 1-3 times. Repeat if necessary.
Roughening opens the paper grain on book spine and
improves binding result with difficult materials. Note that
roughening several times increases spine width. Too heavy
roughening results unsquare book spine.
For thin books (spine witdth <10 mm), apply glue once or
twice. For thicker books or books with coated paper, apply
glue 2-3 times.
Dipping: Immediately after hot melt application, dip the spine
stick quickly on glue with single back and forth movement.
a, b, c) Note how the cover is hold and pushed forward to
perform dipping action.
6.3. BOOK REMOVAL
Turn the table back into the starting position by pulling the
hand lever. Given that hot melt tacks (starts to dry) in 2 - 3
seconds, swift but gentle actions provide the best result.
Caution: Do not slam the table against the table limit stops
as this can damage the machine
a) Open the clamp.
b) Pull from hardcover tool’s outer collar to release the
book. Move the book to left.
BINDING A HARDCOVER BOOK
1 - 12

www.maping.com
rev. d5 Elite Multilang
© 2004.12 Maping Co
b)
b)
d)
a)
c)
a)
6.3.2
6.4.1
6.4.2
Turn clamp handle down, pull the clamp open. Remove the
book by lifting the turntable slightly with the clamp handle.
6.4. FINISHING THE BINDING
Pressing the spine of the hardcover book: close the book
and place it between the clamp and turntable (spine against
positioning deck).
a) Close the clamp and press the spine.
b) Open the clamp and turn the book around. To press the
other side of the spine, place the book again between
the clamp and turntable. Close the clamp and press the
spine.
Open the clamp and remove the book.
Attaching tacky lining sheets (end papers) to covers. Lift the
book on top of closed clamp.
a) Pull silicon lining paper to half way. Bend the cover
slightly to arc and close it to half way.
b) Close the cover and press it slightly. Pull the rest of the
silicon release paper off. The first cover is done.
c) Turn the book over. Repeat steps a) and b) for the
other cover.
d) To finish the spine, press your fingers together and
follow the folding line all the way down.
BINDING A HARDCOVER BOOK
1 - 13

REV. d5 Elite Multilang
© 2004.12 Maping Co
www.maping.com
a) b)
7.1.1
7.1.2
Before you begin, ensure that
• Τhere is glue in the applicator reservoir (Fastbind Hot-Melt)
• Machine has warmed up at least 20 min
• Τhat softcover nipping plate is attached (marked with “S”)
• Τhe turntable is in normal position.
• Τhe paper guide is in place (S or H-model)
PREPARATIONS:
a. Fold one A4 or letter size paper sharply along the long side so that
the folding line divides the paper in approximately ratio 30
_
:_70%
Open the clamp and place the folded paper on positioning
deck. Align the paper against paperguide.
Take a strip and make a sharp folding line on one side of the
strip.
a) Folded strip.
b) Place the folded strip on paper. Note strip’s alignment:
short folded part against the turntable while the long
tail comes towards and on top of the nipping tool.
7.1. LOADING STRIP AND PAPERS
Section 7
BINDING WITH STRIP
Check List & Preparations
Binding Procedure
BINDING WITH STRIP
1 - 14

www.maping.com
rev. d5 Elite Multilang
© 2004.12 Maping Co
b)
d)
b)
a)
c)
7.1.3
a)
7.2.1
7.1.4
7.1.5
Place the papers that make the book between the strip and
clamp.
a, b) Adjust the block from side and top carefully to ensure
that it aligns correctly with the cover.
c) Push out air between pages using both hands.
d) Since strip cannot be aligned against paperguide,
check that strip is positioned correctly: strip edge and
papers are on same line.
Push the clamp forward and lock it by lifting the clamp
handle up. To keep the turntable still during this action, put
your left hand on clamp’s left knob when lifting the handle.
Turn the table over (UP) by pushing the operating handle up.
a, b) Fold the strip back and the block is ready for
adhesive application.
7.2. ROUGHENING AND HOT MELT APPLICATION
BINDING WITH STRIP
THICK BOOKS OR BOOKS WITH COATED PAPER:
Roughen book spine 1-3 times. Repeat if necessary.
Roughening opens the paper grain on book spine and
improves binding result with difficult materials. Note that
roughening several times increases spine width. Too heavy
roughening results unsquare book spine.
1 - 15

REV. d5 Elite Multilang
© 2004.12 Maping Co
www.maping.com
a)
7.3.2
7.3.3
7.3.1
7.2.2
GLUE APPLICATION
For thin books (spine witdth <10 mm), apply glue once or
twice. For thicker books or books with coated paper, apply
glue 2-3 times.
Release the clamp by lowering the handle and pull it up.
Remove the book by lifting the turntable slightly with the
clamp handle.
Push the handle down firmly and hold for 5 - 7 seconds to
press the spine and fold the cover.
7.3. PRESSING THE SPINE
Turn the table back into the starting position by pulling the
hand lever. Given that hot melt tacks (starts to dry) in 2 -
3 seconds, swift but gentle actions provide the best result.
Caution: Do not slam the table against the table limit stops
as this can damage the machine
BINDING WITH STRIP
1 - 16

www.maping.com
rev. d5 Elite Multilang
© 2004.12 Maping Co
b)a)
c) d)
7.4.1
7.4. FINISHING THE BINDING
Attaching the strip edges to binding
a, b) Remove the silicon release paper.
c) Press to attach the strip to cover.
d) Turn binding around and repeat steps b) to c).
BINDING WITH STRIP
1 - 17

REV. d5 Elite Multilang
© 2004.12 Maping Co
www.maping.com
b)
a)
a)
8.1.1
8.1.2
Before you begin, ensure that
• Τhere is glue in the applicator reservoir (Fastbind Hot-Melt )
• Machine has warmed up at least 20 min.
• Softcover nipping plate is attached (marked with “S”)
• Τhe turntable is in normal position
• Τhe paper guide is in place (S or H-model)
PREPARATIONS:
a. Fold A4 or letter size silicon release paper sharply along the long
side so that the folding line divides the paper in approximately
ratio 30: 70%. The width of the silicon paper should be larger than
binding width. If spine pressing is preferred, the paper should be
so long that it comes on the top of the nipping tool.
Place the papers that make the book between the turntable
and clamp.
a, b) Adjust papers from side and top carefully to ensure
that it aligns correctly with the cover.
Push the clamp forward and lock it by lifting the clamp
handle up. To keep the turntable still during this action, put
your left hand on clamp’s left knob when lifting the handle.
Turn the table over (UP) by pushing the operating handle up.
Fold the silicon release paper back and the block is ready
for adhesive application.
Open the clamp and place the folded silicon paper on
positioning deck. It slides in easily when inserted from
below
a) Note the length of the silicon paper. It extends on the
top of the nipping tool. This prevents silicon paper
being crumpled when nipping tool moves.
8.1. LOADING PAPERS
Section 8
BINDING A SCRATCH PAD (BOOK WITHOUT COVER)
Check List & Preparations
Binding Procedure
BINDING A SCRATCH PAD (BOOK WITHOUT COVER)
1 - 18

www.maping.com
rev. d5 Elite Multilang
© 2004.12 Maping Co
a)
8.2.1
8.2.2
8.3.1
8.3.2
8.3.3
8.2. ROUGHENING AND HOT MELT APPLICATION
GLUE APPLICATION
For thin books (spine witdth <10 mm), apply glue once or
twice. For thicker books or books with coated paper, apply
glue 2-3 times.
Push the handle down firmly and hold for 5 - 7 seconds to
press the spine and fold the cover.
8.3. PRESSING THE SPINE
Turn the table back into the starting position by pulling the
hand lever. Given that hot melt tacks (starts to dry) in 2 -
3 seconds, swift but gentle actions provide the best result.
Caution: Do not slam the table against the table limit stops
as this can damage the machine
Release the clamp by lowering the handle and pull it up.
Remove the binding by lifting the turntable slightly with the
clamp handle.
BINDING A SCRATCH PAD (BOOK WITHOUT COVER)
THICK BOOKS OR BOOKS WITH COATED PAPER:
Roughen book spine 1-3 times. Repeat if necessary.
Roughening opens the paper grain on book spine and
improves binding result with difficult materials. Note that
roughening several times increases spine width. Too heavy
roughening results unsquare book spine.
1 - 19
Other manuals for Elite
2
Table of contents
Languages:
Other Fastbind Binding Machine manuals
