manuals.online logo
Brands
  1. Home
  2. •
  3. Brands
  4. •
  5. Fein
  6. •
  7. Grinder
  8. •
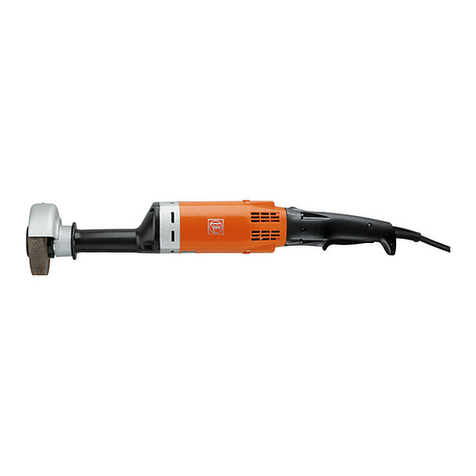
  9. Fein MSho 852 K User manual

Fein MSho 852 K User manual

MSho
852
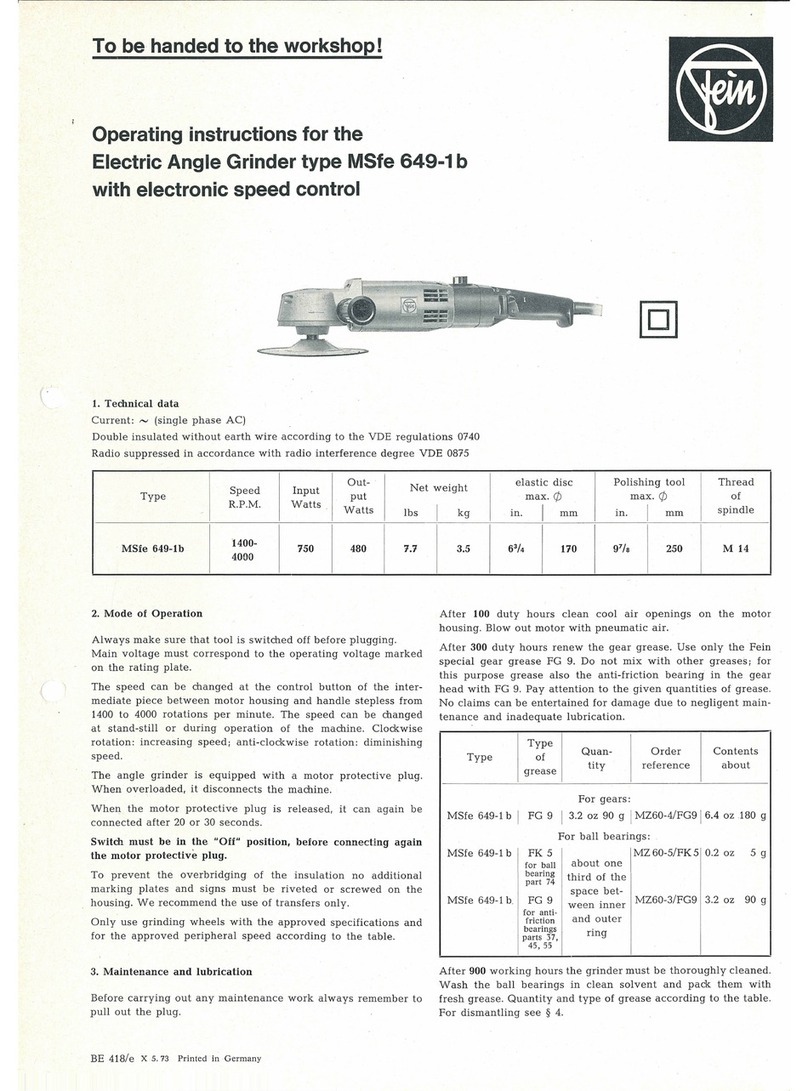
To be handed to the workshop
Operating instructions
for the High Frequency Hand Grinder
Type MSho
852
and MSho
852
K
{42
Volts)
1.
Technical
Data
Type
of
current:
3
phase
200, 300
cycles
Frequency
Speed
Input
Type
cycles
R.P.M.
Watts
MSho
852 200 12000 1100
MSho852K
300 18000 1700
1)
Wheel
80 m/s (263 ft/s)
2.
Construction
This
grinder
is a
surface
cooled
electric
tool
with
high
overloading
resistance
and
of
sturdy
construction.
The
tool
offers
the
advantage
of
total
enclosure,
eliminating
wear
caused
by
ingress
of
grinding
dust.
The
switch
is
built
into
the
dustproof
handle
.
For
safety
reasons
the
machine
must
be
earthed
(according
to
VDE
regulation
0100 §
15)
using
the
designed
earth
wire,
one
end
fastened
to
the
connection
plate
of
the
switch,
the
other
end
connected
to
the
earth
screw
of
the
plug.
Types
MSho
852 K
must
not
be
earthed
.
3.
Connection
and
Operation
Operating
voltage
and
frequency
must
correspond
to
the
voltage
and
frequency
marked
on
the
rating
plate.
Provide
overload
protection
to
match
the
rated
current.
.
For
good
installation
of
high
frequency,
we
draw
your
attention
to
our
installation
instructions
for
High
Frequency
Transformers
(BE
22)
.
Switch
must
be
in
the
"Off"
position
when
connecting.
Check
that
tool
rotates
in
direction
marked
by
arrow
on
the
machine
otherwise
the
flange
may
become
loose
.
On
putting
BE
296/e X 2.
73
Print
ed
in
German
y
Grinding
wheel
Net
weight
Output
max.
rp
I
Width
I
in. I
mm
in. I
mm
lbs
kg
---
810 5 125 1) 3
/4f9h6
20/14 11.6 5.2
1250 3 3/s 85 1) 11
/4/
11/s 32/28 11.6 5.2
tool
into
service,
switch
on
briefly
only
to
check
rotation
.
If
it
does
not
follow
arrow,
reverse
by
changing
over
two
leads
in
the
plug.
Do
not
exceed
the
dimensions
of
grinding
wheels
stipulated.
4.
Maintenance
and
lubrication
The
grinder
requires
proper
maintenance.
Before
carrying
out
any
maintenance
work
always
remember
to
pull
out
the
plug.
In
order
to
prevent
accidents
check
cable
at
regular
intervals.
To
replace
cable
see
paragraph
5
(3).
After
fitting
a
new
cable
check
all
conductors
as
well
as
earth
wire.
Every
900
duty
hours
the
grinder
should
be
completely
dis-
mantled
as
described
under
paragraph
5
and
all
parts
must
be
thoroughly
cleaned.
Please
be
sure
that
all
electric
parts
are
only
cleaned
dry.
The
gear
needs
particularly
thorough
lubrication
.
Rinse
ball
bearings
in
clean
solvent,
then
pack
them
with
fresh
grease.
70
71
72
73
25
24
23 22
21
20
l
29
30
37
36 35
34 33
74
75
55
54 53 50
51
52
6l
4r
40
~~
IS
\ I : K Sti
I /
I'
( "
~
..
"
1
I f J
~81
)9)
)
1
i ( 1 \
37
I
32
I I I I \ I I \
\ ' \
I
46 45 1
44
I 6 7 8 9 59
65 64
66
67
60
67
62
63
)
I
$- •
58
57
56
·-
l
99
98
97
96
95
94
I
I
b
b
b
b
{ b
b
b
b
Component Parts
0
:>-.
z
:::::
Order
~
Descripti
on
+-'
ro
...
Reference
ro
;:l
0
z
Order
+-'
...
Refe
rence
ro
p.. a p..
1-4
MK
3-98-1 1) 1
motor
housing,
assembled
58
PT
5d-M5
1
MK
3-98 1
motor
housing
59 SR
3-M4x6
3
state
type,
frequency
and
· 1
stator
assembled
with
winding
60
PT
27-36
voltage
61
JS
8-56
4
SR
11-M5x10 2
threaded
pin
62
SR33-M5x35
6-9
WL
2-39-1 1
rotor
63
PT
5d-M5
20-32
LA
10-38-1 1
grinding
spindle
bearing
64
SR 33-M5x20
assembled
65
PT
5d-M5
20
LA
10-38 1
grinding
spindle
bearing
70
M 10-107-1
24 LK 17-5 2
grooved
ball
bearing
70
M 10-108-1
25
PT
11-53 1
disc
a
90
EZ 6-130
26
DJ
1-56 1
felt
ring
a
90
EZ 6-131
27
RJ
13-34 1
packing
ring
a
91
JS
13-95
28
WB
6-95 1
driving
shaft
29 BF 23-27 1
fitting
key
92-101
GH
4-67-9
30 LK 16-22 1
grooved
ball
bearing
b 92
GH
4-67
31
I BF 23-21 1
fitting
key
a 93 EZ 1-64
32 A 2-48 1
clutch
94
PT
31-21
33 M 7-96 1
flange,
200 Hz 95
SR3-M3,5x15
33 M 7-97 1
flange,
300
Hz
96
SR2-M3,5x10
34 BU 1-174 1
intermediate
sleeve
97
DJ
1-52
35
JS
2-40 2
disc,
200Hz
98
SA
5-47
35
JS
2-19 2
disc,
300Hz
99
SR
3-M3x15
36 M
8-105
1
flange,
200
Hz
100 EZ 19-50
36 M 8-106 1
flange,
300
Hz
101
DJ
5-42
37
JS
17-14 1
wood
bushing
37
JS
17-23 1
wood
bushing
I
40
LA
6-164 1
intermediate
bearing
41
LK 16-12 1
grooved
ball
bearing
42
RJ
27a-28x15 1
Nilos
ring
43
RJ
18-35 1
threaded
race
6-9
WL
2-39-2
44
BF
21
-3x3
x12
1
fitting
key
a 90 EZ 6
-1
32
45 A 2-48 1
clutch
92-101
GH
4-67-12
46 A 2-49 1 I
intermediate
ring
without
100
47
LK 16-5 1
grooved
ball
bearing
48
BF
21-3x3
x8
1
fitting
key
93 EZ 1-63
a
49 FL 1-85 1
fan
51
PT
2-27 1
disc
52
MR
4-13 1 h
exa
gon
stee
l
nut
53
DJ
5-14 1
rubber
gasket
'
z 10-10
54
BU
1-218 1
pipe
sleeve
MZ
18-5
55
SR
3-M5
x8 1
fillister
head
screw
z 13-22
56
GH
7-47 1
fan
housing
z 13-7
57
SR33
-
M5x35
2
hexagon
socket
screw
I
1)
When
ordering,
state
voltage
and
frequency.
~
+-'
1'1
Description
ro
;:l
a
2
securing
plate
1
fillister
screw,
48-265 V
1
cable
cover
1
ins
ulating
plate
4
hexagon
socket
scr
ew
4
securing
disc
6
hexagon
socket
screw
6
securing
disc
1
safety
guard,
assembled
200
Hz
1
sa
fet
y
guard;
assembled
300
Hz
1
cab
le
111-265 V
1
cable
48-110 V
1
cable
protecting
sleeve
1
handle
assembled
with
switch
1
handle
I 1
switch
I
1
cable
clamping
b
ridg
e
2
fillister
head
screw
2
cylindrical
screw
1
felt
ring
1
control
lever
1
fillister
screw
1
connection
cable
1
sealing
plate
42
Volts
(MSho
852K)
1
ro
to
r
1
cable
1
handle,
assembled
with
switch
1
switch
Accessories
1
hexagon
socket
wrench
1
ho
lding
pin
1
peg
spanner,
200 Hz
1
pin
spanner,
300
Hz
The
space
between
inner
and
outer
ring
is
to
be
one
third
filled
with
grease
in
order
that
the
bearings
do
not
overheat.
We
resommend
our
special
ball
bearing
grease
Sst
1.
No
claims
can
be
entertained
for
damage
due
to
negligent
maintenance
and
inadequate
lubrication.
5.
Dismantling
The
marhine
should
only
be
taken
apart
by
an
expert.
Dismantling
sequence:
1.
Loosen
screws
(64)
at
grinding
spindle
bearing
(20)
and
take
off
bearing.
Draw
out
clutch
(32)
of
the
driv
i
ng
shaft
(28)
and
take
away
fitting
key
(31).
2.
Unscrew
flange
(36),
remove
hand
grinder
(37),
disc
(35),
adapter
(34).
flange
(33)
and
take
away
fitting
key
(29)
.
Pull
driving
shaft
(28)
out
of
bearing
(20).
3.
Remove
control
lever
(98)
after
unscrewing
the
screw
(99).
Take
off
screws
(62)
and
(96)
and
slide
back
handle
(92).
Clamp
off
cable
(90)
at
switch
(93)
and
pull
out
after
removing
cable
clamping
bridge
(94).
4.
Pull
out
cable
cover
(60).
unscrew
screws
(57)
and
remove
fan
housing
(56).
5.
Unscrew
hexagon
nut
(52),
draw
ou
t
disc
(51)
and
ventilation
fan
(49)
and
take
out
fitting
key
(48)
.
6.
Remove
screws
(64)
and
pull
intermediate
bearing
(40)
with
rotor
(6)
out
of
motor
housing
(1).
Reassemble
in
reverse
sequen
ce.
6.
Repair
and
Spare Parts
We
recommend
our
Fein
Service
Stations
to
carry
out
all
over-
haul
and
repair
work
quickly
and
ex
pertl
y.
We
deliver
special
tools
for
the
repairs:
ZSo 91-1
Forcing
device
to
dismantle
the
clutch
(32, 45)
in
relation
with
universal
puller.
ZSo 22-5-1
Special
spanner
for
the
packi
ng
ring
(27).
When
ordering
spare
parts,
please,
quote
Order
Refer
e
nce
or
send
in
sample
part
,
stating
the
ty
pe
of
the
machine
.
We
draw
your
attention
to
the
need
to
carry
out
a
high
voltage
test
in
accordance
with
your
local
regulations
(or
VDE
regu-
lation
0740)
before
taking
a
tool
into
service
after
any
repair
carried
out
by
your
own
staff.
(
(

This manual suits for next models

1

Other Fein Grinder manuals

Fein GRIT GI 75 User manual

Fein

Fein GRIT GI 75 User manual

Fein WSG8-125 User manual

Fein

Fein WSG8-125 User manual

Fein MSfo870-1c User manual

Fein

Fein MSfo870-1c User manual

Fein Grit GX75 Series User manual

Fein

Fein Grit GX75 Series User manual

Fein GRIT GI75 2V Series User manual

Fein

Fein GRIT GI75 2V Series User manual

Fein WSg 20-230 User manual

Fein

Fein WSg 20-230 User manual

Fein MSf 679d User manual

Fein

Fein MSf 679d User manual

Fein 7 221 73 User manual

Fein

Fein 7 221 73 User manual

Fein GRIT GXC Series User manual

Fein

Fein GRIT GXC Series User manual

Fein WSG 7-100 Setup guide

Fein

Fein WSG 7-100 Setup guide

Fein WSG10-115T User manual

Fein

Fein WSG10-115T User manual

Fein WSB10-115T User manual

Fein

Fein WSB10-115T User manual

Fein WSG 12-125 Quick start guide

Fein

Fein WSG 12-125 Quick start guide

Fein WSG8-115 Setup guide

Fein

Fein WSG8-115 Setup guide

Fein WSG11-125R Setup guide

Fein

Fein WSG11-125R Setup guide

Fein GRIT GIR User manual

Fein

Fein GRIT GIR User manual

Fein MSh648-1 User manual

Fein

Fein MSh648-1 User manual

Fein WSG8-115 Setup guide

Fein

Fein WSG8-115 Setup guide

Fein 7 223 02 User manual

Fein

Fein 7 223 02 User manual

Fein MSf 679 b User manual

Fein

Fein MSf 679 b User manual

Fein MSfv 649 User manual

Fein

Fein MSfv 649 User manual

Fein MShyo869-1d User manual

Fein

Fein MShyo869-1d User manual

Fein MSfo 870d User manual

Fein

Fein MSfo 870d User manual

Fein WSg 20-230 Quick start guide

Fein

Fein WSg 20-230 Quick start guide

Popular Grinder manuals by other brands

Oregon 590181 owner's manual

Oregon

Oregon 590181 owner's manual

Bestron APS544S User instructions

Bestron

Bestron APS544S User instructions

Beta 1956 Instructions for use

Beta

Beta 1956 Instructions for use

stayer FH700B operating instructions

stayer

stayer FH700B operating instructions

Parkside 373563 2104 Translation of the original instructions

Parkside

Parkside 373563 2104 Translation of the original instructions

Speedaire 10D235 Operating instructions & parts manual

Speedaire

Speedaire 10D235 Operating instructions & parts manual

DGP 2 user manual

DGP

DGP 2 user manual

Aircat 6280 Operating instructions, parts list & warranty

Aircat

Aircat 6280 Operating instructions, parts list & warranty

Delta 8" VARIABLE SPEED GRINDER GR450 instruction manual

Delta

Delta 8" VARIABLE SPEED GRINDER GR450 instruction manual

OEM Tools 80058 Operating instructions and parts manual

OEM Tools

OEM Tools 80058 Operating instructions and parts manual

MasterForce 241-0781 operating manual

MasterForce

MasterForce 241-0781 operating manual

Rayco RG74T-R OPERATOR, SERVICE, MAINTENANCE MANUAL

Rayco

Rayco RG74T-R OPERATOR, SERVICE, MAINTENANCE MANUAL

Far Tools KL 230D Original manual translation

Far Tools

Far Tools KL 230D Original manual translation

AU Tool PR2 Installation and operating instructions

AU Tool

AU Tool PR2 Installation and operating instructions

Band-it 2890SP Operating & parts manual

Band-it

Band-it 2890SP Operating & parts manual

Wesco WS4700 manual

Wesco

Wesco WS4700 manual

Power Fist 8706145 user manual

Power Fist

Power Fist 8706145 user manual

Far Tools DCP 170 Original manual translation

Far Tools

Far Tools DCP 170 Original manual translation

manuals.online logo
manuals.online logoBrands
  • About & Mission
  • Contact us
  • Privacy Policy
  • Terms and Conditions

Copyright 2025 Manuals.Online. All Rights Reserved.