manuals.online logo
Brands
  1. Home
  2. •
  3. Brands
  4. •
  5. felton industries
  6. •
  7. Outdoor Furnishing
  8. •
  9. felton industries 2TGS7 Installation guide

felton industries 2TGS7 Installation guide

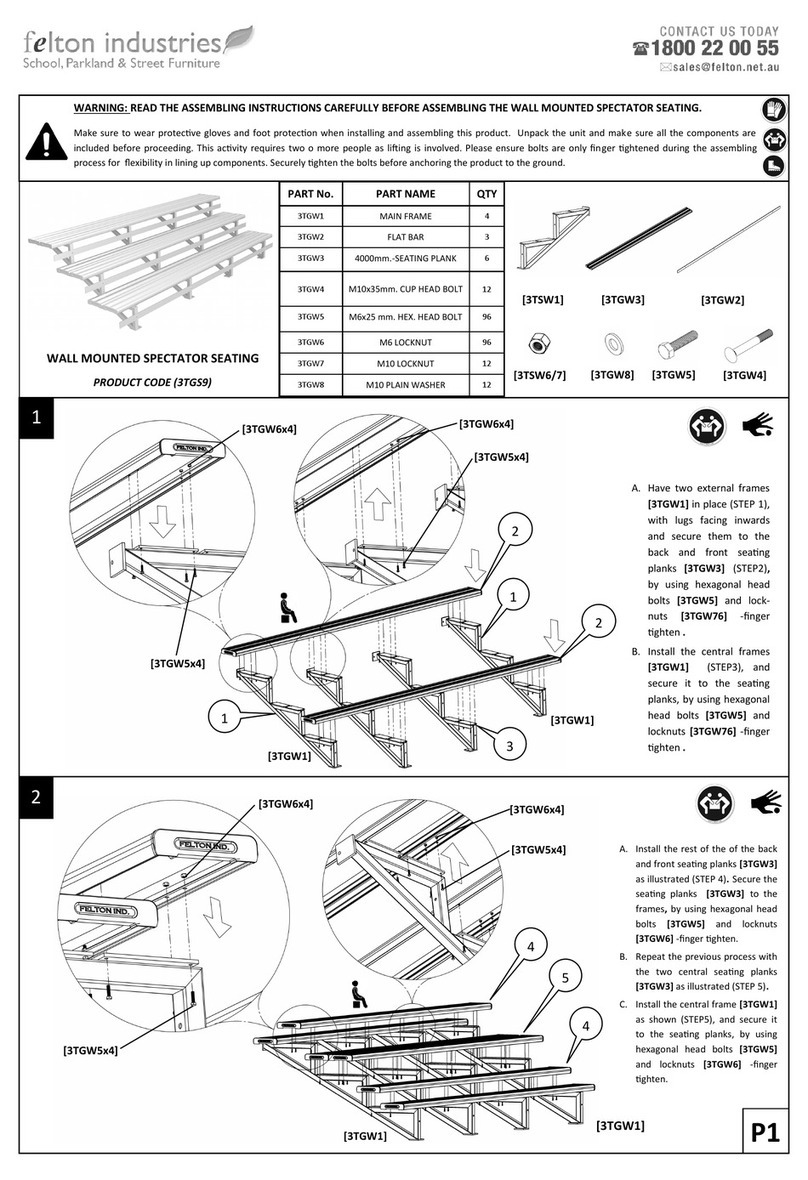
WALL MOUNTED SPECTATOR SEATING
PRODUCT CODE (2TGS7)
PART No. PART NAME QTY
2TGW1 MAIN FRAME 2
2TGW2 FLAT BAR 2
2TGW3 2000mm.-SEATING PLANK 4
2TGW4 M10x35mm. CUP HEAD BOLT 4
2TGW5 M6x25 mm. HEX. HEAD BOLT 32
2TGW6 M6 LOCKNUT 32
2TGW7 M10 LOCKNUT 4
2TGW8 M10 PLAIN WASHER 4
[1]
WARNING: READ THE ASSEMBLING INSTRUCTIONS CAREFULLY BEFORE ASSEMBLING THE WALL MOUNTED SPECTATOR SEATING.
Make sure to wear protecve gloves and foot protecon when installing and assembling this product. Unpack the unit and make sure all the components are
included before proceeding. This acvity requires two o more people as liing is involved. Please ensure bolts are only nger ghtened during the assembling
process for exibility in lining up components. Securely ghten the bolts before anchoring the product to the ground.
1
P1
[2TGW2]
[2TSW1] [2TGW3]
[2TGW6x4]
[2TGW1]
1
1
2
A. Have two external frames
[2TGW1] in place (STEP 1), with
lugs facing inwards and secure
them to the back and front
seang planks [2TGW3]
(STEP2), by using hexagonal
head bolts [2TGW5] and lock-
nuts [2TGW76] -nger ghten .
B. Install the central frame
[2TGW1] (STEP 3), and secure
them to the seang planks
[2TGW3], with hexagonal head
bolts [2TGW5] and locknuts
[2TGW6] - nger ghten.
[2TGW5]
[2TSW6/7] [2TGW8]
[2TGW6x4]
A. Install the rest of the
seang planks [2TGW3] on
the centre as per the
illustrated (STEP 4). Make
sure to secure the seang
planks [2TGW3] to the
frames, by using hexago-
nal head bolts [2TGW5]
and locknuts [2TGW6] -
nger ghten.
4
[2TGW5x4]
[2TGW1] [2TGW1]
[2TGW1]
3
[2TGW5x4]
2
4
[2TGW6x4]
[2TGW5x4]
[2TGW4]
[2TGW1]
[1]
WARNING: READ THE ASSEMBLING INSTRUCTIONS CAREFULLY BEFORE ASSEMBLING THE WALL MOUNTED SPECTATOR SEATING.
Make sure to wear protecve gloves and foot protecon when installing and assembling this product. Unpack the unit and make sure all the components are
included before proceeding. This acvity requires two o more people as liing is involved. Please ensure bolts are only nger ghtened during the assembling
process for exibility in lining up components. Securely ghten the bolts before anchoring the product to the ground.
A. Tight the whole fasteners with a spanner and/or an appropriate tool. Adjust the whole unit as necessary.
B. Fix the spectator seating to the ground and the wall, by installing dyna -bolts on both, back and front frame lugs.
3
P2
[2TGW7x4]
4
A. Have the at bars [2TGW2] in place and secure it to the frames [2TGW1], by using cup head bolts [2TGW4], locknuts [2TGW7] and washers [2TGW8] -
nger ghten (STEP 5).
[2TSW1]
[2TGW8x4]
[2TGW4x4]
5
5
[2TSW1]
[2TSW1]

Other felton industries Outdoor Furnishing manuals
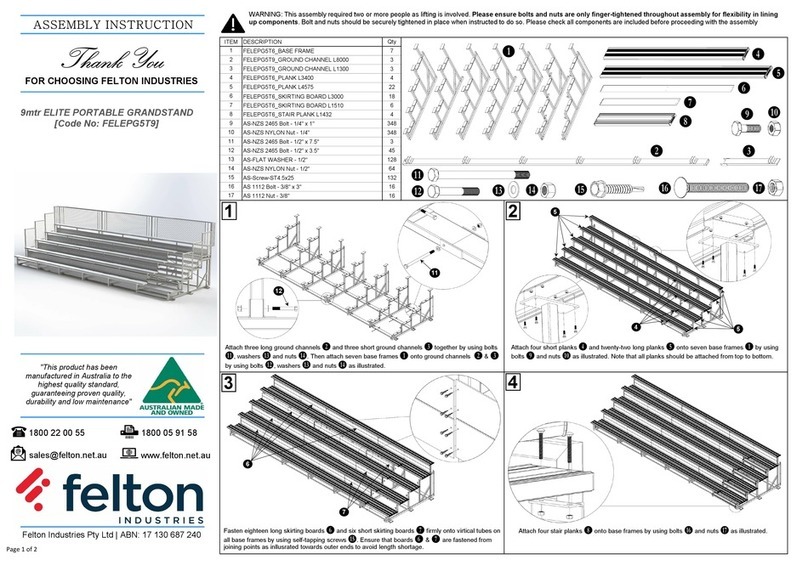
felton industries FELEPG5T9 User manual

felton industries

felton industries FELEPG5T9 User manual

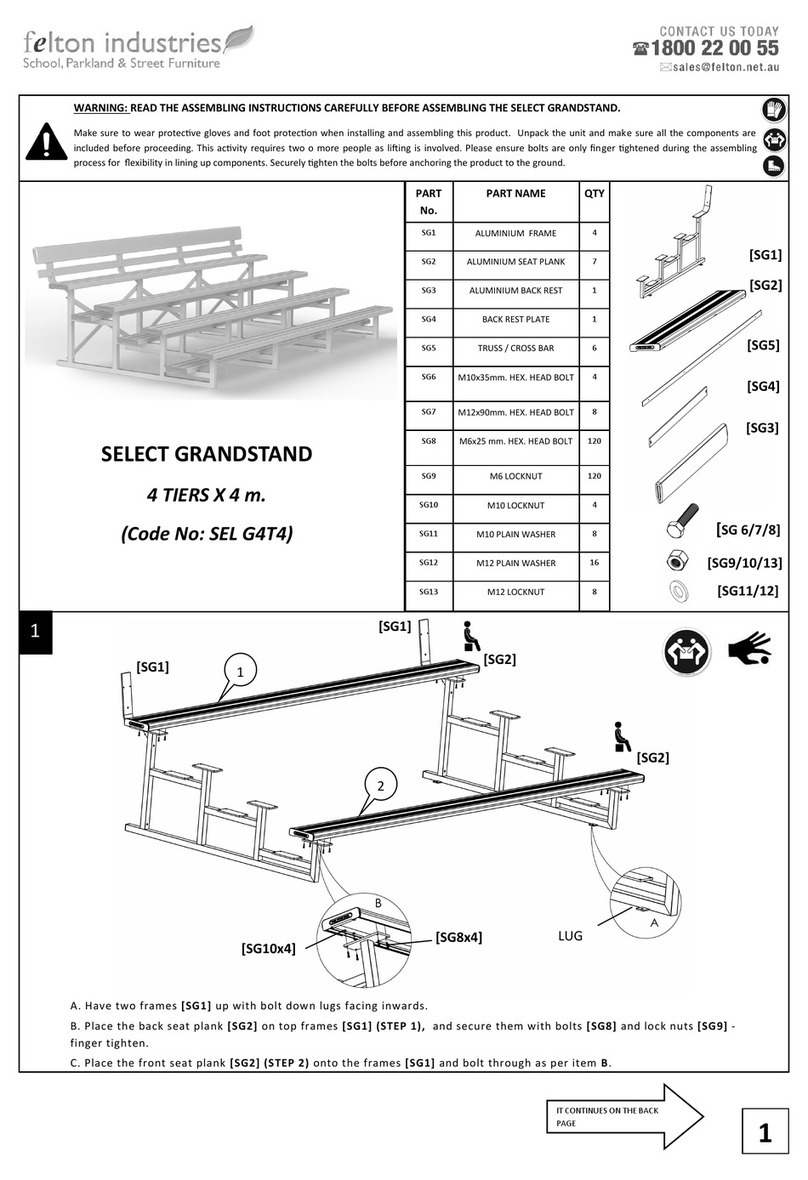
felton industries SELECT GRANDSTAND Installation guide

felton industries

felton industries SELECT GRANDSTAND Installation guide

felton industries FELEPG5T6 User manual

felton industries

felton industries FELEPG5T6 User manual

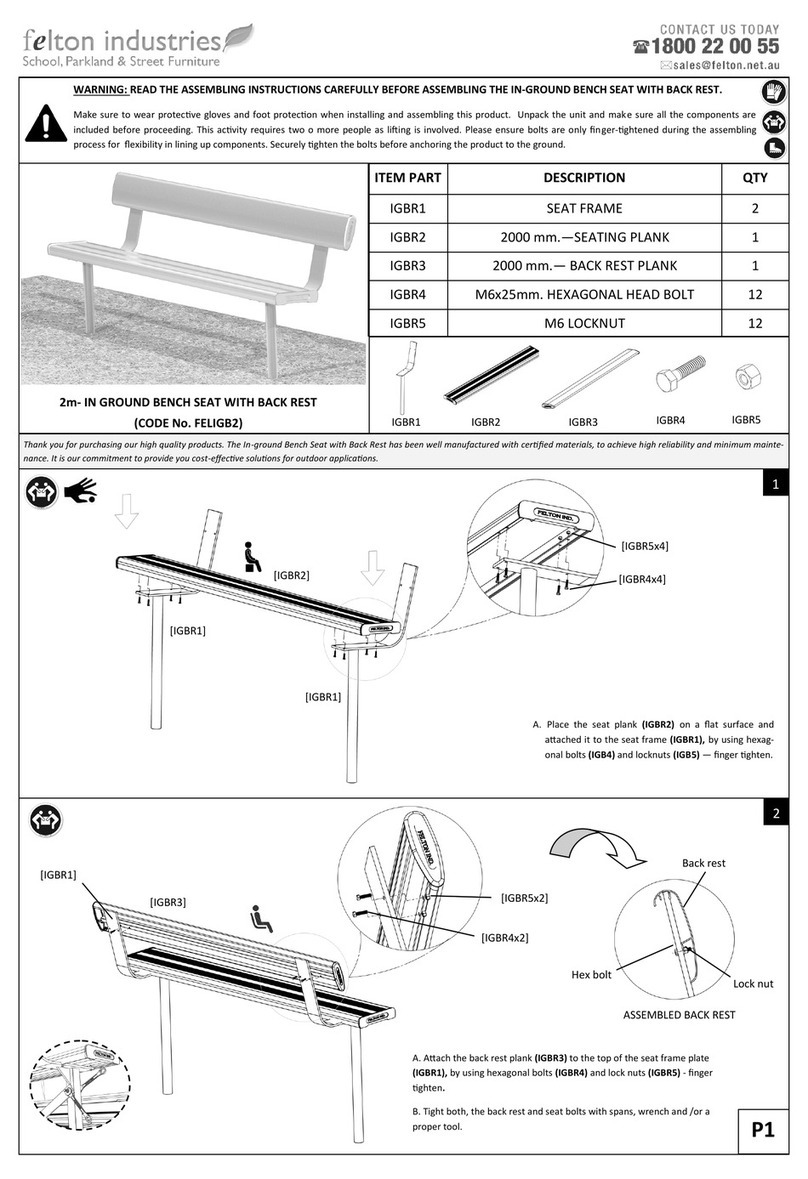
felton industries FELIGB2 User manual

felton industries

felton industries FELIGB2 User manual
felton industries 3TGS9 User manual

felton industries

felton industries 3TGS9 User manual

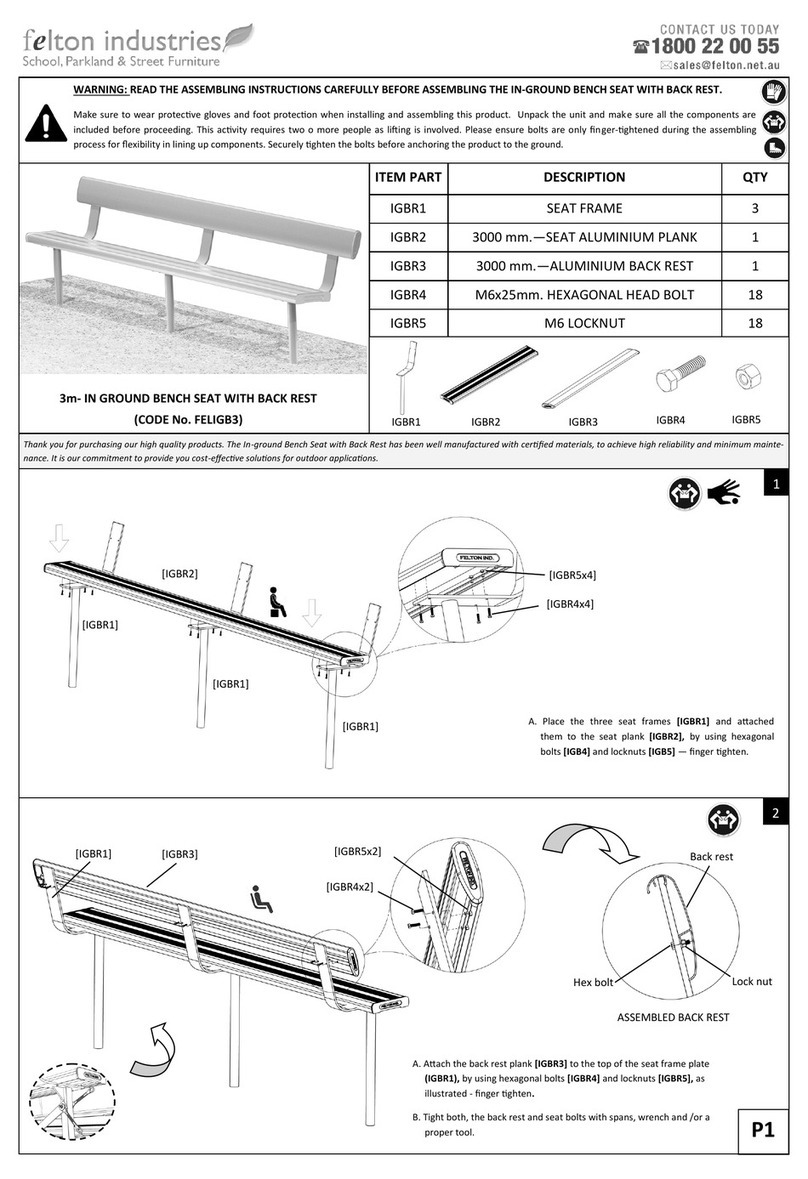
felton industries FELIGB3 Installation guide
felton industries

felton industries FELIGB3 Installation guide

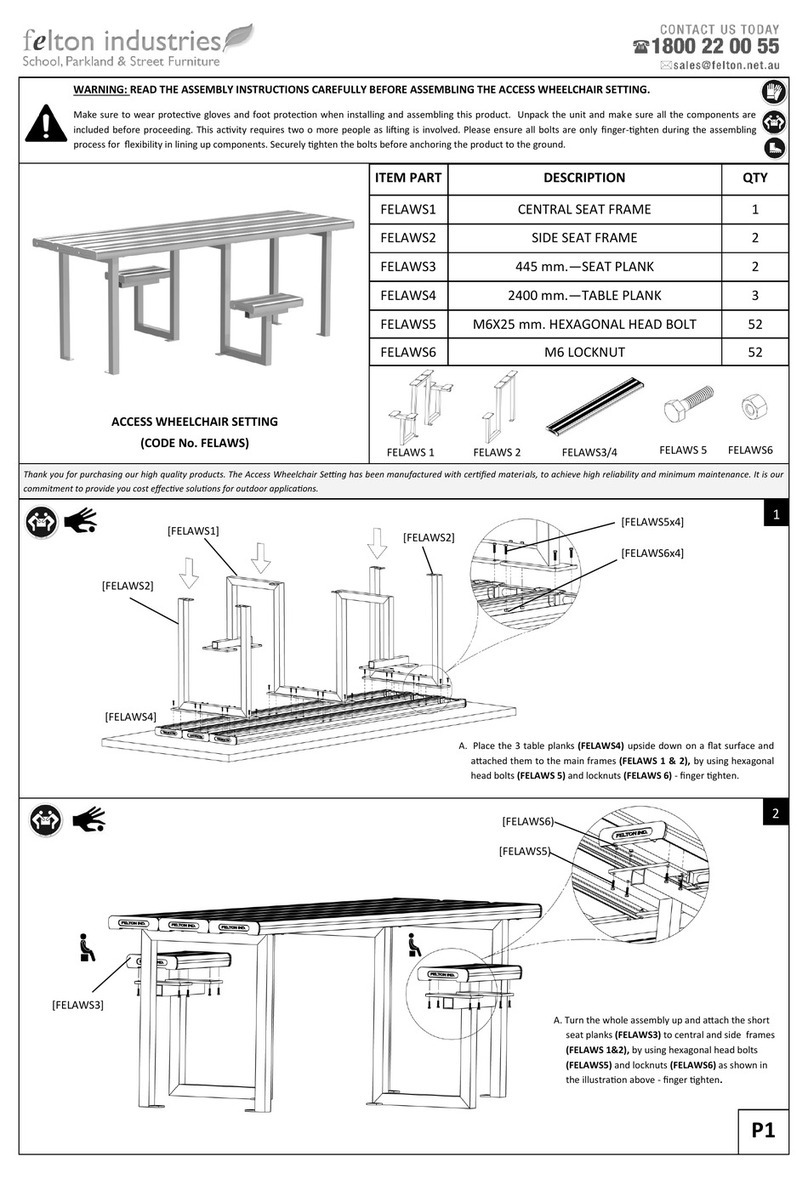
felton industries FELAWS User manual

felton industries

felton industries FELAWS User manual

Popular Outdoor Furnishing manuals by other brands

Crivit 280890 Instructions for use

Crivit

Crivit 280890 Instructions for use

Moebelix 62455 Assembly instructions

Moebelix

Moebelix 62455 Assembly instructions

BENITO Barcino UM305S Anchoring instructions

BENITO

BENITO Barcino UM305S Anchoring instructions

Sunjoy L-GZ106PAL-1 Assembly instructions

Sunjoy

Sunjoy L-GZ106PAL-1 Assembly instructions

nardi POGGIO 044 instructions

nardi

nardi POGGIO 044 instructions

Gainsborough Curved Rose Design Bench H252 Instructions for use

Gainsborough

Gainsborough Curved Rose Design Bench H252 Instructions for use

Royalcraft Faro Assembly instructions

Royalcraft

Royalcraft Faro Assembly instructions

Sunnydaze Decor LAM-615 Assembly and care instructions

Sunnydaze Decor

Sunnydaze Decor LAM-615 Assembly and care instructions

SOCO CHARLESTON LOVESEAT WOOD Assembly instructions

SOCO

SOCO CHARLESTON LOVESEAT WOOD Assembly instructions

Frontera KINGSLEY BATE Assembly instructions

Frontera

Frontera KINGSLEY BATE Assembly instructions

Greemotion GM-2020-2PK quick start guide

Greemotion

Greemotion GM-2020-2PK quick start guide

Sunjoy A102016300 Assembly instruction

Sunjoy

Sunjoy A102016300 Assembly instruction

HOUE Circle 150 Assembly instructions

HOUE

HOUE Circle 150 Assembly instructions

Lifetime 538116 Assembly instructions

Lifetime

Lifetime 538116 Assembly instructions

Advaning S series Replacement instructions

Advaning

Advaning S series Replacement instructions

Hanover Brigantine BRIGDN7PC-GLS owner's manual

Hanover

Hanover Brigantine BRIGDN7PC-GLS owner's manual

IKEA MASTHOLMEN 003.392.04 manual

IKEA

IKEA MASTHOLMEN 003.392.04 manual

Dunster House P5-3050CANPRG installation manual

Dunster House

Dunster House P5-3050CANPRG installation manual

manuals.online logo
manuals.online logoBrands
  • About & Mission
  • Contact us
  • Privacy Policy
  • Terms and Conditions

Copyright 2025 Manuals.Online. All Rights Reserved.