3
© Ferno (UK) Ltd. FERNO/MAN/R5/08/18/207/UK
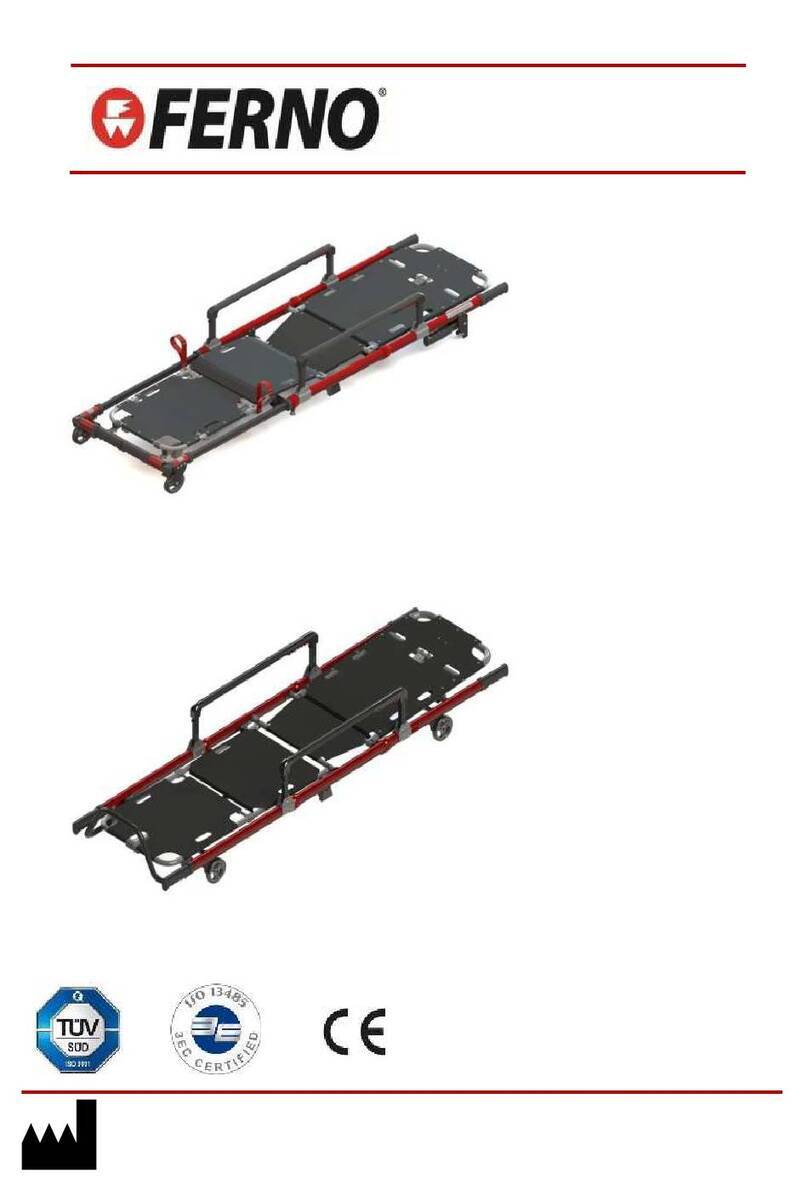
Compact 2 Track Chair
TABLE OF CONTENTS
Ferno Contact Information_____________________ 2
1 - Safety Information __________________________ 4
1.0 Warning _______________________________ 4
1.1 Important ______________________________ 4
1.2 Caution ________________________________ 4
1.3 Safety and Instruction Labels_______________ 5
1.4 Symbol Glossary _________________________ 5
2 - Operator Skills and Training __________________ 6
2.0 Skills __________________________________ 6
2.1 Training________________________________ 6
3 - About the Chair _____________________________ 7
3.0 General Specications ____________________ 7
4 - Operating the Chair _________________________ 8
4.0 Unfolding the Chair ______________________ 8
4.1 Folding the Chair ________________________ 9
4.2 Attaching Track When Chair is Occupied ____10
4.3 Attaching Track When Chair is NOT Occupied 11
4.4 Deploying the Track for Use _______________11
4.5 Stowing the Track ________________________12
4.6 Removing Track When Chair is
Occupied _______________________________12
4.7 Removing the Track When Chair is NOT
Occupied _______________________________13
4.8 Adjusting Upper Handle Height ____________13
4.9 Using Patient Restraints __________________14
5 - Using the Chair _________________________ ___15
5.0 Before Placing the Chair in Service __________15
5.1 General Guidelines for Use_________________15
5.2 Moving the Chair ________________________16
5.3 Using the Chair on Level Ground____________16
5.4 Gliding the Chair Down Stairs ______________17
5.5 Manoeuvring the Chair Up Stairs ____________18
6 - Maintenance ______________________________ 19
6.0 Maintenance Schedule____________________19
6.1 Disinfecting & Cleaning the Chair ___________19
6.2 Inspecting the Chair ______________________20
6.3 Lubricating the Chair______________________20
7 - Parts and Service___________________________ 21
7.0 UK ____________________________________21
7.1 Worldwide _____________________________21
Section Page
Illustrations
Figure 1 - Wheeling Chair with handle raised _____________5
Figure 2 - Chair with Track attached ____________________5
Figure 3 - Chair with Track detached ____________________7
Figure 4- Unfolding the Chair for use ___________________8
Figure 5 - Pushing up back rest _________________________8
Figure 6 - Securing the chair by deploying safety rings ______8
Figure 7 - Chair deployed and ready for use without Track __8
Figure 8 - Removing safety rings so Chair can fold ________9
Figure 9 - Releasing the locking bar to allow Chair to fold _9
Figure 10 - Folding the Chair ready for stowage _________9
Figure 11 - Chair folded and fastened secure for stowage ___9
Figure 12 - Locating lower Track lock onto axle ___________10
Figure 13 - Track attached at axle only _________________10
Figure 14 - Rotating Track upwards to attach to Chair _____10
Figure 15 - Track attached to Chair back _______________10
Figure 16 - Preparing to attach Track to unoccupied Chair __11
Figure 17 - Attaching Track to back of Chair _____________11
Figure 18 - Pulling Track out for use ___________________11
Figure 19 - Chair with Track deployed ready for use _______11
Figure 20 - Using handle to deploy Track _______________12
Figure 21 - Track stowed ___________________________12
Figure 22 - Squeezing pins together release Track ________12
Figure 23 - Releasing Track from Chair ________________12
Figure 24 - Removing track from unoccupied Chair ____13
Figure 25 - Chair height adjustment index pin ___________13
Figure 26 - Adjustable handle height ___________________13
Figure 27 - Chest restraints in use _____________________14
Figure 28 - Foot restraints in use ______________________14
Figure 29 - Buckle release ___________________________14
Figure 30 - Preparing to descend steps __________________17
Figure 31 - Rolling Track onto steps ___________________17
Figure 32 - Bottom of steps __________________________17
Section Page
