Fiido Fiido Beast User manual
Fiido Beast
Folding Electric Scooter
Dear users! Before enjoying the ride, please be sure to read the user manual carefully, understand the relevant operation
specifications, and take good care of this user manual and the product certificate accompanying the ride.
Don't use the E-scooter until you fully know about the function.

Dear User:
Safety Precautions
In this manual, we will introduce you the common knowledge and maintenance requirement of electric
scooter. In order to a better riding experience, please be sure to read and understand the product
performance, characteristics, precautions and maintenance matters. If you have any questions, please
contact the official after-sales team or local authorized service station. We will provide you with
diagnostic assistance as soon as possible.
1. Please follow the precautions in this instruction to reduce risks. When you enter public areas, please
obey national and local regulations, remain vigilant while riding, and maintain a reasonable safe
distance from other people and vehicles.
2. Please operate by the instruction of the user manual, FiidoBeastis a recreational product. Before
mastering riding skills, you need to practice. User is responsible for any injuries or damage caused by a
rider's inexperience or failure to follow the instructions in this document.
3. For your first ride, please avoid any area with many children, pedestrians, pets, vehicles, or other
obstacles and potential hazards.
4. Before each ride, please ensure all the fasteners are not loose, and parts are not damaged. If there’s
any unusual noise, please stop riding immediately, and contact after-sales team for assist.
5. To reduce the injury risk, please read and follow all "Caution", "Danger" and "Warning" instructions in
this user manual. Do not speed, and do not ride in motorized road under any circumstances.
6.For safety consideration, user must be over 16 years old. Users under the following circumstances are
strongly not recommended to use this product.
- People affected by alcohol or drugs.
- People who are unable to engage in strenuous physical activity due to illness.
- People who are unable to maintain balance or whose balance is impaired by motor skills.
- People whose weight exceeds the max load limit (max load is 120KG/265lb).
- Pregnant women.

7. Please ride carefully in snow, rain, wet road, ice and other bad weather. Do not ride over too high
or too large obstacles, otherwise it’s very likely to lose balance or grip and cause injuries.
8. Do not attempt to charge while the charger or power supply is wet, please follow the local safety
regulations if you need to charge the E-scooter in public area.
9. Only use original parts from Fiido.
10. Any engineering/structure modifications to the product will void the warranty.
11. For safe disposal of used batteries and leaking batteries, dispose these batteries as unsorted
municipal waste. Please contact your local municipality for the nearest collection point.
STORAGE
1. Store the lithium battery in a place away from the fire source, the ambient temperature is
about 20, ventilated and dry without debris, not in a damp place to avoid leakage and short
circuit.
2. Keep away from direct sunlight.
3. Do not hit, squeeze, throw, needle or tread on the battery.
4. If the battery voltage is lower than 3.6V for a long time, the battery will overdischarge and
damage the internal structure of the battery, reducing the battery life. Therefore, it is
recommended to charge once every 1 month, and the best storage voltage of lithium battery is
about 3.85V, which is not good for storage and full storage.
DISPOSAL
1. Do not discard the battery after the vehicle is abandoned to prevent environmental pollution
2. Contact manufacturers or professional institutions for professional treatment of the battery.
Do not disassemble or destroy the battery by yourself, so as to avoid danger
3. Generally, batteries cannot be sent by ordinary express in case of battery fire or explosion
caused by collision during transportation. If batteries are recycled, please contact professional
transportation agencies

CONTENTS
1.Product introduction 2. User guide
1.1 Product overview
1.2 Packing list
1.3 Product diagrams
1.4 Function description
2.1 Installation guide
2.2 First ride
2.3 keyless security system
2.4 Charging instructions
2.5 Folding instructions
3. Maintenance precautions
3.1 Precautions
3.2 Scooter maintenance & repair
3.3 Motor maintenance & repair
3.4 Controller maintenance & repair
3.5 Battery maintenance & repair
4. Service directory
4.1 Troubleshooting methods
4.2 Specifications
4.3 Warranty coverage
4.4 Repair record
* All pictures are for reference only.

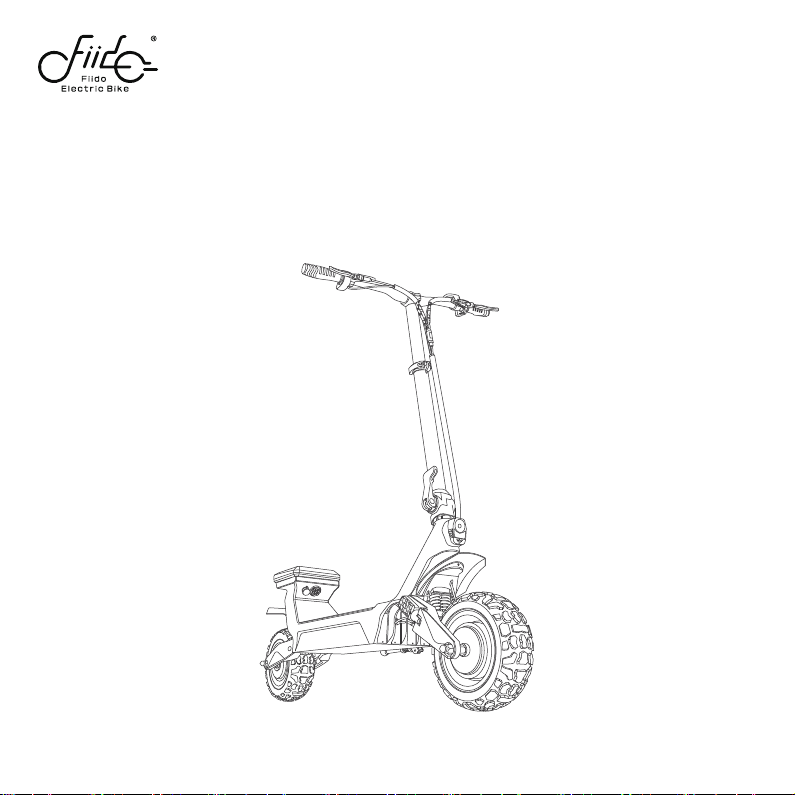
1.1 Product overview
1.2 Packing list
1.3 Product diagrams
1.4 Function description
1. Product introduction
Table of contents
Other Fiido Scooter manuals


