Fit4Home TF-7005A User manual

1
5T-B0C3-VZLBPlease Keep For Future Reference
IMPORTANT - Please Read Instructions Fully Before Assembly Or Use
These instructions contain important information which will help you get the best
from your equipment and ensure safe and correct assembly, use and maintenance.
If you need help or have damaged or missing parts,
call the Customer Helpline: 0330 124 0718 (Opening hours: Mon-Fri 9:00am-3:00pm)
or Email: customerservices@fit4home.co.uk
HOME GYM TF-7005A
USER MANUAL

2
CONTENTS
Safety Information
Parts Chart
Assembly Instructions
Step 1
Step 2
Step 3
Step 4
Step 5
Step 6
Step 7
Step 8
Step 9
Step 10
Step 11
Step 12
Declaration
03-04
05-09
10-26
10
11
12
13
14
15
16
17-20
21-22
23
24-25
26
27

3
SAFETY INFORMATION
Be sure to read the entire instruction manual before you assemble or use this
equipment. Particularly, note the following safety precautions.
• Exercising. Do not wear loose clothing that could get caught in the equipment. Appropriate
footwear is also required when using the equipment.
• Use the equipment only for intended use, as described in this instruction manual. Do not use
attachments that is not recommended by the manufacturer.
• Disabled people should not use the equipment without a qualied instructor or doctor
present.
• Never operate or use the equipment if it is damaged or not functioning properly.
• Examine the equipment frequently especially the easily damaged parts. The safety
level of the equipment can only remain if it is examined regularly. Replace any damaged
components immediately. Do not use the equipment until it has been fully repaired.
• Parents and others responsible for children must be aware that playing on the equipment
could be dangerous and could lead to injuries. Children must not be left unattended with the
exercise equipment.
• A spotter is recommended whilst doing exercise, therefore to prevent any injuries.
• This product is suitable for a maximum user weight of 100kg.
• Your product is intended for use in clean and dry conditions. You should avoid storage in
cold and damp places as this could lead to corrosion and other similar problems that are
outside of our control.
IMPORTANT SAFETY INFORMATION

4
INSTRUCTIONS WHEN ASSEMBLING
• Check you have all the components and tools listed in the instruction manual.
• Remove all ttings from the plastic bags and separate them into dierent groups.
• Keep children and animals away from the work area, (small components can causechoking if
swallowed).
• Make sure you have enough space to layout the parts before starting.
• The assembly of this equipment is best to carried out by more than one person.
• Assemble the item as close to its nal position (in the same room) as possible.
• The free-standing equipment shall be installed on a stable and level base.
• Dispose of all packaging carefully and responsibly.
Please note that you will have to retain the outer packaging in case you may need to return
the item.
IMPORTANT SAFETY INFORMATION
INSTRUCTIONS WHEN USING
• Do not use the equipment near water or anywhere outdoors.
• Keep unsupervised children and pets away from the equipment at all times. Also donot leave
children unattended in the same room with the equipment.
• Injuries to health may result from incorrect or excessive training.
• Before using the equipment to exercise, always warm up with stretching exercise to prevent
any injuries or muscle pains.
• This product is only intended for domestic use.
• If the user experiences any abnormal symptoms STOP the workout and CONSULT A
DOCTOR IMMEDIATELY.
• Only one person at a time should use the equipment.
• Keep hands away from moving parts at all times.
• Always wear appropriate workout clothing when using the equipment

5
PARTS LIST

6
PARTS LIST

7
PARTS LIST

8
PARTS LIST

9
PARTS LIST

10
STEP 1
1. Use 2 screw bolts (B3), 4 washers (B17) and 2 nuts (B13) to connect the main base frame
(A1) to the base frame (A2).
2. Use 2 screw bolts (B3), 4 washers (B17) and 2 nuts (B13) to connect the left and right base
frames (A3 and A4) to the base frame (A2).
ASSEMBLY INSTRUCTIONS

11
STEP 2
1. Now position the net plate
(D4) over the base frame (A2)
as shown in the diagram.
2. Now position 2 rubber
bushings (E4) on the net plate
(D4), so they are aligned with
the base frame (A2) holes.
3. Insert the 2 guide rods (A6)
into the base frame (A2),
through the rubber bushing
(E4) and the net plate (D4).
4. Now secure the guide rods
into the base frame, with 2
bolt (B5), 4 washers (B17) and
2 nuts (B13).
5. Slide the weight plates (E23)
into the guide rods (A6).
6. Insert the select rod (A5) into
the weight plates (E23).
7. Then Install the select rod
bushing (E9) onto the select
rod (A5). Please note, the rod
bushing hole is aligned with
the top hole (on the select
rod).
8. Then insert the select rod
pin (C3) in the top hole of the
select rod (A5).
9. Now slide the weight block
(E22) through the guide rods
(A6).
10. Then slide the net frame (D4)
through the guide rods, the
place the 2 positioning rings
(E5) at the top of the rod.
ASSEMBLY INSTRUCTIONS

12
STEP 3
1. Connect the vertical frame 1 (A7) to the middle of the main base frame (A1). To connect this
together you will need to use 4 washers (B17), 2 screw bolts (B3) and 2 nuts (B13).
2. Then connect the vertical frame 2 (A8) to the base frame (A2). You will need 4 washers (B17),
2 screw bolts (B3) and 2 nuts (B13) to connect them together.
ASSEMBLY INSTRUCTIONS

13
STEP 4
1. Attach the upper frame (A9) to the 2 guide rods (A6). Therefore also being connected to
vertical frame 2 (A8). To connect these together you will need to use 2 washers (B18), 5
washers (B17), 2 screw bolts (B9), 2 screw bolts (B3), 4 nuts (B13).
2. Then install the main upper frame (A10) to vertical frame 1 (A7), to secure use 6 washers
(B17), 2 screw bolts (B3) and 2 nuts (B13). The main upper frame (A10) has to be connected
to the upper frame (A9), to connect these together you will need to use 2 washers (B17), 2
screw bolts (B3) and 2 nuts (B13).
ASSEMBLY INSTRUCTIONS

14
STEP 5
1. Install the seat frame (A11) to vertical frame 1 (A7). Use 2 washers (B17), 2 screw bolts (B3)
and 2 nuts (B13) to connect these together.
2. The seat bracket (B25) is installed into the seat frame (A11). To secure use 4 washers (B17)
and 2 nuts (B13).
3. The seat pad (E25) is connected to the seat bracket (B25). Use 4 washers (B18) and 4 screw
bolts (B10).
4. The leg developer (A12) needs to be attached to the seat frame (A11). To secure use 2
washers (B16), 1 screw bolt (B2) and 1 nut (B12).
5. The preacher pad frame (A13) needs to be inserted at the top of the leg developer (A12).
6. The large elbow pad (E26) needs to be attached to the preacher pad frame (A13). To secure
use 2 washers (B18) and 2 screw bolts (B10).
7. 1 foam tube (A22) is going to be inserted through the seat frame (A11), another foam tube
(A22) is going to be inserted through (A12), to secure both of them you will need to.
ASSEMBLY INSTRUCTIONS

15
STEP 6
1. The vertical support tube (A14) is installed into vertical frame 1 (A7). Use 4 washers (B17), 2
Screw bolts (B4) and 2 nuts (B13).
2. The pulley support (D3) need to be installed near the top of vertical frame 1 (A7). Use 3
washers (B17), 1 screw bolt (B5) and 4 nuts (B13).
3. Then install the backrest pad (E28) onto vertical frame 1 (A7). To connect these together you
will need to use 2 washers (B18) and 2 screw bolts (F1).
ASSEMBLY INSTRUCTIONS

16
STEP 7
1. Attach the front press base (A15) to the main upper frame (A10). To secure this you will need
to use 1 screw bolt (B1), 2 washers (B16) and 1 nut (B12).
2. Then install the right buttery and the left buttery (A16 and A17) onto the front press base
(A15). To secure use 2 washers (B16), 2 screw bolts (B2), and 2 nuts (B12).
3. Then insert the foam cylinders, the hollow sleeves and the hand grips (E20, E8 and E6) on to
the bottom of the butteries (A16 and A17).
4. The insert the handle tubes (A18) on the butteries (A16 and A17). To secure you will need
to use 2 washers (B17) and 2 screw bolts (B10).
ASSEMBLY INSTRUCTIONS

17
STEP 8
1. The right dip arm and the left
dip arm (A19 and A20) need
to be connected on both
sides of vertical frame 2 (A8).
To secure you will need 4
washers (B17), 2 screw bolts
(B3) and 2 nuts (B13).
2. The small back pad (A24)
needs to be installed on
vertical frame 2 (A8). To
secure use 2 washers (B17)
and 2 screw bolts (F1).
3. The small elbow pads (E27)
are inserted on top of both
dip arms (A19 and A20). To
secure use 2 washers (B18)
and 2 bolts (F1).
4. The handle grip tubes (A18)
are inserted into the dip arms
(A19 and A20). To secure use
2 washers (B18) and 2 bolts
(B10). Then install a hollow
sleeve (E6) and a handle grip
(E8) on each side.
5. Connect the backrest pad
(A25) using a ball pin (C7).
6. Then install 2 vertical frame
foam tubes (A21) into the side
columns of vertical frame 2
(A8). To secure install 4 arc
foams (E18).
7. The seat frame foam tube
(A22) is installed at the back
of the backrest pad (A25),
Then install the handle grip
(E8) and the 2 dumbbells
(E21).
ASSEMBLY INSTRUCTIONS

18
ASSEMBLY INSTRUCTIONS

19
ASSEMBLY INSTRUCTIONS

20
ASSEMBLY INSTRUCTIONS
Table of contents
Other Fit4Home Home Gym manuals
Fit4Home
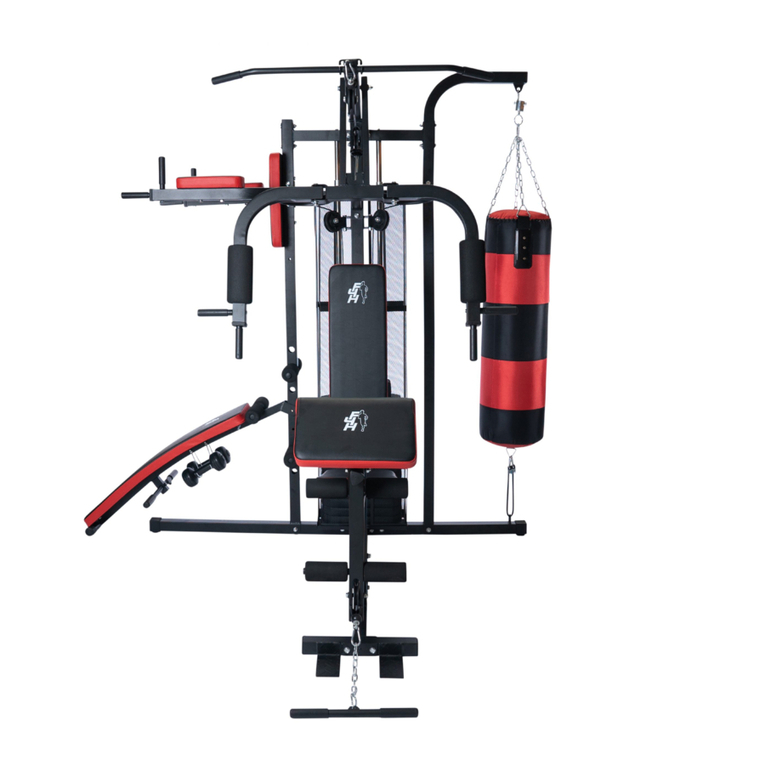
Fit4Home ELITE GAIN TF-7005 User manual

Fit4Home
Fit4Home KPR91100 User manual

Fit4Home
Fit4Home TF-7001 User manual

Fit4Home
Fit4Home POWER TOWER TF-1007 User manual

Fit4Home
Fit4Home TF-3001C-1 User manual
Fit4Home
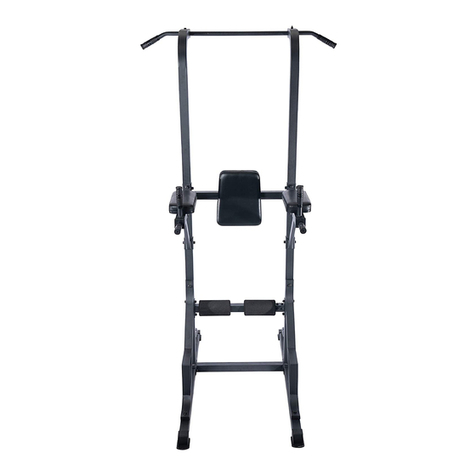
Fit4Home TF-7509 User manual

Fit4Home
Fit4Home TF-1001A-1 User manual

Fit4Home
Fit4Home TF-7080A User manual
Fit4Home
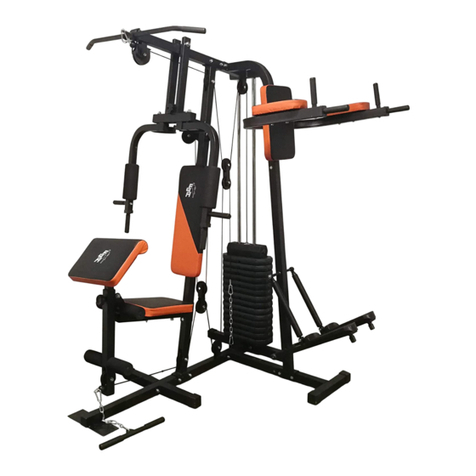
Fit4Home TF-7002 MULTIGYM User manual
