manuals.online logo
Brands
  1. Home
  2. •
  3. Brands
  4. •
  5. Flexispot
  6. •
  7. Indoor Furnishing
  8. •
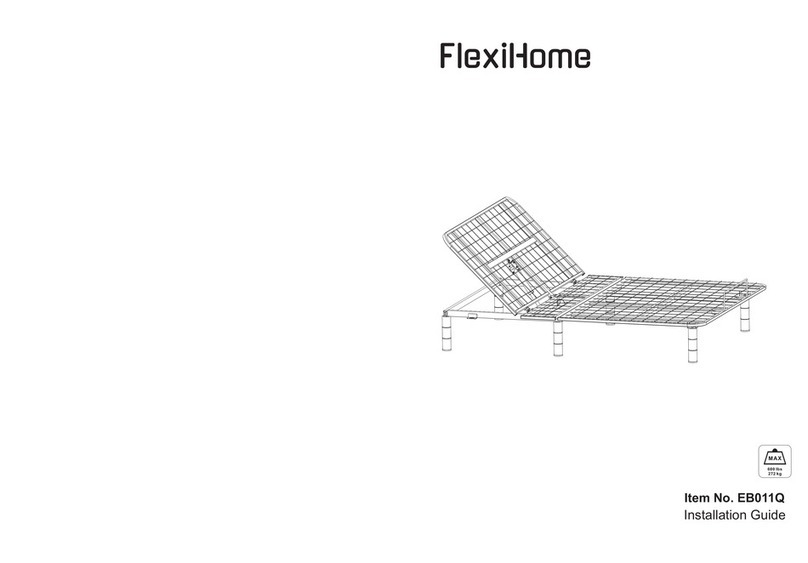
  9. Flexispot FlexiHome EB011Q User manual

Flexispot FlexiHome EB011Q User manual

Item No. EB011Q/EB011T
Installation Guide
600 Ibs
272 kg
MAX
Component List
01 02
Installation
Attention:
For safety reasons and precautions, the installation of this adjustable bed must always be carried
out by two people at all times. Do not attempt to carry yourself. The product should always be on a
flat surface before you open it.
1. Bed Frame (x1)
2. Wired Remote (x1) 3. Adapter (x1)
4. Mattress Retainer Bar (x1) 5. 3x3" Adjustable Plastic Leg
and Foot Pad (x6) 6. AC Power Cord (x1)
Attention:
The drawings shown below are only there for reference. The finished product may be slightly
different from the actual object shown. Please refer to the actual product. If there are any tools
missing or installation problems you may experience, please contact the customer service.
Step 1
Place package on a flat surface. Open the box lid and slowly take out the bed. Make sure not to
puncture the box with any sharp objects when attempting to open. Take out all the included
accessories from the packaging and put them aside.
03 04
Place the bed frame face down so that you can install adjustable plastic legs.
Step 2 Step 3
a. Connect the input power plug from the bed frame (head motor) to the power adapter
shown in the picture below. (See picture for example).
b. From the split wire on the input line, connect the remote to the head motor. (See picture
for example).
The middle two feet of
the bed are installed in
a staggered position.
Note: a
Input Wire
Head Motor
Adapter
Wired Remote
AC power cord
Troubleshooting
Problem Solution
The adjustable bed will not
respond when using the wired
remote. Remote appears to be
undamaged.
1. Make sure all the bed frame’s power cords are
properly connected to a power source.
2. Check to see if you are using a working power outlet.
Unplug the power cord from the socket. Wait 30 seconds
and then plug it back in again. Press any button on the
wired remote to test whether or not it is now working.
None of the features on the
adjustable bed seem to be
working.
1. Make sure the wired remote is properly connected to
the head motor on the bed frame.
2. You will then need to make sure all the power cords
are properly connected as well.
3. Check whether the power cord is plugged into a
working power source/outlet. Unplug the connected
power cord from the socket. Wait 30 seconds and then
plug it back in again. Press any button on the wired
remote to test whether or not it is now working.
4. You can also check whether the surge protector or
power socket might be faulty. Plug in another working
electrical appliance to test the power source/outlet.
The head of the bed frame is
raised normally but will not return
to a flat position.
1. The adjustable bed frame might be obstructed. If it is,
it could the bed frame's smooth operation might be
affecting this. Be sure to clear all obstacles around and
under the bed frame.
2. You need to make sure and check whether the head
section is too close to the wall.
A 'clicking' sound can be heard
from under the adjustable bed
when raising or lowering the head
section.
This is typically a normal occurrence. The elevator motor
will make a clicking sound when it is in use. No
troubleshooting steps will need to be taken.
Sometimes the adjustable bed
frame will make a 'squeaking'
noise.
1. Remove all pins, nuts, bolts or white bushings from
the bed frame.
2. Lubricate the bed frame joints by applying grease with
a cotton swab. Using a lithium or spray lubricant is
recommended for better results.
3. Do not over tighten when placing the lubricated pin,
nuts, bolts, or white bushings back onto the adjustable
bed.
4. Additional solution: After completing the above steps,
again spray the pins, nuts, bolts, white bushings, or the
bed joints with a lubricant.
There is lag when the bed frame is
being adjusted.
1. Try cleaning up any debris or obstacles under or
around the adjustable bed frame.
2. Make sure that the remote control is properly
connected to the head lifting motor.
3. Press the 'raise' button on the wired remote firmly.
If any of the problems cannot be resolved by to the above solutions or instructions, please contact
customer service.
Step 5
Turn the bed frame over in order to install the mattress retainer bar.
Use AC power cord to connect the adapter to a
nearby power source.
05 06
AC power cord
Wired Remote
Raise head
Lower head
Step 6
Next, see photo below to get
familiar with your bed’s remote.
Step 4
1 2
3 4
Install the Actuator
R type latch handle
Pull out
Lift up
Insert
Fix
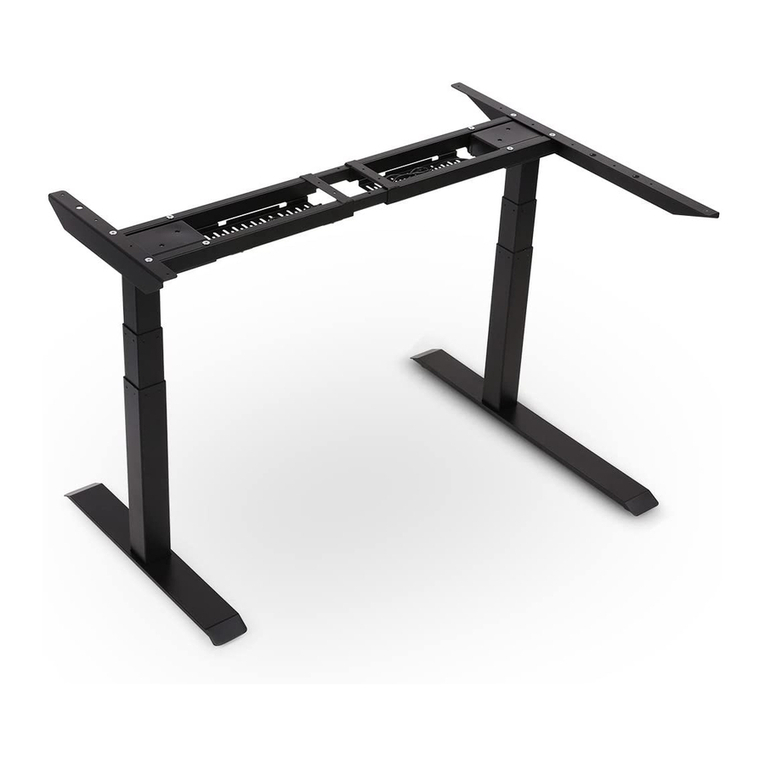
This manual suits for next models

1

Other Flexispot Indoor Furnishing manuals

Flexispot S07MB User manual

Flexispot

Flexispot S07MB User manual

Flexispot ET203H User manual

Flexispot

Flexispot ET203H User manual

Flexispot S09-BB User manual

Flexispot

Flexispot S09-BB User manual

Flexispot F3B User manual

Flexispot

Flexispot F3B User manual

Flexispot Q8B-EU User manual

Flexispot

Flexispot Q8B-EU User manual

Flexispot ET103 User manual

Flexispot

Flexispot ET103 User manual

Flexispot WB101 User manual

Flexispot

Flexispot WB101 User manual

Flexispot H2B User manual

Flexispot

Flexispot H2B User manual

Flexispot OC3B User manual

Flexispot

Flexispot OC3B User manual

Flexispot EF1 User manual

Flexispot

Flexispot EF1 User manual

Flexispot EM6S User manual

Flexispot

Flexispot EM6S User manual

Flexispot E1LB User manual

Flexispot

Flexispot E1LB User manual

Flexispot E7CB User manual

Flexispot

Flexispot E7CB User manual

Flexispot Comhar Pro Q8 User manual

Flexispot

Flexispot Comhar Pro Q8 User manual

Flexispot SANODESK GD1B-EU User manual

Flexispot

Flexispot SANODESK GD1B-EU User manual

Flexispot S05P User manual

Flexispot

Flexispot S05P User manual

Flexispot E2W User manual

Flexispot

Flexispot E2W User manual

Flexispot CB31B User manual

Flexispot

Flexispot CB31B User manual

Flexispot OC5G User manual

Flexispot

Flexispot OC5G User manual

Flexispot 1388 User manual

Flexispot

Flexispot 1388 User manual

Flexispot GC01 User manual

Flexispot

Flexispot GC01 User manual

Flexispot ET026-7040 User manual

Flexispot

Flexispot ET026-7040 User manual

Flexispot H2W User manual

Flexispot

Flexispot H2W User manual

Flexispot BS11-PRO User manual

Flexispot

Flexispot BS11-PRO User manual

Popular Indoor Furnishing manuals by other brands

Illuminated Mirrors DiamondX Installation & user guide

Illuminated Mirrors

Illuminated Mirrors DiamondX Installation & user guide

VECELO KHD-BTJ-RT04 installation manual

VECELO

VECELO KHD-BTJ-RT04 installation manual

J&K WCD3015 Assembly instructions

J&K

J&K WCD3015 Assembly instructions

Argos 266/0709 Assembly instructions

Argos

Argos 266/0709 Assembly instructions

Furinno JAYA 15070 Assembly instruction

Furinno

Furinno JAYA 15070 Assembly instruction

Profijt Meubel VIGO BAR1 Assembly instruction

Profijt Meubel

Profijt Meubel VIGO BAR1 Assembly instruction

Jula Axley 006790 operating instructions

Jula

Jula Axley 006790 operating instructions

overstock SOFA TABLE WITH GLASS TOP Assembly instruction

overstock

overstock SOFA TABLE WITH GLASS TOP Assembly instruction

Otto 66046364 Assembly instructions

Otto

Otto 66046364 Assembly instructions

CB2 Dockside Assembly instructions

CB2

CB2 Dockside Assembly instructions

WASHTOWER WSCN061 Assembling Instruction

WASHTOWER

WASHTOWER WSCN061 Assembling Instruction

Costway HW64452 user manual

Costway

Costway HW64452 user manual

OBaby Stamford Shelf instructions

OBaby

OBaby Stamford Shelf instructions

Office Star Products AVENUE SIX ASHTON quick start guide

Office Star Products

Office Star Products AVENUE SIX ASHTON quick start guide

Ehrenkind HB01 Instructions for use

Ehrenkind

Ehrenkind HB01 Instructions for use

Next BARLOW SIDEBOARD 804990 Assembly instructions

Next

Next BARLOW SIDEBOARD 804990 Assembly instructions

BENE LOFT Assembly instructions

BENE

BENE LOFT Assembly instructions

Alinea EMPIRE II-2 Assembly And Instructions

Alinea

Alinea EMPIRE II-2 Assembly And Instructions

manuals.online logo
manuals.online logoBrands
  • About & Mission
  • Contact us
  • Privacy Policy
  • Terms and Conditions

Copyright 2025 Manuals.Online. All Rights Reserved.