manuals.online logo
Brands
  1. Home
  2. •
  3. Brands
  4. •
  5. Flexispot
  6. •
  7. Indoor Furnishing
  8. •
  9. Flexispot E3LB User manual

Flexispot E3LB User manual

Item No. E3LB/E3LS
Installation Guide
Attention
·Power supply: AC100V - 240V, frequency 50/60HZ;
·Working environment: 32º- 104º F;
·Before cleaning, you have to unplug the power supply cable. Clean with a slightly damp cloth to
wipe away the surface dust. Keep all electrical components away from liquids. Do not damage the
connection line and keep the plug in a safe position.
·Inside the control box, there are electronic components, metal parts, plastic parts, wires and so on.
They should be disposed in accordance with the local laws and regulations. They cannot be disposed
as household waste.
·Before using the product, please make sure the product has been installed correctly.
·Before starting use of the product, please read the instructions to fully understand all the product's
functions and settings.
·Keep children away from electric height-adjustable desks, control units and handsets.
Manufacturer is not responsible of any damages that result from children's unpredictable behaviour.
·Slight noise caused by the multi wedge belt or brake system will not impact the use of this product.
·Do not use corrosive or abrasive materials to clean this product and please dispose of cleaning
solutions in an environmentally friendly manner.
·Understand the risks associated with using this product. Children or those with cognitive impairment
should not use this product without supervision.
·If the power supply cord is damaged or broken, it must be replaced by the manufacturer or a relevant
specialist to avoid any injuries.
·Please operate in a clean and safe environment. For example, do not left around your tools. And
always be careful to deal with packaging materials, in order to avoid any kinds of possible danger.
Potential chocking risk exists when children play with plastic bags!
·If necessary, retain the original package for future transportation.
Recycling and Disposal
This product cannot be disposed of as household waste. To prevent damage to the
environment, this product should be recycled. Please use the relevant recycling
systems available to you or contract the distributor or manufacturer for recycling
assistance.
Website: www.flexispot.com
Tel: 1-855-421-2808
E
5x5
Cx4
Accessory Package
Specifications
01 02
Figures shown are for reference only, specific please in kind prevail. If there is any accessory or tool
missing, contact customer service please..
Step 2
Max. Weight Capacity 220 Ibs (100 kg)
Speed 38mm/s
Input Voltage 100 - 240 V
Adjustable Height 23.6" - 48.4" (600 - 1230 mm)
Wide Expand 43.3" - 70.9" (1100 - 1800 mm)
32º-104º F
CE FCC CUL
Duty Cycle 10% (Working 2 minutes then stop 18 minutes)
Working Temperature
Certification
Column 3
A
M8X35mm
B
M6X16mm
C
x8
D E
x26
St4.2X20mm
x8
Square washer
x6 x1
4x4
x1
5x5
Parts Included Diagram of Components
1
1
1
1
1
Parts
2
3
4
5
6
7
8
9
1
2
1
1
2
NO. Qty
Short foot
Long foot
Leg
Accessory
Cable
management
plate
Supporting
beam
Short
supporting plate
Long
supporting plate
Control box
Handset
12
3
4
6
7
8
9
10
5
1
Connecting
cable
10
Installation 1
Right-hand corner desk
Installation 2
Left-hand corner desk
Step 1
E
5x5
Cx4
Floor
3
5
C
E
Attach the legs (3) to the supporting beam (5) using screws (C). Tighten with the 5x5 hex key (E).
Notice:
When set up the installation,
the backing board should be
laid on the floor to avoid scratch.
C
6
7
E
C
6
7
E
Floor
Floor
Installation 1:
Right-hand corner desk installation
Installation 2:
Left-hand corner desk installation
Attach the short supporting plate (6) and
long supporting plate (7) to the supporting
beam (5) using screws (C). Tighten with
the 5x5 hex key (E).
8
9
10
Step 4
04
Step 3 Step 5
Step 6
Take installation 1 as example, connect the cables to the control box (8)
Notice: Choose the location that will best suit your needs.
Power port
Port for cable
connected to
the leg
Port for
handset
E
4x4
Ax8
Installation 1:
Right-hand corner desk installation
Installation 2:
Left-hand corner desk installation
E
3
1
2
1
A
3
2
E
A
Floor Floor
Long end
Attach the short foot (1) and long foot (2) to the
legs (3) using screws (A). Tighten with the
4x4 hex key (E).
Long end
E
4x4
1
Bx2
B
9
2
D
B
5Bx14
Attach the handset (9) to
the back of the desktop.
Paste the square washers
in the square tube.
Adjust the tightness of 8
screws on the back of
supporting beam (5) by
using 4x4 hex key (E), make
sure the supporting beam can
move freely to fit the actual
size of your table.
Tighten screws up after adjusting
Attach control box (8)
to the desktop.
B
11
2
3
Tighten screws up
Slide the plate
4
2
Bx2
Notice: ways to install control box,
you can put control box (8) on the
cable management plate (4), shown
as step 5 and step 6-2; or you can
attach it to the desktop, shown as
step 6-1.
Take installation 1 as example, assemble cable management plates.Take installation 1 as example, assemble the desktop.
03
05 06
Troubleshooting
This list is used for checking and solving common faults and errors. Please contact the manufacturer if
problem you encounter is not on the list below.
Problem
No response when pressing the UP
button and DOWN button
No response when pressing and
holding the DOWN button
The distance lifted or lowered is not
accurate
Overworked beyond duty cycle:
Max 2 min on/18 min off
Automatically reset a lot
Worksurface downward sliding
Can lift but cannot lower down
Motor does not work properly
Speed of lifting is slow
Solution
1. Check the cable connection.
2. Contact the distributor or the manufacturer.
1. Check the cable connection.
2. Contact the distributor or the manufacturer.
1. Check if the load weighs more than 220 lbs.
2. Contact the distributor or the manufacturer.
1. Contact the distributor or the manufacturer.
1. Start the reset process.
2. Contact the distributor or the manufacturer.
1. Check if the load weighs more than 220 lbs.
2. Contact the distributor or the manufacturer.
1. Check if the load weighs more than 220 lbs.
2. Contact the distributor or the manufacturer.
1. Keep the power on and stop working for
18 minutes.
2. Contact the distributor or the manufacturer.
1. Press and hold the "M" and "3" button for
three seconds until you hear BEEP twice
to restore the factory settings.
2. Contact the distributor or the manufacturer.
Handset Instruction
UP Button, used to lift the desk surface
●
●
●
●
●
●
●
Operation Guide
·Press the UP button or DOWN button to lift or lower the height of desk surface. The LED display
shows the real time value. The range of the height value: .23.6" - 48.4"
·Saving A Height Position
a. Press the UP button or DOWN button to lift or lower the height of desk surface. For instance, you
adjust the height to 29.5''.
b. Press "M" SAVE button and the LED display shows" ", then press "1" to save the 1st height position
to 29.5''. The LED display shows " ".
c. Repeat step a and step b to save the 2nd height position to 39.5'' The LED display shows " ".
Save the 3rd height position to 48'' The LED display shows " ".
d. Press "1", "2","3", to automatically reach the height saved before.
·Long-Time Sitting Reminder
a. Press REMINDER button "A" to activate the function. The LED display shows " "
b. Two seconds later, press the " " or "" button to adjust the reminder time only when the display
screen flashes. Then press any button to save the time setup, or wait 5 seconds and system will save
the time setup automatically. After time setting is finished, the system will automatically enter the
countdown, during the countdown, any operation will lead to a repeat starting of the timer. When the
countdown finishes, the buzzer will be active with a 10-second "DiDi...DiDi...DiDi..." tone.
c. Within the 10-second reminder buzz, press any button to reactivate the time countdown that is set up
in (b) step. If no operation during the 10-second reminder buzz, there will be another reminder buzz
after 5 minutes. No operation during the second buzz will turn off the Long-Time Sitting Reminder.
d. Press and hold the "A" button for three seconds to turn off the Long-Time Sitting Reminder. The LED
display shows " ".
·Troubleshooting
a. Reset function definition:When LED display shows " ", press and hold the " " button until the
desk reaches its lowest height and rebound to stop and display shows the lowest height, reset process
finished.
b. When exception code occurred, press " " button to reset.
c. If the " " button doesn't work, please check the cable connection and then cut off the power for at
least 10 seconds. Reconnect to the power and press " " button to start the reset process. If it still
doesn't work, please retry 18 mins later. (Please avoid overtime working for more than 2 mins.)
Handset
LED Display
DOWN Button, used to lower the desk surface
Position 1, saves the 1st Height Position
Position 2, saves the 2nd Height Position
Position 3, saves the 3rd Height Position
SAVE button, used to save the height position
REMINDER button, used to activate the "Long-
Time Sitting Reminder" function
▲
▼
1
2
3
M
A
" "
" "
" "
" "
" "
" "
" "
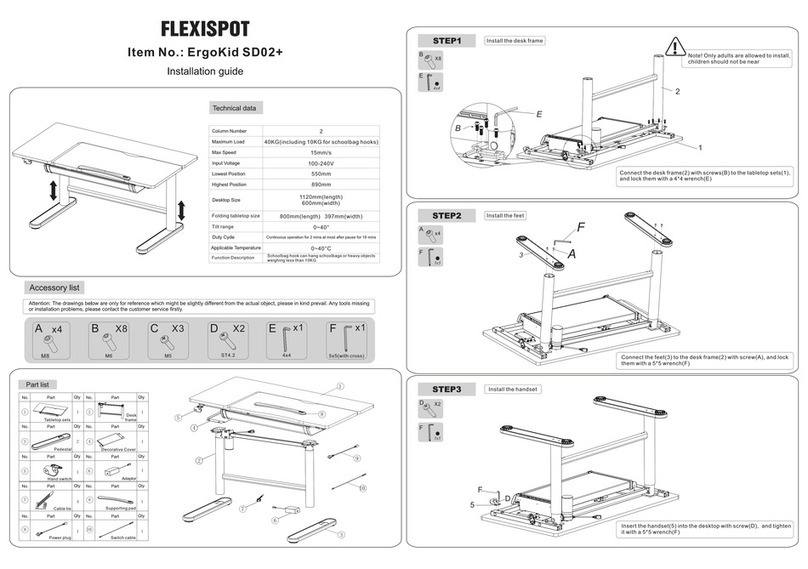
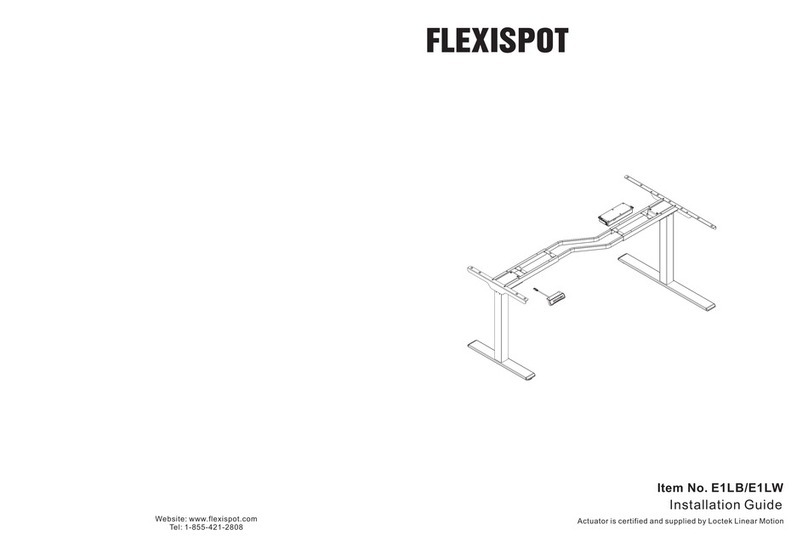
This manual suits for next models

1

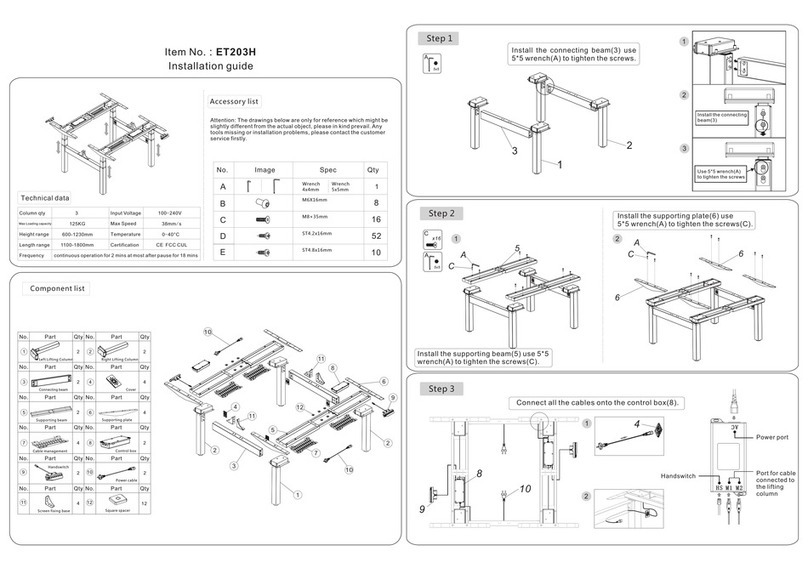
Other Flexispot Indoor Furnishing manuals

Flexispot S05P User manual

Flexispot

Flexispot S05P User manual

Flexispot OC3B User manual

Flexispot

Flexispot OC3B User manual

Flexispot ErgoKid SD02+ User manual

Flexispot

Flexispot ErgoKid SD02+ User manual

Flexispot Q8B-EU User manual

Flexispot

Flexispot Q8B-EU User manual

Flexispot EG1B-4024-EU User manual

Flexispot

Flexispot EG1B-4024-EU User manual

Flexispot ET203H User manual

Flexispot

Flexispot ET203H User manual

Flexispot 1388 User manual

Flexispot

Flexispot 1388 User manual

Flexispot H2W User manual

Flexispot

Flexispot H2W User manual

Flexispot M5B User manual

Flexispot

Flexispot M5B User manual

Flexispot CB31B User manual

Flexispot

Flexispot CB31B User manual

Flexispot OC5G User manual

Flexispot

Flexispot OC5G User manual

Flexispot E5B User manual

Flexispot

Flexispot E5B User manual

Flexispot H2S User manual

Flexispot

Flexispot H2S User manual

Flexispot E2W User manual

Flexispot

Flexispot E2W User manual

Flexispot F3B User manual

Flexispot

Flexispot F3B User manual

Flexispot GC01 User manual

Flexispot

Flexispot GC01 User manual

Flexispot 9127 User manual

Flexispot

Flexispot 9127 User manual

Flexispot BS11-PRO User manual

Flexispot

Flexispot BS11-PRO User manual

Flexispot H2B User manual

Flexispot

Flexispot H2B User manual

Flexispot E2W User manual

Flexispot

Flexispot E2W User manual

Flexispot E7CB User manual

Flexispot

Flexispot E7CB User manual

Flexispot GC02-BW-US User manual

Flexispot

Flexispot GC02-BW-US User manual

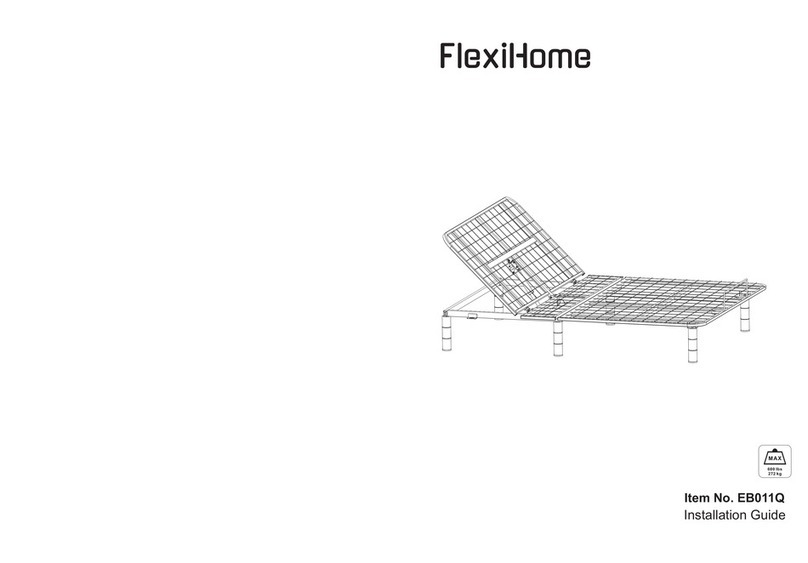
Flexispot FlexiHome EB011Q User manual

Flexispot

Flexispot FlexiHome EB011Q User manual

Flexispot UD1B User manual

Flexispot

Flexispot UD1B User manual

Popular Indoor Furnishing manuals by other brands

META 13 RS installation instructions

META

META 13 RS installation instructions

TRANSFORMS SMART BED YOUNG V user guide

TRANSFORMS

TRANSFORMS SMART BED YOUNG V user guide

Forte OZLS721X8 Assembling Instruction

Forte

Forte OZLS721X8 Assembling Instruction

GALLERY M DUBAI Assembly instructions

GALLERY M

GALLERY M DUBAI Assembly instructions

TIME & STYLE Takaoka Assembly instructions

TIME & STYLE

TIME & STYLE Takaoka Assembly instructions

Steelcase Amia user guide

Steelcase

Steelcase Amia user guide

Skutchi NOVA Assembly instructions

Skutchi

Skutchi NOVA Assembly instructions

convenience concepts Designs2go Landon 203145BL Assembly instructions

convenience concepts

convenience concepts Designs2go Landon 203145BL Assembly instructions

Way Basics Wall Cube Assembly guide

Way Basics

Way Basics Wall Cube Assembly guide

Rapidline GO GG09FF Assembly instructions

Rapidline

Rapidline GO GG09FF Assembly instructions

Munchkin MK0002-000 manual

Munchkin

Munchkin MK0002-000 manual

Cooper Lighting L4005 Specifications

Cooper Lighting

Cooper Lighting L4005 Specifications

Ameriwood HOME 5661213PCOM manual

Ameriwood HOME

Ameriwood HOME 5661213PCOM manual

Geuther Mette 1193WK manual

Geuther

Geuther Mette 1193WK manual

Bouclair 9393644 Assembly instructions

Bouclair

Bouclair 9393644 Assembly instructions

Furniture of America CM3492ST-2PK Assembly instructions

Furniture of America

Furniture of America CM3492ST-2PK Assembly instructions

Vari 401177 Assembly instructions

Vari

Vari 401177 Assembly instructions

OSP Home Furnishings BANDON BNN09 Assembly instructions

OSP Home Furnishings

OSP Home Furnishings BANDON BNN09 Assembly instructions

manuals.online logo
manuals.online logoBrands
  • About & Mission
  • Contact us
  • Privacy Policy
  • Terms and Conditions

Copyright 2025 Manuals.Online. All Rights Reserved.