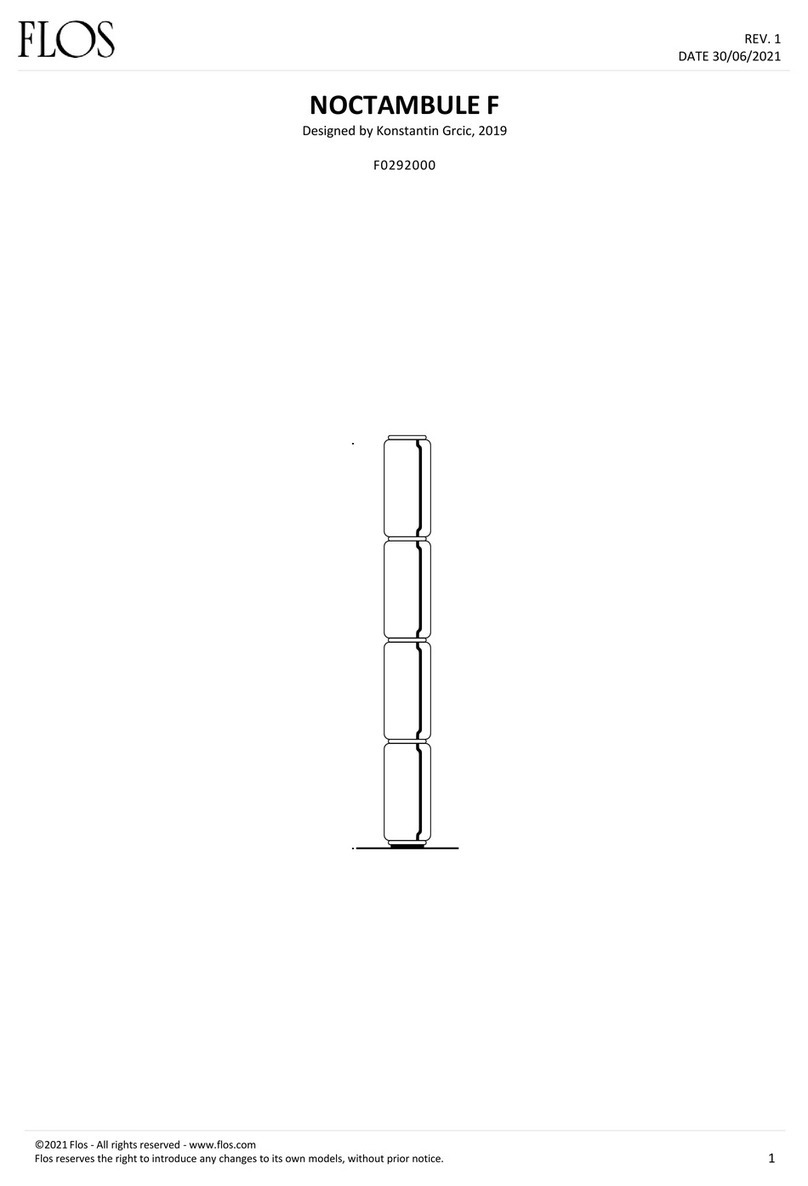
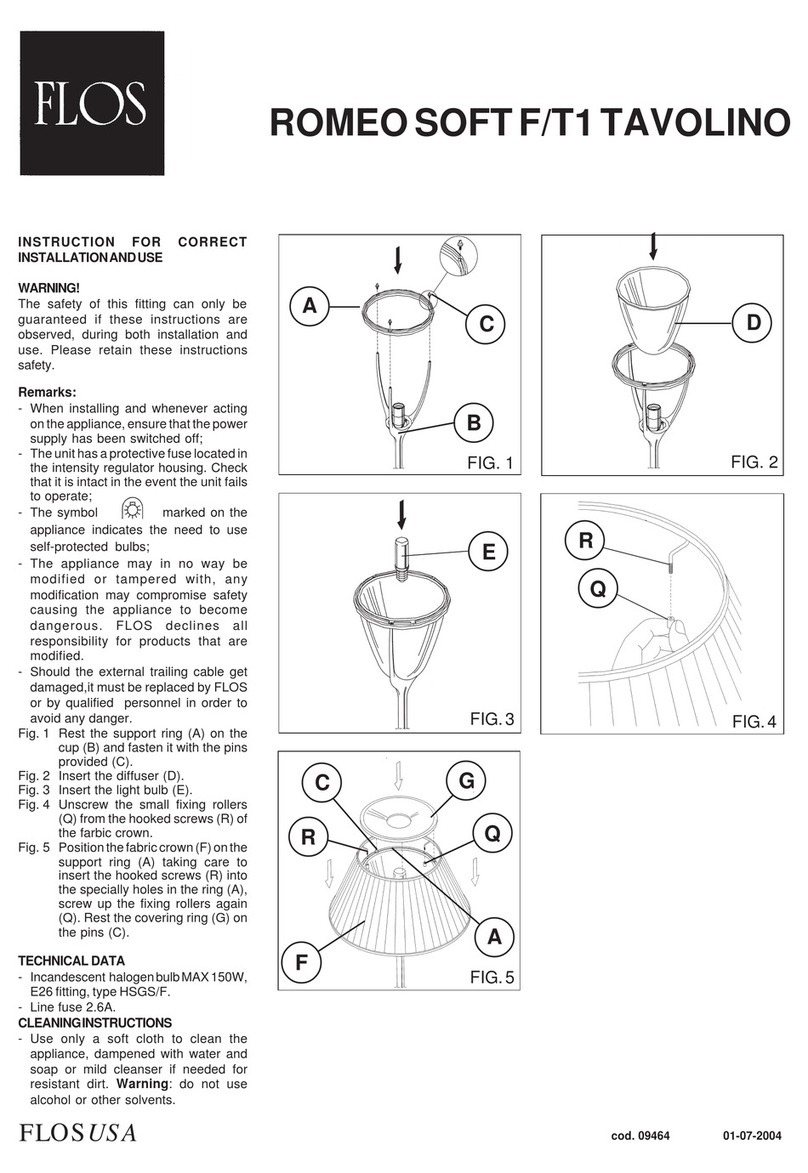
FLOS ARCO F0300000 User manual

REV. 1
DATE 10/06/2021
1
ARCO
Designed by Achille & Pier Giacomo Castiglioni, 1962
F0300000
©2021 Flos -All rights reserved -www.flos.com
Flos reserves the right to introduce any changes to its own models, without prior notice.

EN
2
ARCO
F0300000
©2021 Flos -All rights reserved -www.flos.com
Flos reserves the right to introduce any changes to its own models, without prior notice.
1. RF0300200
– Screw rolls unitd for inox channel
2. F0330000
– Stem, channels and electrical mounting with On/Off switch
3. RF02970
– Long inox channel
4. RF02971
– Medium inox channel
5. RF02972
– Short inox channel with lamp holder integrated
6. RF0300300
– Lamp holder with joint
7. RF02593
– Anodized sleeve
8. F0320000
– Reflector and grid
9. RF00797
– Polished reflector
10. RF01411
– Polished grid
11. RF0300100
– Fixing screw with joint
12. RF0310000
– Marble base
13. RF04724
– Electric wiring assembly with On/Off scwitch
14. RF04392
– Black D/661 On/Off switch
15. RF21041
– Vertical inox stem
REV. 1
DATE 10/06/2021

EN
3
WARNING! When installing and whenever acting on the appliance, ensure that the power supply has been switched off.
For the installation of the spare-part, it is necessary to consult a qualified electrician.
©2021 Flos -All rights reserved -www.flos.com
Flos reserves the right to introduce any changes to its own models, without prior notice.
REV. 1
DATE 10/06/2021
RF0300200
PINS AND SCREW SET
ARCO F0300000
Arco
Led
p.32
Arco
p.03

4
WARNING! When installing and whenever acting on the appliance, ensure that the power supply has been switched off.
For the installation of the spare-part, it is necessary to consult a qualified electrician.
©2021 Flos -All rights reserved -www.flos.com
Flos reserves the right to introduce any changes to its own models, without prior notice.
EN
Fix the pins to the channels through there apposite screws.
Fig.1
REV. 1
DATE 10/06/2021
SMALL IN
RF0300200
PINS AND SCREW SET
ARCO F0300000

EN
5
F0330000
STEM AND CHANNELS ENEC ASSEMBLY WITH ON/OFF SWITCH
WARNING! When installing and whenever acting on the appliance, ensure that the power supply has been switched off.
For the installation of the spare-part, it is necessary to consult a qualified electrician.
©2021 Flos -All rights reserved -www.flos.com
Flos reserves the right to introduce any changes to its own models, without prior notice.
ARCO F0300000
REV. 1
DATE 10/06/2021

6
WARNING! When installing and whenever acting on the appliance, ensure that the power supply has been switched off.
For the installation of the spare-part, it is necessary to consult a qualified electrician.
©2021 Flos -All rights reserved -www.flos.com
Flos reserves the right to introduce any changes to its own models, without prior notice.
EN
Fig.1
REV. 1
DATE 10/06/2021
F0330000
STEM AND CHANNELS ENEC ASSEMBLY WITH ON/OFF SWITCH
ARCO F0300000

EN
7
RF02970
LONG INOX CHANNEL
WARNING! When installing and whenever acting on the appliance, ensure that the power supply has been switched off.
For the installation of the spare-part, it is necessary to consult a qualified electrician.
©2021 Flos -All rights reserved -www.flos.com
Flos reserves the right to introduce any changes to its own models, without prior notice.
ARCO F0300000
REV. 1
DATE 10/06/2021
Arco
Led
p.26
Arco
p.07

Disconnect the wires from the lamp holder and slide-back the electrical cable through the channels
before carrying-out the following operation.
Insert the large channel (H) into the rod (A); Hook the small and medium channels onto the pins (I)
depending on the position required.
Insert the electrical cable by sliding the cable through the channels.
The electrical supply cable must be laid carefully along the bottom of the channels;
CAREFUL!!!
Do not tear/mark the isolation of electrical cable.
Connect the electrical wires to the lampfitting terminals (Refer to the image of the lamp holder
connection). Unscrew the lamp holder (A) and connect the cables to the fitting (B), ensure to insert the
cable through the hole of the insulator (C).
REMARK!!!
Make sure that the Neutral wire (the blue one) corresponds with the lamp holder’s lateral
connection; the Live wire (the brown one) needs to correspond with the lamp holder central connection.
8
WARNING! When installing and whenever acting on the appliance, ensure that the power supply has been switched off.
For the installation of the spare-part, it is necessary to consult a qualified electrician.
©2021 Flos -All rights reserved -www.flos.com
Flos reserves the right to introduce any changes to its own models, without prior notice.
EN
Fig.1
REV. 1
DATE 10/06/2021
I
A
RF02970
LONG INOX CHANNEL
ARCO F0300000
H
I
D
C
A
B

EN
9
RF02971
MEDIUM INOX CHANNEL
WARNING! When installing and whenever acting on the appliance, ensure that the power supply has been switched off.
For the installation of the spare-part, it is necessary to consult a qualified electrician.
©2021 Flos -All rights reserved -www.flos.com
Flos reserves the right to introduce any changes to its own models, without prior notice.
ARCO F0300000
REV. 1
DATE 10/06/2021
Arco
Led
p.34
Arco
p.09

Disconnect the wires from the lamp holder and slide-back the electrical cable through the channels
before carrying-out the following operation.
Insert the large channel (H) into the rod (A); Hook the small and medium channels onto the pins (I)
depending on the position required.
Insert the electrical cable by sliding the cable through the channels.
The electrical supply cable must be laid carefully along the bottom of the channels;
CAREFUL!!!
Do not tear/mark the isolation of electrical cable.
Connect the electrical wires to the lampfitting terminals (Refer to the image of the lamp holder
connection). Unscrew the lamp holder (A) and connect the cables to the fitting (B), ensure to insert the
cable through the hole of the insulator (C).
REMARK!!!
Make sure that the Neutral wire (the blue one) corresponds with the lamp holder’s lateral
connection; the Live wire (the brown one) needs to correspond with the lamp holder central connection.
10
WARNING! When installing and whenever acting on the appliance, ensure that the power supply has been switched off.
For the installation of the spare-part, it is necessary to consult a qualified electrician.
©2021 Flos -All rights reserved -www.flos.com
Flos reserves the right to introduce any changes to its own models, without prior notice.
EN
REV. 1
DATE 10/06/2021
I
A
ARCO F0300000
H
I
D
C
A
B
RF02971
MEDIUM INOX CHANNEL
Fig.1

EN
11
RF02972
SMALL INOX CHANNEL WITH LAMP HOLDER INTEGRATED
WARNING! When installing and whenever acting on the appliance, ensure that the power supply has been switched off.
For the installation of the spare-part, it is necessary to consult a qualified electrician.
©2021 Flos -All rights reserved -www.flos.com
Flos reserves the right to introduce any changes to its own models, without prior notice.
ARCO F0300000
REV. 1
DATE 10/06/2021

CAREFUL!!!
Do not tear/mark the isolation of electrical cable when carrying-out the following operation.
Unscrew the lamp holder (A) and connect the cables to the fitting (B), ensure to insert the cable through
the hole of the insulator (C).
REMARK!!!
Make sure that the Neutral wire (the blue one) corresponds with the lamp holder’s lateral
connection; the Live wire (the brown one) needs to correspond with the lamp holder central connection.
Lock the reflector (L) and grid (M), by screwing the sleeve (O) to the lamp holder (N).
12
WARNING! When installing and whenever acting on the appliance, ensure that the power supply has been switched off.
For the installation of the spare-part, it is necessary to consult a qualified electrician.
©2021 Flos -All rights reserved -www.flos.com
Flos reserves the right to introduce any changes to its own models, without prior notice.
EN
REV. 1
DATE 10/06/2021
L
ARCO F0300000
D
C
A
B
RF02972
SMALL INOX CHANNEL WITH LAMP HOLDER INTEGRATED
N
O
M
Fig.1

EN
13
WARNING! When installing and whenever acting on the appliance, ensure that the power supply has been switched off.
For the installation of the spare-part, it is necessary to consult a qualified electrician.
©2021 Flos -All rights reserved -www.flos.com
Flos reserves the right to introduce any changes to its own models, without prior notice.
REV. 1
DATE 10/06/2021
RF0300300
LAMP HOLDER WITH JOINT
ARCO F0300000

EN
14
WARNING! When installing and whenever acting on the appliance, ensure that the power supply has been switched off.
For the installation of the spare-part, it is necessary to consult a qualified electrician.
©2021 Flos -All rights reserved -www.flos.com
Flos reserves the right to introduce any changes to its own models, without prior notice.
REV. 1
DATE 10/06/2021
RF0300300
LAMP HOLDER WITH JOINT
ARCO F0300000
Assemble the joint (D) to the small channel by
locking the joint through the lateral screw.
Unscrew the lamp holder (A) and connect the
cables to the fitting (B), ensure to insert the cable
through the hole of the insulator (C).
REMARK!!!
Make sure that the Neutral wire (the
blue one) corresponds with the lamp holder’s
lateral connection; the Live wire (the brown one)
needs to correspond with the lamp holder central
connection.

EN
15
RF02593
ANODIZED SLEEVE
WARNING! When installing and whenever acting on the appliance, ensure that the power supply has been switched off.
For the installation of the spare-part, it is necessary to consult a qualified electrician.
©2021 Flos -All rights reserved -www.flos.com
Flos reserves the right to introduce any changes to its own models, without prior notice.
ARCO F0300000
REV. 1
DATE 10/06/2021

16
WARNING! When installing and whenever acting on the appliance, ensure that the power supply has been switched off.
For the installation of the spare-part, it is necessary to consult a qualified electrician.
©2021 Flos -All rights reserved -www.flos.com
Flos reserves the right to introduce any changes to its own models, without prior notice.
EN
Lock the reflector (L) and grid (M), by screwing the sleeve (O) to the
lamp holder (N).
Fig.1
REV. 1
DATE 10/06/2021
L
NM
O
ARCO F0300000
RF02593
ANODIZED SLEEVE

EN
17
F0320000
ENEC REFLECTOR AND GRID
WARNING! When installing and whenever acting on the appliance, ensure that the power supply has been switched off.
For the installation of the spare-part, it is necessary to consult a qualified electrician.
©2021 Flos -All rights reserved -www.flos.com
Flos reserves the right to introduce any changes to its own models, without prior notice.
ARCO F0300000
REV. 1
DATE 10/06/2021

18
WARNING! When installing and whenever acting on the appliance, ensure that the power supply has been switched off.
For the installation of the spare-part, it is necessary to consult a qualified electrician.
©2021 Flos -All rights reserved -www.flos.com
Flos reserves the right to introduce any changes to its own models, without prior notice.
EN
Lock the reflector (L) and grid (M), by screwing the sleeve (O) to the
lamp holder (N).
L
Fig.1
REV. 1
DATE 10/06/2021
N
F0320000
ENEC REFLECTOR AND GRID
ARCO F0300000
M
O

EN
19
RF00797
POLISHED REFLECTOR
WARNING! When installing and whenever acting on the appliance, ensure that the power supply has been switched off.
For the installation of the spare-part, it is necessary to consult a qualified electrician.
©2021 Flos -All rights reserved -www.flos.com
Flos reserves the right to introduce any changes to its own models, without prior notice.
ARCO F0300000
REV. 1
DATE 10/06/2021
Arco
Led
p.39
Arco
p.19

20
WARNING! When installing and whenever acting on the appliance, ensure that the power supply has been switched off.
For the installation of the spare-part, it is necessary to consult a qualified electrician.
©2021 Flos -All rights reserved -www.flos.com
Flos reserves the right to introduce any changes to its own models, without prior notice.
EN
Lock the reflector (L) and grid (M), by screwing the sleeve (O) to the
lamp holder (N).
Fig.1
REV. 1
DATE 10/06/2021
L
NM
O
RF00797
POLISHED REFLECTOR
ARCO F0300000
Other FLOS Home Lighting manuals
FLOS
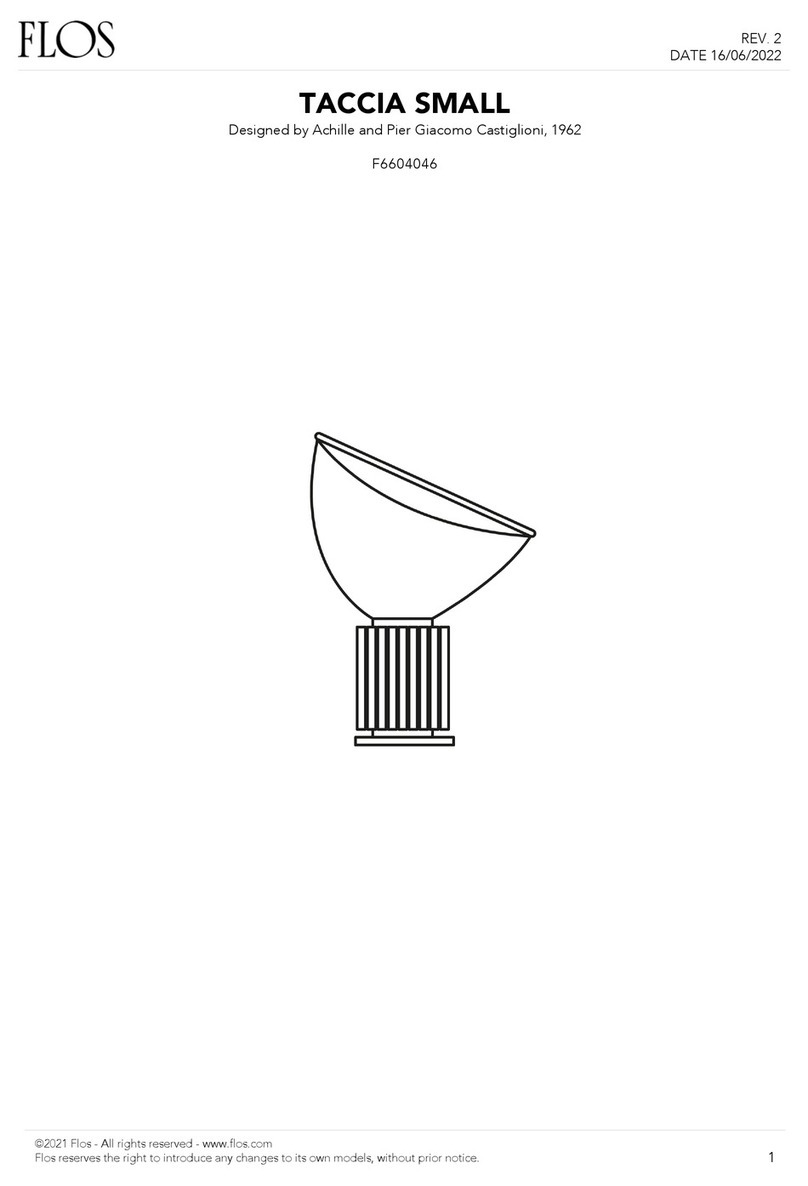
FLOS F6604046 User manual
FLOS
FLOS F1530059 User manual

FLOS
FLOS Belvedere Spot wall User manual
FLOS
FLOS KELVIN EDGE User manual

FLOS
FLOS NOCTAMBULE F User manual
FLOS
FLOS IC C/W1 User manual
FLOS
FLOS GLO-BALL BASIC 2 User manual
FLOS
FLOS Tatou F User manual
FLOS
FLOS WireRing User manual
FLOS
FLOS F6630009 User manual

FLOS
FLOS FU317930 User manual

FLOS
FLOS TACCIA SMALL User manual
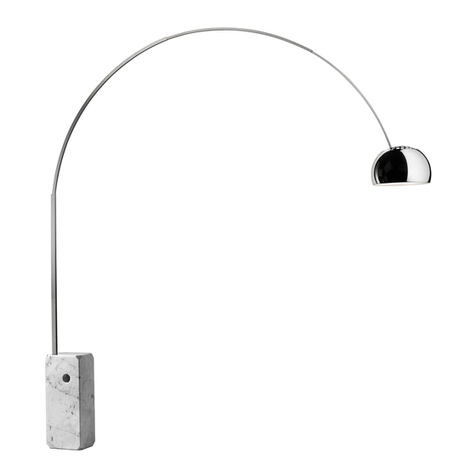
FLOS
FLOS ARCO User manual
FLOS
FLOS F1037046 User manual

FLOS
FLOS RF29987 User manual
FLOS
FLOS WireRing User manual

FLOS
FLOS BON JOUR F1032057 User manual
FLOS
FLOS SPUN LIGHT T1 User manual

FLOS
FLOS GOLDMAN User manual
FLOS
FLOS SUPERLOON User manual


