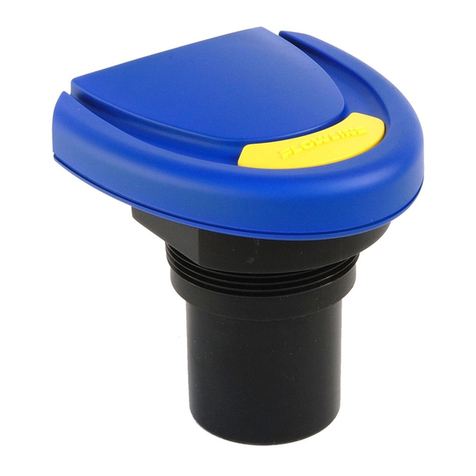
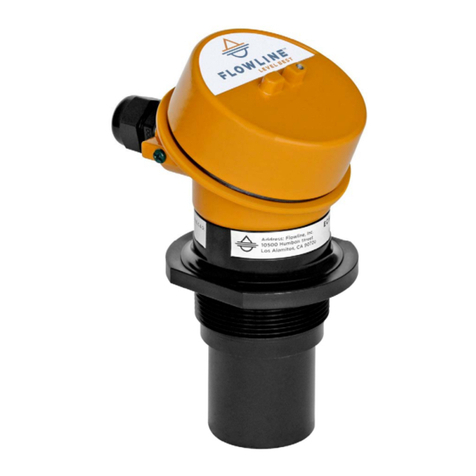
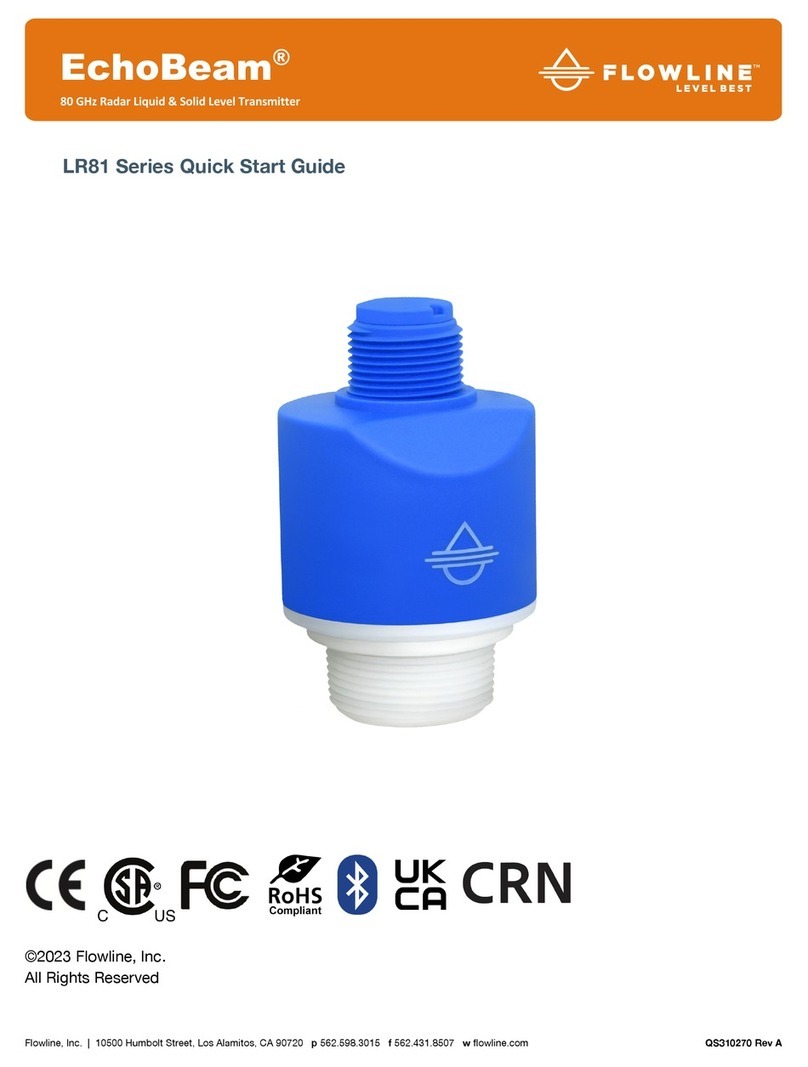
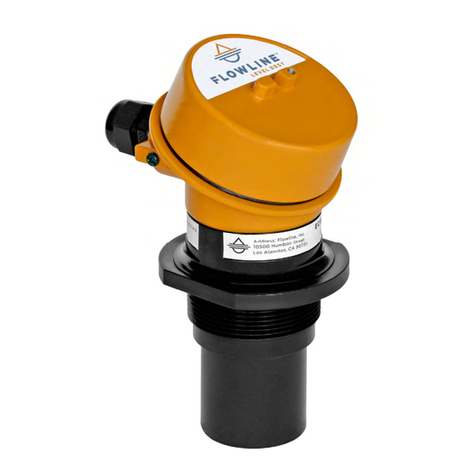
manuals.online logo
Brands
  1. Home
  2. •
  3. Brands
  4. •
  5. FlowLine
  6. •
  7. Transmitter
  8. •
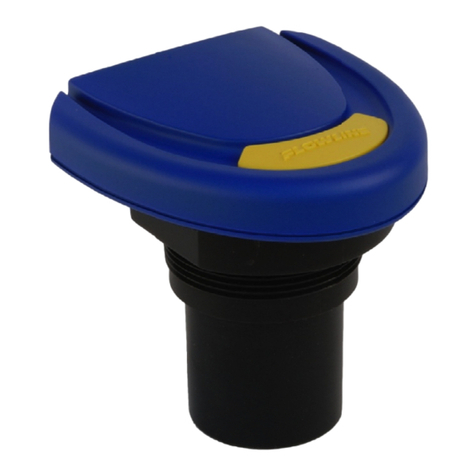
  9. FlowLine EchoSonic II LU27 Series User manual

FlowLine EchoSonic II LU27 Series User manual

1





EchoSonic®II
UltrasonicLevelTransmitter
LU27SeriesQuickStart
NEMA4XEnclosure































QS300116RevC1
©2019Flowline,Inc.
AllRightsReserved 10500HumboltStreet,LosAlamitos,CA90720USA
MadeinUSA Tel:562.598.3015•Fax:562.431.8507•www.flowline.com
2
WelcometotheEchoSonic®IIQuickStart
TheEchoSonic®IIquickstartismeanttoshowsomeofthemore common setup
solutions to getting the EchoSonic® II up and running quickly.  If you run into an issue
thatisnotaddressedhereorwishtoinstallorsetupwithanon‐standardconfiguration,
pleaseaddresstheEchoSonic®IIManualorrefertotheFlowline website at
www.flowline.com.
WeDoYourLevelBest
ThankyouforpurchasingFlowline’sEchoSonic®II.Thisgeneralpurposeultrasonicsensor
providesnon‐contactdetectionupto9.8’(3m)poweredbythe4‐20mAloop.Thisquick
start includes everything you’ll need to get the sensor up and running.Forcomplete
information,pleaserefertoEchoSonic®IIdocumentationlocatedatwww.flowline.com.
Components
Dependingonhowthesensormodelthatwasshipped,youshouldhavetheEchoSonic®II
andViton®gasketwhicharerequiredtoinstalltheEchoSonic®II.Somemodelswillhave
theUSB®KeyFob(LI99‐2001)includedwiththeEchoSonic®II.Other will require the
separate purchase of the Fob.  A LI99‐2001 Fob is required to interface to WebCal® and
configurethesensor.



EchoSonic®II
LU27‐40,LU27‐41
LU27‐50,LU27‐51
Viton®gasket(1”)
P/N:200128
USB®KeyFob
P/N:LI99‐2001


3
ConfiguringtheEchoSonic®II
Configuration of your sensor should be performed prior to mounting, since it requires
connectiontoyourPC.

Step1:InstalltheWebCalSoftware
DownloadWebCalfromwww.flowline.com/webcal‐softwareontoaPCwiththefollowing
minimumspecifications:
Windows®XP/Vista/7/8,10MBstoragespace,256MBRAM,1USB2.0port
Double‐click the WebCal icon to install before proceeding to Step2.Youmusthavean
activeInternetconnectiontoinstallWebCal,asitwillautomaticallyverifydriverupdates.
Step2:ConnecttheUSBFob
NOTE:DonotconnecttheFobuntilafteryou’veinstalledWebCal.
The sensor communicates to its configuration software through the USB Fob. Prior to
connectingtheFob,ensurethatallexternalpowerisdisconnectedfromtheEchoSonic®II
aspowerisprovidedthroughthePC’sUSB2.0port.Donotusea cable connecting the
sensortotheFobanylongerthan15feet.

1) Connect the red, green, white, and black wires from the EchoSonic® II to the
correspondingcoloredterminalsontheFob(asshowninthediagram).
2) Tightentheterminalscrewswithaslottedscrewdriver.
3) PlugtheFobintoyourPC’sUSBport.
Note:EchoSonic®IIshipswiththeLI99‐2001Fob(whiteincolor).TheLI99‐1001Fob(black
incolor)canbeusedwithEchoSonic®II(LU27series)toconfigurethesensorwithWebCal®.


4
Step3:ConfigurethroughWebCal
TheseinstructionswillwalkyouthroughconfigurationofthesensorthroughWebCal.For
moreinformation,clicktheWebCalHELPbuttoninthelowerrightcorneroranywhereon
the WebCal screen or refer to the EchoSonic® II manual found   at
www.flowline.com/webcal‐software.

WebCalConfigurationScreen

5

Usingthedrop‐downmenusontheleftoftheWebCalscreenset
the configuration for your application requirements. When a
selection does not apply to your application, “Not Applicable”
willappearinthedrop‐down.Makesurealldrop‐downsareset
appropriately for your application before moving to the Tank
Levelsection.
 Loop Fail Safe. Use this setting to choose the output level
shouldthesensornotreceiveanecho.
 Output at Empty.Usethissettingtochangethe4‐20mA
settingfromitsdefault.
 StartupCondition.Duringthe15‐20secondsduringwhichthe
EchoSonic
®
IIstartsup,thisdescribesthelevelatwhichitwill
beginsearchingforthecontentsofthetank.
NOTE:Ifyouwouldliketostartover,clicktheClear Screen
buttonontheright.


ANewfeatureofWebCal6.0istheabilitytoconfigurethesensor in volumetric units
(GallonsorLiters)orintheexistingDistance(HeightofLiquid)units(inches,cm,feetor
meters).TochangetheactualunitsortochangefromDistancetoVolume,presstheTanks
buttonlocatednearthecenterofthewindow.
ShapeSelectionWindow: DimensionalEntryWindow:
This window will show the
different options for tank
shapesavailableinWebCal.




Enter the dimensional
information for the
tank.Youmustenter
allofthefieldsshown.
 SensorHeight:
 FillHeight:
 RiserHeight:
 TankHeight:
 Diameter:
Note:Notallofthe
fields apply for every
tankconfiguration.

6
Entertheappropriatetanklevelsetpointsforyourapplication.
 Units. Display measurements in inches
orcentimeters.
 Sensor Height. Distance measured from
thebottomoftheemptytanktothe
bottomofthetransducer.Underfactory
configuration,thisbecomesthe4mAset
point.
 Fill Height. Distance measured from the
bottomoftheemptytanktothe
maximumfillheightwithinthetank.
Under factory configuration, this
becomesthe20mAsetpoint.

TankLevelSettings
TheoptionsontherightoftheWebCalscreentofinalizethe
configuration.
 WritetoUnit.SendyourconfigurationintoEchoSonic®II.
 Wiring Diagram. Open PDF wiring schematic of your
configuration.
 Advanced. Configure advanced settings. Read the section
belowonadvancedsettingoptions
 Factory Config.ReturnEchoSonic®IItotheoriginalfactory
configuration.
 ClearScreen.Clearsthescreenofconfigurationsettings.
 Config File. Name, save, open or print your configuration for
lateruse.


FinalizeSettings


7
TheAdvancedbuttonisusedforoptionsavailablewhensettingupthesensorwithspecial,
non‐standardfeatures.Manyofthesefeaturesareavailableforspecificapplicationsthat
maychangefromtimetotime.ConsultWebCal'sHELPfileforthelatestinformationon
theuseofanyofthesefeatures.
The more commonly used Advanced features
are the Invert Relay and Increase Output
Filteringdescribedbelow.
 Increase Output Filtering. Select this radio
buttontoaddadditionalfilteringtothe4‐20
mAoutput.
 Decrease Output Filtering. Select this radio
buttontoremovealloutputfilteringonthe
4‐20mAoutput.

AdvancedSettings
Beforeconfigurationcanbecompleted:
 YoumustclicktheWritetoUnitbuttontosavethesettingstotheunit.
 Then,clickWiringDiagramforahardcopyofthesensor’ssettings.
 Finally,enterthefilenameunderwhichyouwishtosavetheconfigurationfileand
clickSaveConfigFile.
Configurationisnowcomplete.
DisconnecttheUSBFobbeforecontinuingtothenextstep:MountingtheEchoSonic®II.
ForupdatestoWebCal,ortomakesureyou’reusingthemostup‐to‐dateversionavailable,
clicktheUpdatetabonthetopoftheWebCalscreen.



8
MountingtheEchoSonic®II
The sensor should always be mounted perpendicular to the liquidsurfaceusingthe
providedViton®mountinggasket.Insurethattherearenorestrictionsorobstaclesinthe
pathoftheultrasonicsignal.FurthermountinginformationcanbefoundontheFlowline
websiteatwww.flowline.com.
TheEchoPod®hasa1”NPTorGfittingandrequiresmorecareinmountingtoreduceany
coupling of the ultrasonic signal to the mounting structure. The below listed fittings are
recommended.
Forinstallationsinexisting2”fittings:
1) Use a LM52‐1400 2” thread x 1” thread adapter (shown to
the right) or a LM52‐1410 2” slip x 1” thread adapter.
(An adapter with an air gap around the 1 inch threads as
shownisrecommended)
Forinstallationsinplastictanks(useoneofthefollowing):
1) Use a 1” Bulkhead fitting, such as the LM52‐1890 Bulkhead
fitting.
2) Use a larger Bulkhead fitting, such as the LM52‐2890 in
combinationwithareducerbushingsuchastheLM52‐1400.
3) Weldaplastic1”halfcouplingtothetanktop.
Forinstallationsinmetaltanks(useoneofthefollowing):
1) Usetherecommendedbulkheadfittingsasshownabove.
2) Use a flange with a 1” riser, such as the LM52‐1850 (the
threadisabovetheplaneoftheflange).Donotuseablind
flangewithatapped1”thread.
3) Use a larger flange with a 2” thread and add a reducer
bushingsuchastheLM52‐1200.
Note: While installations directly into a 1”metal fitting are not
recommended, acceptable results may be obtained if the 1”
fitting is a half coupling in form and the outer diameter of the
coupleristightlywrappedinvinyltapetodampenvibrations.
Forinstallationsinopentanksandsumps:
1) UseFlowline'sLM50‐1001‐1sidemountbracket.
Note:TheSideMountBracket(LM50series)isnotdesignedfor
usewithstandpipesorasamethodtosecurestandpipes.
Therearetoofewthreadstoproperlyholdthesensorandthe
standpipe.

LM52‐1400

LM52‐1410

LM52‐2890

LM52‐1850

LM50‐1001
9

MountingwithaStand‐Pipe:
Astand‐pipemaybeusedtodampenturbulence,separate surfacefoamfromthepointof
measurement or increase performance in heavy vapor.  When mounting the sensor in a
stand‐pipe,theminimumdiameterofthepipeis2”.Largerdiameterpipescanbeused.The
pipeshould beattachedwitha coupling andreducerbushing.Thepipelength should run
themeasurementspanandthebottomofthepipeshouldremainsubmergedatalltimesto
prevent foam from entering the pipe.  Cut the bottom end of thepipeat45°anddrilla
1/4”pressure equalization hole high in the dead band.  The pumpsshouldnotdriveliquid
pasttheopenendofthestandpipewhichcausestheliquidinthepipetooscillate.

Stand‐PipeMounting
IMPORTANTMOUNTINGGUIDELINES:
1) Nevermountthesensoratanangle.
2) Liquidshouldneverenterthedeadband.
3) Mountatleast3”fromthesidewall.
4) Nevermountinavacuum.
5) Donotobstructthesensor’sbeamwidth.

10
WiringtheEchoSonic®II
Aftermountingthesensor,makethenecessaryelectricalconnections.Awiringdiagram
withspecific recommendations forthesensor’s configuration can be printedfrom the
WebCalprogram.Atypicalwiringdiagramisshownonthenextpage.


Red(Power)andBlack(Return)leadsareforconnectiontoa24VDCpowersupplyorto
a4‐20mAlooppowersource.Theredandblackwirescanbeextendedmorethan1000
feetusing22‐gaugeorlargerwire,howeverdonotextendthegreenandwhitewires.
White (Tx) and Green(Rx)leadsarereservedforusewithWebCalandshouldnotbe
connected during usage in the application.  These wires should not be connected to
WebCalwhilepowerissuppliedfromanysourceotherthantheLI99‐2001Fob.
Neverallowthewhiteorgreenwirestotouchanypowersupply.


11
WiringtheEchoSonic®II
ThefollowingwiringdiagramcanbeusedwhenwiringtotheEchoSonic®II

relays.

TypicalWiringDiagram
YourWebCalWiringDiagrammayvary.
Generalnotesforelectricalconnections,usageandsafety:
 Where personal safety or significant property damage can occur duetoaspill,the
installationmusthavearedundantbackupsafetysysteminstalled.
 Wiringshouldalwaysbecompletedbyalicensedelectrician.
 Supplyvoltageshouldneverexceed28VDC.
 Protectthesensorfromexcessiveelectricalspikesbyisolatingthepower,whenever
possible.
 Thesensormaterialsmustbechemicallycompatiblewiththeliquidstobemeasured.
 Designafail‐safesystemforpossiblesensorand/orpowerfailure.
 NeverusethesensorinenvironmentsclassifiedasHazardous.



12
Warranty
Flowlinewarrantstotheoriginalpurchaserofitsproductsthatsuchproductswillbefreefromdefectsin
material and workmanship under normal use and service in accordance with instructions furnished by
Flowline for a period of two years from the date of manufacture of such products. Flowline's obligation
underthiswarrantyissolelyandexclusivelylimitedtothe repairorreplacement,atFlowline'soption, of
theproductsorcomponents,whichFlowline'sexaminationdeterminestoitssatisfactiontobedefectivein
materialorworkmanshipwithinthewarrantyperiod.Flowlinemustbenotifiedpursuanttotheinstructions
below of any claim under this warranty within thirty (30) days of any claimed lack of conformity of the
product.Anyproductrepairedunderthiswarrantywillbewarrantedonlyfortheremainderoftheoriginal
warrantyperiod.Anyproductprovidedasareplacementunderthiswarrantywillbewarrantedforthefull
twoyearsfromthedateofmanufacture.
Returns
ProductscannotbereturnedtoFlowlinewithoutFlowline'spriorauthorization.Toreturnaproductthatis
thoughttobedefective,gotowww.flowline.com,andsubmitacustomerreturn(MRA)requestformand
followtheinstructionstherein.Allwarrantyandnon‐warrantyproductreturnstoFlowlinemustbeshipped
prepaidandinsured.Flowlinewillnotberesponsibleforanyproductslostordamagedinshipment.
Limitations
This warranty does not apply to products which: 1) are beyond the warranty period or are products for
which the original purchaser does not follow the warranty procedures outlined above; 2) have been
subjected to electrical, mechanical or chemical damage due to improper, accidental or negligent use; 3)
have been modified or altered;  4) anyone other than service personnel authorized by Flowline have
attempted to repair; 5) have been involved in accidents or natural disasters; or 6) are damaged during
returnshipmenttoFlowline.Flowlinereservestherighttounilaterallywaivethiswarrantyanddisposeof
anyproduct returnedtoFlowlinewhere:1)thereisevidenceofa potentiallyhazardous materialpresent
with the product; or 2) the product has remained unclaimed at Flowline for more than 30 days after
Flowline has dutifully requested disposition. This warranty contains the sole express warranty made by
Flowline in connection with its products. ALL IMPLIED WARRANTIES, INCLUDING WITHOUT LIMITATION,
THE WARRANTIES OF MERCHANTABILITY AND FITNESS FOR A PARTICULAR PURPOSE, ARE EXPRESSLY
DISCLAIMED. The remedies of repair or replacement as stated abovearetheexclusiveremediesforthe
breachofthiswarranty.INNOEVENTSHALLFLOWLINEBELIABLEFORANYINCIDENTALOR
CONSEQUENTIALDAMAGESOFANY KINDINCLUDINGPERSONALORREAL PROPERTY ORFORINJURYTO
ANY PERSON. THIS WARRANTY CONSTITUTES THE FINAL, COMPLETE AND EXCLUSIVE STATEMENT OF
WARRANTY TERMS AND NO PERSON IS AUTHORIZED TO MAKE ANY OTHER WARRANTIES OR
REPRESENTATIONSONBEHALFOFFLOWLINE.Thiswarrantywillbeinterpretedpursuanttothelawsofthe
StateofCalifornia.Ifanyportionofthiswarrantyisheldtobeinvalidorunenforceableforanyreason,such
findingwillnotinvalidateanyotherprovisionofthiswarranty.
Forcompleteproductdocumentation,videotraining,andtechnicalsupport,gotowww.flowline.com.
Forphonesupport,call562‐598‐3015from8amto5pmPST,Mon‐Fri.
(PleasemakesureyouhavethePartandSerialnumberavailable.)



Other manuals for EchoSonic II LU27 Series

1

This manual suits for next models

4

Other FlowLine Transmitter manuals

FlowLine LU20 User manual

FlowLine

FlowLine LU20 User manual

FlowLine EchoPod UG06 Series User manual

FlowLine

FlowLine EchoPod UG06 Series User manual

FlowLine EchoSonic LU05 User manual

FlowLine

FlowLine EchoSonic LU05 User manual

FlowLine EchoSonic II Series User manual

FlowLine

FlowLine EchoSonic II Series User manual

FlowLine EchoBeam LR81 Series User manual

FlowLine

FlowLine EchoBeam LR81 Series User manual

FlowLine EchoBeam LR85 Series User manual

FlowLine

FlowLine EchoBeam LR85 Series User manual

FlowLine DeltaSpan LD30 Series User manual

FlowLine

FlowLine DeltaSpan LD30 Series User manual

FlowLine EchoSafe XP88 User manual

FlowLine

FlowLine EchoSafe XP88 User manual

FlowLine EchoSonic LU23 Series User manual

FlowLine

FlowLine EchoSonic LU23 Series User manual

FlowLine EchoTouch US03 Series User manual

FlowLine

FlowLine EchoTouch US03 Series User manual

FlowLine EchoWave LG11 Series User manual

FlowLine

FlowLine EchoWave LG11 Series User manual

FlowLine EchoPod UG06 Series User manual

FlowLine

FlowLine EchoPod UG06 Series User manual

FlowLine EchoPod UG12 Series User manual

FlowLine

FlowLine EchoPod UG12 Series User manual

FlowLine Ricochet LA15 User manual

FlowLine

FlowLine Ricochet LA15 User manual

FlowLine EchoSpan LU80 series User manual

FlowLine

FlowLine EchoSpan LU80 series User manual

FlowLine EchoPulse LR30 Series User manual

FlowLine

FlowLine EchoPulse LR30 Series User manual

FlowLine LD31-S301 Series User manual

FlowLine

FlowLine LD31-S301 Series User manual

FlowLine MiniMe LU12 User manual

FlowLine

FlowLine MiniMe LU12 User manual

FlowLine EchoPro LR11 Series User manual

FlowLine

FlowLine EchoPro LR11 Series User manual

FlowLine EchoSonic II User manual

FlowLine

FlowLine EchoSonic II User manual

FlowLine EchoSonic II LU23 Series User manual

FlowLine

FlowLine EchoSonic II LU23 Series User manual

FlowLine EchoPod UG01-03 User manual

FlowLine

FlowLine EchoPod UG01-03 User manual
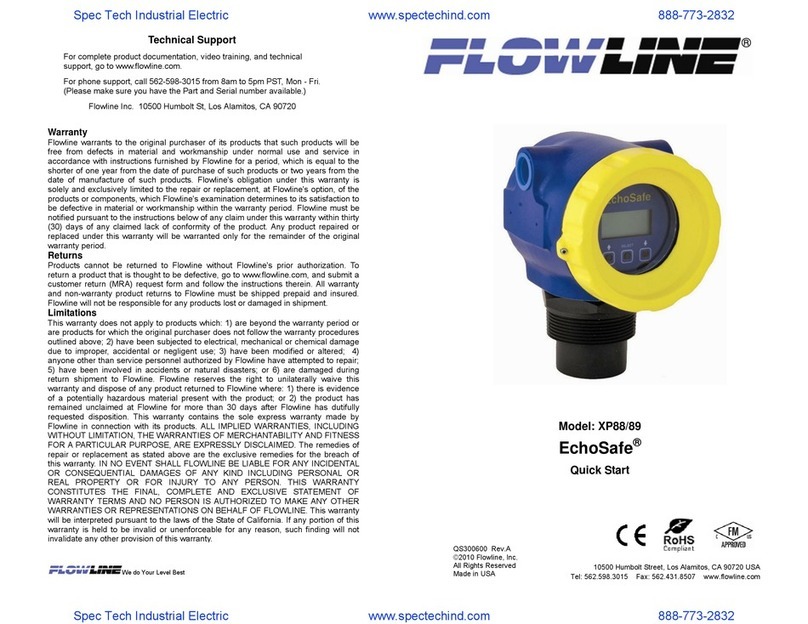
FlowLine LA12 User manual

FlowLine

FlowLine LA12 User manual

FlowLine EchoPod UG06 Series User manual
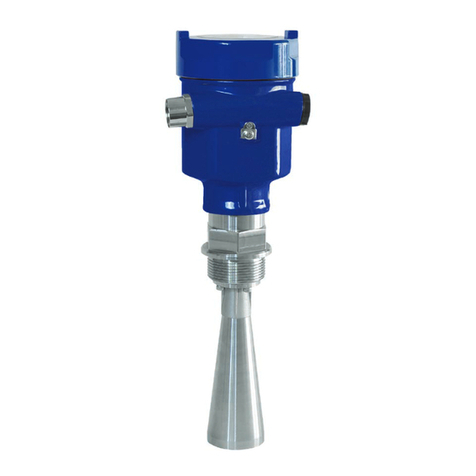
FlowLine

FlowLine EchoPod UG06 Series User manual
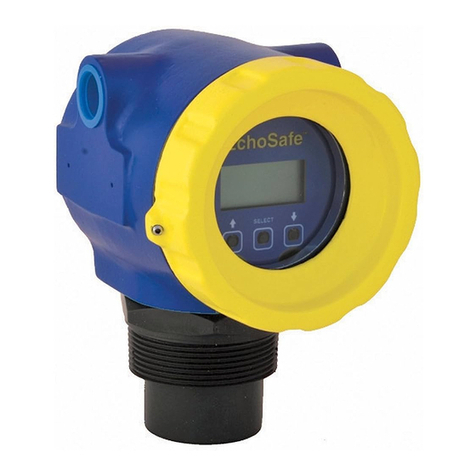
Popular Transmitter manuals by other brands

Nitek FTS344000S00 installation manual

Nitek

Nitek FTS344000S00 installation manual

GE MDS TD220MAX Technical manual

GE

GE MDS TD220MAX Technical manual

GRAUPNER mz-32 HoTT manual

GRAUPNER

GRAUPNER mz-32 HoTT manual

Assistive Sound AS201T manual

Assistive Sound

Assistive Sound AS201T manual

Beckhoff CU8803-0000 Installation and operating instructions

Beckhoff

Beckhoff CU8803-0000 Installation and operating instructions

CAME STHB004WL quick guide

CAME

CAME STHB004WL quick guide

Grohe 39 142 manual

Grohe

Grohe 39 142 manual

Vega VEGABAR 86 operating instructions

Vega

Vega VEGABAR 86 operating instructions

Orlit TR-V6 manual

Orlit

Orlit TR-V6 manual

Lectrosonics LMb/E01 quick start guide

Lectrosonics

Lectrosonics LMb/E01 quick start guide

Harmonic PWRLink II 4800T Series product manual

Harmonic

Harmonic PWRLink II 4800T Series product manual

Meccanica Fadini DIVO 71 quick start guide

Meccanica Fadini

Meccanica Fadini DIVO 71 quick start guide

Micro Motion 3500 Quick reference guide

Micro Motion

Micro Motion 3500 Quick reference guide

Sennheiser AC 3200-II High Gain instruction manual

Sennheiser

Sennheiser AC 3200-II High Gain instruction manual

Bosch CRS-RM-905FI user manual

Bosch

Bosch CRS-RM-905FI user manual

Trilithic Seeker HL Operation manual

Trilithic

Trilithic Seeker HL Operation manual

DSC Links2450 installation manual

DSC

DSC Links2450 installation manual

MSA PrimaX Series operating manual

MSA

MSA PrimaX Series operating manual

manuals.online logo
manuals.online logoBrands
  • About & Mission
  • Contact us
  • Privacy Policy
  • Terms and Conditions

Copyright 2025 Manuals.Online. All Rights Reserved.