8
Balancing The Horizontal Axis
When your FLYCAM DSLR Nano is properly assembled, you can start the test and setup of the horizontal
balance. Horizontal balance allows the camera to remain level during operaon with the Central Post in a
vercal posion unless o axis framing is desired. When tesng for horizontal balance start from a at and
level surface like a table. This will allow the FLYCAM DSLR Nano to hang freely as you hold it. If your FLYCAM
DSLR Nano is correctly balanced on its horizontal axis, then it will be both level & upright, with the Central
Post in a perfect vercal posion.
Warning: If you do not have enough weight on the Base Plaorm the enre Flycam could ip upside down.
Should this movement start to happen be ready to catch the stalk before a complete 180 occurs. This type of
unwanted movement requires more weight to be added to the base with addional weight discs.
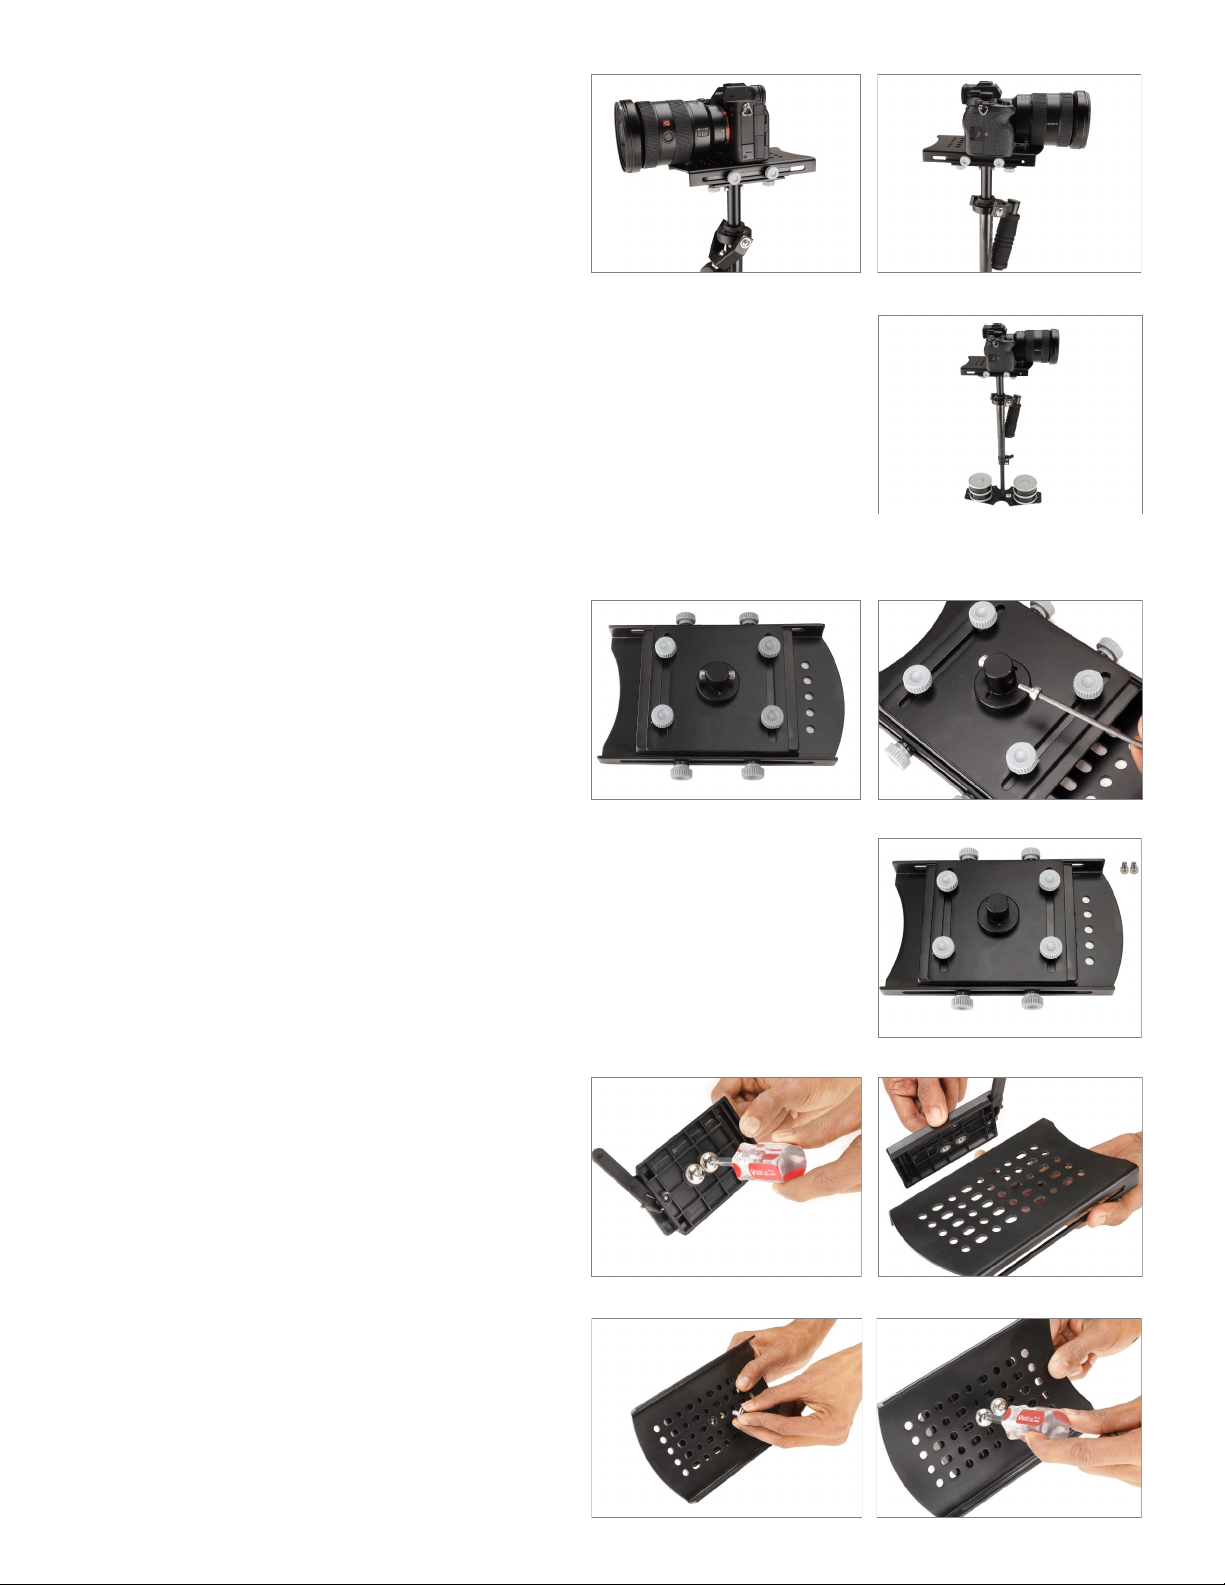
Another way to accomplish horizontal balance is to move the center of gravity of the camera by re-bolng
the camera to a dierent area of the Head and Mid Plate, either front to back or side to side.
Should the FLYCAM DSLR Nano be front heavy, loosen the screws on the sides of the Head Plate and gently
slide the Head Plate back unl opmum balance is achieved. Tilng to the back means the load is tail heavy
requiring the plate to be adjusted forward on the head.
Always secure the screws aer any adjustments.
If you cannot achieve front to back axis balance with this method, then try remounng your camera to a
dierent hole on the Head Plate. Having achieved horizontal balance for the front to back axis, ghten the
screws on the Head Plate. If the FLYCAM DSLR Nano leans to the right, then loosen the screws on the
boom of the Boom Plate and then gently slide the Mid Plate to the le. If it leans to the le from the
operator’s point of view, then adjust the Mid Plate to the right. A bit at a me unl balance is achieved.
Secure all parts aer adjustments are made.
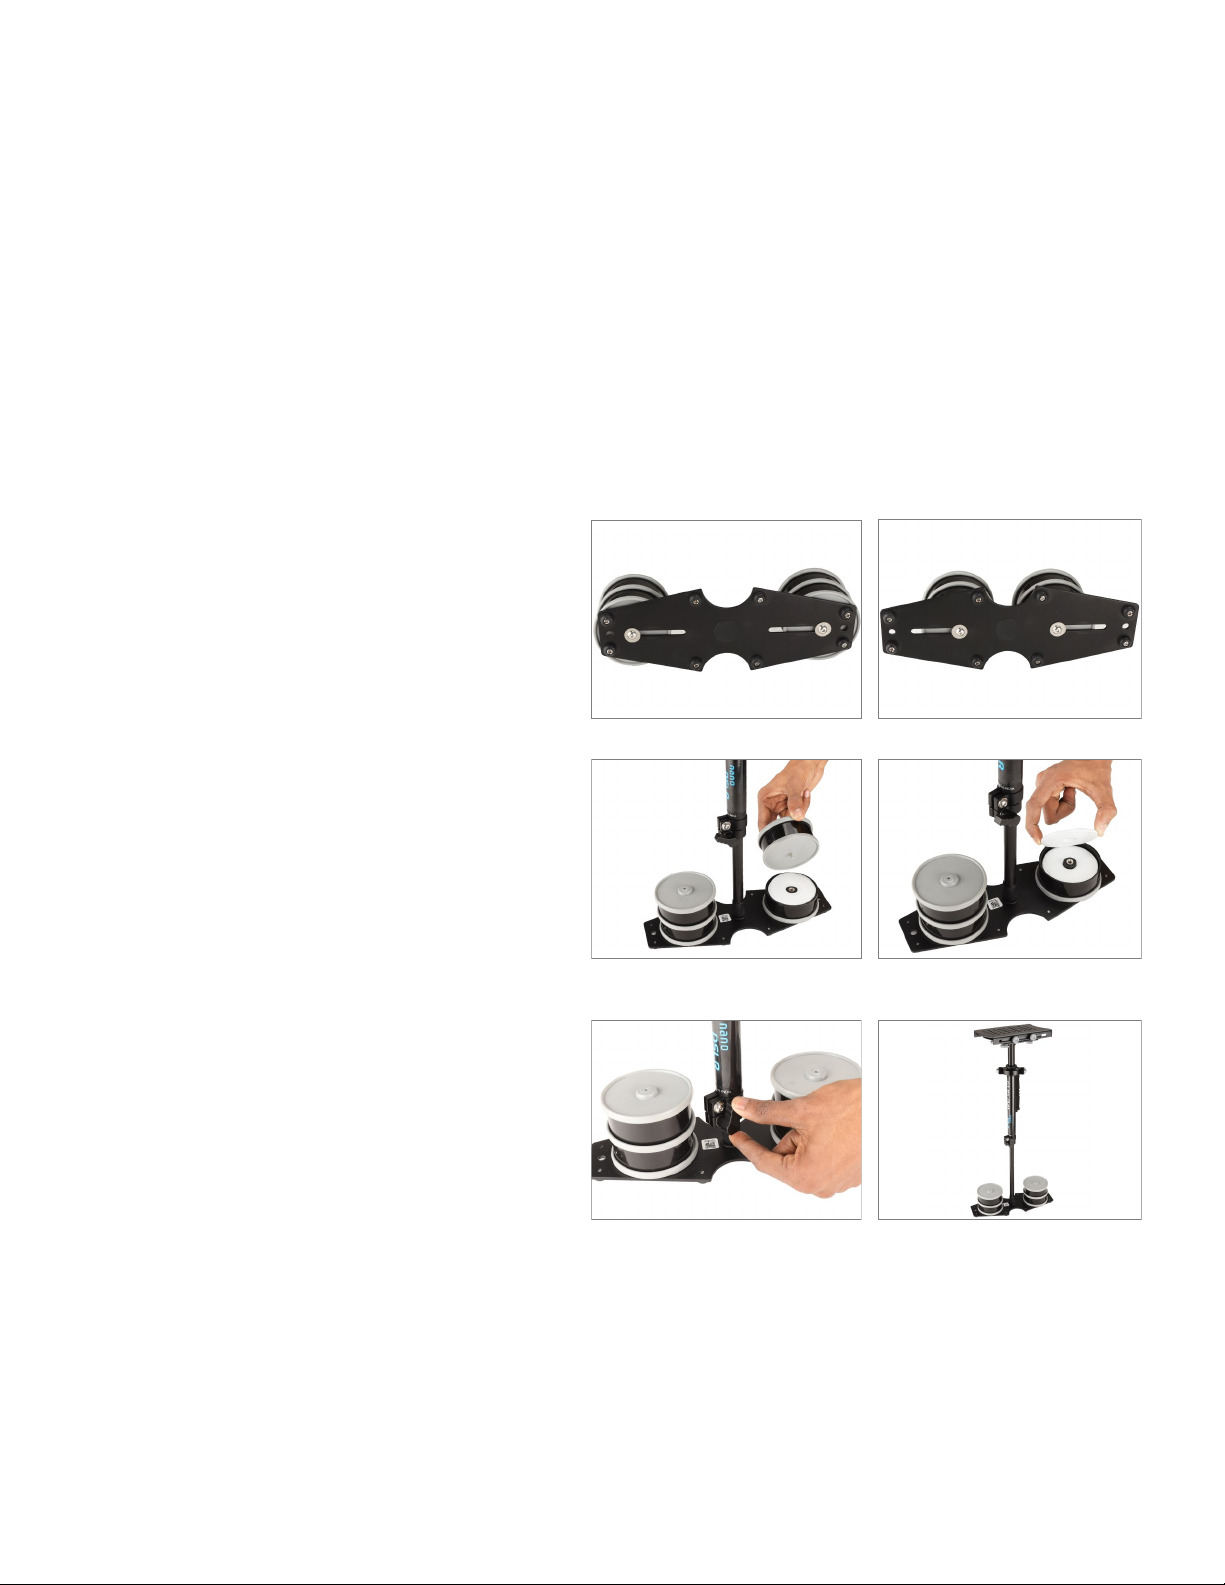
It may be necessary to recongure front to back adjustments once correct side-to-side ne-tuning has been
accomplished. Another opon to consider is moving the Counter Weight cups back & forth on the Base
Plaorm by sliding them either closer to or further away from the Center Post via the built in base slots.
Make sure to ghten the cups down should you move them.
Balancing The Vercal Axis
The sled should be ed up to the docking adapter of your stand or similar so that you can start the fore & a
balancing adjustments by centering the camcorder over the central post. To do this
• Loosen the side screws of the head plate and the boom screws of the boom plate.
Look at the FLYCAM DSLR Nano from the side. If the camcorder lens is pped up or down, move the
camcorder forward or backwards unl the center of balance is situated over the central post.
• Then, look at the FLYCAM DSLR Nano from the front. If the post is not vercal, adjust the boom plate
unl the center post is vercal.
• You can also adjust the weight cups closer to & further away from the sled as per the requirement ll the
post is straight up and down.
• The stability of the FLYCAM DSLR Nano depends on it being slightly boom heavy. If it is top heavy, it will
lt more. If boom heavy, it will be sluggish and hard to aim.