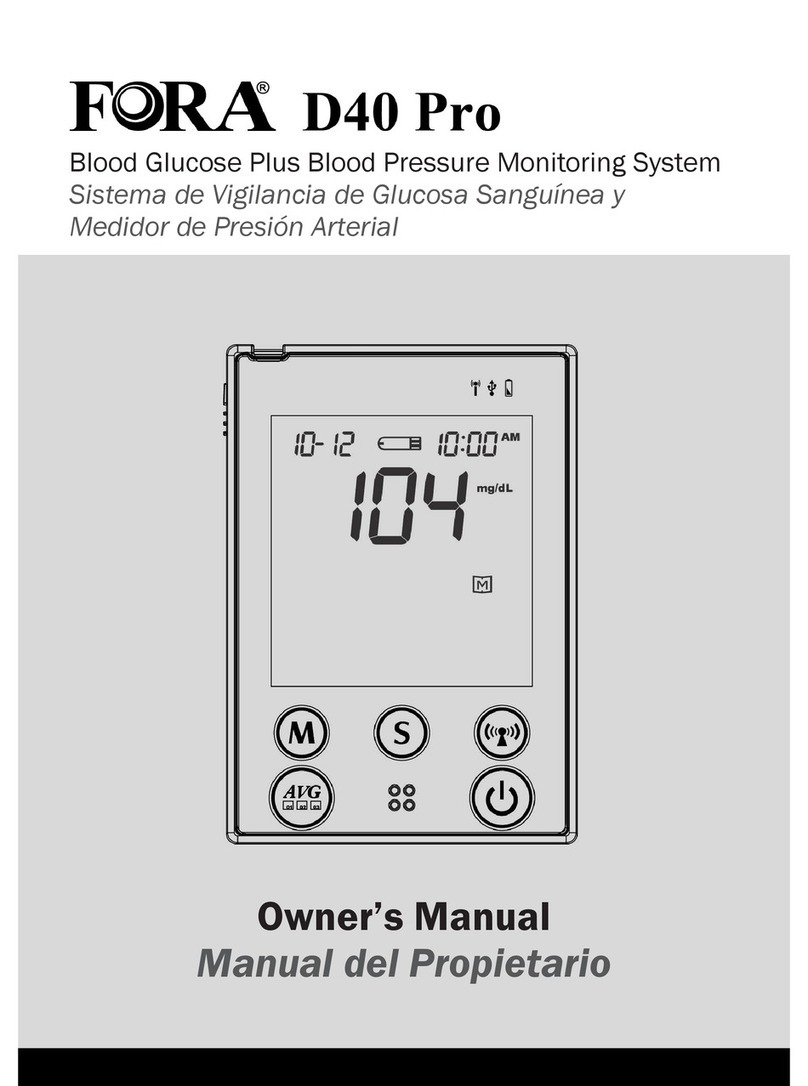
FOR-A D40 Pro User manual

1
Dear System Owner:
Thank you for purchasing the FORA D40 Pro Blood Pressure plus
Blood Glucose Monitoring System. This manual provides impor-
tant information which helps you to operate this system smoothly.
Before using this product, please read this manual thoroughly to
ensure safe and accurate use.
If you have other questions regarding this product, please contact
the place of purchase or the local customer service for assistance.
D40 Pro
Version 2.0 2011/07 311-3261500-001
English

2
TABLE OF CONTENTS
SAFETY INFORMATION 04
General Warnings 04
BEFORE YOU BEGIN 06
Intended Use 06
Test Principle 07
Contents of System 08
Monitor Overview 09
Screen Display 11
Test Strip 12
SETTING THE MONITOR 13
TESTING BLOOD PRESSURE 16
Before Measurement 17
Selecting the Correct Cuff 17
Fitting the Cuff Correctly 18
Proper Measurement Position 19
Taking a Single Measurement 20
Measurement Average Mode 21
AUSCULTATORY MODE 23
TESTING BLOOD GLUCOSE 25
Important Information 25
The Four Measuring Modes 26
CONTROL SOLUTION TESTING 27
Performing a Control Solution Test 27

3
TESTING WITH BLOOD SAMPLE 30
Preparing the Lancing Device for Blood Testing 30
Preparing the Puncture Site 31
Alternative Site Testing 33
Performing a Blood Glucose Test 34
MONITOR MEMORY 38
DOWNLOADING RESULTS ONTO A COMPUTER 40
MAINTENANCE 42
Low Battery Signal 42
Replacing the Battery 42
Using AC Adapter 44
Caring for the Monitor 45
Caring for the Test Strips 46
Important Control Solution Information 47
SYSTEM TROUBLESHOOTING 48
Result Readings 48
Error Messages 50
Troubleshooting 52
DETAILED INFORMATION 55
Reference Values 55
Comparing Monitor and Laboratory Results 57
SYMBOL INFORMATION 59
SPECIFICATIONS 60

4
SAFETY INFORMATION
The information in this manual is a comprehensive guide to the
operation of the monitor. For safety reasons, please read this manual
thoroughly before using the monitor.
General Warnings
•Only the healthcare professionals who have trained for this system
should operate.
•Use this device only for the intended use described in this manual.
•Do not use accessories which are not specified by the manufacturer.
•Do not use the device if it is not working properly or damaged.
•Do not use the equipment where aerosol sprays are being used or
where oxygen is being administered.
•Do not use under any circumstances on newborns or infants.
•Keep the equipment and its flexible cord away from hot surfaces.
•Use this device in a dry environment. Avoid high humidity and high
temperature.
•Do not use this device in close proximity to sources of strong
electromagnetic radiation, as these may interfere with the correct
operation.
•Do not disassemble or modify this device.
•Do not touch the AC adapter with wet hands.
•Do not share an electric outlet with other device or electric appli-
ance.
•Unplug the AC adapter from the electric outlet if this device is un-
used for an extended period of time.

5
•Unplug the AC adapter from the electric outlet when installing,
removing, or cleaning the device.
•After cleaning this unit, dry it well before plugging the AC adapter in
the electric outlet.
•If this device fails to perform as indicated, stop the measurement
immediately and turn off the unit, unplug the AC adapter from the
electric outlet, contact customer service for assistance.
•Do not use an AC adapter or battery pack not specified for this
device.
•Turn off the device and unplug the AC adapter from the electric
outlet before moving the device.
•Check the device operation on a regular basis when using this moni-
tor for the first time or after a long period. If the device has not been
used for more than three months, be sure to check if the device
operates normally and safely before use.
•Do not install or store this device where it may come into contact
with water or liquid medication.
•Read the instruction manual of the other devices to be used at the
same time with this unit, to understand and be aware of the interac-
tion between the devices.
•Do not autoclave.
•Do not install or store this unit in the places where has the storage
of chemicals or the gas may be generated.
•Do not use this unit in a vehicle.
•Do not use any cuff other than the models exclusive for this device.
•Before using this device to test blood glucose, read all instructions
thoroughly and practice the test. Do all quality control checks as
directed.
•Keep the device and testing supplies away from young children.
Small items such as the battery cover, batteries, test strips, lancets
and vial caps are choking hazards.

6
BEFORE YOU BEGIN
Intended Use
This system is a 2 in 1 system designed to measure blood glucose out-
side the human body (in vitro diagnostic use) and to measure blood
pressure non-invasively.
It shall not be used for the diagnosis of diabetes and hypertension, or
for the testing of neonates.

7
Test Principle
This system measures the amount of sugar (glucose) in whole blood.
The glucose testing is based on the measurement of electrical current
generated by the reaction of glucose with the reagent of the strip. The
monitor measures the current, calculates the blood glucose level, and
displays the result. The strength of the current produced by the reac-
tion depends on the amount of glucose in the blood sample.
The blood pressure is measured non-invasively at the upper arm
based on the oscillometric and the Korotkoff method.
This device is NOT able to take measurements in the presence of
common arrhythmia, such as arterial or ventricular premature beats or
arterial fibrillation. It may produce reading error.
In auscultatory mode using the Korotkoff method you may take mea-
surements in the presence of arrhythmia.
In single and average mode, this device inflates the cuff to the ideal
level with each use. No adjustments are required by the operator to
select an inflation level. In auscultatory mode you can any time adjust
the inflation pressure, stop the inflation and start deflation if neces-
sary.

8
Contents of System
The FORA D40 Pro system kit includes:
6
6
1
1
10
11
10
4
4
8
8
5
5
9
9
3
3
7
7
2
2
Lancing Device with One Clear Cap
Batteries
Test Strips
Control Solution
Pressure Cuff (M and L size: upper
arm type)
Monitor
Owner’s Manual
Protective Wallet
Quick Start User Guide
Warranty Card
Sterile Lancets
11
NOTE
All items can be purchased separately and some accessories may not be
included in the kit. If you wish to purchase any accessories, please contact
our local customer service.

9
Monitor Overview
Front
Side
Back
Pressure Cuff
10
9
7
8
2
3
4
5
1
6
12
11
13
16
17
15
14

10
TEST SLOT
Insert test strip here to turn the
monitor on for testing.
DISPLAY SCREEN
AUSCULTATION BUTTON
Assist you with auscultatory
mode.
S BUTTON
Enter and confirm the monitor
settings.
M BUTTON
Enter the monitor memory.
ON/OFF BUTTON
To start a single NIBP (non-
invasively blood pressure)
measurement
AVERAGE BUTTON
Assist you with blood pressure
average mode.
USB INDICATOR
Indicate a data transmission
via USB.
1
3
4
2
6
10
14
11
15
12
16
17
13
8
5
9
7
POWER INDICATOR
Appear when battery is low.
BATTERY COMPART-
MENT
DC ADAPTER PORT
Connect to a power supply.
USB LINK PORT
Download test results with a
cable connection.
STRIP EJECTOR
Eject the used strip by push-
ing up this button.
AIR JACK
PRESSURE CUFF
AIR TUBE
AIR PLUG
Connect to air jack.

11
Screen Display
Date
Systolic Pressure Symbol
Blood Glucose
Measurement Mode
Systolic Pressure Value
Diastolic Pressure Symbol
Auscultatory Mode Symbol
Diastolic Pressure Value
Special Message
Time
Unit for Blood Glucose
Unit for Blood Pressure
Memory Mode Symbol
Battery Symbol
Day Average Result
Pulse Rate
Blood Drop Symbol
Test Strip Symbol
Heart Symbol - for IHB
Detection (Irregular Heart
Beat)
1
8
6
4
7
5
3
2
9
10
11
12
13
14
15
16
17
18
8
18
9
7
2
3
4
5
1
6
10
11
12
13
14
15
16 17

12
Test Strip
NOTE
The FORA D40 Pro monitor should only be used with FORA D40 Pro Test
Strips. Using other test strips with this meter may produce inaccurate results.
Front
Absorbent Hole
Apply a drop of blood here.
The blood will be automatically absorbed.
Conrmation Window
This is where you confirm if enough blood
has been applied to the absorbent hole in
the strip.
Test Strip Handle
Hold this part to insert the test strip into
the slot.
Contact Bars
Insert this end of the test strip into the
meter. Push it in firmly until it will go no
further.
ATTENTION:
The front side of test strip with FORA Logo
should face up when inserting test strip.
Test results might be wrong if the contact bar
is not fully inserted into the test slot.
1
4
3
2

13
Before using the monitor for the first time or if changing the monitor
battery, please check and update these settings. Make sure you com-
plete the steps below and have your desired settings saved.
► Entering the setting mode
Start with the monitor off (no test strip
inserted).
Press for 3 seconds until the monitor
turns on.
Step 1
Setting the date
With the year flashing, press until the
correct year appears. Press .
With the day flashing, press until the
correct month appears. Press .
SETTING THE MONITOR

14
With the month flashing, press until
the correct day appears. Press .
Step 2
Setting the time
With the hour flashing, press until
the correct hour appears. Press .
With the minute flashing, press until
the correct minute appears. Press .
Step 3
Setting the time format
Press to select the desired time
format --- 12h or 24h. Press .

15
Step 4
Deleting the memory
While “dEL”and a blinking “”symbol appear on the display, if you
do not wish to delete the saved results, press to skip this step.
If you wish to delete ALL the results, press twice.
The device turns off automatically after the settings are completed.
NOTE
•These parameters can ONLY be changed in the setting mode.
•If the monitor is idle for 3 minutes during the setting mode, it will turn off
automatically.

16
TESTING BLOOD PRESSURE
This monitor provides you three different ways to measure the blood
pressure. Select from the options below:
•Single measurement
Perform a single blood pressure measurement.
•Average measurement
Automatically perform three (3) consecutive blood pressure mea-
surements and display the final average result.
•Auscultatory measurement:
Only trained health-care professionals may use this mode to mea-
sure blood pressure manually with a stethoscope by listening to the
Korotkoff sound.
WARNING
•Do NOT apply the cuff to areas other than the place directed.
•If cuff inflation does not stop, remove the cuff or pull out the air tube from
the device.
•Do not wrap the cuff over an arm to which intravenous injection or transfu-
sion is being conducted, or when otherwise contraindicated.
•Do not connect the air tube or the cuff to other equipment which is con-
nected to an intracorporeal organ. Air embolisms may result.
•Confirm readings with a stethoscope when an irregular pulse wave is
displayed or when the measured value is questionable.
•When using the device:
- Do not inflate the cuff without being wrapped over the arm.
- Do not use a damaged cuff.

17
•Make sure that your patient avoids caffeine, tea, alcohol, tobacco,
exercising or bathing at least 30 minutes before measurement.
•Ask your patient to relax (sit or lie down) for at least 10 minutes
before measurement.
•Do not measure when your patient feeling anxious or tense.
•Take a 5-10 minute break between measurements. This break can
be longer if necessary, depending on the patient physical condition.
•Blood pressure may vary between each arm. Always measure blood
pressure on the same patient’s arm.
•To take a blood pressure measurement after performing a blood
glucose test, make sure that the test strip has been removed from
the monitor.
Two different cuff sizes are provided with this blood pressure monitor-
ing system: Medium and Large. Select the cuff size that best matches
the circumference of the patient’s upper arm.
Arm circumference:
M (Medium size)
25-35 cm (9.8”-13.8”)
L (Large size)
32-44 cm (12.7”-17.3”)
Before Measurement
Selecting the Correct Cuff
MIN. MAX.
Apply cuff so center of inflation
bag Ø is over brachial artery.Be sure
INDEX lines falls between the two
RANGE lines. If it does not, a larger
or smaller cuff may be required.
> Place this side against the skin.
> Locate the brachial artery by pressing
with two fingers about 2.54 cm (1 inch)
above the bend of the elbow on the inside
of the left arm. Determine where the pulses
can be felt most strongly.
> The bottom edge of cuff should be approximately
2¡ª 3 cm (0.8 inch¡ª 1.2 inch) above the elbow.
RANGE
12.7”~17.3”
32~44cm
MIN. MAX.
Apply cuff so center of inflation
bag Ø is over brachial artery.Be sure
INDEX lines falls between the two
RANGE lines. If it does not, a larger
or smaller cuff may be required.
> Place this side against the skin.
> Locate the brachial artery by pressing
with two fingers about 2.54 cm (1 inch)
above the bend of the elbow on the inside
of the left arm. Determine where the pulses
can be felt most strongly.
> The bottom edge of cuff should be approximately
2¡ª 3 cm (0.8 inch¡ª 1.2 inch) above the elbow.
RANGE

18
MIN. MAX.
Applyc uffso center of inflation
bagØ is ov er brachial artery.Be sure
INDEXlines falls between the tw o
RANGElines. If it does not, a larger
orsmaller cuf fmay be required.
>Place this side against the skin.
>Locate the brachial artery by pressing
withtwo fingers about 2.54 cm (1 inch)
abovethe bend of the elbow on the inside
ofthe left arm. Determine where the pulses
canbe felt most strongly.
>The bottom edge o f cuff should be approximately
2¡ª3 cm (0.8 inch¡ª 1.2 inch) above the elbow.
RANGE
Pile Side Material
Sewn Hook Material
► Fitting the Cuff Correctly
Step 1
Connect the air plug of the tubing to the air
jack of the monitor.
Step 2
ake out the cuff as shown on the
right. The smooth surface should be
inside the cuff.
Step 3
Stretch patient’s left (or right) arm in
front of you with the palm facing up.
Align the artery mark over the brachial
artery.
Step 4
Leave a little free space between the arm and the cuff; you should be
able to fit 2 fingers between them. Clothing must not restrict the arm.
Remove all clothing covering or constricting the measurement arm.
Wrap and fasten the cuff securely. The red margin on the lower edge
of the cuff should be approximately 2 to 3 cm (0.8” to 1.2”) above
the elbow.
2~3cm
(0.8”~1.2”)
MIN. MAX.
Apply cuff so center of inflation
bag Ø is over brachial artery. Be sure
INDEX lines falls between the two
RANGE lines. If it does not, a larger
or smaller cuff may be required.
> Place this side against the skin.
> Locate the brachial artery by pressing
with two fingers about 2.54 cm (1 inch)
above the bend of the elbow on the inside
of the left arm. Determine where the pulses
can be felt most strongly.
> The bottom edge of cuff should be approximately
2¡ª 3 cm (0.8 inch¡ª 1.2 inch) above the elbow.
RANGE

19
Step 5
Press the hook material firmly against the pile material. The top and
bottom edges of the cuff should be tightened evenly around the arm.
To take a single
measurement Single Mode Press to start.
Press to start.
Press to start.
AVG Mode
Auscultatory Mode
To measure with a
stethoscope
To measure 3
times automati-
cally and consecu-
tively
► Proper Measurement Position
► Taking Measurements
Step 1
Patient’s elbow should be placed on a flat surface; hand should be
relaxed with the palm facing up.
Step 2
Make sure the cuff is about the same height
as the location of the patient heart. Ask your
patient to remain still and do not talk or move
during the measurement.
Step 3
Measurement is in progress.
After the monitor is turned on, the cuff will
begin to inflate automatically.

20
NOTE
•If you press during measurement, the monitor will be turned off.
•If the pulse rate symbol is shown as “”instead of “”, this indicates
that the monitor has detected an irregular heart beat.
Always apply the pressure cuff before turning on the monitor.
Taking a Single Measurement
Step 2
The heart symbol “”will flash when a
pulse is detected during the inflation.
Step 3
After the measurement, the monitor
displays the systolic pressure, diastolic pres-
sure, and pulse rate.
Step 4
Press to switch off. Or it will switch off
automatically after being left idle for 3
minutes.
Step 1
Press . All the LCD symbols will appear. Then the cuff will begin to
inflate automatically.
Other manuals for D40 Pro
2
Table of contents
Other FOR-A Blood Pressure Monitor manuals

FOR-A
FOR-A P20 User manual

FOR-A
FOR-A D40 Series User manual

FOR-A
FOR-A TD-3124B User manual

FOR-A
FOR-A D40g Plus Setup guide

FOR-A
FOR-A P20B User manual

FOR-A
FOR-A ACTIVE P30 Plus Series User manual

FOR-A
FOR-A D40g User manual

FOR-A
FOR-A P50 User manual

FOR-A
FOR-A TN'G BP User manual

FOR-A
FOR-A Vital User manual