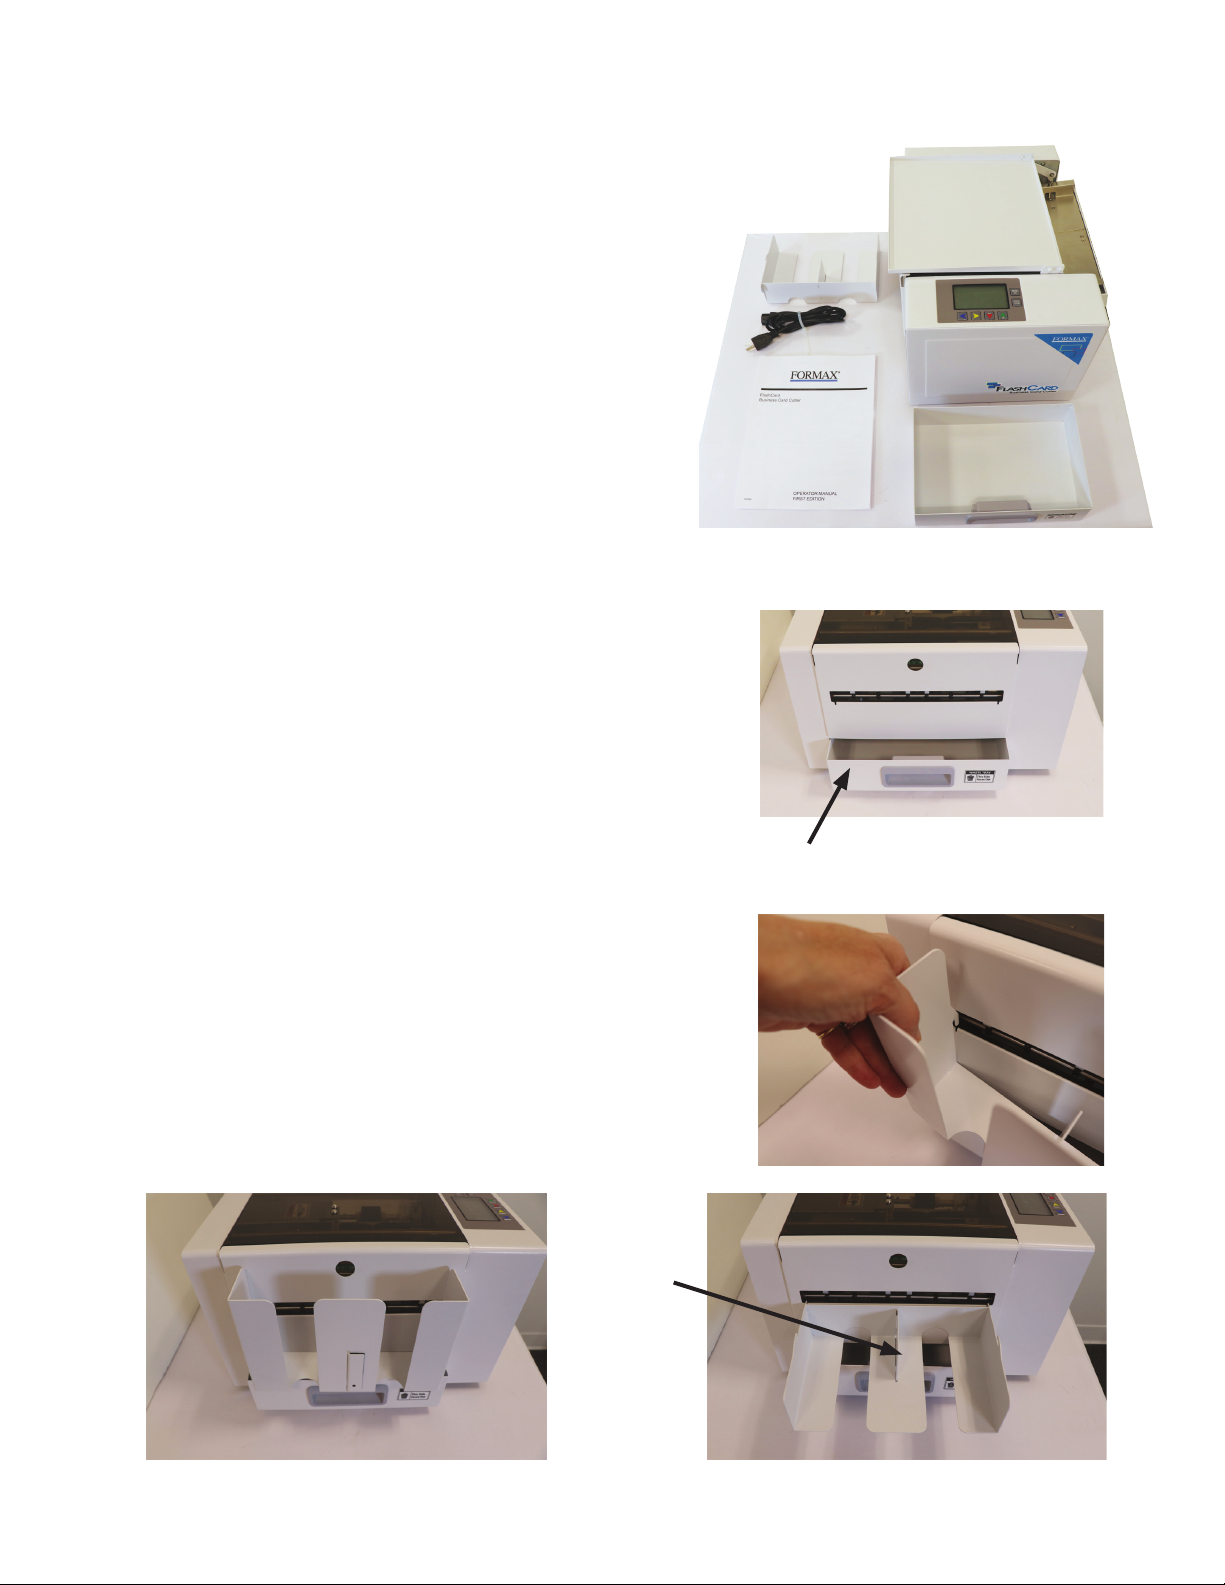
1. Switch the power on. When the power is turned on,
the cutter starts initializing and goes into standby
mode.
2. Place the stack of sheets to be cut on the infeed tray
with the printed side facing up and leading. If using
a registration mark, make sure the mark is on the
leading edge.
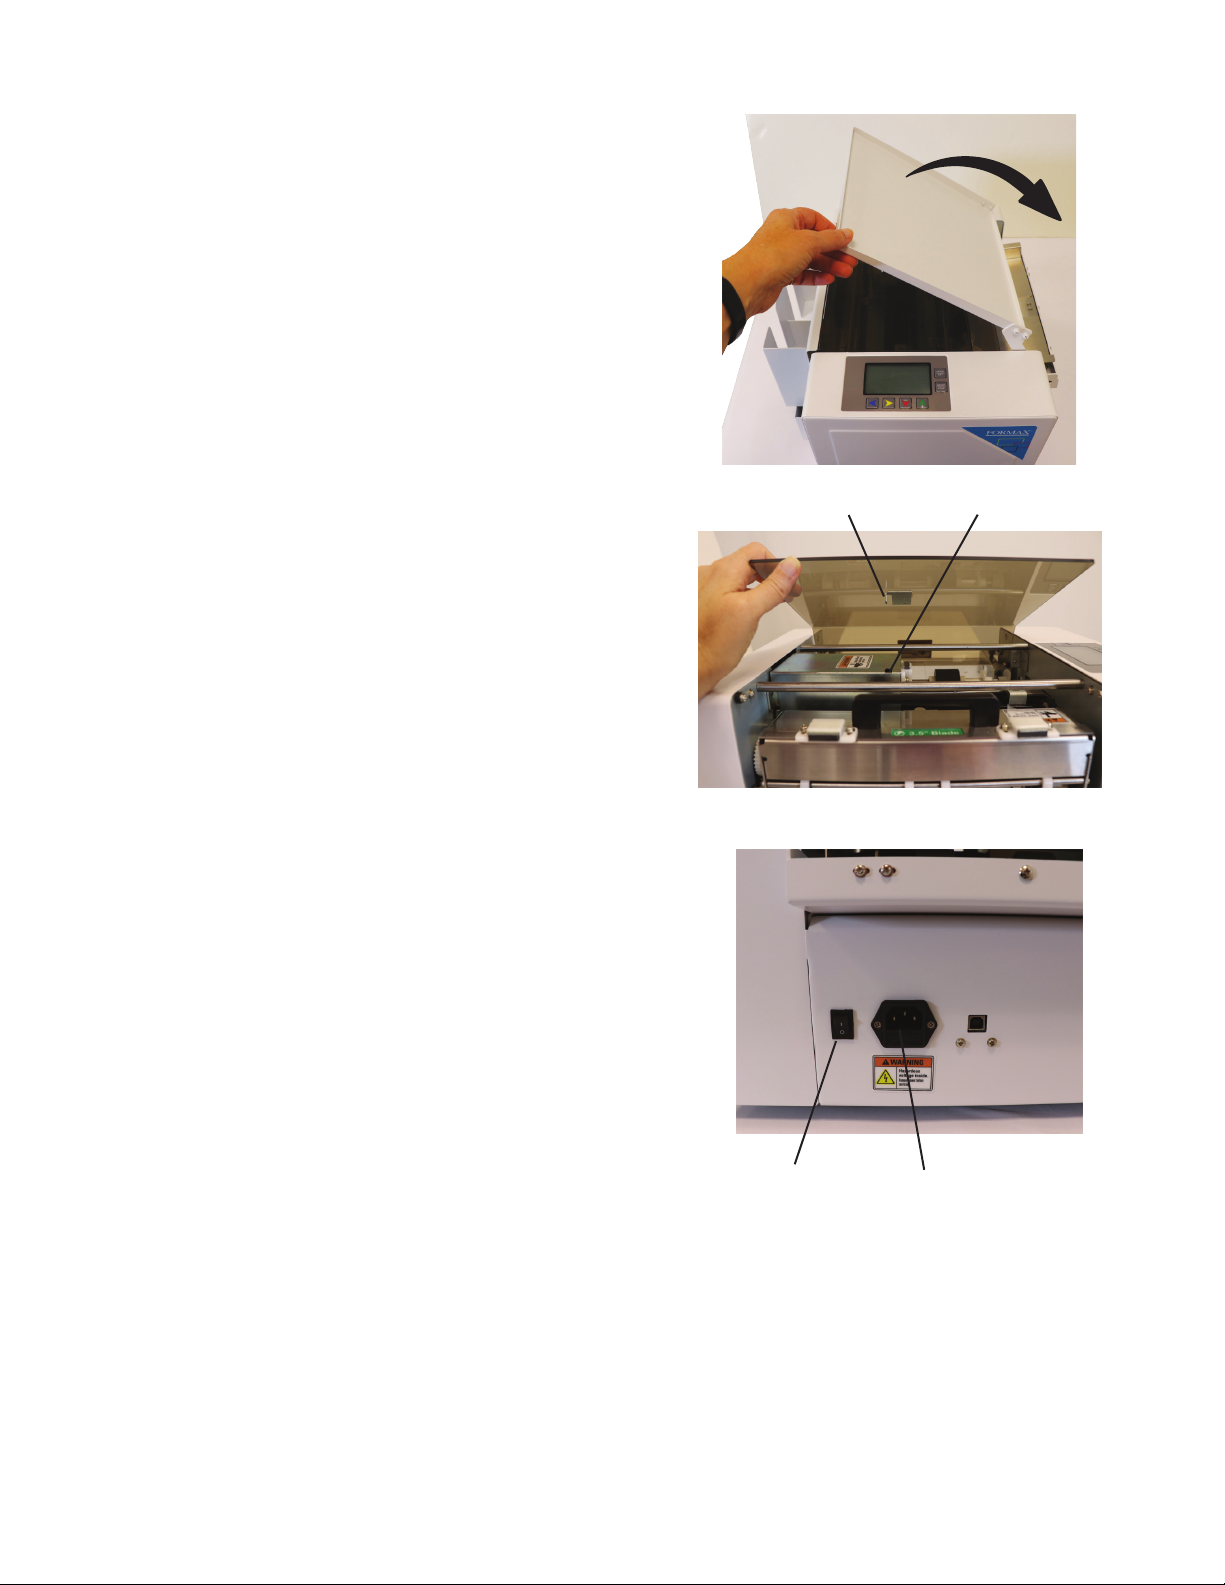
3. Loosen the thumbscrews and slide the paper side
guides in or out to accommodate the width of the
card stock. There should be about 1mm between
each edge and the side guides.
NOTE: The side guides move independently of each
other and can be moved left or right to accommodate
print variances.
4. Tighten the thumbscrews to lock them in position.
5. Push down on the side guides to lower the spring-
loaded infeed tray, and slide the paper stack under
the feed tires. Release the guides.
6. Select the Job # that corresponds to the cut needed
(see page 17).
Using the control panel buttons, select the number of
pieces/cards to be cut, and the number of sheets.
Press the Start button. The cutter will automatically
stop when the selected number of pieces is cut or
the feeder is empty, then return to standby mode.
To cut another stack, load more sheets and press the
Start button.
7. After completing cutting jobs, switch o the power.
NOTE:
• Do not place more than the recommended number of sheets of card stock on the infeed at one time.
• Do not use dierent thicknesses of card stock in a single stack, as this will aect the accuracy of the automatic friction
feeder.
• Do not attempt to feed sheets more than the recommended 350gsm weight. Sheets that are too thick for the machine to
handle may damage the cutting and slitting blades.
CAUTION:
• Keep ngers, jewelry, long hair, and loose clothing away from the infeed and cutting mechanisms to avoid injury.
STANDARD OPERATION
Adjustable side guides
Thumbscrew
Feed direction
Paper side
guide
6