manuals.online logo
Brands
  1. Home
  2. •
  3. Brands
  4. •
  5. Fracarro
  6. •
  7. Security Sensor
  8. •
  9. Fracarro SEL-WL User manual

Fracarro SEL-WL User manual

Sirena da eSterno WireleSS
Sirène extérieure SanS-filS
outdoor WireleSS Siren
Sel-Wl
Specifica Tecnica Caractéristiques Technical Specification
Batterie Batteries Accumulator Battery 5 X 1,5V Alcal 18Ah
Vita media batterie Durée Moyenne batteries Average Battery Life anni/ans/years/3*
Frequenza radio (multicanale) Radio fréquence (multi-canal) Radio Frequency (multichannel) 868-869 MHz
Distanza radio (all’aperto) Distance radio (extérieur) Radio Distance (open space) max 300 m
Temperatura di lavoro Témperature de travail Working temperature -10 ÷ +55 °C
Temperatura di immagazzina
mento Témperature de stockage Storing temperature -20 - +60°
Immunità RF Immunité RF RF immunity 10V/m @ 80MHz – 1GHz
Immunità Elettrostatica Immunité électrostatique Electrostatic immunity 8kV
Intensità acustica a 1 metro Puissance à 1 m. Acoustic pressure at 1m 120dB
Grado di protezione Niveau IP de protection IP protection for electronics IP34
Pulsante antimanomissione Microswitch anti-ouverture Anti-tamper switch SI/OUI/YES
Dimensioni Dimensions Dimensions 280x210x90mm
Peso Poids Weight 1920g
*Autonomia circa 3 anni: stimata con 2
inserimenti/disinserimenti al giorno e 10
allarmi all’anno. L’autonomia diminuisce
in caso di numerosi allarmi. Attenzione:
quando le pile e batterie sono parzialmente
scariche, la portata radio tra i dispositivi si
riduce e non è garantito il funzionamento
del sistema. Il prodotto è stato sviluppato uti-
lizzando Atollic TrueStudio® (www.atollic.com)
*Durée de la batterie environ 3 ans: estimé
à 2 activations-desactivations par jour et
10 alarmes par an. L’autonomie diminue en
cas de nombreux alarmes. Attention: lor-
sque les piles et les batteries sont partiel-
lement déchargée, la portée radio entre les
appareils est réduite et il n’y a aucune ga-
rantie pour le fonctionnement du système.
The device was development with Atollic True-
Studio® software (www.atollic.com)
*Battery life approx. 3 years: estimated
with 2 activation-deactivation per day
and 10 alarms per year. The autonomy
decreases in case of numerous alarms.
Warning: when the batteries are partial-
ly discharged, the radio range betwe-
en the devices is reduced and there is
no guarantee about the functioning of
the system. Le produit a été développé
avec Atollic TrueStudio® (www.atollic.com).
2
SEQUENZE PER L’INSTALLAZIONE E ACQUISIZIONE DEL DISPOSITIVO
1. Aprire il coperchio della sirena ruotandolo dal basso verso l’alto.
2. Collegare il cavo della batteria nel connettore che si trova all’interno.
3. Dopo aver impostato la centrale come “Aggiungi dispositivi” premere una volta il pulsante tamper della sirena. Sul display
della centrale viene visualizzata la sirena acquisita. Nel caso contrario ripremere il pulsante tamper.
4. Posizionarsi con la sirena nel luogo dove dovrà essere installata ed eseguire il test radio premendo una volta il pulsante
tamper. Il led VERDE lampeggia 3 volte se la ricezione è perfetta, 2 se è buona, 1 o nessuna se è scarsa: in questo caso
bisogna cambiare il luogo di installazione. Per uscire dalla procedura di test, mantenere premuto il pulsante di tamper per
circa 10 secondi (sul display della centrale il simbolo “T” scompare).
5. Fissare la sirena sul muro mediante i 3 tasselli in dotazione. Per essere sicuri che la sirena sia fissata correttamente, utiliz-
zate la livella in dotazione
6. Montare e chiudere il riflettore, inserire l’involucro e fissarlo con le viti.
MONTAGE
1. Ouvrez le couvercle de la sirène tournant de bas en haut.
2. Brancher le câble de la batterie à le connecteur à l’interieur de la sirène.
3. Après avoir rétabli la centrale en mode “Ajouter dispositifs”, appuyer une fois sur le microswitch anti-ouverture de la sirène.
Sur l’écran de la centrale on verra le dispositif acquéri. Sinon, appuyez encore sur le microswitch anti-ouverture.
4. Identifiez le point optimal d’installation et démarrez le radio test en appuyant une fois sur le microswitch anti-ouverture.
Si la LED verte clignote 2 ou 3 fois, le signal radio est fort. Si la LED verte clignote 1 ou pas de temps, la communication
radio est faible et on doit modifier le point d’installation. Per uscire dalla procedura di test, mantenere premuto il pulsante
di tamper per circa 10 secondi (sul display della centrale il simbolo “T” scompare).
5. Fixer la sirène sur le mur à l’aide de les 3 chevilles en dotation. Pour vous assurer que la sirène est montée correctement,
utilisez le niveau à bulle intégré.
6. Assembler et fermer le réflecteur, insérez le couvercle et fixer avec les vis en dotation.
INSTALLATION
1. Open the lid of the siren turning it bottom-up.
2. Connect the cable of the battery to the connector within the siren.
3. After you set the panel as “Add device” press once the button tamper of the siren. On the display of the panel you will see
the siren acquired. Otherwise press again the tamper button.
4. After you select the place where the siren must be installed, start the radio test pressing once the button tamper. If the
GREEN LED blinks 2 or 3 times, the signal received is strong. If the GREEN LED blinks 1 or no time, the radio communi-
cation is weak and you must change the place of installation. To exit the test, press and hold the tamper button for about
10 seconds (the display of the central “T” symbol disappears).
5. Fix the siren on the wall with the 3 dowels included. To make sure that the siren is mounted correctly, use the spirit level
included
6. Assemble and close the reflector, insert the cover and close with the included screws.
1
2
3 4
1
2
*** OK
**MEDIUM
* NO
3
1
2
CANCELLAZIONE
DELL’INDIRIZZO
“HOUSE ADDRESS”
Rimuovere la batteria e premere il pulsante tamper più volte. Inserire la batteria: il led inizia a lam-
peggiare di colore ROSSO per 5 secondi.
In questo periodo di 5 sec. premere rapidamente il pulsante tamper per almeno 3 volte.
EFFACEMENT DE
L’ADRESSE
Retirez la batterie et appuyez sur le microswitch anti-ouverture. Insérez la batterie, la LED com-
mence à clignoter en rouge pendant 5 secondes. En cette période de 5 sec. appuyez rapidement
sur le microswitch au moins 3 fois.
HOUSE ADDRESS
DELTING
Remove the battery and press the tamper several times. Insert the battery, the red LED starts
to flash for 5 seconds. In this period of 5 sec. quickly press the button tamper switch at least 3
times.
SOSTITUZIONE
DELLA BATTERIA
Aprire la sirena e rimuovere la vecchia batteria. Inserire la nuova batteria e attendere 5 secondi
fino a quando il led ROSSO smette di lampeggiare. Rimontare il coperchio superiore della sire-
na. ATTENZIONE: Quando si cambia la batteria NON premere il pulsante tamper, mentre il led
lampeggia ROSSO perché l’indirizzo del dispositivo verrà CANCELLATO e sarà necessaria una
nuova acquisizione. Dopo 5 secondi che il coperchio è stato chiuso, la sirena inizierà a funzionare
correttamente.
CHANGEMENT DE
LA BATTERIE
Ouvrez la sirène et enlevez la vieille batterie. Insérez la nouvelle pile et attendre 5 secondes jusqu’à
ce que la LED rouge se arrête de clignoter. Remettez le capot supérieur de la sirène. ATTENTION:
au moment du changement de la batterie n’appuyez pas sur le microswitch anti-ouverture pendant
que le red clignote rouge, car cela ména à l’effacement de l’adresse du dispositif et à une nouvelle
aquisition. Après 5 sec. de la fermeture du couvercle la sirène commence à fonctionner.
BATTERY
CHANGE
Open the siren and remove the old battery. Insert the new battery and wait 5 seconds until the
RED LED stops flashing. Replace the top cover of the siren. CAUTION: When changing the bat-
tery NOT press the tamper while the LED blinks RED because the address of the device will be
DELETED and will require a new acquisition. After 5 seconds the lid is closed, the siren will start
to function properly.
RIMOZIONE E
SMALTIMENTO
DELLE PILE
Questo prodotto contiene 5 x 1.5 V Alcaline – 18 Ah. Considerati i potenziali effetti sull’ambiente
e sulla salute umana delle sostanze contenute nelle pile l’utilizzatore è obbligato a smaltire le pile
esauste usando gli appositi contenitori per la raccolta separata distribuiti sul territorio o presso i
punti vendita.
ENLÈVEMENT ET
ÉLIMINATION
DES PILES
Ce produit contient pile 5 x 1.5 V Alcaline – 18 Ah. Considèrant les effects potentiels des substan-
ces contenues dans les piles sur l’environnement et la santé humaine, l’utilisateur doit éliminer les
piles déchargées en utilisant les conteneurs pour la collecte séparée.
REMOVAL AND
DISPOSAL OF
BATTERIES
This product contains 5 x 1.5 V Alcaline – 18Ah. Considering the potential effects on the envi-
ronment and human health of the substances used in batteries, the end-user must dispose of
5 6
4
AVVERTENZE PER LA SICUREZZA
L’installazione del prodotto deve essere eseguita da personale qualificato in conformità alle leggi e normative locali sulla sicurezza. Fracarro Radioindustrie di conseguenza
è esonerata da qualsivoglia responsabilità civile o penale conseguente a violazioni delle norme giuridiche vigenti in materia e derivanti dall’improprio uso del prodotto da
parte dell’installatore, dell’utilizzatore o di terzi. L’installazione del prodotto deve essere eseguita secondo le indicazioni di installazione fornite, al fine di preservare l’opera-
tore da eventuali incidenti e il prodotto da eventuali danneggiamenti.
Avvertenze per l’installazione. Maneggiare con cura. Urti impropri potrebbero danneggiare il prodotto. In caso di montaggio a muro utilizzare tasselli ad espansione
adeguati allle caratteristiche del supporto di fissaggio. Avvertenze generali. In caso di guasto non tentate di riparare il prodotto, altrimenti la garanzia non sarà più valida.
Si raccomanda di verificare periodicamente il corretto funzionamento del sistema d’allarme; un sistema di allarme elettronico affidabile non evita intrusioni, rapine, incendi
o altro, ma si limita a diminuire il rischio che tali situazioni si verifichino.
Fracarro Radioindustrie SpA dichiara che il prodotto è conforme alle seguenti norme armonizzate: ETSI EN 300 2202, ETSI EN 301 4891, ETSI EN 301 4893, CEI EN 609501,
CEI EN 6100063, CEI EN 501304 ed è quindi conforme ai requisiti essenziali della seguente direttiva (comprese tutte le modifiche applicabili): R&TTE 1999/5/CE (R&TTE).
Le informazioni riportate in questo manuale sono state compilate con cura, tuttavia Fracarro Radioindustrie S.p.A. si riserva il diritto di apportare in ogni momento e senza
preavviso, miglioramenti e/o modifiche ai prodotti oggetto del manuale. Consultare il sito www.fracarro.com per le condizioni di assistenza e garanzia.
AVERTISSEMENT SUR LA SECURITE’
L’installation du produit doit être effectuée par un personnel qualifié conformément aux lois et réglementations locales en matière de sécurité. Fracarro Radioindustrie est
donc exonéré de toute responsabilité civile ou pénale résultant de violations des lois existantes sur le sujet et découlant de la mauvaise utilisation du produit par l’installateur,
utilisateur ou des tiers. L’installation du produit doit être effectué selon les instructions d’installation fournies dans le but de protéger le conducteur contre les accidents et
le produit des dommages.
Avertissements pour l’installation. Manipuler avec précaution. Choc incorrecte peut endommager le produit. Dans le cas de montage à l’aide vis Chevilles caractéristi-
ques de Tout afficherLe appropriés de la console de support. Instructions générales. En cas de panne, ne essayez pas de réparer le produit, ou de la garantie sera annulée.
Il est recommandé de vérifier le bon fonctionnement du système d’alarme; un système d’alarme électronique ne empêche pas de façon fiable intrusion, vol, incendie, etc.,
mais se limite à réduire le risque que de telles situations se produisent.
Fracarro Radioindustrie SpA déclare que le produit est conforme aux normes harmonisées suivantes: ETSI EN 300 2202, 301 4891 ETSI EN, ETSI EN 301 4893, CEI EN
609 501, IEC 6100063, CEI EN 501 304 et est donc est conforme aux exigences essentielles de la directive suivante (y compris tous les amendements applicables): la
directive R & TTE 1999/5 / CE (R & TTE). Les informations de ce manuel a été rédigé avec soin, cependant Fracarro Radioindustrie SpA se réserve le droit d’apporter des
modifications à tout moment sans préavis, des améliorations et / ou des changements dans les produits couverts par le manuel. Voir le site pour les conditions de garantie
et de support www.fracarro.com.
SAFETY WARNINGS
The installation of the product must be performed by qualified personnel in accordance with local laws and regulations on safety. Fracarro Radioindustrie therefore is
exempt from any civil or criminal liability resulting from violations of existing laws on the subject and arising out of the improper use of the product by the installer, user or
third parties. The installation of the product must be carried out according to the installation instructions provided in order to protect the operator from accidents and the
product from damage.
Warnings for installation. Handle with care. Improper shock may damage the product. In the case of wall mounting using screw anchors suitable allle characteristics of
the support bracket. General instructions In case of failure, do not attempt to repair the product, or the warranty will be voided. It is recommended to check for proper
operation of the alarm system; an electronic alarm system does not reliably prevent intrusion, theft, fire, etc., but is limited to decrease the risk that such situations occur.
Fracarro Radioindustrie SpA declares that the product complies with the following harmonized standards: ETSI EN 300 2202, ETSI EN 301 4891, ETSI EN 301 4893, CEI
EN 609 501, IEC 6100063, CEI EN 501 304 and is therefore complies with the essential requirements of the following directive (including all applicable amendments): R &
TTE Directive 1999/5 / EC (R & TTE).
The information in this manual has been compiled with care, however Fracarro Radioindustrie SpA reserves the right to make changes at any time without notice, improve-
ments and / or changes in the products covered by the manual. See the website for www.fracarro.com conditions Warranty and Support.
INFORMAZIONE AGLI UTENTI
Ai sensi dell’art. 13 del decreto legislativo 25 luglio 2005, n. 151 ”Attuazione delle Direttive 2002/95/CE, 2002/96/CE e 2003/108/CE, relative alla riduzione
dell’uso di sostanze pericolose nelle apparecchiature elettriche ed elettroniche, nonché allo smaltimento dei rifiuti”
Il simbolo del cassonetto barrato riportato sull’apparecchiatura indica che il prodotto alla fine della propria vita utile deve essere raccolto separatamente dagli altri
rifiuti. L’utente dovrà, pertanto, conferire l’apparecchiatura giunta a fine vita agli idonei centri di raccolta differenziata dei rifiuti elettronici ed elettrotecnici, oppure
riconsegnarla al rivenditore al momento dell’acquisto di una nuova apparecchiatura di tipo equivalente, in ragione di uno a uno. L’adeguata raccolta differenziata
per l’avvio successivo dell’apparecchiatura dismessa al riciclaggio, al trattamento e allo smaltimento ambientalmente compatibile contribuisce ad evitare possibili
effetti negativi sull’ambiente e sulla salute e favorisce il riciclo dei materiali di cui è composta l’apparecchiatura. Lo smaltimento abusivo del prodotto da parte
dell’utente comporta l’applicazione delle sanzioni amministrative di cui al dlgs.n.22/1997” (articolo 50 e seguenti del dlgs.n. 22/1997).
USER’S INFORMATION
Disposal of Old Electrical & Electronic Equipment (Applicable in the European Union and other European countries with separate collection system
This symbol on the product or on its packaging indicates that this product shall not be treated as household waste. Instead it shall be handed over to the applicable
collection point for the recycling of electrical and electronic equipment. By ensuring this product is disposed of correctly, you will help prevent potential negative
consequences for the environment and human health, wich could otherwise be caused by inappropriate waste handling of this product. The recycling of materials
will help to conserve natural resources. For more detailed information about recycling of this product, please contact your local city office, your household waste
disposal service or the shop where you purchased the product.
INFORMATION AUX UTILISATEURS
Traitement des appareils électriques et électroniques en fin de vie (Applicable dans les pays de l’Union Européenne et aux autres pays européens
disposant de systèmes de collecte sélective)
Ce symbole, apposé sur le produit ou sur son emballage, indique que ce produit ne doit pais être traité avec les déchets ménagers. Il doit être remis à un point
de collecte approprié pour le recyclage des équipments électriques et électroniques. En s’assurant que ce produit est bien mis au rebus de manière appropriée,
vous aiderez à prévenir les conséquences négatives potentielles pour l’environnement et la santé humaine. Le recyclage des matérieux aidera à conserver les
resources naturelles. Pour toute information supplémentaire au sujet du recyclage de ce produit, vous pouvez contacter votre municipalité, votre déchetterie ou
le magasin où vous avez acheté le produit.
3IS642 - SEL-WL rev. 01 16/04/2015
Fracarro Radioindustrie S.p.A.
Via Cazzaro n.3 - 31033 Castelfranco Veneto (TV) - ITALIA - Tel: +39 0423 7361 - Fax: +39 0423 736220 - Società a socio unico.
Fracarro France S.A.S.
7/14 rue du Fossé Blanc Bâtiment C1 - 92622 Gennevilliers Cedex - FRANCE Tel: +33 1 47283400 - Fax: +33 1 47283421
Fracarro (UK) - Ltd
Unit A, Ibex House, Keller Close, Kiln Farm, Milton Keynes MK11 3LL UK - Tel: +44(0)1908 571571 - Fax: +44(0)1908 571570
Garantito da/ Guaranteed by/ Garanti par/ Garantizado por/ Garantido por/ Garantiert durch/ Zajamčena od/ Garantirano od/
Garantovano od/ Gwarantowane przez / Εγγυημένο από/ Гарантировано
Fracarro Radioindustrie S.p.A., Via Cazzaro n. 3, 31033 Castelfranco Veneto (Tv) – Italy
Assistenza Italia 199 118 078 - [email protected]

Other Fracarro Security Sensor manuals

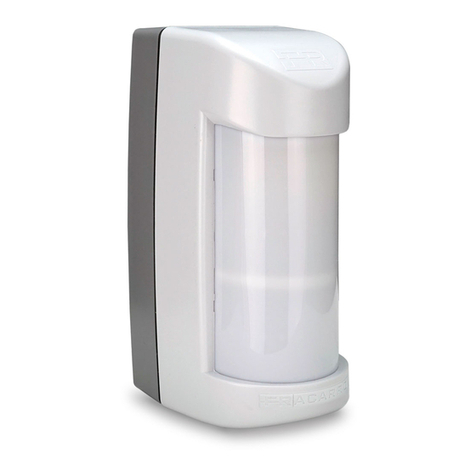
Fracarro IR1000 User manual

Fracarro

Fracarro IR1000 User manual

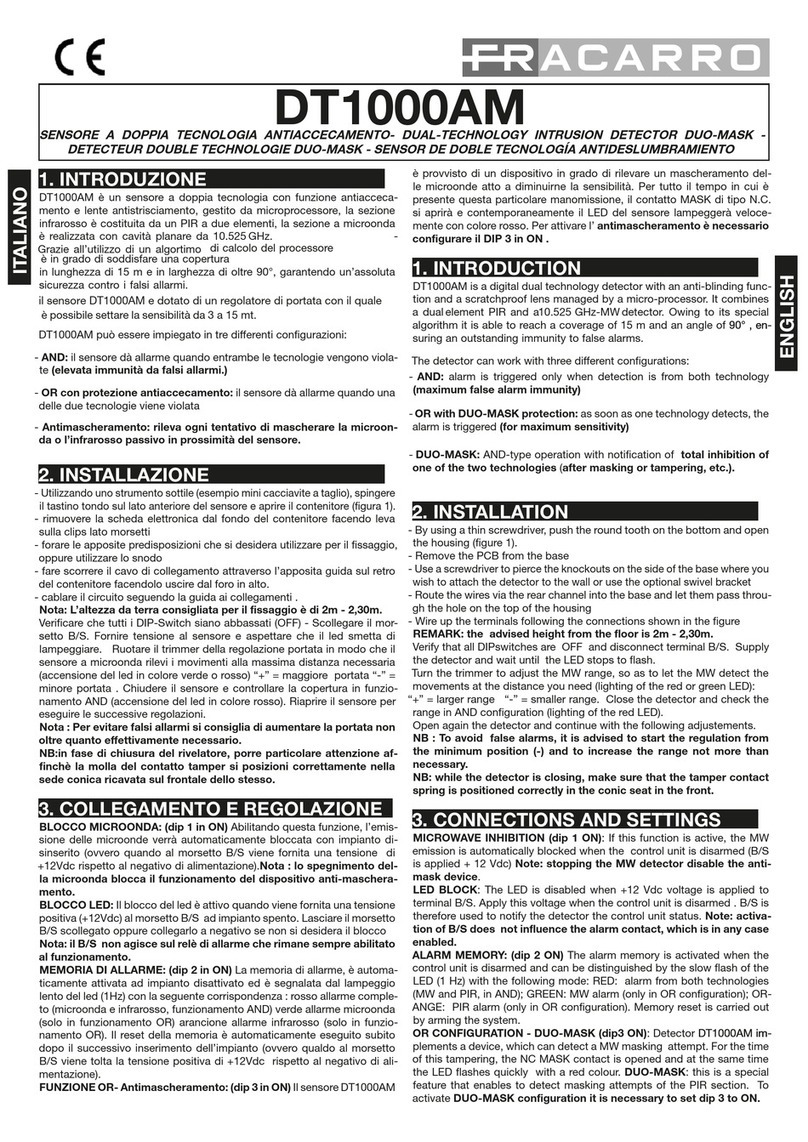
Fracarro DT1000AM User manual

Fracarro

Fracarro DT1000AM User manual

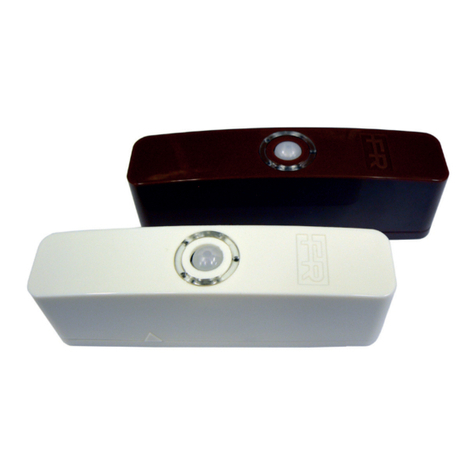
Fracarro IR900 User manual

Fracarro

Fracarro IR900 User manual

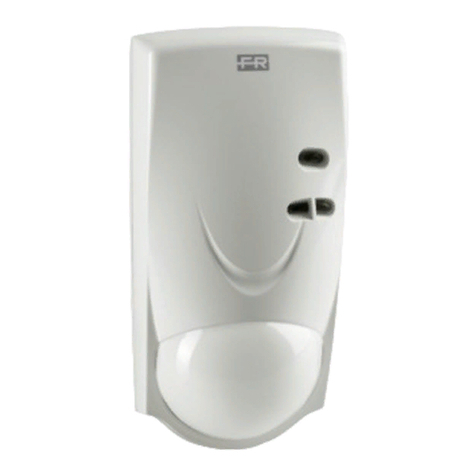
Fracarro DT1000 User manual

Fracarro

Fracarro DT1000 User manual

Fracarro SEL80LED User manual

Fracarro

Fracarro SEL80LED User manual

Fracarro TEATRO' 35DT EVO User manual

Fracarro

Fracarro TEATRO' 35DT EVO User manual

Fracarro SHIELD V User manual

Fracarro

Fracarro SHIELD V User manual

Fracarro TEATRO'35 EVO User manual

Fracarro

Fracarro TEATRO'35 EVO User manual

Fracarro IR1000 EVO User manual

Fracarro

Fracarro IR1000 EVO User manual

Fracarro TEATROB-WL User manual

Fracarro

Fracarro TEATROB-WL User manual

Fracarro SHIELD C User manual

Fracarro

Fracarro SHIELD C User manual

Fracarro WL04IR User manual

Fracarro

Fracarro WL04IR User manual

Popular Security Sensor manuals by other brands

hyfire Altair Series instructions

hyfire

hyfire Altair Series instructions

Satel AMD-101 quick start guide

Satel

Satel AMD-101 quick start guide

Assa Abloy Ditec PAS005AP user guide

Assa Abloy

Assa Abloy Ditec PAS005AP user guide

Summit Treestands FBFAHS SU18195-B manual

Summit Treestands

Summit Treestands FBFAHS SU18195-B manual

CAME SMA Original instructions

CAME

CAME SMA Original instructions

QMI water guardian manual

QMI

QMI water guardian manual

General Monitors FL3112 manual

General Monitors

General Monitors FL3112 manual

ABB Orion1 Base Excerpts From the Instruction Manual

ABB

ABB Orion1 Base Excerpts From the Instruction Manual

Ampac FIRERAY 2000 Product guide

Ampac

Ampac FIRERAY 2000 Product guide

Fire Sentry FS19X-211-213 Installation guide and operating manual

Fire Sentry

Fire Sentry FS19X-211-213 Installation guide and operating manual

BW Technologies GasAlertMax user manual

BW Technologies

BW Technologies GasAlertMax user manual

New Cosmos Electric KS-7R instruction manual

New Cosmos Electric

New Cosmos Electric KS-7R instruction manual

Konica Minolta AU-102 installation manual

Konica Minolta

Konica Minolta AU-102 installation manual

LEDISONS LDA90-4-WIT manual

LEDISONS

LEDISONS LDA90-4-WIT manual

mySmart MWS6-PRM Product guide

mySmart

mySmart MWS6-PRM Product guide

WatchGas NEO Service manual

WatchGas

WatchGas NEO Service manual

WERMA Signaltechnik Ex-LED Signal Tower 741 Instructions for use

WERMA Signaltechnik

WERMA Signaltechnik Ex-LED Signal Tower 741 Instructions for use

Keysight Technologies N4377A user guide

Keysight Technologies

Keysight Technologies N4377A user guide

manuals.online logo
manuals.online logoBrands
  • About & Mission
  • Contact us
  • Privacy Policy
  • Terms and Conditions

Copyright 2025 Manuals.Online. All Rights Reserved.