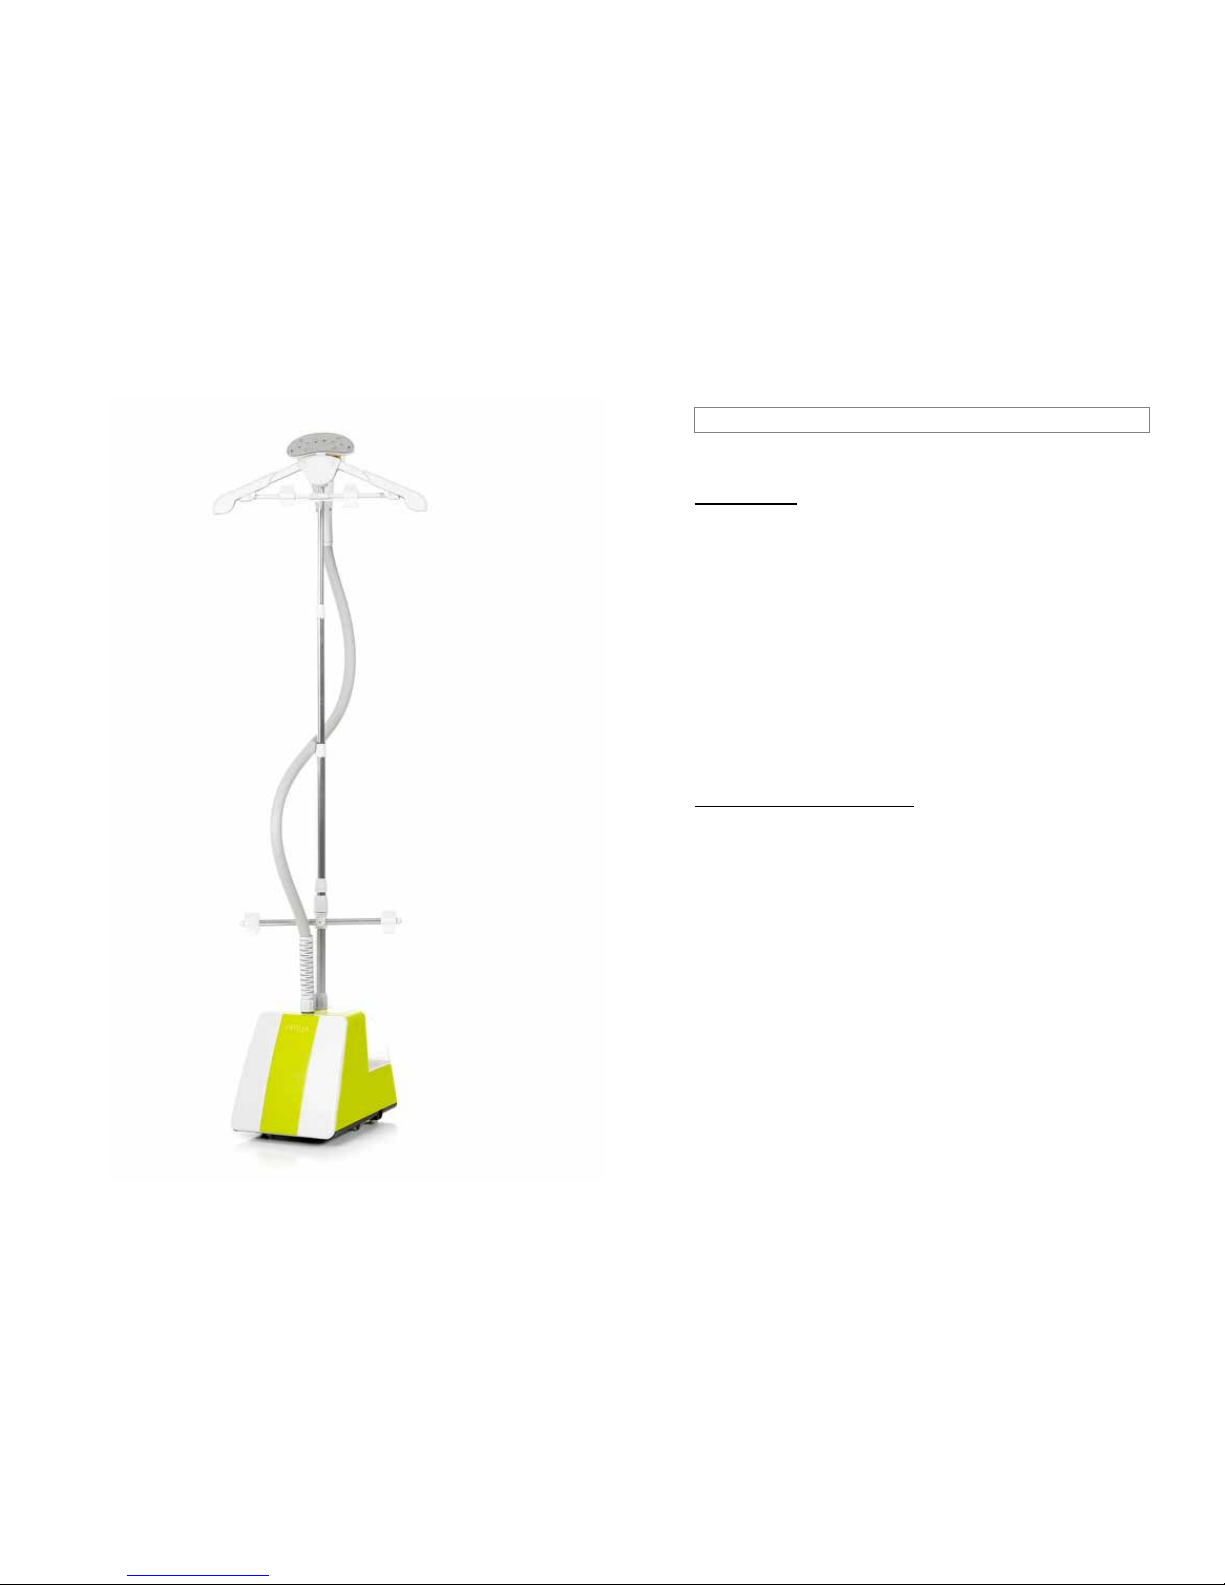
Fridja ProFessional Garment steamerf1400
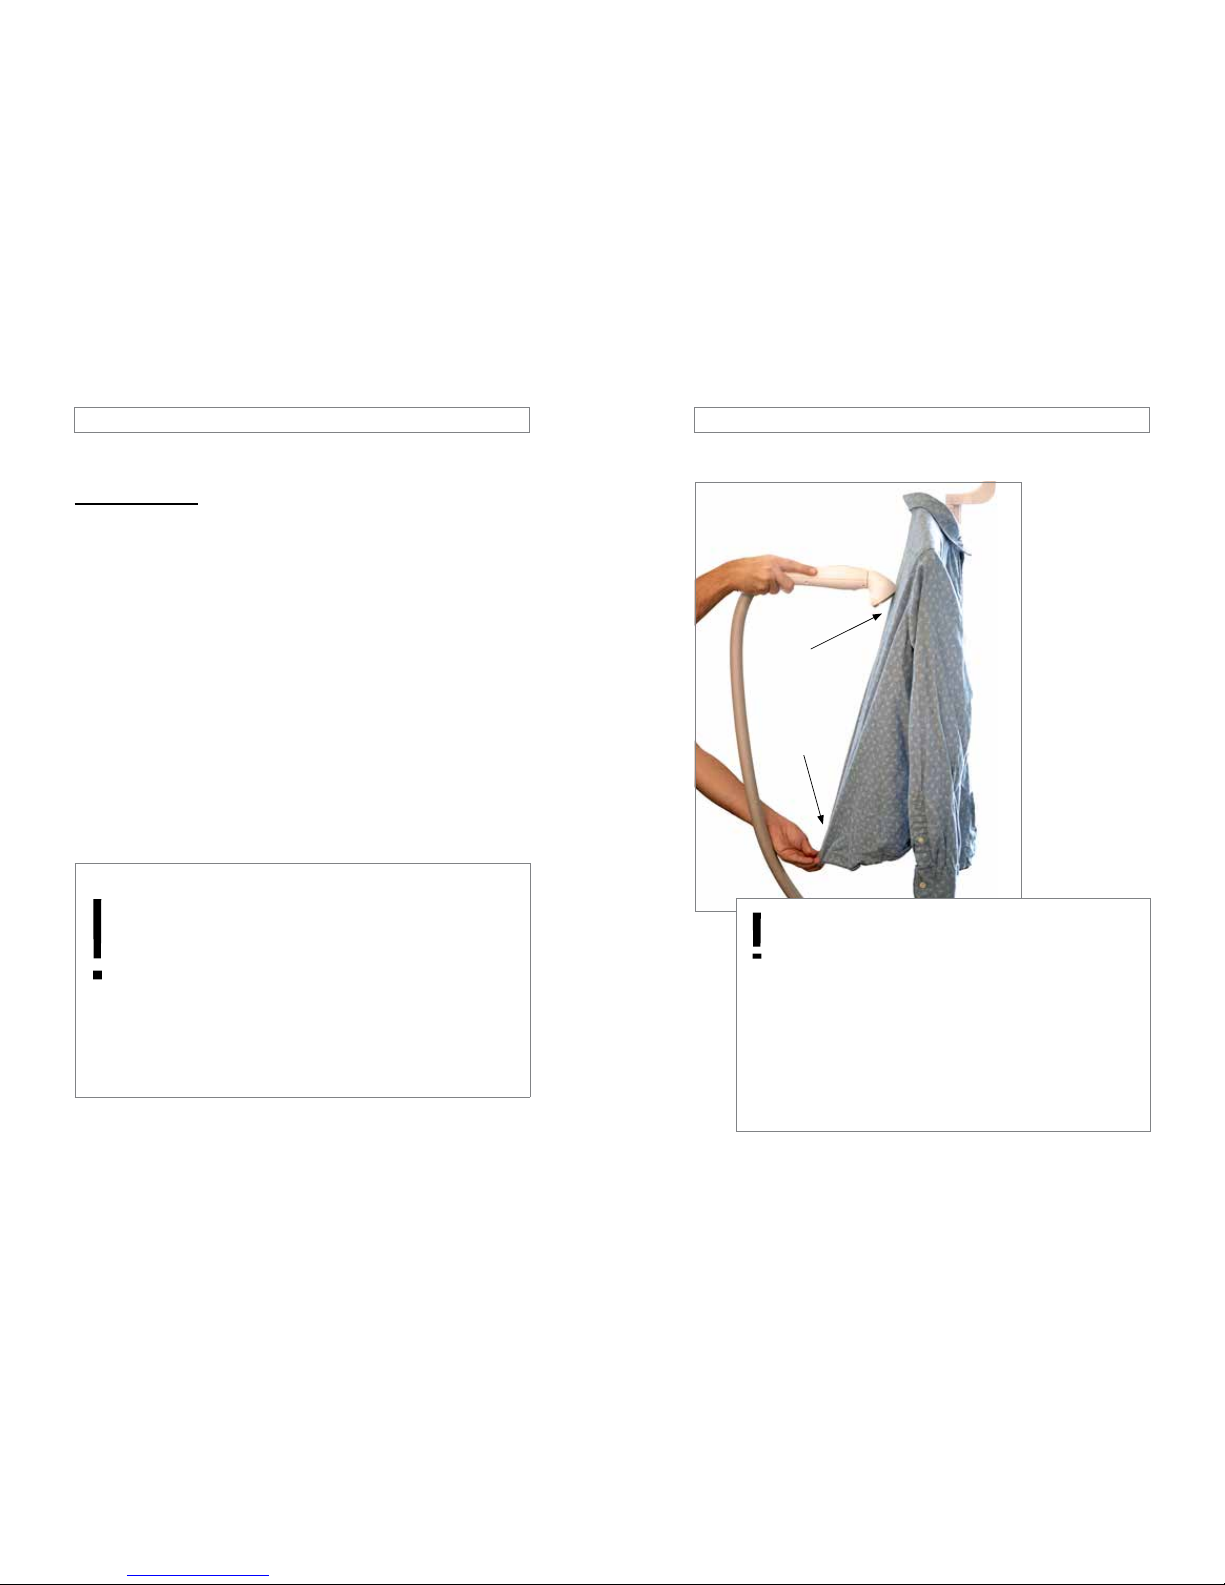
HAND IRONING MAT
Use the hand ironing mat to aid fabric steaming.
1. Place your hand at the back of the hand ironing mat (Figure A).
2. Use the hand ironing mat behind fabrics for additional support, moving
in unison with the steamer head (Figure B).
A B
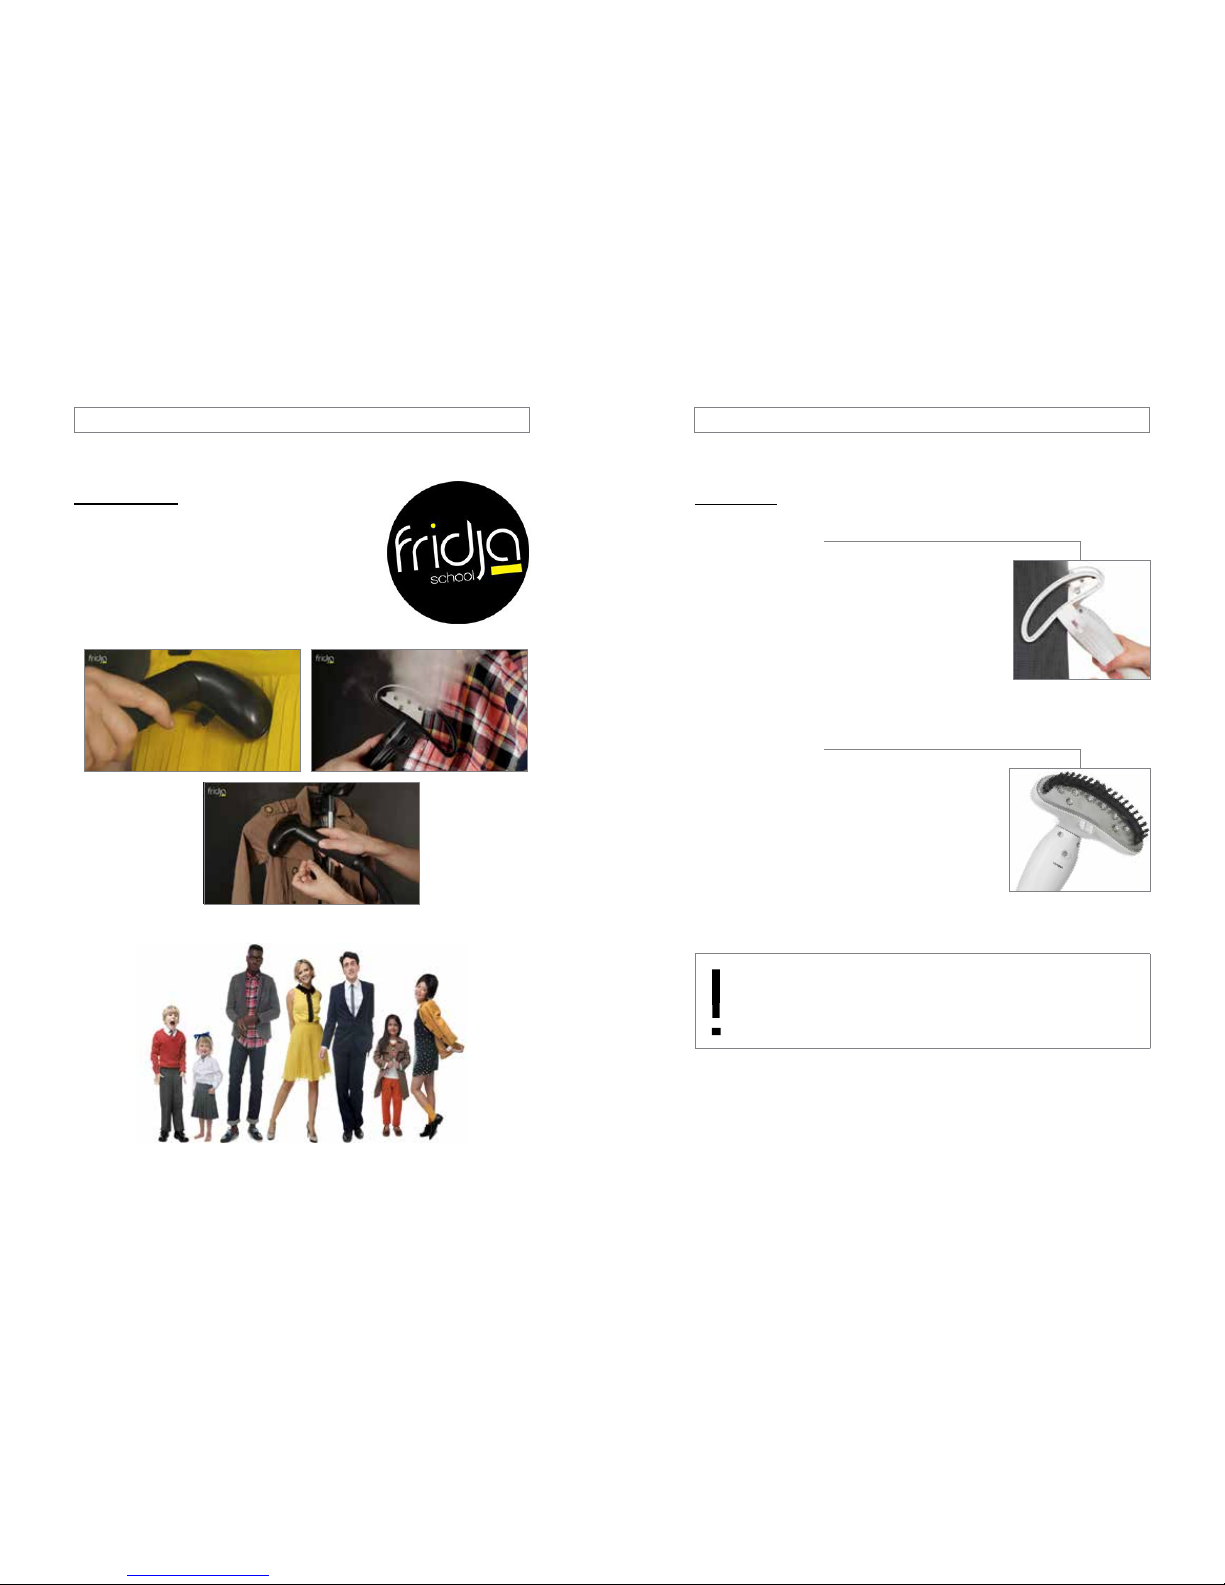
FOLDING HANGER
1. Attach the folding hanger to the head hanger.
2. Push the pun through the hole to secure the hanger (Figure C).
3. Unfold the hanger and slide across to secure (Figure D).
C D
CAUTION:
Exercise caution when using the hand mat to avoid scalding
from steam.
CONTROL PANEL AND REMOTE CONTROL
When you switch the power on at the mains, the display will show
the following standby symbol:
12 13
F-1400 Fridja Professional Garment Steamer
Control Panel
Power level
Sensor
On / Off button
Power level button
Remote Control
Pressing the On / Off button on either the control panel or remote
control will switch on your steamer’s heater.
It will start at the highest power level 10 (as shown above). Press
the power level buttons on either the control panel or remote
control to increase or decrease the steam power level.
Press the On / Off button to return to standby mode.
Hand Ironing Mat
Use the hand ironing mat to aid fabric steaming.
1. Place your hand at the back of the hand ironing mat (Figure A).
2. Use the hand ironing mat behind fabrics for additional support,
moving in unison with the steamer head (Figure B).
Caution:
Exercise caution when using the hand mat to avoid scalding from
steam.
A B
Folding Hanger
1. Attach the folding hanger to the head hanger (Figure C).
2. Push the pin through the hole to secure the hanger.
3. Unfold the hanger and slide lock across to secure (Figure D).
C D
F-1400 Instructions April 2013.indd 12-13 24/04/2013 12:31
When you switch the power on at the mains, the display will show the
following standby symbol:
Power level
On/Off button
Pressing the On / Off button on either the control panel or remote control
will switch on your steamer’s heater.
It will start at the highest power level 10 (as shown above). Press the power
level buttons on either the control panel or remote control to increase or
decrease the steam power level.
Press the On / Off button to return to standby mode.
Power level button
17
FRIDJA PROFESSIONAL GARMENT STEAMER
CONTROL PANEL AND REMOTE CONTROL
When you switch the power on at the mains, the display will show
the following standby symbol:
12 13
F-1400 Fridja Professional Garment Steamer
Control Panel
Power level
Sensor
On / Off button
Power level button
Remote Control
Pressing the On / Off button on either the control panel or remote
control will switch on your steamer’s heater.
It will start at the highest power level 10 (as shown above). Press
the power level buttons on either the control panel or remote
control to increase or decrease the steam power level.
Press the On / Off button to return to standby mode.
Hand Ironing Mat
Use the hand ironing mat to aid fabric steaming.
1. Place your hand at the back of the hand ironing mat (Figure A).
2. Use the hand ironing mat behind fabrics for additional support,
moving in unison with the steamer head (Figure B).
Caution:
Exercise caution when using the hand mat to avoid scalding from
steam.
A B
Folding Hanger
1. Attach the folding hanger to the head hanger (Figure C).
2. Push the pin through the hole to secure the hanger.
3. Unfold the hanger and slide lock across to secure (Figure D).
C D
F-1400 Instructions April 2013.indd 12-13 24/04/2013 12:31
When you switch the power on at the mains, the display will show the
following standby symbol:
Power level
Sensor
On/Off button
Pressing the On / Off button on either the control panel or remote
control will switch on your steamer’s heater.
It will start at the highest power level 10 (as shown above). Press the
power level buttons on either the control panel or remote control to
increase or decrease the steam power level.
Press the On / Off button to return to standby mode.
When you switch the power on at the mains, the display will show
the following standby symbol:
12 13
F-1400 Fridja Professional Garment Steamer
Control Panel
Power level
Sensor
On / Off button
Power level button
Remote Control
Pressing the On / Off button on either the control panel or remote
control will switch on your steamer’s heater.
It will start at the highest power level 10 (as shown above). Press
the power level buttons on either the control panel or remote
control to increase or decrease the steam power level.
Press the On / Off button to return to standby mode.
Hand Ironing Mat
Use the hand ironing mat to aid fabric steaming.
1. Place your hand at the back of the hand ironing mat (Figure A).
2. Use the hand ironing mat behind fabrics for additional support,
moving in unison with the steamer head (Figure B).
Caution:
Exercise caution when using the hand mat to avoid scalding from
steam.
A B
Folding Hanger
1. Attach the folding hanger to the head hanger (Figure C).
2. Push the pin through the hole to secure the hanger.
3. Unfold the hanger and slide lock across to secure (Figure D).
C D
F-1400 Instructions April 2013.indd 12-13 24/04/2013 12:31