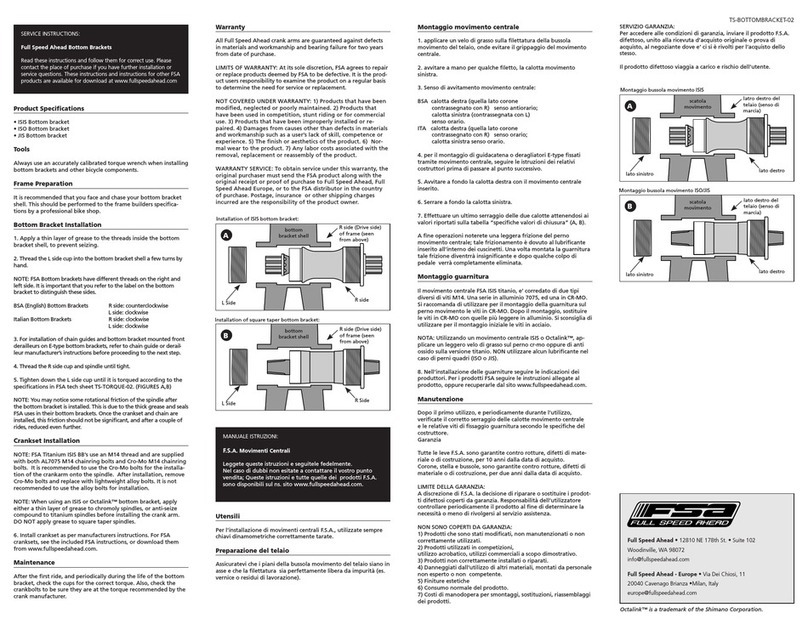
BB86 &BB92 BottomBracketInstallationInstructions(ForUseWithFSAAlloy CranksetsOnly)
Published Mar, 2011.ZS114B.v1 ©Full SpeedAhead
Introduction
Congratulations onyourFull SpeedAhead product.Pleaseread theseinstructions and followthemforcorrect
use.Failureto followthe warnings and instructions could result indamageto productnot coveredunder
warranty,damageto bicycle; orcauseanaccidentresulting ininjury ordeath.Sincespecifictools and
experiencearenecessaryforproperinstallation,it is recommended thatthe productbeinstalled byaqualified
bicycletechnician.FSA&Visionassumes noresponsibilityfordamages orinjuryrelated to improperlyinstalled
components.
Warranty
Full SpeedAhead (FSA)warrants all FSA,Gravity,Vision,Metropolis and RPMproducts to befreefromdefects
inmaterials orworkmanship foraperiod oftwoyears afteroriginalpurchaseunless otherwisestated inthefull
warrantypolicy.The warrantyis non-transferableandvalid to the originalpurchaserofthe productonly.Any
attemptto modifythe productinanywaysuchas drilling,grinding,and painting will void the warranty.For
moreinformationonwarrantypolicy and instructions forcompleting awarrantyclaim,checkoutthe Full
WarrantyPolicy found atourwebsite: http://www.fullspeedahead.com/support/warranty-policy/
Specification
ItemNumber/ ModelNameBB-AL86/SLE/SteelBearingBB86 forAlloyRoadCranks
ItemNumber/ ModelNameBB-ALM92/SLE/SteelBearingBB92 forAlloyMTBCranks
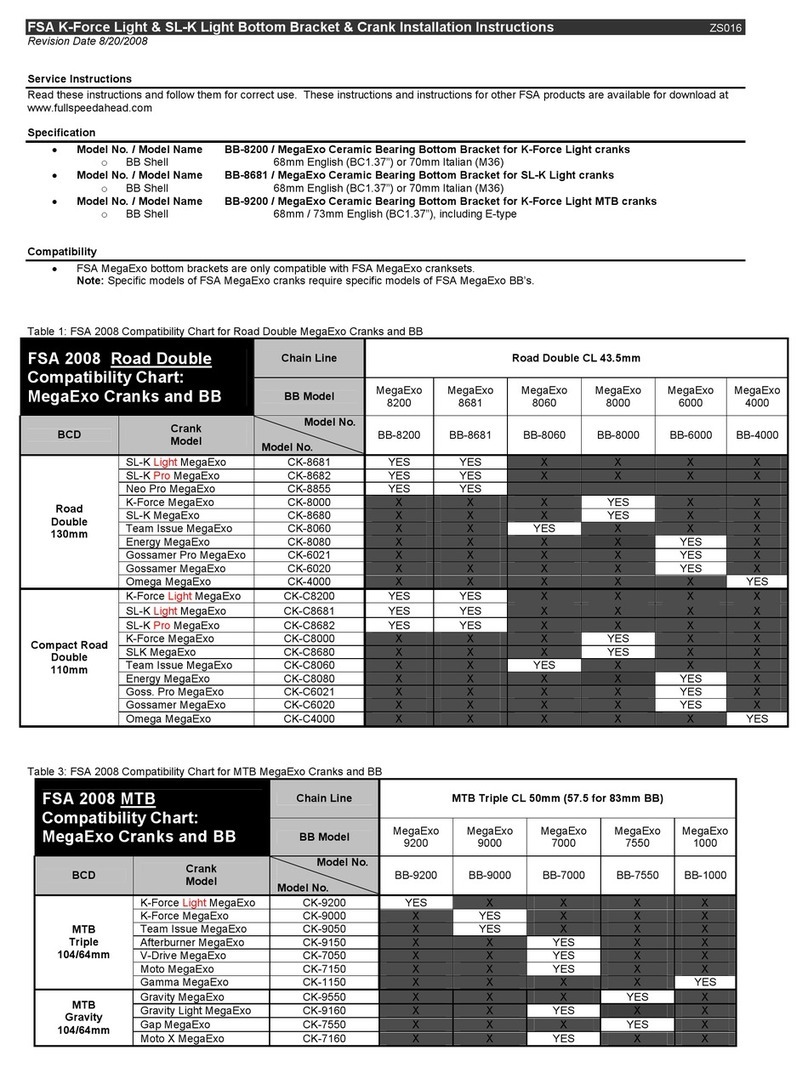
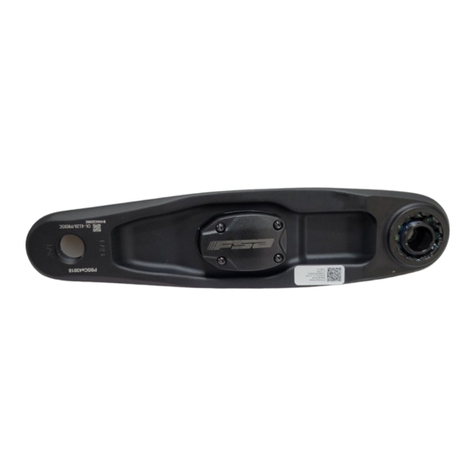
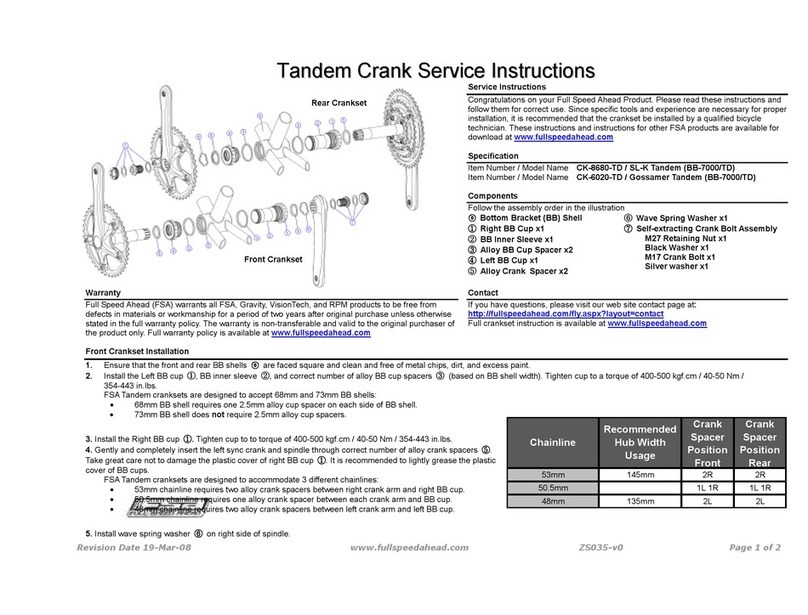
Note: Thesebottombrackets areforFSAmodelalloycranksets listed inchartbelow.Forbottombrackets
compatiblewithFSACarboncranksets referto instruction:ZS114A
Components
Followthe assemblyorderinthe illustration:
BottomBracketShell
②PlasticCenterSleevex1
③Bearing Cup x2
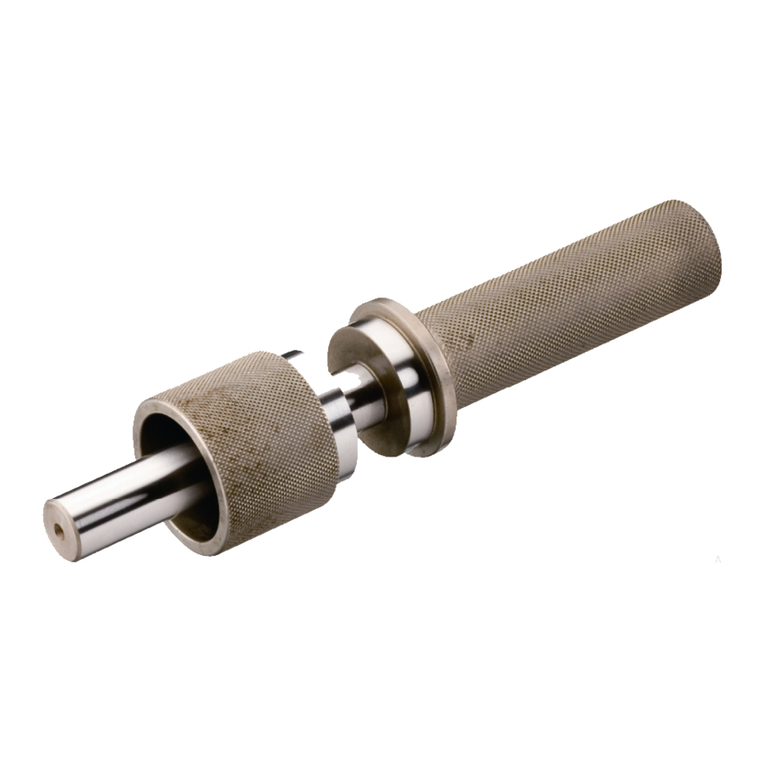
④HeadsetPress Tool(not included)
Press FitBottomBracketInstallation
1. EnsurethatBottomBracket(BB)shell is cleanandfreeofmetalchips,dirt,and excess paint.
Note: BB-92 is forMTB cranksets only.BB86 is forroad cranksets only.Referto CranksetSpecification ”chartto ensurebottombracketandcranksetcompatibilitybeforecontinuing.
2. Followassemblyorderas pictured inaboveillustrations.
3. PlaceeitherBearing cup ③withplasticsleeve ②ontheHeadsetpress tool ④as shown.Note: RightandLeftbearingcups arethe same.
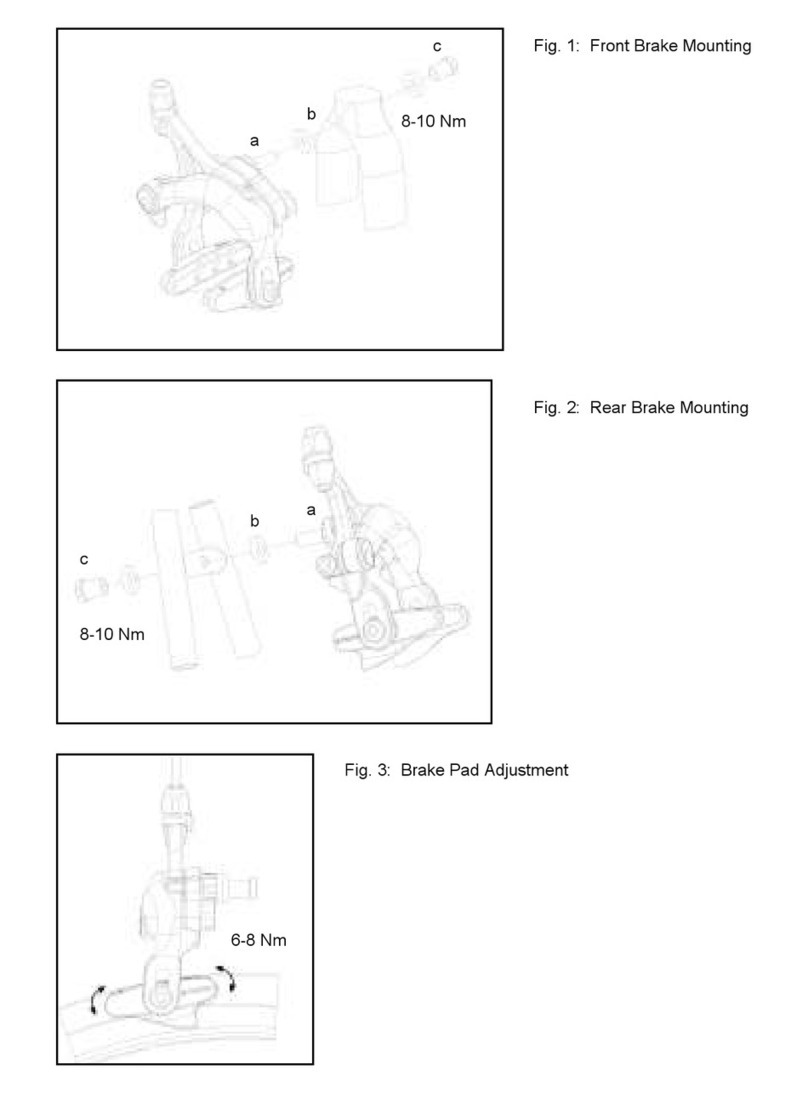
4. Slidethe HeadsetPress tool ④throughthe BottombracketShell and placetheremaining BearingCup ③withPlasticsleeve ②facing theBottombracketshell (Fig.1).
5. Using the HeadsetPresstool ④press thebearingcups ③withPlasticCenterSleeve ②into the BB shell.Tighten until the thrustfaceoftheBearingCup ③is flushwiththe outerfaceoftheBottomBracketshell
(Fig.2).Note: Becertainthatthebearingcups and tool faces arealigned and squareotherwisedamageto the plasticcoversand bottombracketshell mayoccur.
6. When BottomBracketis fullyinstalled unscrewHeadsetPress tool andcarefullyremovefromtheBottombracket.
7. Check bearings forrotationalsmoothness.Ifbearings feelrough,it maybeanindicationthe cupsarenot perfectlyalignedinthe bottombracketshell.Itmaybenecessaryto removeandreinstall the bearingsto
beassured bearing alignmentinthe bottombracketshell.
Fig.1
Fig.2

