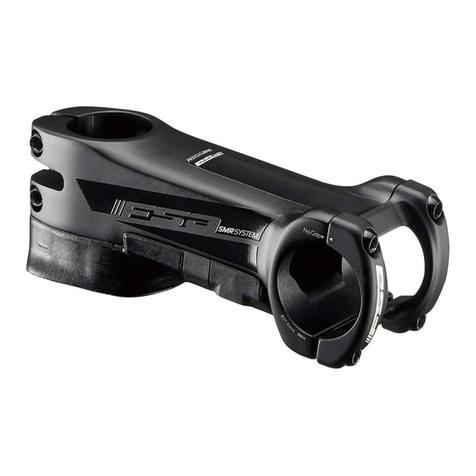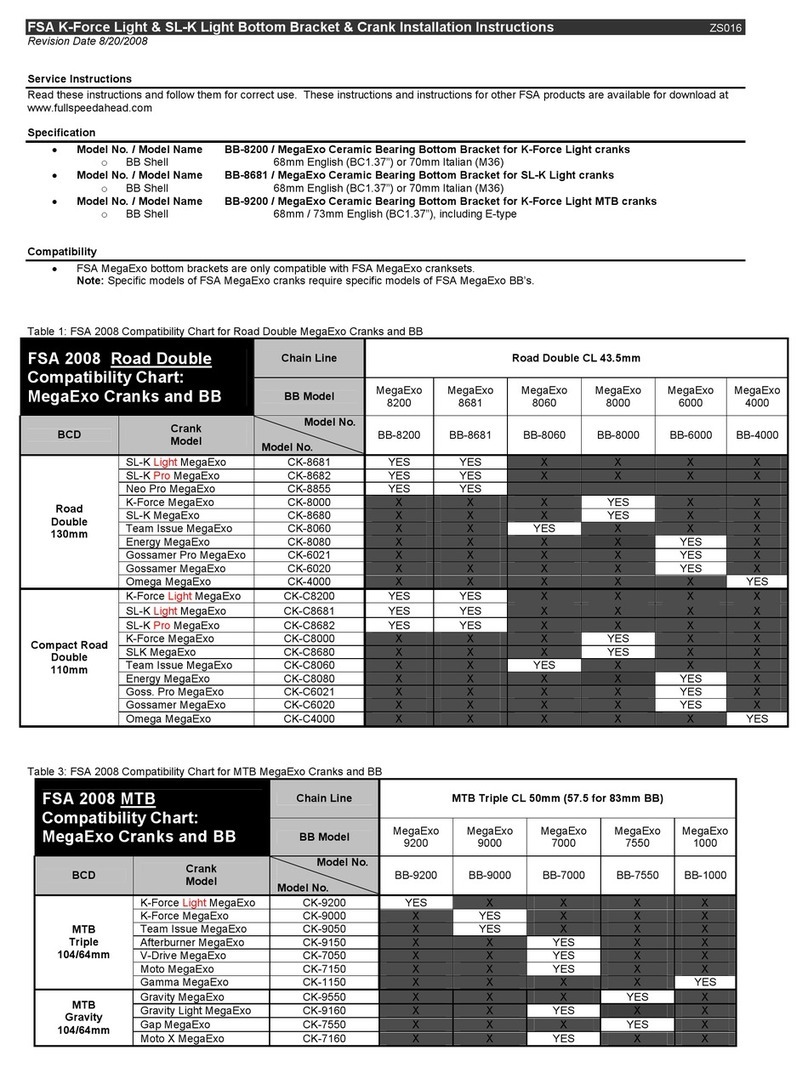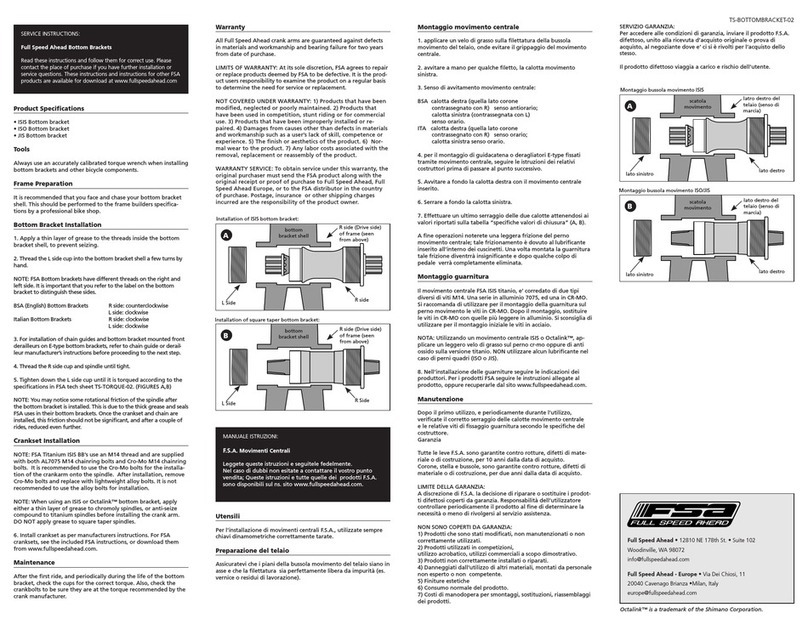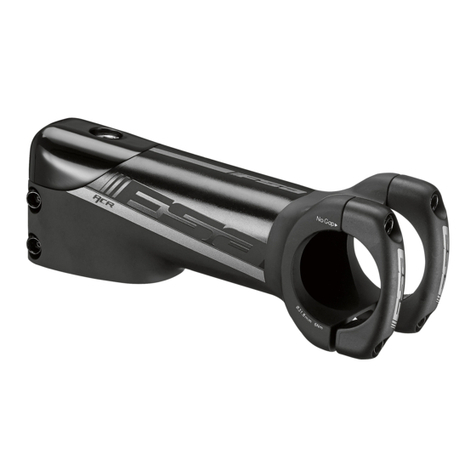
StemInstallation to ForkSteerer Tube
1. Measure diameterofsteerertube to be certain it iscorrect size forVAS stem installation.It soften requiredthat the steerertube be cut to length andshould be performedby aqualifiedbicycle technician.Ensure
the steerertube isclean andfree ofburrs orchips before installingstemonto steerertube.
2. Headset shouldbe installedperheadset manufacturer sinstructions.
3. Apply small amount ofFSA Dynamicinstallation compoundon Carbon steerertubes.
4.Install the ExpanderAssembly (not shown) perExpanderAssembly instructionsifuse with Carbon steerertubes.
5. Tighten the fixingbolts ②to 61 kgf.cm /6Nm/53 in.lbs. oftorque by alternatingbetween bolts1/4turn atatime so both boltsreach propertorque simultaneously.
Do not go above maximumtorque ratingprintedon the VASstem.IftwoFixingBolts ②go overthe maximumtorque,can cause cracksin carbon steerertube.Check stemforslippage on the steerertube
before proceeding.
Handlebar Installation to Stem
1. Apply FSA DynamicInstallation Compoundon handlebar ③clamparea. Insert handlebarbetween HandlebarClamp ④.
2. Apply grease to Fixingbolt ⑤andthreadinto Handlebar Clamp ④includingLock Washer ⑥,adjust the handlebar to the desiredangle then tighten the bolt to 112 kgf.cm /11Nm/97 in.lbs..
Note:While tighteningFixingBolt ⑤,the LockWasher ⑥canmake clickingsounds. Thisisnormal andnot an indication ofhandlebar failure.
3. Install desiredElastomer ⑦aroundthe Handlebar Clamp a④ndhandlebar ③,Ensure the elastomerbolt hole isfacingdown.
4.Install the Face plate- Left andRight overlay on⑧Elastomer ⑦fromtwo sides(see Fig.A) by usingWasher ⑨andFixingbolts ⑩tighten to fingertight.
5. Ensure the Fixingbolts ⑩arecorrect positioned, tighten to torque 61kgf.cm /6Nm/53 in.lbs by alternatingbetween bolts1/4turn at atimeso both boltsreach propertorque simultaneously.Ensure StemBody
Face plates ⑧andElastomer ⑦have no gaps. Tighten the bolts ⑩to 122 kgf.cm /12 Nm/106 in.lbs by alternatingbetween bolts1/4turn atatime so both boltsreach propertorque simultaneously.
Do not go above maximumtorque ratingprintedon the stem.Check handlebar forslippage before each ride to ensure safe operation.Contact FSA forTroubleshootinginformation.
The elastomerandbushings areconsumablesandmust be inspectedregularly.Ifthey are damaged, must be replacedimmediately.Ifcontinue to ride with the damagedelastomerandbushing, it may cause the stemor
handlebar to slide,causingthe bicycle to lose control,anaccident,result in damage to the bicycle,orinjury ordeath.
Dependingon the riderandthe ridingroute,the elastomerandthe bushingmay have different wear rates. Recommendedservice interval forbushingandelastomerare shownin the chart below:
lDo not install NS VAS Stemon handlebars with holes for cable routing in the central clamping region, handlebar damage or breakage can result.
lNS VAS Stemis only compatible with handlebars that have a Φ31.8mm clamp area and are narrower than 460mm.
lCheckNS VAS Stemelastomer and bushing regularly, ifthere is damage or significant wear replace with new parts.
lNS VAS Stemonly compatible toSteererTube Dimension Ø28.6mm
lDo not use boltsandspacers not originally equippedwith NS VAS Stem
The elastomerandbushings areconsumablesandmust be inspectedregularly.Ifthey are damaged, must be replacedimmediately.Ifcontinue to ride with the damagedelastomerandbushing, it may cause the stemor
handlebar to slide,causingthe bicycle to lose control,anaccident,result in damage to the bicycle,orinjury ordeath.
Dependingon the riderandthe ridingroute,the elastomerandthe bushingmay have different wear rates. Recommendedservice interval forbushingandelastomerare shownin the chart below
BushingColor Usage Level RidingHours (Approx) Mileage (km) Normal Gap(mm)
Black Race 1000 +/- 20,000 0.5
Dark Grey Sport 500 +/- 10,000 0.5
Grey Comfort 100 +/- 2000 1
Measure Fork Steerertube andhandlebar clamp areabefore installingstem.Use an accurate measuringdevice such as acaliperormicrometer.Installingstemonto an undersizedsteertube orhandlebar can cause stem
orbarto slipcausinglossofcontrol ofbicycle; resultingin an accident,damage to bicycle,injury ordeath.Use FSA DynamicAssembly Paste between stem,steerertube,andhandlebarto reduce chancesofslippage.
Consult fork andhandlebarmanufacturerforexact diameterspecification.Ifmanufacturerspecificationsare unavailable,general guidelinesare as follows:
Headset andFork must be installedbefore steminstallation.Headset andForkinstallation requiresspecializedknowledge,tools, andexperience.General mechanical aptitude may not be sufficient to properly install
these components. It isrecommendedthat the headset andfork be installedby aqualifiedbicycle technician.Improperinstallation can result in failure ofheadset,fork,stem,andcause personal injury ordeath.
Handlebar ClampAreaDimensions:
lΦ31.8mm + 0.15/-.00mm
l11/8”Φ28.6mm+.01 /-.00mm
