manuals.online logo
Brands
  1. Home
  2. •
  3. Brands
  4. •
  5. FUTABA
  6. •
  7. Controllers
  8. •
  9. FUTABA GYC440 User manual

FUTABA GYC440 User manual

WARNING
Failure to follow these safety precautions may result in severe injury
to yourself and others.
Check that there is sufficient transmitter battery capacity .
Analog servos cannot be used while in "digital servo"
mode.
• Analog servos may break down if "digital servo" mode is selected.
Do not operate the model and transmitter steering wheel
for about 3-5 seconds after turning on the GYC440 (When
shared with the receiver).
• GYC440 initialization and neutral position reading. The GYC440 is initialized when
the power is turned on. In the AVCS mode, the neutral position is also read at the
same time. If initialization ends normally, the operator is informed by two repetitive
movements of the servo to the left and right (a little).
Always check the direction of operation of the gyro.
Do not strike the gyro with a hard object. Do not drop it
onto a concrete surface or other hard floor.
• The sensor may become damaged during strong impacts.
Do not use trims or mixing in AVCS mode.
• In theAVCS mode all corrections are made by the gyro. Therefore, if trimming and
mixing, are turned on, operation will be the same as deviating from the neutral po-
sition.
Do not use the GYC440 for applications other than RC
cars.
•This gyro is designed for RC cars only. Do not use it for other applications.
Do not place gyro near heating equipment (engine, motor,
ESC, battery, servo, etc.).
•Always allow the gyro to adjust to the surrounding environmental temperature be-
IRUHÀLJKW$ODUJHWHPSHUDWXUHFKDQJHGXULQJXVHZLOOFDXVHGULIWDQGRWKHURSHUD-
tional issues.
AN
DG
Connecting the GYC440
Connecting the GYC440 (S.BUS receiver is required)
Mounting to Chassis
I
NSTRUCTION
M
ANUAL
I
NSTRUCTION
M
ANUAL
RateGyroforRCCars
ForRCmodels
AN
DG
GYC440
Steering
servo
Extensioncord:(Black)
Extensioncord:(Red)
Port3
Port1
SteeringCH
GyrogainCH
Port2
Receiver
GyrogainCH(Receiver)←connect→Port2(GYC440)
Remotegaineffective.Trimmer(GYC440)becomesLIMIT.
GyrogainCH(Receiver)←Itdoesnotconnect→Port2(GYC440)
Remotegainisinvalid.Trimmer(GYC440)becomesGAIN.
AN
DG
GYC440
S.BUSReceiver
S.BUSCH
Steering---1CH
Gyrogain---3CH
Theport2isnotconnected.
S.BUS/S.BUS2Port
Steering
servo
Extensioncord:(Black)
Port3
Port1
InS.BUSconnection,theport
2isnotconnected.
Remotegainisstilleffective.
Gyro
Includedsponge
sensortape
Degrease
andstick Horizontalplane
Flatsurfaceofthechassiswherethesensor
tapestickseasily.Mountthegyrolevelso
thatitisnottiltedrelativetothechassis.
Usetheaincludeddouble-sidedspongetapetofirmlyattachthegyroperpendiculartothecontrolaxis,ata
positionwherethereisaslittlevibrationaspossible.Makethewiringlooseandbundleitwiththeincluded
magicstrapsothatitwillnotinterferewiththerod.
Gyromountingposition
Thedirectionofrotationfixedbythegyrocanbe
anydirectionwithin360° relativetothesteering
axiscontrolledbythegyro.
•Nopartofthismanualmaybereproducedinanyformwithout
priorpermission.
•Thecontentsofthismanualaresubjecttochangewithoutprior
notice.
•Futabaisnotliableforanypotentialdamage(accidentalor
otherwise)thatmayoccurafterinstallation.
Before using your new gyro, please read this manual thoroughly
and use the gyro properly and safely. After reading this manual,
store it in a safe place.
● DedicatedRCcarsetting
Vehicle straightness and cornering performance can be increased without
taking into account the effect of the road surface, etc.
● Remotegainfunctionandmodeswitchingfunction
You can adjust gain from the transmitter (3 or more CH) by using the
remote gain function. Gain can also be adjusted with the trimmer on the
GYC440. The mode switching function allows AVCS/NORMAL gyro
mode switching.
● Integrated,compact,andlightweight
Compact size(20.5x20.5x11mm)and light weight(3.7g)realized
by high density mounting technology.
● Easysetup
The GYC440 can be used immediately with minimum setup.
● SupportingtheS.BUS/S.BUS2connection
Only one wire connection to the receiver can operate the GYC440.
GYC440Ratings:
(Integrated sensor type rate gyro)
•Gyro sensor: MEMS vibrating structure gyro
•Operating voltage: DC4.2V to 8.4V
•Current drain: 30mA (excluding a servo)
•Operating temperature range: -10ºC to +45ºC
•Dimensions: 20.5 x 20.5 x 11.0mm (except protrusion)
•Weight: 3.7g
•Functions: Sensitivity trimmer. LED monitor. Servo selection(Digital/
Analog). S.BUS/S.BUS2 connection.
Features of GYC440
Functions
Monitor LED display
State Color Move Reference
1. No servo pulse /
sensor error Red 2 flash
2. Warm-up Green Fast blink
3. Sensor initialization Red/Green ON AVCS (Red)
NORMAL (Green)
4. Turn Red/Green Fast blink Right (Green)
Left (Red)
5. Neutral offset Orange Slow blink Stick operation
6. Gain OFF −OFF
7. Switch operation Green One blink Each time of switch
operation
8. Low battery Red One flash Less than 4.0V
●Trimmer
(Limit/Gain)
●LED
●Servo selection switch
(Digital/Analog) ●Port1(Steering input/
S.BUS input)
●Port2(Gain input)
●Port3(Steering servo output)
●Gyro direction
Switch
Set Contents
The following items are supplied with the GYC440:
Mini screwdriver
Sensor tape
Extension cord: (Black)
Extension cord: (Red)
Wiring strap
GYC440
1M23N30902 Thank you for purchasing the GYC440
RC cars gyro. Compact and lightweight,
the GYC440 is designed to RC cars
steering control. If the transmitter has
3 or more channels (capable of 3CH
adjustment) the gyro sensitivity can be
adjusted from the transmitter. Features
include simple set-up and S.BUS/S.BUS2
connectivity.
Adjustments
Running Adjustment
S.BUS System
AVCS / NORMAL Modes
Servo movement when the car is stopped
Servo
Linktheservoinaccordancewiththekitinstructionmanual.
Adjustthelinkagerodsothatthetrimamountisassmallaspos-
sible.
Setup before a run [ Remote gain use ]
Gain adjustments are carried out with a transmitter.
Follow this procedure when the port 2 of gyro and gain CH of the
receiver are connected. (or with S.BUS connection)
1Runthecarinthegyrooffandadjustthesteeringtrim(subtrim).
2Selecttheappropriatesettingforthesteeringservothatyouare
using.ServoselectionswitchofGYC440shouldbemovedto
digital(DG)oranalog(AN).Forbestresults, use adigitalservo and
settheGYC440at(DG).
*Donotuseananalogservointhedigitalservomode(DG).Theservo
maybedamaged.Useananalogservointheanalogservomode(AN).
   
3
Turnonyourtransmitter'spower.Setthegyrosensitivitytoabout
50%attheNORMALside(minusrateside)inaccordancewiththe
transmitterinstructionmanual.The<GAINCH>graphofthenextpage
isreferredto.
※ Makeactualsensitivityadjustmentwhilerunning.
4ReceiverON → TheGYC440requires3-5secondstoinitialize
whenthepoweristurnedon.Donotmovethecaranddonot
movethesteeringwheelduringthisinitializationorthegyromaynot
initializeproperly.Oncetheinitializationprocesshasbeencompleted
thesteeringservowillmove(alittle)severaltimesindicatingthatthe
GYC440isnowreadyforuse.Iftheneutralhasshifted,LEDwillblink
orange.Inthatcase,itreboots.
5Movethesteeringwheeltotheleftandrightandperform
adjustmentatthelimittrimmersothattheservooperationangle
becomesthemaximumvalueatwhichtheservohorndoesnotstrike
thelinkage.
Actually drive the vehicle and adjust the gyro sensitivity.
[ When NORMAL mode ]
1Drivethevehicleandadjustthegyrosensitivitytoaposition.If
sensitivityistoohigh,asteeringwillvibrate.Sensitivityis
loweredsothatitmaynotvibrate.
2TheeffectivenessconditionofasteeringisadjustedbyD/Rorthe
endpointofatransmitter.
*Whenthevehicleisstopped,themaximumsteeringangleincreases
asthegyrosensitivityisincreased.Thisisbecauseacontrolsignalis
appliedfromthegyro.Thisisdifferentfromthemaximumsteering
anglewhenactuallyrunning.
[ When AVCS mode ]
*Steering trim must not be performed in the AVCS mode.
(The gyro automatically corrects the neutral position.)
1Adjuststeeringtrimwith0%gyrosensitivityortheNORMALside . 
2InthisstateturnthereceiverpowerOFF → ON.TheAVCSside
neutralpositionismemorizedandAVCScanbeused.Steering
trimmustnotbeperformedwhilethecarisrunning.
Thegyrohas2operatingmodes:NORMALmodeandAVCS
mode.IntheAVCSmode,theangleiscontrolledsimultaneously
withNORMALmoderatecontrol(swingspeed).TheAVCSmode
increasesstraightrunning stabilitymorethanthatof theNOR-
MALmode.Becausethefeelofoperationisdifferent,choose
yourfavoritemode.
Ifsteeringis performedwhenthecaris stopped,theservowill
movesubstantiallyand willoperateuptothe limitposition.In
theAVCSmode,ifsteeringissettotheneutralposition,theser-
vowillslowlyreturntotheneutralposition.Thisisdifferentfrom
ordinaryoperation,butisnormal.
3CH(GAINCH)issetupwithreferencetothemanualofatrans-
mitter.AneutralbecomesGAIN0%.ItisdividedintoAVCSside
andNORMALside.CheckusingtheGYC440'sLED.
Trimmermovementwhenremotegainnotused(whenS.BUSis
usedandport2isnotconnected).
AVCS NORMAL
Countersteersagainst
outsideforce,butcannot
correcttheskiddirection.
Correctstheskidding
directionandforcefully
maintainstheheading.
Outside
force Outside
force
0%
-50%
+50%
50%
50%
100%
100%
+100%
-100%
Endpointrate
Gain
NORMALside(LED:GREEN)
AVCSside(LED:RED)
AVCS100%
NORMAL100%NORMAL50%
LIMIT
GAIN
0%
AVCS50%
AN
DG
Unlikeconventionalradiocontrolsystems,theS.BUSsystem
sendsoperatingsignalsfromthereceivertoagyroorotherS.BUS
compatibledevicebydatacommunication. TheS.BUScompat-
ibledeviceexecutesonlythosepartsofthisdataforthechannels
setbyitself.Forthisreasonmultipleservoscanbeconnectedto
thesamesignalline.
TheS.BUSsystemrequiresadedicatedS.BUSreceiverandS.BUS
servo(gyro,etc.).
Acarisshakenatthe
leftbyhand → steering
goesoutontheright
<LimitTrimmerAdjustments>
Itadjuststothe
maximumoperationof
linkage.
Steeringwheelto
full
D/R(UPside)
Limittrimmer
Adjustments
Gyro sensitivity zero --- LED OFF
AVCS side --- LED red
NORMAL side --- LED green
6Usingthegyrodirectionswitch,adjustthegyrooperating
directionsothatsteeringmovesallthewaytotherightwhen
thecar isturnedtotheleft.Besuretosetgyrooperating direction
correctlyorthecarwillnotrun.
[ When remote gain function is off ]
Adjust the gyro sensitivity with the GYC440 trimmer.
If the port 2 of gyro is not connected, remote gain is automatically set
to being inhibited. (S.BUS connection is excluded)
In this case, the limit trimmer is automatically changed to gyro
sensitivity setting trimmer.
/LPLWDGMXVWPHQWFDQQRWEHSHUIRUPHG$OLPLWLV¿[HGWRULJKWDQG
left.)
1Selecttheappropriatesettingforthesteeringservothatyouare
using.ServoselectionswitchofGYC440ischangeddigital
(DG)oranalog(AN).Forbestresults,useadigitalservoandsetthe
GYC440at(DG).
*Donotuseananalogservointhe digital servo mode(DG).Theservo
maybedamaged.Useananalogservointheanalogservomode(AN).
2Gaintrimmerhalfwaytotheleftfromthemiddlepoint.
3ReceiverON → TheGYC440requires3-5secondstoinitialize
whenthepoweristurnedon.Donotmovethecar and do not
movethesteeringwheelduringthisinitializationorthegyromaynot
initializeproperly.Oncetheinitializationprocesshasbeencompleted
thesteeringservowillmove(alittle)severaltimesindicatingthatthe
GYC440isnowreadyforuse.Iftheneutralhasshifted,LEDwillblink
orange.Inthatcase,itreboots.
4Usingthegyrodirectionswitch,adjustthegyro'soperating
directionsothatsteeringmovesallthewaytotherightwhen
thecaristurnedtotheleft.Besuretosettheoperatingdirection
correctlyorthecarwillnotrun.
● Trimmeroperation
*Sincethisgyroiscompactandlightweight,theadjustmenttrimmerisalsoasmall
part.Alwaysoperatethetrimmerwiththeaccessoryminiscrewdriverandwithout
applyingunreasonableforce.
*Limitissymmetricalnessfroma
trimposition.Limitadjustment
afterasteeringtrimadjustment.
LIMIT
GAIN
0%
NORMAL50%
Gyro Sensitivity and AVCS Switching
Whentheremotegainfunctionisnotused,theclockwisedirec-
tionfromthecenterofthesensitivitysettingtrimmeristheAVCS
modeandthecounterclockwisedirectionistheNORMALmode.
Atthecenterpositionthesensitivitybecomeszeroandwhen
thetrimmeristurnedfullytotheleftorright,thesensitivitybe-
comes100%.
Thesensitivitysettingcriteriabyendpointisshowninthefigure
below.
<GAIN CH >
Gyro sensitivity zero --- LED OFF
AVCS side --- LED red
NORMAL side --- LED green
FUTABA CORPORATION
1080 Yabutsuka, Chosei-mura, Chosei-gun, Chiba-ken, 299-4395, Japan
Phone: +81 475 32 6982, Facsimile: +81 475 32 6983
©FUTABA CORPORATION 2016, 2 (2)
Whentheremotegainfunctionisused,NORMALandAVCS
modeswitchingis performedinaccordancewith thedirection
ofoperationofthetransmitter'sremotegainchannel.Atthe+
rateside,theAVCSmodeisselectedandatthe‒rateside,the
NORMALmodeisselected.Thesensitivityischangedbyadjust-
ingtheendpointrate.

Other FUTABA Controllers manuals

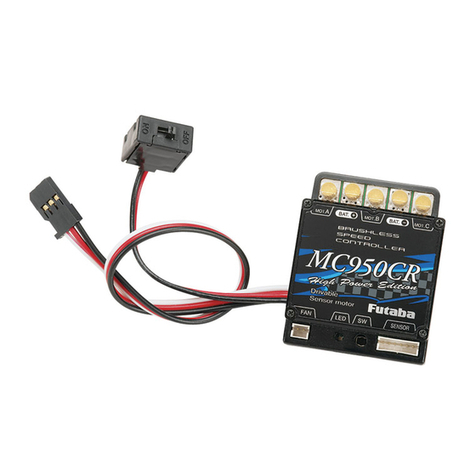
FUTABA MC950CR High Power Edition User manual

FUTABA

FUTABA MC950CR High Power Edition User manual

FUTABA MC850C High Power Edition User manual

FUTABA

FUTABA MC850C High Power Edition User manual

FUTABA MC800C User manual

FUTABA

FUTABA MC800C User manual

FUTABA CGY750 User manual

FUTABA

FUTABA CGY750 User manual

FUTABA MC970CR User manual

FUTABA

FUTABA MC970CR User manual

FUTABA FP-3PB User manual

FUTABA

FUTABA FP-3PB User manual

FUTABA MC401CR Sport Edition User manual

FUTABA

FUTABA MC401CR Sport Edition User manual

FUTABA MC9100A User manual

FUTABA

FUTABA MC9100A User manual

FUTABA GYD 470 User manual

FUTABA

FUTABA GYD 470 User manual

FUTABA MC601C Multipurpose Edition User manual

FUTABA

FUTABA MC601C Multipurpose Edition User manual

FUTABA T16IZ Installation instructions

FUTABA

FUTABA T16IZ Installation instructions

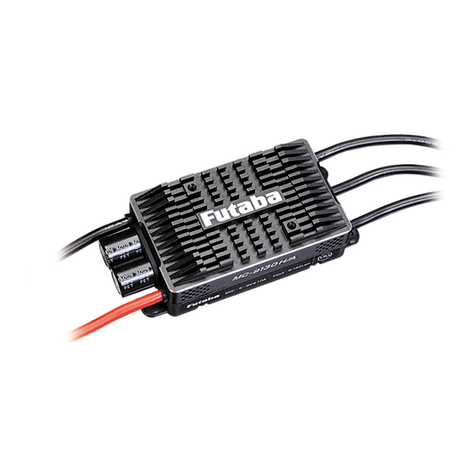
FUTABA MC-9200H/A User manual

FUTABA

FUTABA MC-9200H/A User manual

FUTABA MCP-2 User manual

FUTABA

FUTABA MCP-2 User manual

FUTABA MC330R User manual

FUTABA

FUTABA MC330R User manual

FUTABA FP-7FG 7ch User manual

FUTABA

FUTABA FP-7FG 7ch User manual

FUTABA S5801 User manual

FUTABA

FUTABA S5801 User manual

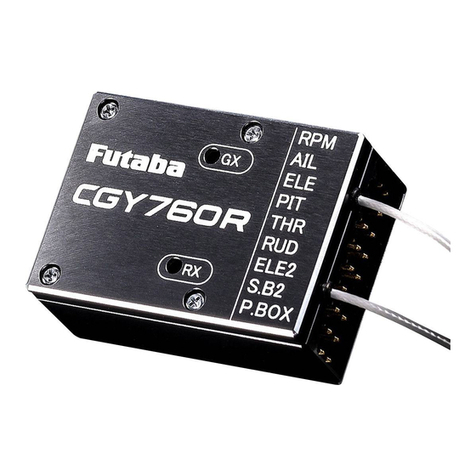
FUTABA CGY760R User manual

FUTABA

FUTABA CGY760R User manual

FUTABA WSC-1 User manual

FUTABA

FUTABA WSC-1 User manual

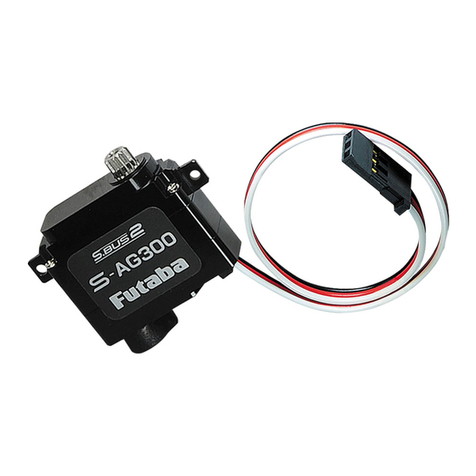
FUTABA S-AG300 User manual

FUTABA

FUTABA S-AG300 User manual

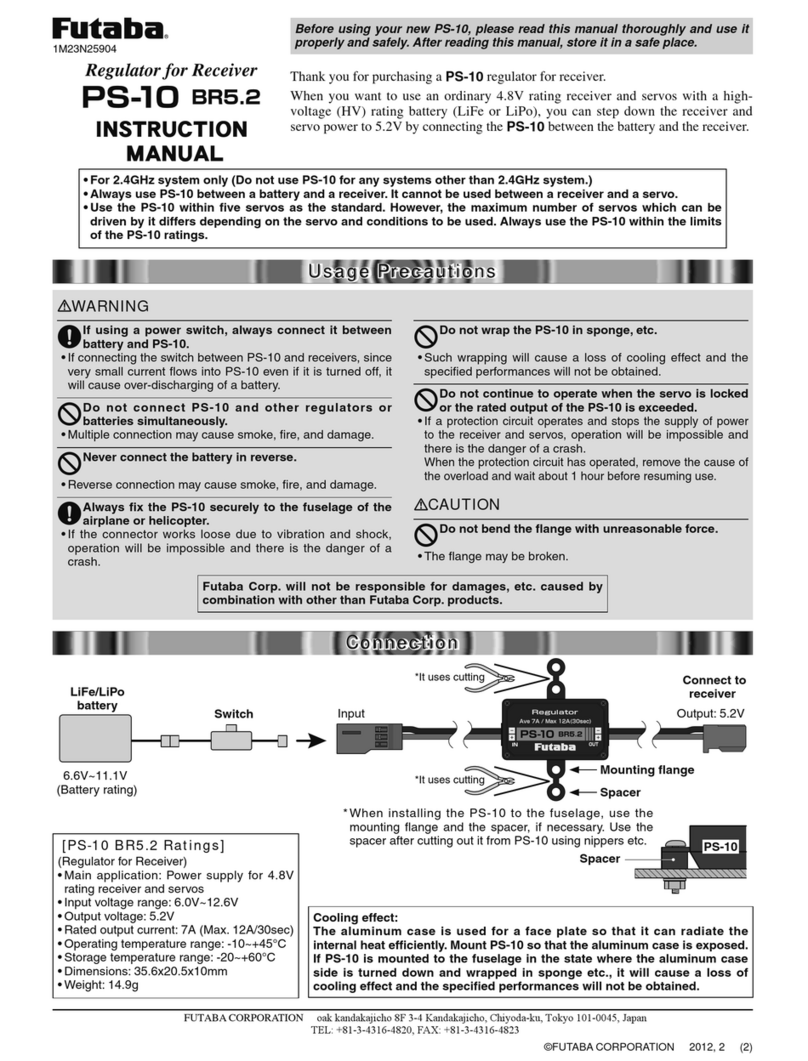
FUTABA PS-10 BR5.2 User manual

FUTABA

FUTABA PS-10 BR5.2 User manual

FUTABA PS-10 BR5.2 User manual

FUTABA

FUTABA PS-10 BR5.2 User manual

FUTABA S-AG300 User manual

FUTABA

FUTABA S-AG300 User manual

FUTABA F3C User manual

FUTABA

FUTABA F3C User manual

FUTABA T18SZ Technical manual

FUTABA

FUTABA T18SZ Technical manual

Popular Controllers manuals by other brands

Circutor Computer SMART III FAST 6 instruction manual

Circutor

Circutor Computer SMART III FAST 6 instruction manual

Unitronics Samba OPLC SM43-J-R20 installation guide

Unitronics

Unitronics Samba OPLC SM43-J-R20 installation guide

Deep Sea Electronics Plc 8620 Installation instructions and instructions for use

Deep Sea Electronics Plc

Deep Sea Electronics Plc 8620 Installation instructions and instructions for use

Fujitsu MB90390 Series Hardware manual

Fujitsu

Fujitsu MB90390 Series Hardware manual

Danfoss EKC 315A user manual

Danfoss

Danfoss EKC 315A user manual

Richard Wolf ENDOCAM 552510 Series instruction manual

Richard Wolf

Richard Wolf ENDOCAM 552510 Series instruction manual

marvelTech MPC-40A user manual

marvelTech

marvelTech MPC-40A user manual

Honeywell ML7421A1032 Product data

Honeywell

Honeywell ML7421A1032 Product data

Lowara Genyo 16A/R15-30 Instructions for installation and use, Safety, Declaration of conformity

Lowara

Lowara Genyo 16A/R15-30 Instructions for installation and use, Safety, Declaration of conformity

Bray Series 70 Technical manual

Bray

Bray Series 70 Technical manual

Genasun GV-10-Pb-12V manual

Genasun

Genasun GV-10-Pb-12V manual

Carrier VVT 33ZC Installation, Start-Up and Configuration Instructions

Carrier

Carrier VVT 33ZC Installation, Start-Up and Configuration Instructions

MICRO-EPSILON confocalDT 2421 Quick manual

MICRO-EPSILON

MICRO-EPSILON confocalDT 2421 Quick manual

Heat Outdoors QHC18MR Quick start guide & instructions

Heat Outdoors

Heat Outdoors QHC18MR Quick start guide & instructions

Pololu G2 user guide

Pololu

Pololu G2 user guide

Zennio MINiBOX 25 v3 Technical documentation

Zennio

Zennio MINiBOX 25 v3 Technical documentation

Regent Lighting Solutions Olympia Pro installation instructions

Regent Lighting Solutions

Regent Lighting Solutions Olympia Pro installation instructions

Siemens GDB 9E Series Mounting instructions

Siemens

Siemens GDB 9E Series Mounting instructions

manuals.online logo
manuals.online logoBrands
  • About & Mission
  • Contact us
  • Privacy Policy
  • Terms and Conditions

Copyright 2025 Manuals.Online. All Rights Reserved.