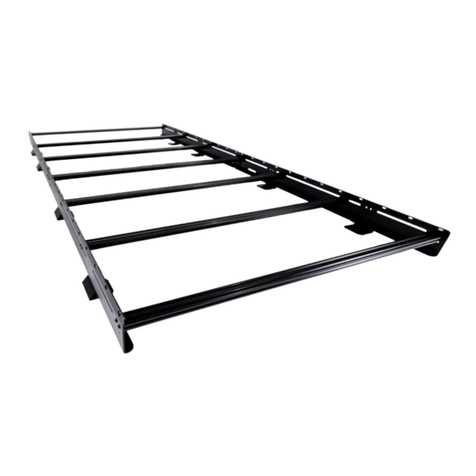
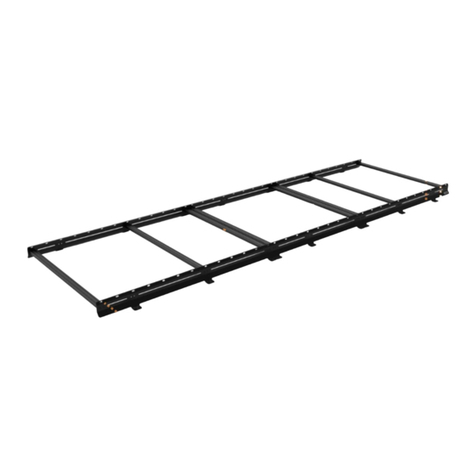
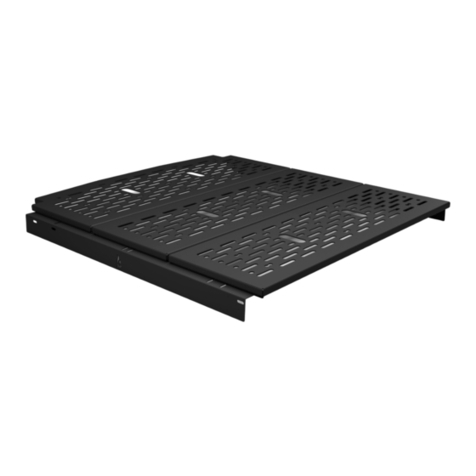
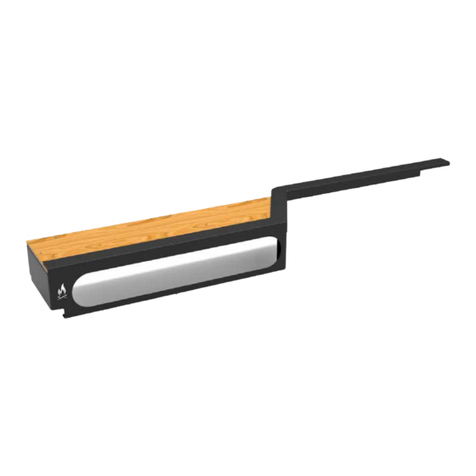
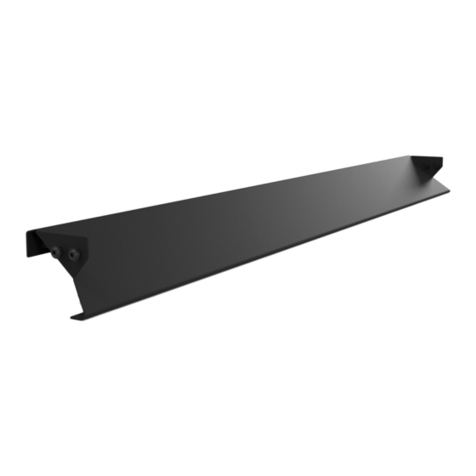
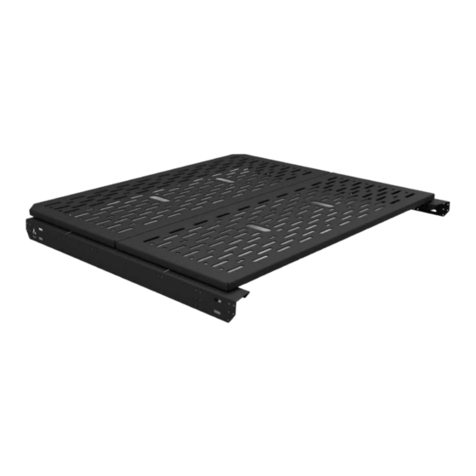
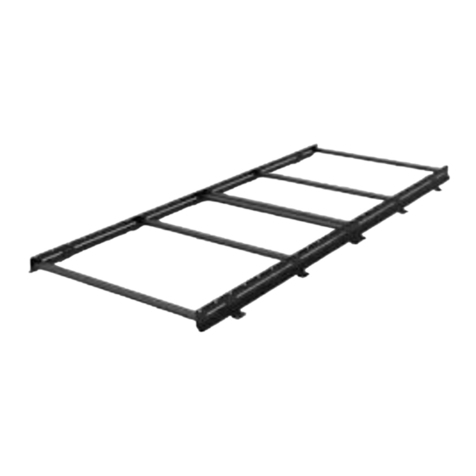
FVC TR0105B User manual

PROD
UCT I
MAGE
TR0105B
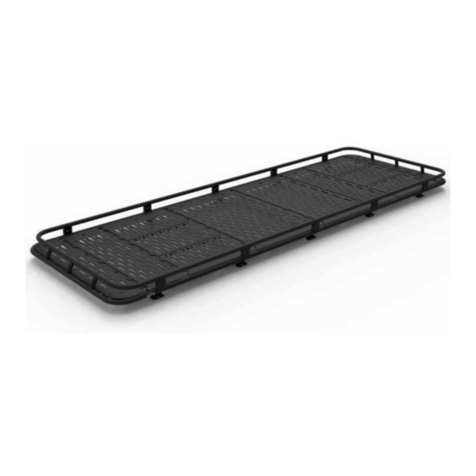
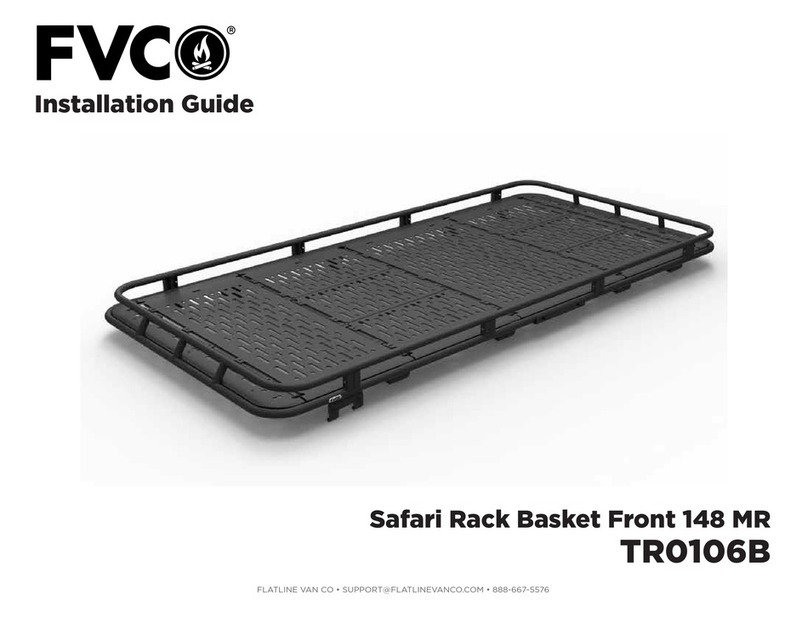
Safari Rack Basket Front 148 HR
Installation Guide
FLATLINE VAN CO • SUPPORT@FLATLINEVANCO.COM • 888-667-5576

1
FLATLINE VAN CO • SUPPORT@FLATLINEVANCO.COM • 888-667-5576
THANK YOU!
ARE YOU EXCITED ABOUT YOUR NEW SAFARI RACK? HERE ARE A FEW THINGS TO DO
BEFORE BEGINNING THE INSTALLATION PROCESS--
• PLEASE INSPECT THE PRODUCT TO ENSURE THERE WAS NO
DAMAGE INCURRED DURING SHIPPING.
• IF THERE IS DAMAGE TO REPORT, PLEASE CONTACT OUR
CUSTOMER SERVICE DEPARTMENT AS SOON AS POSSIBLE.
• NEXT, USING THE “PACKAGE CONTENTS” PAGE, CHECK
INVENTORY AND FAMILIARIZE YOURSELF WITH THE PARTS
AND HARDWARE.
• GATHER ALL TOOLS REQUIRED FOR INSTALL.
-13MM BOX WRENCH OR SOCKET
-3/8 BOX WRENCH OR SOCKET
-7/16 BOX WRENCH OR SOCKET
-9/16 BOX WRENCH OR SOCKET
-5/32 HEX KEY ALLEN WRENCH
ESTIMATED INSTALL TIME- 4 HRS
ADDITIONAL HELP IS SUGGESTED FOR A FEW OF THE INSTALL STEPS.
TOOLS
5/32 ALLEN KEY
3/8 WRENCH
7/16 WRENCH 9/16 WRENCH 13MM WRENCH

2
FLATLINE VAN CO • SUPPORT@FLATLINEVANCO.COM • 888-667-5576
All Flatline Van Co products must be properly assembled and secured before attaching to your vehicle.
Improper attachment could result in an automobile accident, and could cause serious bodily injury or death
to you or to others involved. You are responsible for assembling and securing Flatline Van Co products to
your vehicle, checking the mounting points and attachments prior to use, and regularly inspecting the
products for wear and or damage. We always recommend you use a professional to install any aftermarket
accessories to your vehicle. If you have no mechanical experience and are not thoroughly familiar with the
installation procedures, you must have the product installed by a professional installer or other qualified
persons. The responsibility is yours and must be taken seriously for everyone's safety.
thanks.

PACKAGE CONTENTS
3
FLATLINE VAN CO • SUPPORT@FLATLINEVANCO.COM • 888-667-5576
SIDE RAIL WELDMENT (34")
QTY - 4
REAR BASKET WELDMENT
QTY - 1
FRONT BASKET WELDMENT
QTY - 1
SIDE RAIL WELDMENT (20.5")
QTY - 2
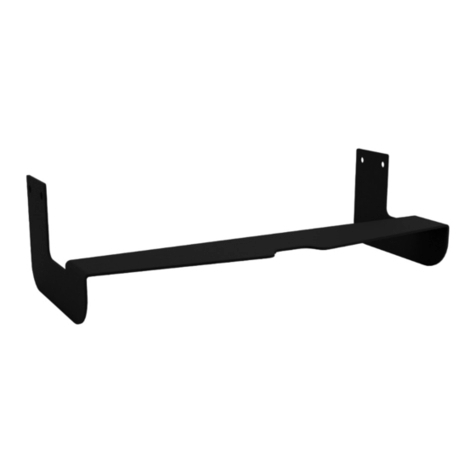
FOOT BRACKET
QTY - 8
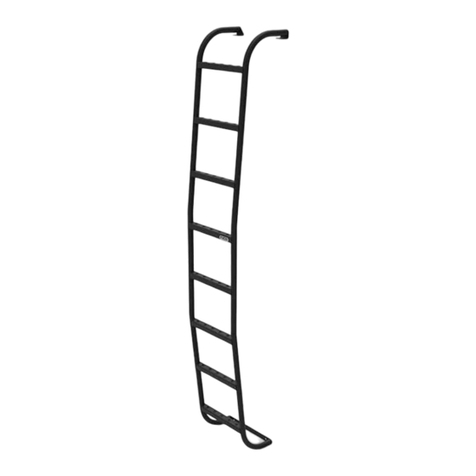
LADDER
BRACKET
QTY - 1
FRONT DECK PANEL
QTY - 1
FAN SIDE DECK PANEL
QTY - 4
MID SECTION DECK PANEL
QTY - 1
REAR DECK PANEL
QTY - 1
FAN COVER PANEL
QTY - 2
BAYONET
QTY - 8
54.5" CROSSBAR
QTY - 4
F45 MOUNTING BRACKET
QTY - 3

HARDWARE
4
FLATLINE VAN CO • SUPPORT@FLATLINEVANCO.COM • 888-667-5576
M8-1.25 X 30 HEX
HEAD SCREW
QTY - 8
1/4-20 X 0.75
FLANGED HEX HEAD
SCREW
QTY - 24
1/4-20 X 0.75
FLANGED BUTTON
HEAD HEX DRIVE
SCREW
QTY - 38
1/4-20 X 0.5 FLANGED
BUTTON HEAD HEX
DRIVE SCREW
QTY - 37
3/8-16 X 1 SQUARE
NECK CARRIAGE
BOLT
QTY - 26
1/4 SCREW FLAT
WASHER
QTY - 8
3/8 SCREW FLAT
WASHER
QTY - 26
3/8-16 NYLON INSERT
LOCKNUT
QTY - 26
1/4-20 NYLON INSERT
LOCKNUT
QTY - 8
5/16 SCREW BONDED
SEALING WASHER
QTY - 8
1/4-20 T-NUT
QTY - 37
1/4-20 CLIP NUT
QTY - 6

FLATLINE VAN CO • SUPPORT@FLATLINEVANCO.COM • 888-667-5576
FOOT BRACKETS
Mounting the Foot Brackets is the first step. You will need to first
pry o the access covers on the roof of your van to reveal the
access holes. Some vans require some clearance to be made in
the access holes due to build tolerance from Ford Factory (shown
right). Be sure to use touch up paint on any bare metal to prevent
rusting.
Now you can mount the Foot Brackets to the roof. The flange
with the single hole and rubber gasket attaches to the van using a
M8-1.25 X 30 Hex Head Screw and 5/16 Screw Bonded Sealing
Washer. The top flange faces the outside of the van. Make sure
the bracket is straight and square before applying sealant. We
recommend using Teroson MS 5510 BK. Applying the sealant is
for peace of mind to ensure a leak free installation. You can also
perform this after the Side Rail Assemblies (next step) have been
installed if you are concerned about bracket fitment.
5
M8-1.25 X 30 HEX
HEAD SCREW
5/16 SCREW BONDED
SEALING WASHER
FACES OUTSIDE OF VAN

FLATLINE VAN CO • SUPPORT@FLATLINEVANCO.COM • 888-667-5576
SIDE RAIL ASSEMBLY
Next you need to put together both Side Rail Assemblies. They
are handed Left and Right (mirrors of each other) with a 20.5”
Weldment in the Rear, and two (2) 34” Weldments mated
together as shown below. Page 7 shows details views and
hardware used.
We recommend putting these together on a larger flat table, or
spreading out the cardboard from your shipping box. Using some
quick clamps to draw the segments together while you’re tighten
hardware down makes it much easier.
6
SIDE RAIL WELDMENT (34")
SIDE RAIL WELDMENT (20.5")
REAR
FRONT

FLATLINE VAN CO • SUPPORT@FLATLINEVANCO.COM • 888-667-5576 7
DETAIL B
DETAIL A
DETAIL D
1/4-20 X 0.75 FLANGED HEX
HEAD SCREW
1/4-20 X 0.75 FLANGED BUTTON HEAD
HEX DRIVE SCREW
1/4-20 NYLON INSERT LOCKNUT
1/4 SCREW FLAT WASHER

FLATLINE VAN CO • SUPPORT@FLATLINEVANCO.COM • 888-667-5576 8
3/8-16 X 1 SQUARE NECK
CARRIAGE BOLT
3/8-16 NYLON INSERT LOCKNUT
3/8 SCREW FLAT WASHER
In this step you’ll be mounting the Side Rail Assemblies to the
roof of the van. It is very helpful to have multiple ladders and
someone else to help, but this can be done by one person,
carefully.
Remember that the end with the shorter (20.5”) weldment goes
towards the rear of the van. As you set the assembly down on top
of the Foot Brackets, the end of the assembly should line up with
one (1) slot on the Foot Bracket as shown in the diagram below.
Insert your hardware as shown, thread them down, but leave it
loose enough to adjust the Side Rail Assembly.
MOUNTING SIDE RAILS TO ROOF
REAR
FRONT

FLATLINE VAN CO • SUPPORT@FLATLINEVANCO.COM • 888-667-5576
We recommend having a second set of hands to help with this
step as well. Start with the Rear Basket and slide it onto the
exposed bayonets on the rear of the rack. Attach using the same
hardware used to assemble the side rails, and use the same
clamping method as before to ensure good alignment. Repeat the
same steps for the Basket Front Weldment.
9
FRONT
BACK
INSTALLING FRONT AND REAR WELDMENTS

FLATLINE VAN CO • SUPPORT@FLATLINEVANCO.COM • 888-667-5576
Once you’ve got both weldment ends tightened; it’s time to start
laying down your crossbars. We’ve provided dimensions below to
make it easy. Make sure you verify the dimension on both ends of
the crossbar relative to the Reference Point to ensure they are
square. This will make it much easier when mounting your decking
panels later. The dimensions are pulled from the flange on the tray
of the Rear Basket to the front face of the Crossbar (furthest side)
Wait to tighten the crossbars until you have put all of them in.
Note- It’s important to check the dimensions on
either side of the crossbar in relation to the rack to
ensure that they are square. This will be important
when you get to the mounting of Deck Panels.
10
FRONT BACK
REFERENCE POINT
DETAIL G
1/4-20 X 0.75 FLANGED HEX
HEAD SCREW
MOUNTING CROSSBARS
0
5.11
34.11
68.98
97.98

FLATLINE VAN CO • SUPPORT@FLATLINEVANCO.COM • 888-667-5576
This step is only necessary if you are mounting a Fiamma F45 (or similar) awning to your Safari
Rack. If you are not mounting an awning, skip this step.
You will mount the 3 Awning Brackets to the underside of the Passenger Side of the rack as
shown to the right. The locations are shown below and use the same reference point as the
crossbars. These brackets should be tightened once attached to the rack using the same hard-
ware set as the rail mounts.
Note- The dimensions given are suggested based on optimal support locations. These
may dier if using a smaller or larger awning than typical, and additional mount slots are
available to suit your needs.
The awning brackets have slots for minor adjustment.
11
AWNING MOUNTS
AWNING BRACKET
FRONT BACK
REFERENCE POINT
LADDER BRACKET
LADDER BRACKET
MOUNTING DIMENSION
0
5.625
57.625
111.625
0
64.625

FLATLINE VAN CO • SUPPORT@FLATLINEVANCO.COM • 888-667-5576
Same as the awning brackets; this step is only necessary if you
are mounting an FVC Side Ladder to your van. The reference
dimension for mounting is shown in the diagram on the previous
page.
The Ladder Bracket uses the same hardware as the Awning
Mounts, and it attaches in the same way. You want to install the
outer carriage bolt into the bracket before attaching to the Safari
Rack, otherwise you won’t have access when the bracket is in
place.
Note- If you haven’t purchased your ladder yet, or intend
on installing at a dierent time; you should install the
bracket now and attach the hardware. This will save you
time later.
12
LADDER BRACKET
LADDER BRACKET

FLATLINE VAN CO • SUPPORT@FLATLINEVANCO.COM • 888-667-5576
Before moving onto the floor sections; now is the time to center
the rack on your van and tighten the it down to the Foot Brackets.
Once you finish that; we can proceed to attaching the floor sec-
tions.
Start with the Rear Decking Panel first and work your way up.
Insert the hardware into the slot on the crossbar as shown in
Detail J, then align them using your allen key as shown in Detail
M. Detail K shows a section view of how the fasteners attach the
end floor sections to the tray of the Basket Weldments where no
crossbars are present to attach to. Figure 6 on the next page
shows panel locations.
Alignment is key here to achieve a high quality end result, so use
your eyes to align the panels straight with the crossbars. The
mounting slots have a wide range to account for any misalignment
that may have occurred during assembly of the rack.
Note- We recommend applying blue loctite (or similar
thread locker) to the screws that hold the floor sections
down to the crossbars to ensure they do not come loose
while driving.
13
DETAIL M
DETAIL J
DETAIL K
DECKING PANELS

FLATLINE VAN CO • SUPPORT@FLATLINEVANCO.COM • 888-667-5576 14
FRONT
BACK
• FAN SIDE DECK PANEL
• FAN COVER PANEL
• MID SECTION DECK PANEL
• FRONT DECK PANEL
• REAR DECK PANEL
REMOVABLE FOR MAXXAIR FAN

FLATLINE VAN CO • SUPPORT@FLATLINEVANCO.COM • 888-667-5576 15
Once you’ve got all of the Deck Panels bolted down, do a once
over of all fasteners on the rack to ensure they are tight and
secure. Install is now complete, and you’re ready for adventure!
COMPLETE!

FLATLINE VAN CO • SUPPORT@FLATLINEVANCO.COM • 888-667-5576
GET OUT AND EXPLORE!
LEAVE US A REVIEW
Happy with your new FVC product? We would love to hear (and see) from you! Head to the product page and click "Leave
Review." Add a short review and upload a few photos to be showcased on the product page.
SHARE YOUR PHOTOS WITH US
We love seeing how our customers use their FVC products and following along with your adventures. Tag us in your photos
with @flatlinevanco or send them to us via email. We love posting customer pictures in our feed!
CUSTOMER SUPPORT
If you are having any issues with your product, please reach out, and we will make it right. FVC is a company of van and
outdoor enthusiasts that design and use our own products, so we want you to be as stoked on your new parts as we are!
thanks!
@flatlinevanco
facebook.com/flatlinevanco
youtube.com/c/flatlinevanco
support@flatlinevanco.com
Table of contents
Other FVC Automobile Accessories manuals
FVC
FVC SP0301B User manual

FVC
FVC SP1001B User manual

FVC
FVC UN0107B User manual

FVC
FVC SP0105B User manual

FVC
FVC Low Pro Roof Rack 144 LR User manual

FVC
FVC TR0201B User manual

FVC
FVC Low Pro F80 Kit User manual

FVC
FVC SPRINTER SP1123B User manual

FVC
FVC Low Pro Front Fairing User manual

FVC
FVC Low Pro Roof Rack 148 HR User manual
FVC
FVC TR0109B User manual

FVC
FVC 24 Inch Upper Cabinet User manual

FVC
FVC TR0106B User manual

FVC
FVC SP0108B User manual

FVC
FVC Sprinter Side Ladder User manual
FVC
FVC Sprinter Bed System Flarespace User manual

FVC
FVC Sprinter Headliner Shelf User manual
FVC
FVC SP0114B User manual

FVC
FVC TR1101B User manual

FVC
FVC TR0114B User manual