manuals.online logo
Brands
  1. Home
  2. •
  3. Brands
  4. •
  5. G-U
  6. •
  7. Door Lock
  8. •
  9. G-U K-C2060 User manual

G-U K-C2060 User manual

Edition 09.2014 03.5.
Information in this document can be modified without notice.
Ferco Architectural Hardware Inc.
, Rue Berlier
Laval QC HL S
T ..
F ..
...
www.ferco.ca
Gripset Handle Installation Instructions_K-C/K-C_-
Gripset Handle Installation Instructions
Door Multi-point Locking System
RH = RIGHT HAND
LH = LEFT HAND
The actuator is set Right Hand (RH) in the box.
To change handing to Left Hand (LH), take out gasket, remove
four screws from actuator and turn actuator  degrees to show
LH on top. Insert four screws and retighten. Reposition the gasket.
* Set as Right Hand (RH) in packaging
REVERSING THE UNIVERSAL ACTUATOR
(ON THE EXTERIOR PLATE, UNDER THE GASKET)
TOP OF PLATE
SALEM (K-C2060)
HANDLE HANDING
(VIEWED FROM OUTSIDE)
INSWING
OUTSWING
for K-C/K-C
LEFT
HAND RIGHT
HAND

 




BERKELEY (K-C2070)
Inside the Box
Pos Description
Exterior handle set with
gasket and cylinder
Interior plate with knob
Interior handle
Two M x mm screws
( /'' doors), two M x
mm screws ( /'' doors),
one Allen key
Set of two keys
Bottom screw, screw washer,
screw cover
Handle nylon washer (only
supplied with Salem handle)







* Information in this document can be modified without notice.
Gripset Handle Installation Instructions
Door Multi-point Locking System
Ø15.0
24.0
139.7
88.0
248.0
30.0 45.0
108.3
25.0
25.0
ALIGN WITH HEIGHT MARK
ON THE GEAR FACEPLATE
EDGE OF DOOR SLAB
915mm (36'') TO BOTTOM OF DOOR
BOTTOM OF DOOR
Ø15.0
139.2
247.5
Ø15.0
HANDLE SET INSTALLATIONCUT OUT
1. EXTERIOR
Step 3: For Salem handle only, place nylon
washer on the handle shaft .
Step 4: Loosen the set screw on the
handle with the supplied Allen key .
Handle should point towards the hinge side,
hold back-end of spindle while pushing
handle over spindle. Tighten the set screw
with the Allen key.
Step 5: Position the interior handle
assembly on the spindle . Place
the knob onto the tail piece .
Step 6: Fasten the assembly with  installa-
tion screws , but do not tighten. Check
operation of lock with thumb latch ,
be sure lock latches operate smoothly
and deadbolt will fully throw '' (mm)
with ° of turn. Fully tighten the 
installation screws and re-test.
Step 7: Fasten bottom screw through
washer . Snap the screw cover
over washer.
2. INTERIOR
for K-C/K-C
(RECOMMENED)
60mm BACKSET
* RIGHT HAND SHOWN *
Step 1: For 1 3/4” (45mm) doors only,
cut the cylinder tail at the mark.
Step 2: IN UNLOCKED POSITION
Position the exterior handle
assembly in front of the cutouts,
make sure gasket is well seated.
Push the cylinder tail through
the cylinder slot, and at the same
time the spindle through the
spindle hole of the door gear.
A
A
B

 

A
B
 B
A
A
C
B
A C
A
B
A

B


A
A
C
B A

A
B
A
B
C

This manual suits for next models

1

Other G-U Door Lock manuals

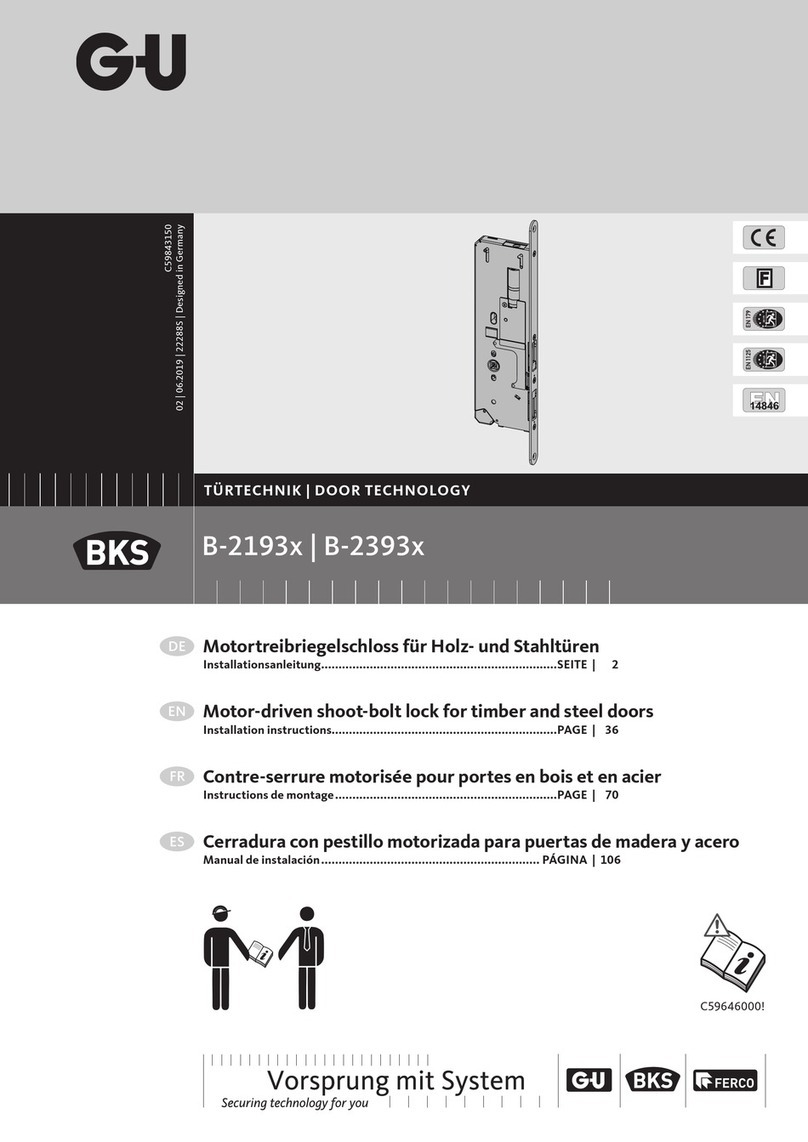
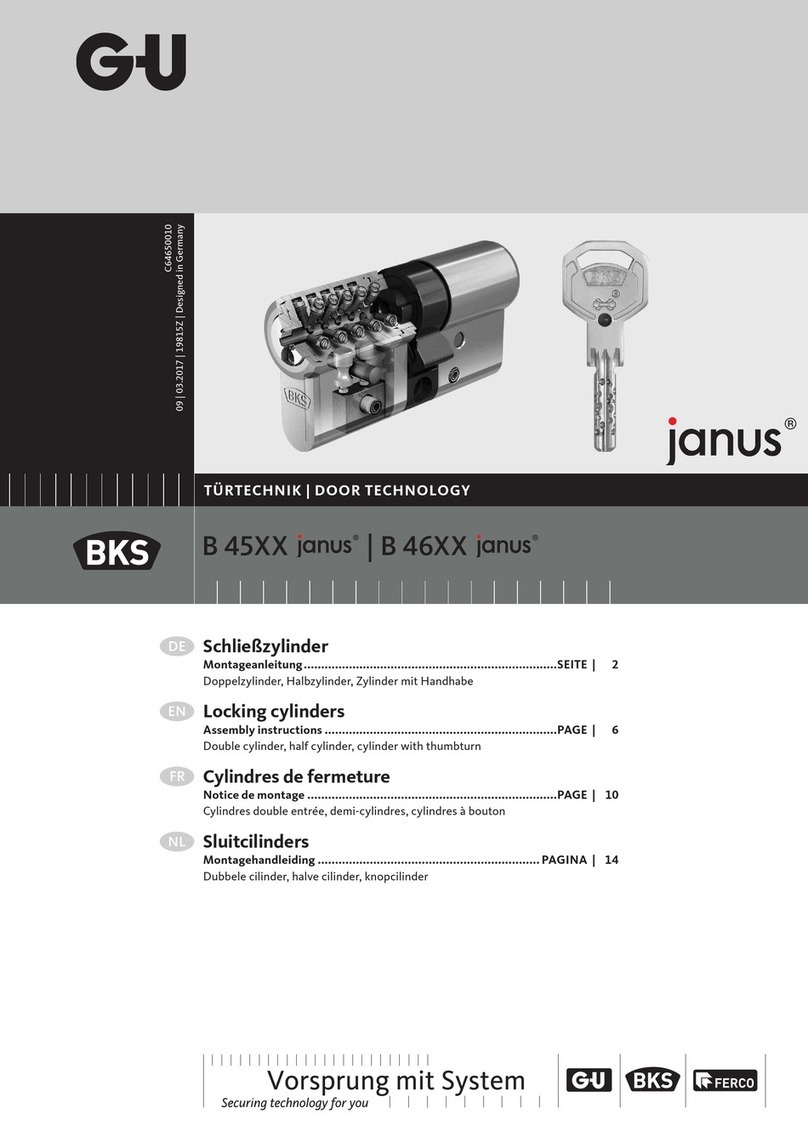
G-U BKS Janus 45 Series User manual

G-U

G-U BKS Janus 45 Series User manual

G-U BKS B-2193 Series User manual

G-U

G-U BKS B-2193 Series User manual

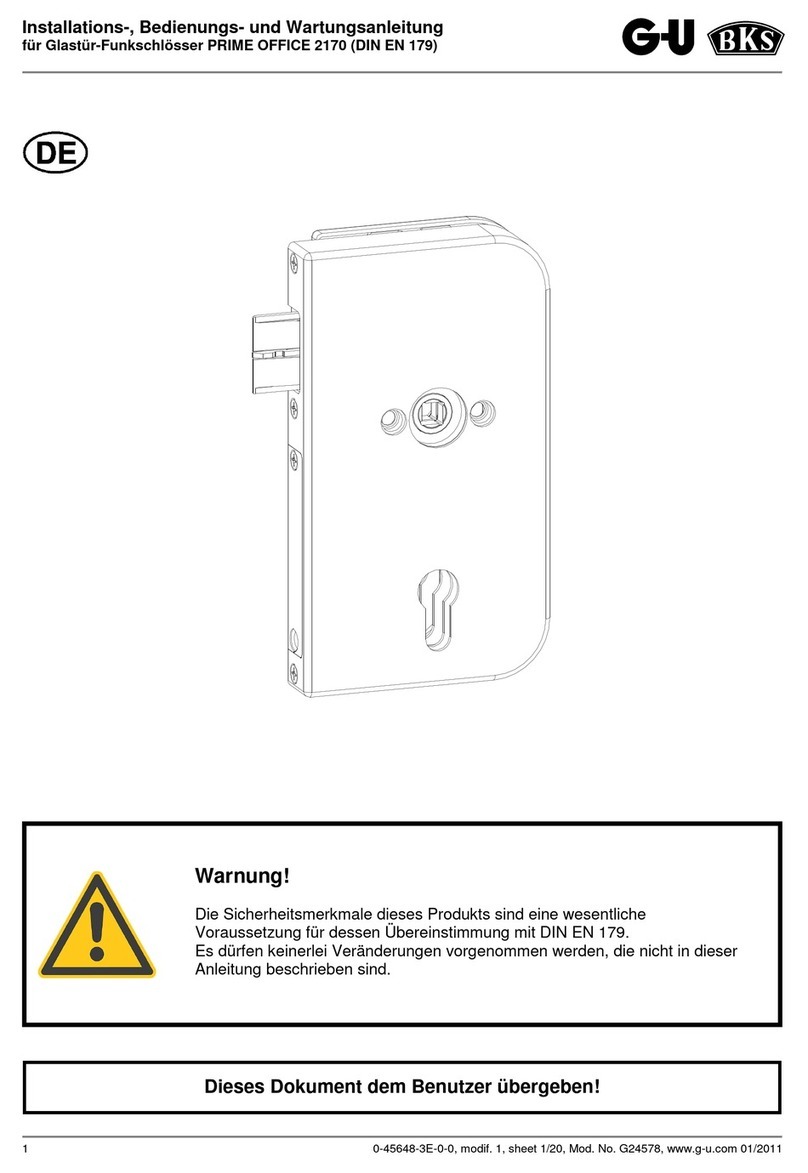
G-U PRIME OFFICE 2170 Assembly instructions

G-U

G-U PRIME OFFICE 2170 Assembly instructions

Popular Door Lock manuals by other brands

HES 5900 Series installation instructions

HES

HES 5900 Series installation instructions

Best 9K Series Service manual

Best

Best 9K Series Service manual

SDC Z7600 Series installation instructions

SDC

SDC Z7600 Series installation instructions

Glynn Johnson PL7 installation instructions

Glynn Johnson

Glynn Johnson PL7 installation instructions

COX Homelife Pairing Instructions

COX

COX Homelife Pairing Instructions

ID Lock 202 MULTI installation manual

ID Lock

ID Lock 202 MULTI installation manual

Weiser Smartcode 10 installation guide

Weiser

Weiser Smartcode 10 installation guide

Assa Abloy Lockwood 1220 Series Mounting instructions

Assa Abloy

Assa Abloy Lockwood 1220 Series Mounting instructions

Assa Abloy Corbin Russwin CLX3300 Series installation instructions

Assa Abloy

Assa Abloy Corbin Russwin CLX3300 Series installation instructions

Baldwin RESERVE 47038 / 03 Quick user guide

Baldwin

Baldwin RESERVE 47038 / 03 Quick user guide

Häfele 911.52.122 manual

Häfele

Häfele 911.52.122 manual

Corbin Russwin CL3800 Series quick start guide

Corbin Russwin

Corbin Russwin CL3800 Series quick start guide

Directed Directechs DB3 installation guide

Directed

Directed Directechs DB3 installation guide

Griffwerk PURISTO S 100691177 quick start guide

Griffwerk

Griffwerk PURISTO S 100691177 quick start guide

RHOM 116E98-C instruction manual

RHOM

RHOM 116E98-C instruction manual

Weiser Aura Installation and user guide

Weiser

Weiser Aura Installation and user guide

CodeLock Codelock 600 manual

CodeLock

CodeLock Codelock 600 manual

Samsung SHS-1321 instruction manual

Samsung

Samsung SHS-1321 instruction manual

manuals.online logo
manuals.online logoBrands
  • About & Mission
  • Contact us
  • Privacy Policy
  • Terms and Conditions

Copyright 2025 Manuals.Online. All Rights Reserved.