manuals.online logo
Brands
  1. Home
  2. •
  3. Brands
  4. •
  5. Gama Sonic
  6. •
  7. Lighting Equipment
  8. •
  9. Gama Sonic 133B50012 User manual

Gama Sonic 133B50012 User manual

SPIRAL FRAME
SOLAR POST LIGHT
ASSEMBLY KIT
WITH 3” FITTER MOUNT
US Patent # 7172307 # 9458970
Model: 133B50012 Version 1.1
Instruction Manual
page 2
Solar Lamp Location:
For optimum light duration
throughout the night, it is
important to place your solar
lamp in a spot where it will receive
the maximum amount of direct
sunlight throughout the day.
Make sure the solar panel is not
going to be affected by any other
light source at night. Otherwise
the light will not turn ON at dusk.
For best results, the solar lamp
post must be charged for two
sunny days in the “ON” (High or
Low) position (Fig. 1)
Thank you for your purchase. GAMA SONIC® solar charged lights are brighter and last all
night with a full day solar charge. Unique designs, superior light output, and numerous
installation options confirm the outstanding value of our product.
For technical assistance and more information call our Toll-Free number:
800-835-4113 (only within the US)
Or
visit our website or download the latest version of your instruction manual:
www.gamasonic.com Or www.gamasonic.com/user-guides
Please read the instruction manual carefully to obtain the best results from your purchase.
WARNING: GAMA SONIC® Light bulbs
are not to be used in other electrical
sockets these are low-voltage light
bulbs that are built and designed for our
products only!
NOTE: If you are replacing an
existing gas/electric post light, you
must consult a certified technician
to cancel them before installation.
page 3
1. Insert parts (F) into side of part (H) and
secure each bracket with screw (E).
Repeat 4x times.
2. Then place part (I) cone into the top of
part (H) and secure it with a screw (G).
Repeat 4x times.
3. Next you need to secure part (J) into
the base of part (D) by twisting the bulb
clockwise.
4. Twist part (K) into the lip of part (D)
clockwise to secure into position.
5. Insert part (B) into part (A) and tighten,
then insert into part (C) and part (D) by
twisting clockwise to secure to the top.
6. Install part (D) on top of parts (F).
7. Then secure each end with the four
screws provided with part (E). Repeat 4x
times.
8. Install the lamp onto your existing 3” post,
and tighten to the post using the 3 screws
provided (Fig. 2)
Installation Instructions
Fig. 1 Fig. 2
HIGH OFF LOW
A
B
DE
G
E
I
H
(4x)
(4x)
(4x)
J
K
F
C
page 4
Replacing the Batteries
WARNING: Do not dispose of
Li-Ion battery in the regular
trash, municipal waste stream
or by fire as batteries may leak
or explode. Do not open, short
circuit, or mutilate batteries as
injury may occur. Preserve our
environment by recycling Li-Ion
batteries or disposing of them
in accordance with local, state
and federal regulations. Do not
mix old and new batteries.
Maintenance
Clean the solar module regularly with a damp towel to guarantee
optimum performance of the solar panel. Do not use any type of
solvent for cleaning and be careful not to put too much pressure
on the module while cleaning.
Trouble Shooting
If your solar charged light does not come on at dusk despite
observance of all the instructions, please try the following steps:
1. Make sure that the solar light is not being affected by
any other light source (i.e street lights).
2. Ensure the solar light is not positioned in the shade during the day.
3. Make sure the switch in the lamp head is in the” ON” position.
4. Check that the batteries are installed correctly.
5. Check that the GS Solar LED Light Bulb is installed correctly.
NOTE: The performance of the solar light will vary with the time of year. It will deliver longer
duration when it has had a full day in the sun rather than a day in overcast weather.
WINTERTIME TIPS: Keep snow and debris cleaned off the solar panels so the batteries can
recharge. If the lights are covered with snow for an extended period of time, after the snow
melts, allow all the batteries to charge in full, direct sunlight for at least 6 hours to their
maximum capacity.
WARNING: Please keep out of reach of children.
Fig. 3
Replacement batteries are available at www.gamasonic.com or via
our Toll free number: +1-800-835-4113
1. Make sure the H/OFF/LOW switch is in the “OFF”
position.
2. Unscrew the two screws on the top part to
detach it from the body part (Fig. 3).
3. Unscrew the battery compartment’s screws
located on the silver reflector and remove the
compartment doors (Fig. 3).
4. Unclip the battery connector and
remove the old battery. Make sure
the new batteries are high quality –
Li-Ion Battery packs (3.2 Volt / 3000
mAh) with connector.
5. Install the new batteries into the battery
compartment.
6. Reassemble the unit by reversing the above procedure.
Other Gama Sonic Lighting Equipment manuals

Gama Sonic GS-105B-CX User manual

Gama Sonic

Gama Sonic GS-105B-CX User manual

Gama Sonic GS-126 User manual

Gama Sonic

Gama Sonic GS-126 User manual

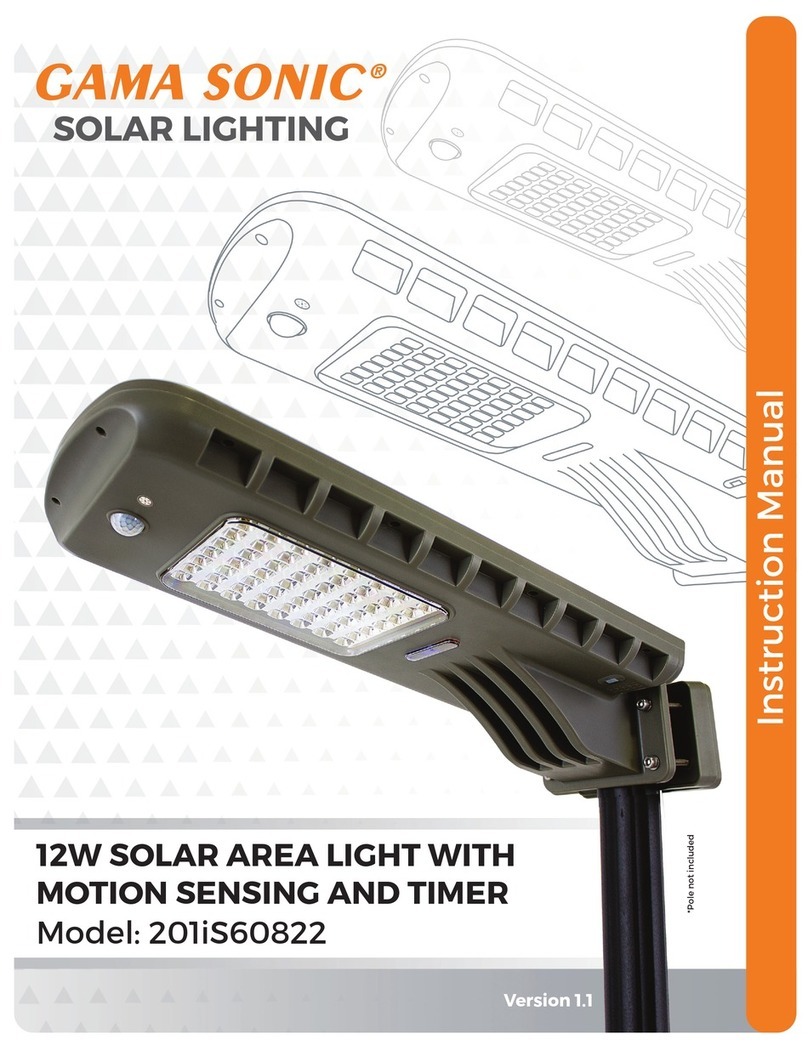
Gama Sonic 201iS60822 User manual

Gama Sonic

Gama Sonic 201iS60822 User manual

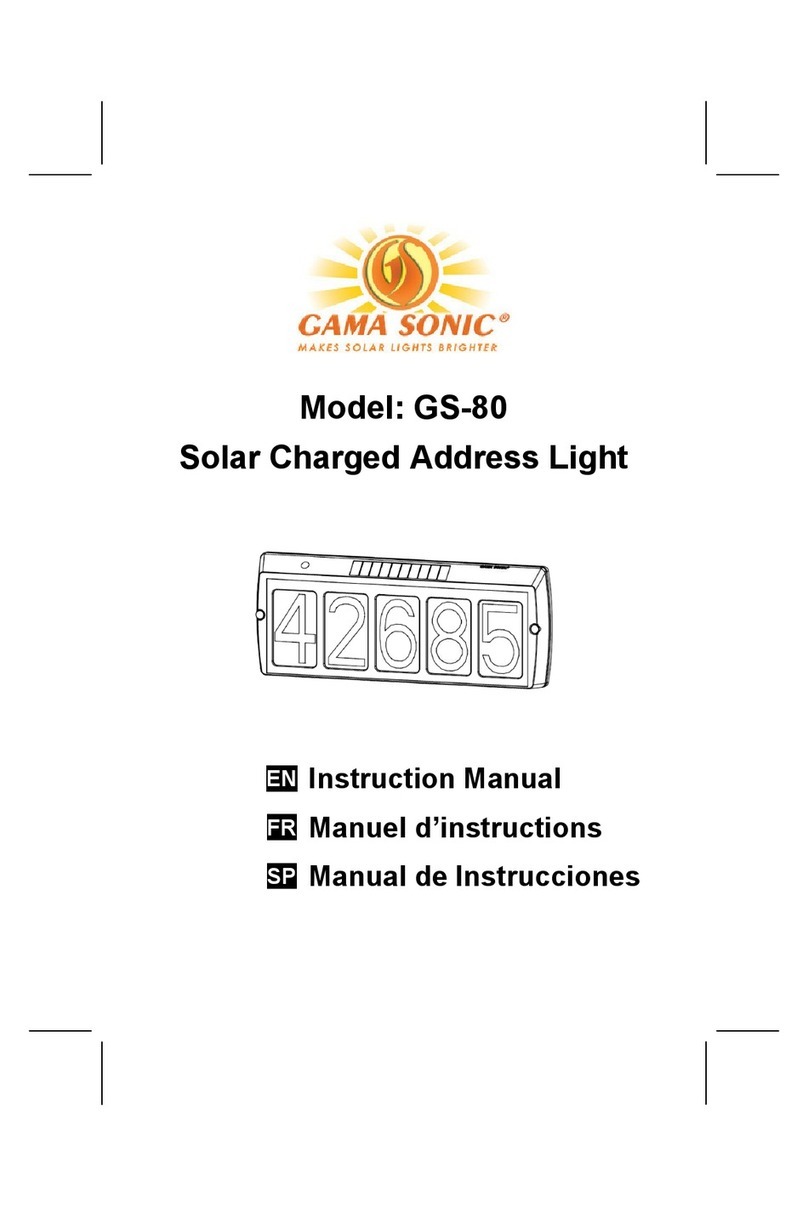
Gama Sonic GS-80 User manual

Gama Sonic

Gama Sonic GS-80 User manual

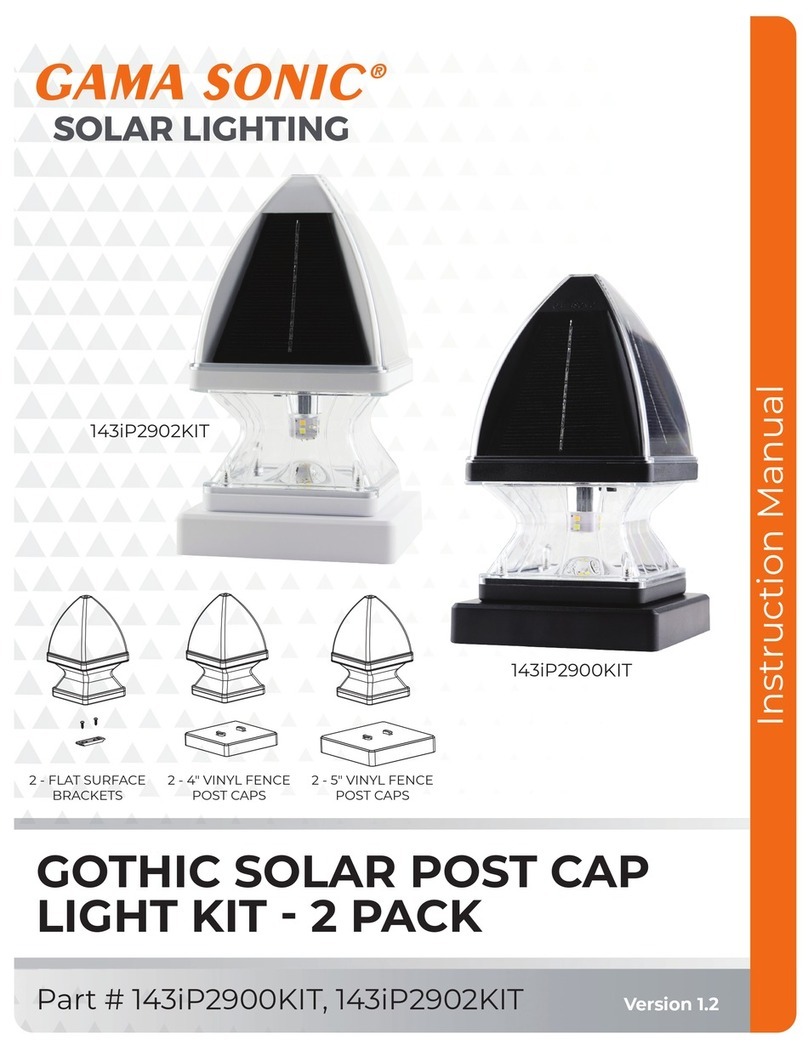
Gama Sonic 143iP2902KIT User manual

Gama Sonic

Gama Sonic 143iP2902KIT User manual

Gama Sonic 179010 User manual

Gama Sonic

Gama Sonic 179010 User manual

Gama Sonic 102iST60012 User manual

Gama Sonic

Gama Sonic 102iST60012 User manual

Gama Sonic GS-80 User manual

Gama Sonic

Gama Sonic GS-80 User manual

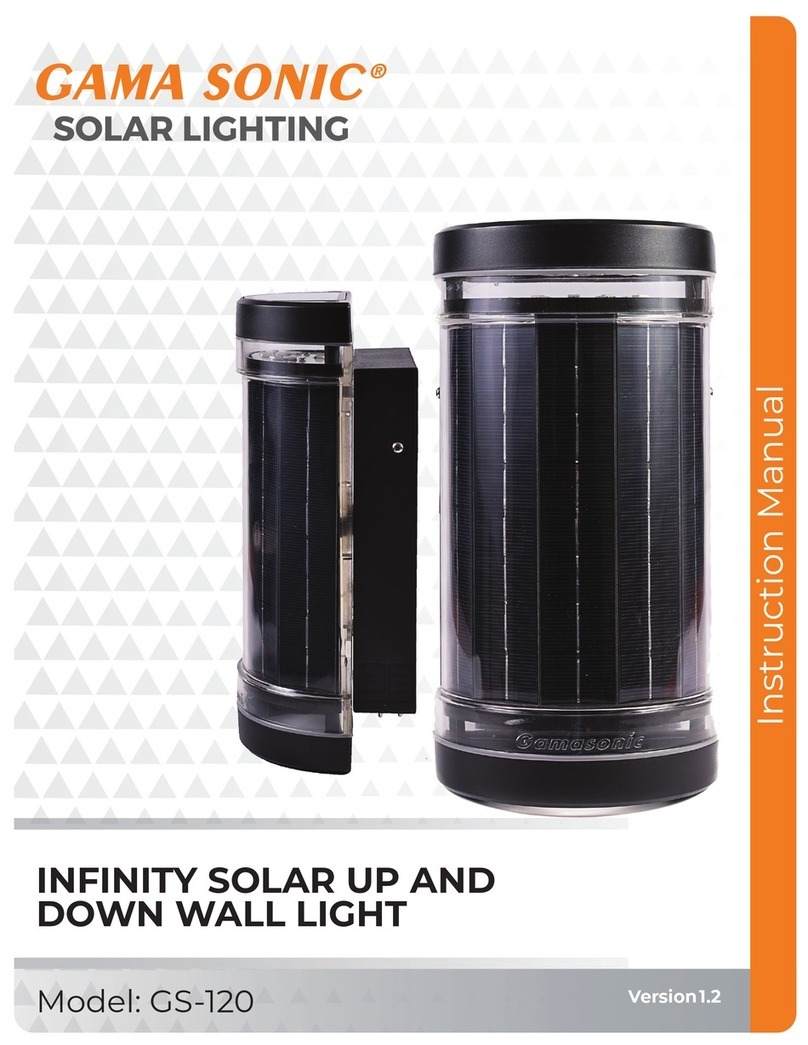
Gama Sonic GS-120 User manual

Gama Sonic

Gama Sonic GS-120 User manual

Gama Sonic AURORA GS-124F User manual

Gama Sonic

Gama Sonic AURORA GS-124F User manual

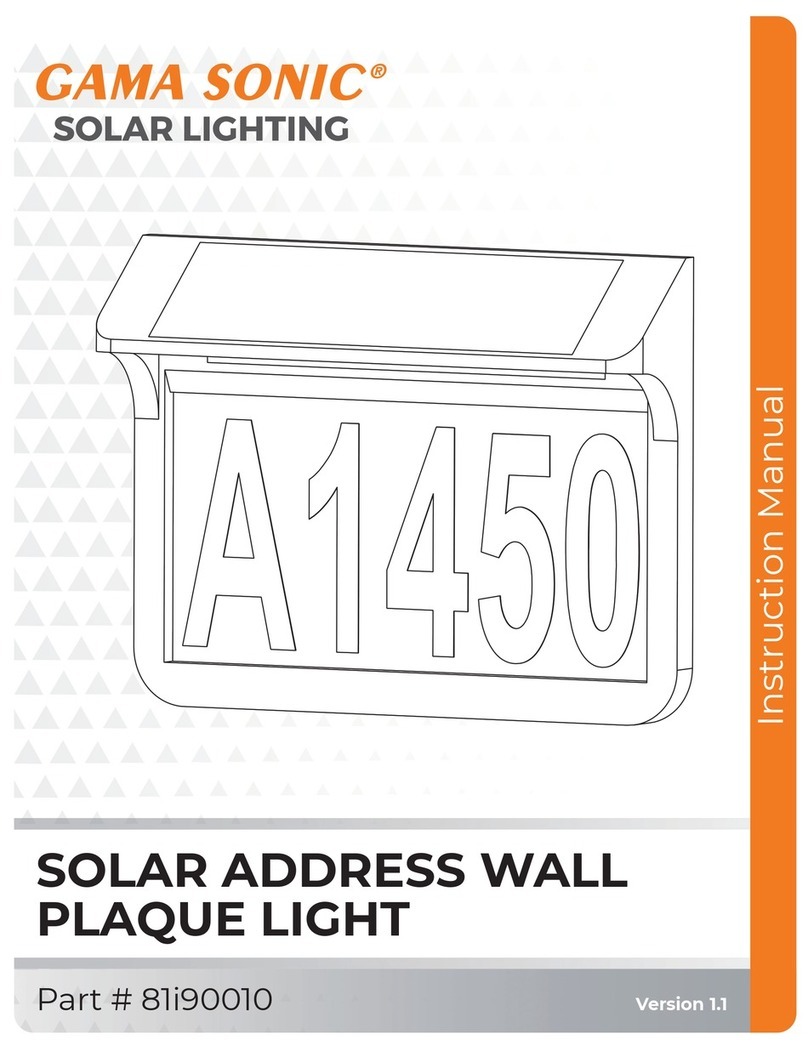
Gama Sonic 81i90010 User manual

Gama Sonic

Gama Sonic 81i90010 User manual

Gama Sonic GS-4A User manual

Gama Sonic

Gama Sonic GS-4A User manual

Gama Sonic 77i50265 User manual

Gama Sonic

Gama Sonic 77i50265 User manual

Gama Sonic 130010 User manual

Gama Sonic

Gama Sonic 130010 User manual

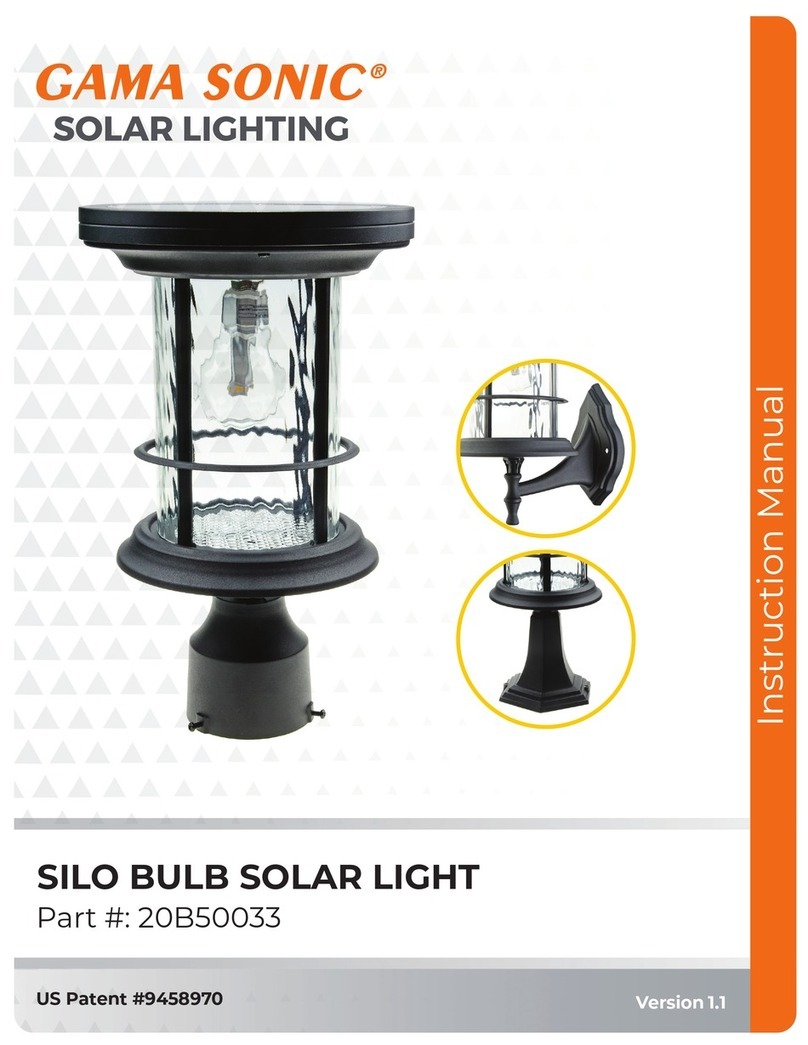
Gama Sonic 20B50033 User manual

Gama Sonic

Gama Sonic 20B50033 User manual

Popular Lighting Equipment manuals by other brands

B-K lighting BKSSL Precision2 DR2 Series installation instructions

B-K lighting

B-K lighting BKSSL Precision2 DR2 Series installation instructions

Ehrgeiz Showtime Face RGMWA user manual

Ehrgeiz

Ehrgeiz Showtime Face RGMWA user manual

Pixapro LED Series user guide

Pixapro

Pixapro LED Series user guide

Chauvet Mini 4 Bar user manual

Chauvet

Chauvet Mini 4 Bar user manual

UFO MicroLED 100PT Product user guide

UFO

UFO MicroLED 100PT Product user guide

DS Produkte 4051 operating instructions

DS Produkte

DS Produkte 4051 operating instructions

LEDOLUX ARENA LED instruction manual

LEDOLUX

LEDOLUX ARENA LED instruction manual

Serious readers Clear Sun ROAM Light instructions

Serious readers

Serious readers Clear Sun ROAM Light instructions

Sharp Recessed Led installation instructions

Sharp

Sharp Recessed Led installation instructions

Big Dipper LED Spot Light LS90 user manual

Big Dipper

Big Dipper LED Spot Light LS90 user manual

Original BTC Hugo FT417 instruction manual

Original BTC

Original BTC Hugo FT417 instruction manual

ChiliTec Salao Operation manual

ChiliTec

ChiliTec Salao Operation manual

EuroLite LED PAR-16 Spots 230V 3x3W user manual

EuroLite

EuroLite LED PAR-16 Spots 230V 3x3W user manual

Beamz BWA412 instruction manual

Beamz

Beamz BWA412 instruction manual

Lodestar LightBox LS2-OB-G3 user manual

Lodestar

Lodestar LightBox LS2-OB-G3 user manual

American DJ Epsilon User instructions

American DJ

American DJ Epsilon User instructions

B-K lighting MINI-MICRO DRIVESTAR installation instructions

B-K lighting

B-K lighting MINI-MICRO DRIVESTAR installation instructions

ION XR-830W LED operating manual

ION

ION XR-830W LED operating manual

manuals.online logo
manuals.online logoBrands
  • About & Mission
  • Contact us
  • Privacy Policy
  • Terms and Conditions

Copyright 2025 Manuals.Online. All Rights Reserved.