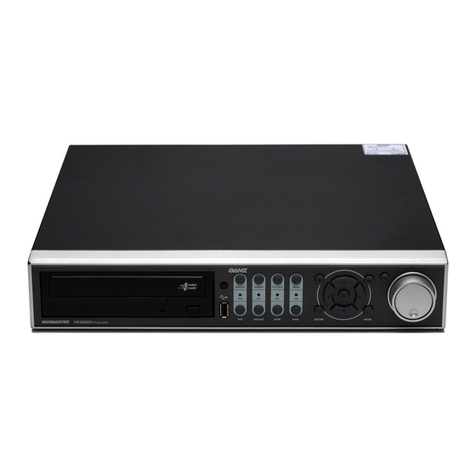
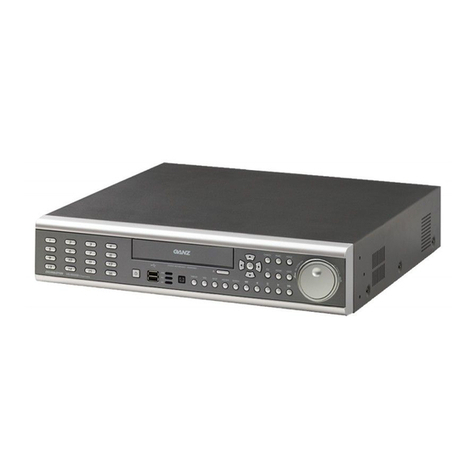
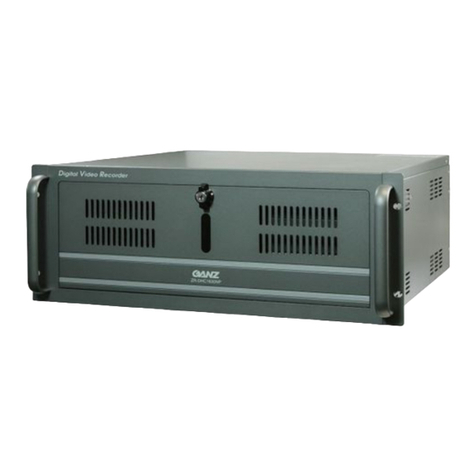
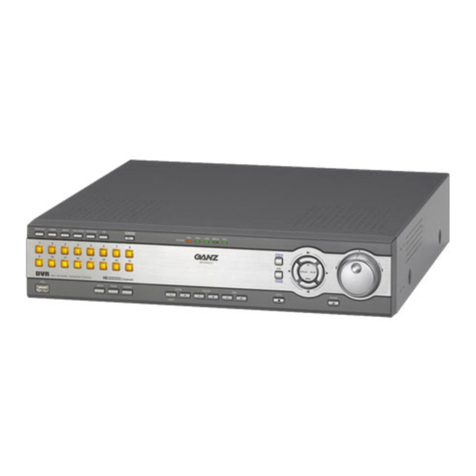
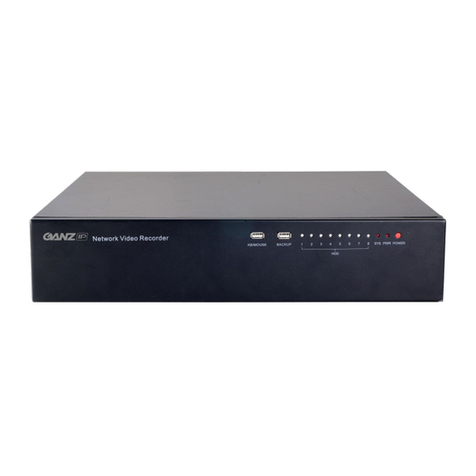
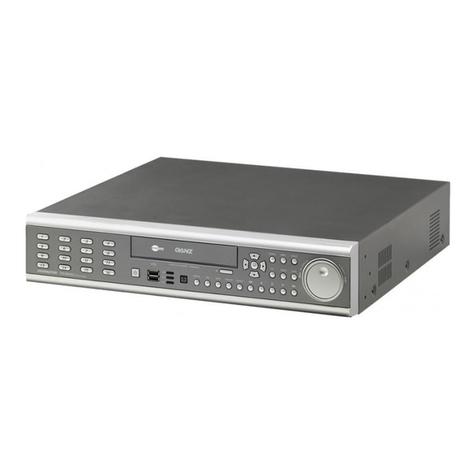
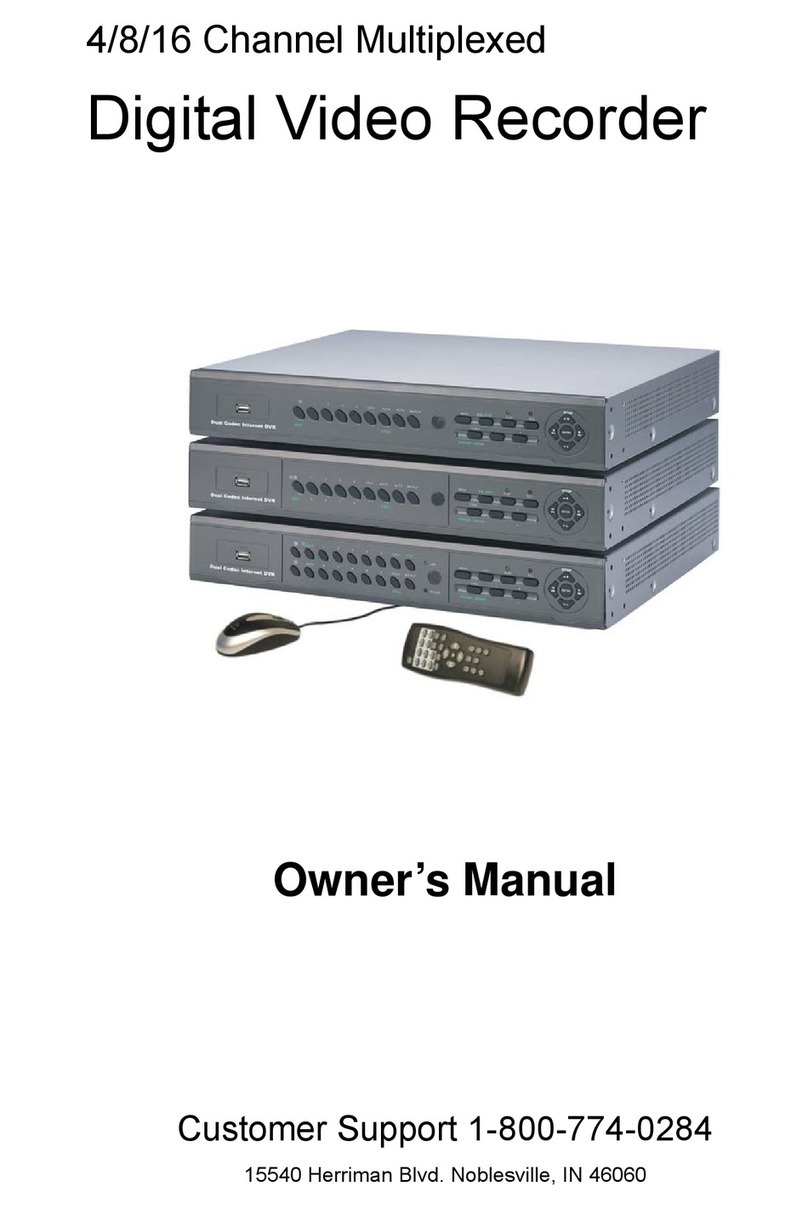
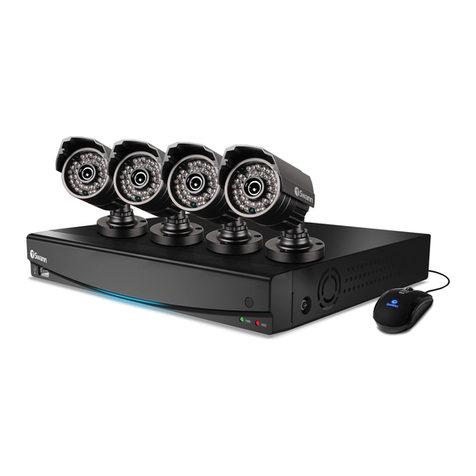
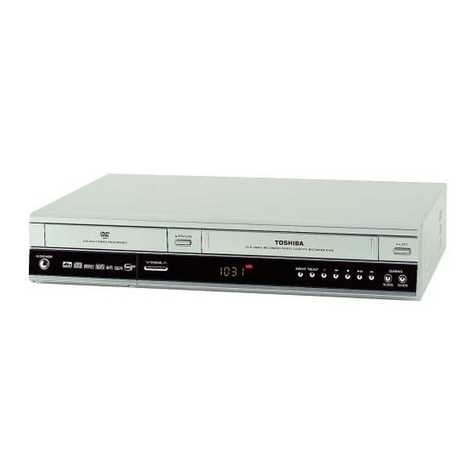
Ganz ZR-DHC1630NP User manual

GMS MANUAL

►CPU : P-4 or higher than Celeron 1.5GHz
►MEMORY : 256MB or more
►VGA CARD : AGP 64MB or more
►HDD : Over 100 MB available space
►O/S : Windows 2000 or Windows XP Professional
►DirectX : V9.0 or higher
GMS is an integrated security management system that provides a useful solution for
central monitoring station operation.
What is GMS?
What is GMS?
Minimum System Specifications
Before Setting
Before Setting
Before Setting

Contents
Contents
Contents
User’s manual
After purchasing the GMS program, make sure that the following contents are included.
GMS software

4
1. GMS Application Installation………..……………………………………………………………………….6
2. GMS Application Execution….………………………………………………………………………………9
3. GMS Live View.………………………………………………………………………………………………………10
3.1 Initial screen…..…………………………………………………………………………………………10
3.2 Connect remote DVR server ……….………….……………………………………………………………11
3.3 Server list tree………………………………………………………………………………………………16
3.4 Display live screen………………………………………………………………………………………..17
3.5 Screen division….……………………………………………………………………………………….19
3.6 Enlarge to full screen….……….………………………………………………………………………..20
3.7 Timeline panel..………………..………………………………………………………………………………21
3.8 Playback control….………………..……………………………………………………………………………24
3.9 1 Channel playback…………..…………………………………………………………………………………25
3.10 PTZ control…………………………………………………………………………………………………26
3.11 Backup…..………………………………………………………………………………….…………………27
4. GMS Search……………………………………………………………………………………………………30
4.1 Playback recorded data……...………..…………………………………………………………………………30
4.2 Allocate remote DVR server on screen ………………………………………………………………31
4.3 Timeline panel on playback ……….……………………………………………………………………………32
4.4 Playback control……………….…………………………………………………………………………………34
4.5 Playback screen division………………………………………………………………………………………35
4.6 Printing………..……………………………………………………………………………………………………36
4.7 Bookmark………………………………………………………………………………………….……………..38
4.8 Picture adjustment ………………………………………………………………………………..…………..41
4.9 Calendar ……………….……………………………………….………………………………………………45
4.10 Event…………………………………………………………………………………………………………….46
5. GMS E-map….………………………………………………………………………………………………………47
5.1 Display E-map …………..………………………………………………………………………………..47
5.2 Add E-map..………………………………………………………………………………………..48
5.3 Edit E-map ……………………………………………………………………………………………49
5.4 Delete E-map.....………………………………………………………………………………………….50
5.5 Device control registration to E-map ……………………………………………………………………51
5.6 Remove device control from E-map ……..…….……………………………………………………….52
5.7 Remove all device controls from E-map ..………………………………………………………………….53
5.8 Live screen output ……………………………………………………………………………………………54
6. Configuration………………………………………………………………………………………………… 55
6.1 Hardware……………………………………………………………………………………………………55
6.1.1 Camera………………………………………………………………………………………………………..55
6.1.2 Audio……………………………..…………………………………………………………………………59
6.1.3 Alarm………………..……..………………………………………………………………………………60
6.1.4 External Monitor…………….………………………………………………………………………………61
Table of Contents
Table of Contents
Table of Contents


5
6.2 Recording………………………………………………………………………………………………………62
6.2.1 Recording…………………………………………………………………………………62
6.2.2 Schedule…………………………………………………………………………………63
6.3 Event ……………………………………………………………………………………………………66
6.3.1 Motion Detection ………………………………………………………………………………66
6.3.2 Emergency ………………..…………………………………………………………………68
6.3.3 Video Loss……………………………………………………………………………………69
6.3.4 E-mail Notice……………………………………………………………………………………70
6.4 Backup………………………………………………………………………………………………………… 72
6.5 Network ……………………………………………………………………………………………………73
6.5.1 Network……….…………….………………………………………………………………………73
6.5.2 DDNS……..………………….………………………………………………………………………74
6.5.3 Stream Control……………….………………………………………………………………………75
6.5.4 Emergency Monitor………….………………………………………………………………………76
6.7 System …………………………………………………………………………………………………… 77
6.6.1 User……….…………………………………………………………………………………………77
6.6.2 Setting………………………………………………………………………………………………85
6.6.3 Date/Time …………………………………………………………………………………………90
6.6.4 Information…………………………………………………………………………………………91
7. Emergency Monitor….……………………………………………………………………………………………92
7.1 Emergency Monitor Execution …………..……………………………………………………………………..92
7.2 Emergency Monitor Screen..……………………………..……………………………………………………..92
Appendix
1. Supported CD/DVD-RW Drive List …………..…………………………………………………………………...93

6
1.
1. GMS Application Installation
1
2Click on the [Next] button.
Insert the GMS CD and double click on “setup.exe” to run the setup program.

7
3Check the box “I accept this License Agreement” and click on [Next].
4Enter the path to install the GMS program and click on the [Next] button.
5This will start the installation process.

8
6After the GMS Program is completely installed, click on the [Finish] button.
7“GMS Live View” will appear on the desktop.

9
2. GMS Application Execution
1Double click on the “GMS Live View” icon to run the GMS Program.

10
Title bar : Displays the program name.
View panel : Live and recorded pictures are display here.
Display panel : Multi screen splits, sequence and Full screen display
Time display : Displays the logo and time.
Menu : Search, E-map, Backup, System settings, Remote server connection possible.
Server list : Shows resource information on the camera, alarm-in and alarm-out for each server.
Timeline panel : Displays the recording time of the selected channel.
The recorded time is shown in the graph (24-hour clock).
Play tab/PTZ tab : The play tab features the normal/reverse play buttons.
The PTZ tab features the PTZ camera control buttons.
3.1 Initial screen
3.1 Initial screen
GMS Live View offers functions such as real time DVR remote viewing and control. The system user
interface is illustrated below. Each element is described in the following:
1
2
3
4
5
Search
E-Map Backup
System setup
Server
6
7
8
3. GMS Live View
3. GMS Live View
8
2
3
6
5
4
1
7

11
2. Click on the “Connection” button to open Server Connect.
3. Enter the group name.
Click on the “Add” button to add the group to the server list.
3.2 Remote DVR server connection
Add DVR server group
GMS Live View allows you to connect and manage all the DVR servers in the network.
1.When you add or connect the remote DVR server, click on the button. It will
then be displayed as shown below.

12
1. Select the group to be registered.
2. Enter the server connect information.
Remote DVR server list : Displays the registered group and server list .
a
a
b
c
Import : Imports server connect information from the other DVR.
b
cExport : Exports server connect information to another DVR or the outside DVR.
d
dGroup : Displays the group name or can be changed to another group.
eName: Displays the server name or a server name can be entered here to add a new
connect server.
e
Add DVR remote server

13
f
g
h
i
j
k
l
mn o
p
Server Type : Select the server type according to the DVR type.
Network Type : Select the network type.
Address : Enter the IP address or domain name of the DVR server to connect.
Port : Enter the network port number to communicate with the GMS and DVR
servers.
ID : Enter the administrator ID of the DVR server.
Password : Enter the password of the DVR server.
Auto Connection on Startup : Check to log-in automatically when GMS is started.
Add : Click on the “Add” button to add a group or server.
Update : Click on the “Update” button to update revised server information.
Del : Click on the “Del” button to delete the server from the server list.
Connect : Click on the “Connect” button to connect to the selected DVR server.
f
g
h
i
j
k
l
m
n
o
p
3. Click on the “Add” button to add the server to the server list.

14
Connect remote DVR server
1. Click on the and “Connection” buttons to display the server connect windows.
2. Select the server in the DVR server list.
3. Click on the “Connect” button to connect. The connected server is shown in the server list.

15
1. Click on the and “Disconnection” buttons to display the disconnect windows.
Disconnect remote DVR server
2. Select the DVR server you wish to disconnect.
3. Click on the “Disconnect” button to disconnect the DVR server.
4. Click on the “Close” button to close the windows.
Exit GMS
Exit GMS
1. Click on the and “Exit” buttons to exit to Windows.

16
DVR server name
Alarm-In name, status
Alarm-Out name, status
Camera name and status
The server list tree displays the status of the cameras, alarm-in and alarm-out devices in the form of
a tree structure.
3.3 Server list tree
: No event occurrence
: Event occurrence status
: External device is not activated
: External device is activated
: Normal camera (with video input)
: Normal camera (without video input)
:PTZ camera (with video input)
: PTZ camera (without video input)
: Covert camera

17
To watch live pictures, you can set up the cameras on each connected DVR and watch on one or
more DVR servers.
3.4
3.4 Display live screen
Display the live picture on screen
1. To display resource information in the DVR server list, click on ‘+’ to expand the
resource information.
2. If you drag the camera and move to another DVR server in the DVR server list, the
camera picture will be shown at another site.
3. Repeat 3 times to set up cameras from one or more DVR servers.
[Note]
• All cameras on DVR servers can be set up on the same view panel. Set up a
multiple screen view by dragging a camera group or the DVR server from the
server list.
☞
☞
DVR server
Camera group

18
Remove live picture from screen
1. Select the camera picture you wish to remove.
2. Drag it to the DVR server list.
3. The ‘GANZ’ logo screen will be displayed in place of the removed DVR server. This
indicates a vacant area.

19
Select screen division
GMS Live View makes it possible to watch several camera pictures from multiple DVR at the same
time. The display setup can be selected in multiple screen configurations using the screen division
button.
3.5 Screen division
3.5 Screen division
1. To divide the view panel, click on the button. It will be displayed as follows.
2. Click on the button corresponding to the desired screen division to change the display.
Quad 6-way
9-way 10-way
13-way 16-way
25-way 33-way
36-way
[Note]
• GMS Light version supports a maximum of 36 cameras on each page.
☞
☞

20
Enlarge to full screen on the monitor
1. Click on the button to enlarge the picture to full screen without a frame on
the monitor.
2. Only video can be displayed in full screen.
3. Click on the left mouse button to exit the full screen display.
3.6 Full
3.6 Full-
-screen enlargement
screen enlargement
Table of contents
Other Ganz DVR manuals

Ganz
Ganz DIGIMASTER DR8HV User manual

Ganz
Ganz DIGIMASTER SERIES User manual

Ganz
Ganz DIGIMASTER SERIES User manual

Ganz
Ganz DigiMAster DR4H User manual

Ganz
Ganz digimaster DR-4FX1 User manual

Ganz
Ganz DR-16F44-AT User manual

Ganz
Ganz ZR-DH921NP User manual

Ganz
Ganz AI BOX 4CH User manual

Ganz
Ganz DR16NRT User manual

Ganz
Ganz DIGIMASTER DR-16FX5-3TB User manual

Ganz
Ganz NR4HL User manual

Ganz
Ganz digimaster DR-4FX1 User manual

Ganz
Ganz Digimaster Series DR8HRD User manual

Ganz
Ganz Digimaster DR4HL User manual

Ganz
Ganz PixelMaster PRO NR16H User manual

Ganz
Ganz ZR-DH1621NP User manual

Ganz
Ganz Digimaster DR4N-Lite User manual

Ganz
Ganz DR8NRT User manual

Ganz
Ganz ZR-DH1621NP User manual

Ganz
Ganz CDR-01S User manual