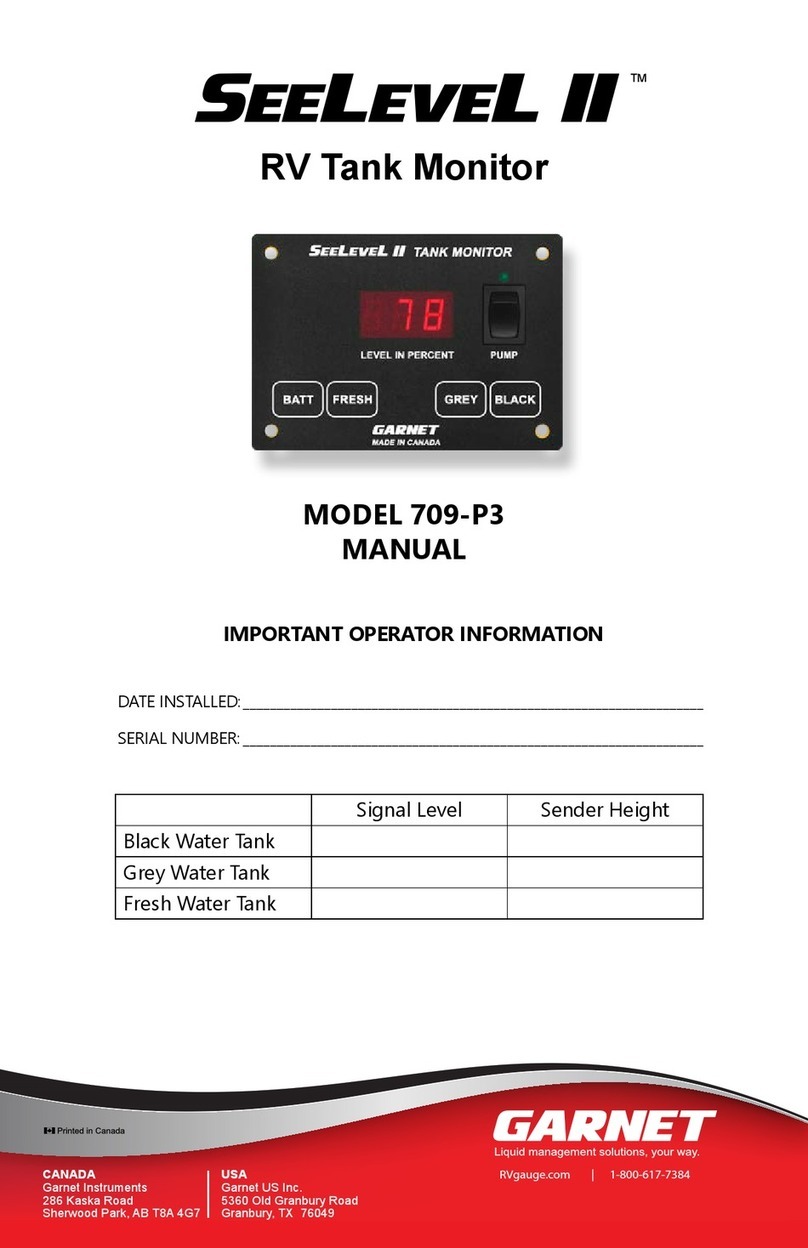
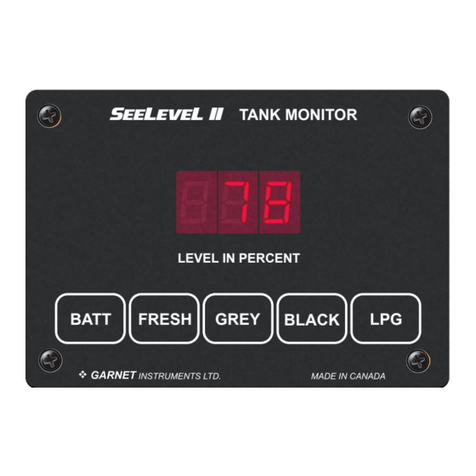
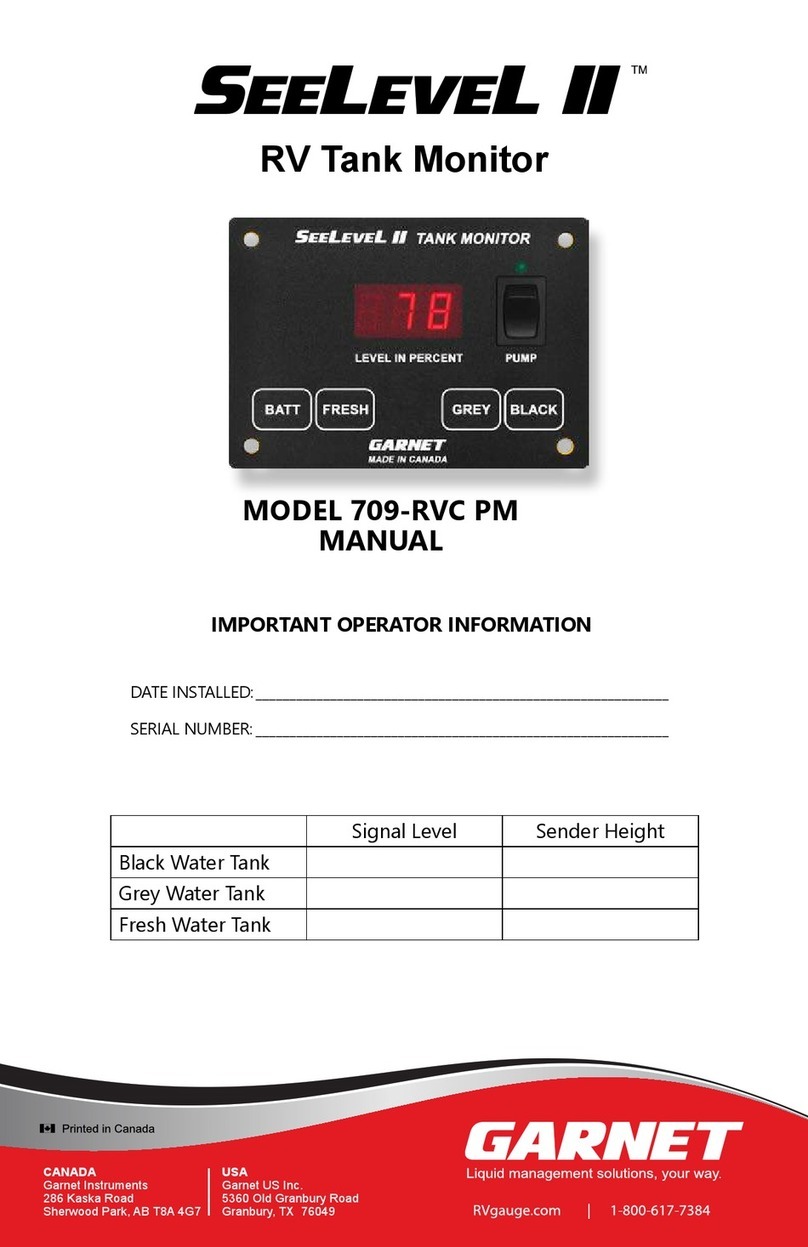
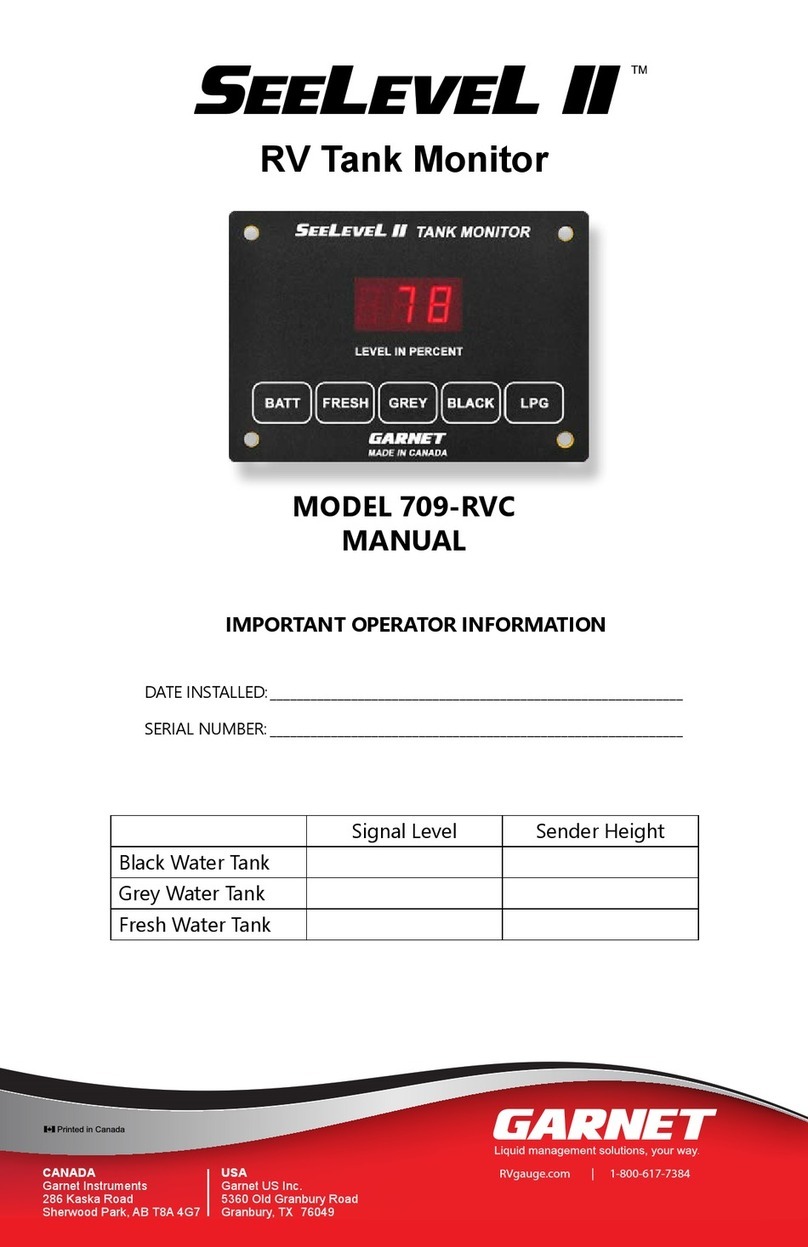
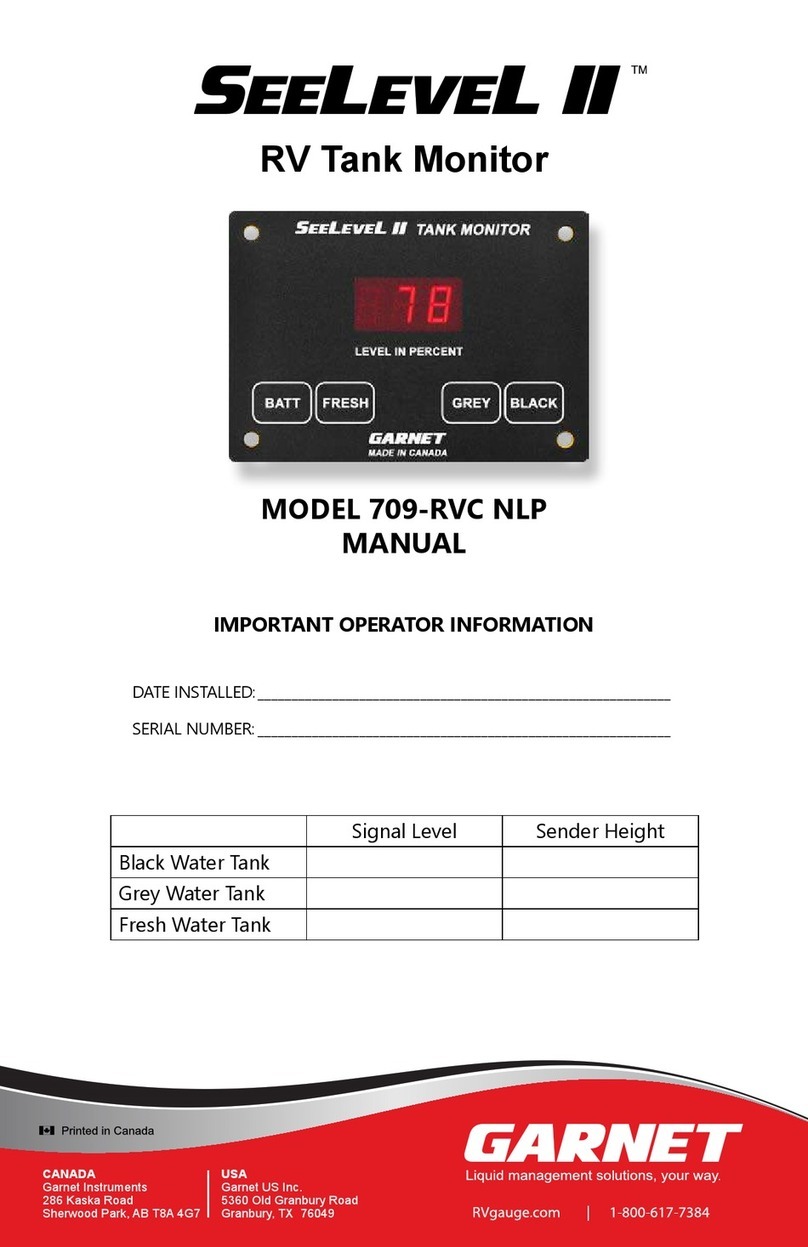
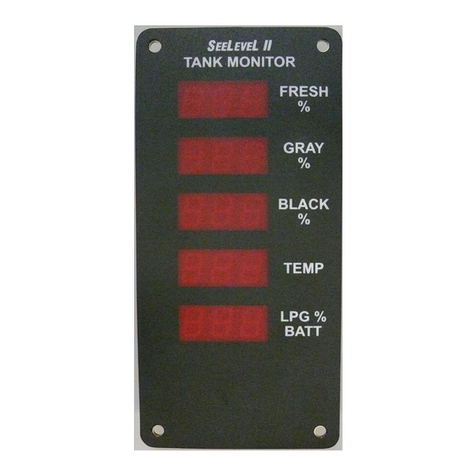
Garnet SeeLevel II User manual

MODEL 709-BTP3
MANUAL
App version 2.0
IMPORTANT OPERATOR INFORMATION
DATE INSTALLED:_____________________________________________________________
SERIAL NUMBER: _____________________________________________________________
Signal Level Sender Height
Black Water Tank
Grey Water Tank
Fresh Water Tank
SEELEVEL II TM
RV Tank Monitor
USA
Garnet US Inc.
5360 Old Granbury Road
Granbury, TX 76049
CANADA
Garnet Instruments
286 Kaska Road
Sherwood Park, AB T8A 4G7
RVgauge.com | 1-800-617-7384

Page 2 709-BTP3 Manual
Table of Contents
CHAPTER 1 - OVERVIEW.............................................................................................3
CHAPTER 2 - SYSTEM DESCRIPTION .....................................................................4
CHAPTER 3 - OPERATING INSTRUCTIONS ..........................................................6
CHAPTER 4 - GARNET RV APP..................................................................................8
Android Version App ...............................................................................................9
iOS Version App....................................................................................................... 15
CHAPTER 5 - DISPLAY CALIBRATION................................................................... 21
CHAPTER 6 - SENDER PROGRAMMING ............................................................. 26
CHAPTER 7 - INSTALLATION GUIDE..................................................................... 30
CHAPTER 8 - TROUBLESHOOTING GUIDE......................................................... 38
CHAPTER 9 - SPECIFICATIONS ............................................................................... 46
CHAPTER 10 - SERVICE AND WARRANTY INFORMATION.......................... 47
GARNET
SEELEVEL II TM
RV Tank Monitor
MODEL 709-BTP3
709-BTP3 Manual_v3.4 - 12-May-2020
CAUTION: explains safety information that could cause damage
to a product, including data loss.
WARNING: explains dangers that might result in personal injury
or death.
NOTE: expands on information for any procedures.
SAFETY SYMBOLS INFORMATION
“Warnings”, “Cautions”, and “Notes” have been used throughout this
manual to bring special matters to the immediate attention of the reader.

Page 3
709-BTP3 Manual
The SEELEVEL II TM Tank Monitor represents a massive leap
forward in level measurement technology for the Recreational
Vehicle industry. The SEELEVEL has a combination of features,
accuracy, reliability, and diagnostic capability that have never been
available before.
Model 709-BTP3 will monitor the battery voltage, the fresh water
and sewer holding tanks, the LPG tank and includes a pump switch.
The 709-BTP3 has Bluetooth®wireless technology capability so that
tank levels and battery voltage can be shown on a smartphone or
tablet with the free downloaded app.
Tank information is also displayed on your 3-digit alpha-numeric
LED display. There is one alarm output available which can be
used to signal a high or low water or sewer level as required. In
addition, the system can display the operating characteristics of
each of the tank sending units, giving it unsurpassed diagnostic
capability.
CHAPTER 1 - OVERVIEW
“The Bluetooth® word mark and logos are registered trademarks owned by the Bluetooth
SIG, Inc. and any use of such marks by Garnet Instruments Ltd. is under license. Other
trademarks and trade names are those of their respective owners.”
WARNING: All power circuits must be fused. If a fuse is not
provided with the system then it is the installer’s responsibility
to install a fuse with a maximum rating of 7.5 amps. A relay is
required if more than 7.5 amps is needed for the pump.
For more detailed information please refer to Chapter 8
“TROUBLESHOOTING GUIDE” and section “How to avoid
damaging the display or pump switch due to excessive
current”.

Page 4 709-BTP3 Manual
The SEELEVEL consists of a display unit that mounts inside the RV,
and sender panels that stick to the side of the holding tank. A
single 2 conductor wire is used to connect all the sender panels
to the display.
The Sender: Each sender panel is a exible self-adhesive printed
circuit board which is adhered to the side of the holding tank.
The sender panel can be cut to length to match the height of the
tank, and it auto calibrates itself so that it can read from Empty
to Full regardless of the height of the tank. The sender scans
the water level through the tank wall using advanced digital
techniques programmed into the sender microprocessor. When
the sender transmits the water or sewer level information to the
display, it sends a digital code that has built in error detection,
making it highly unlikely for the display to read an incorrect level,
even if the wiring is marginal. In addition to the level, the sender
also transmits diagnostic information about its operation. This
information can be used to determine if there is buildup of sludge
on the inside of the tank, or to determine if the sender is damaged
or delaminating from the side of the tank. If sludge buildup in the
tank becomes extreme the gauge will cease to operate properly,
so by monitoring the signal power the tank can be cleaned before
the buildup gets excessive. Three dierent sender options (710JS,
710ES, and 710SS) and the ability to double stack the senders
provide accurate level measurement for tank heights ranging from
4½” to 34”.
The Display: The display receives the information from the three
sender panels via a single 2 conductor wire, and displays the level
information in percent of full on a 3-digit LED display. When the
button for a particular tank is pressed, the display shows the level
for that tank. If the button is pressed and released, the display
will show the level for about 5 seconds and then shut down
automatically. If another button is pressed before the display
shuts down, then the new level will immediately be shown. If the
same water or waste button is pressed twice, the display will hold
on that tank and continue to show updated levels for 5 minutes
before shutting o. This allows the user to monitor the lling or
draining of a tank. By pressing two buttons at once, the diagnostic
functions can be accessed; these are described in detail in the
troubleshooting chapter.
CHAPTER 2 - SYSTEM DESCRIPTION

Page 5
709-BTP3 Manual
If a sender is operating properly and connected to the display with
good wiring, then the display will show the level normally. If the
wiring is disconnected, shorted, or cut, or if the sender panel is
defective, then the display will indicate an error code. The various
error codes are shown in the troubleshooting chapter.
With these diagnostic features and the digital nature of the tank
level sensing technology, it is almost impossible for the system
to indicate an incorrect water level, and in the very unlikely
event it does occur, servicing is greatly aided with the diagnostic
information.
The system also shows the RV battery voltage by measuring the
voltage which powers the display. The voltage is shown with a
resolution of 0.1 volt.
The display can use an existing LPG electrical sender to show the
LPG level. It can be automatically calibrated to any sender, and
shows level on the LED display in percent of full, from 0% to 100%.
In order to keep the tank level and alarm information current, the
display regularly scans the senders every 10-15 seconds. When a
tank button is pressed, the information displayed is recalled from
the most recent scan. A tank on hold is scanned more frequently.
Systems with two displays are congured so that the primary
display initiates the scanning and the secondary display passively
listens to the sender information, this way both displays stay
updated without interfering with each other.
The single common alarm output can be programmed to indicate
a high or low sewage level, a high or low water level, or a high or
low LP level. More than one alarm can be assigned to the alarm
output. This output can be connected to an indicator light and
used to show a high sewer level and/or a low water level, alerting
the user that attention is required. Another example is the alarm
could be used on the black tank to prevent toilet use when the
tank is full.

Page 6 709-BTP3 Manual
The display is the only system component that is accessed by
the user. All user input to the display is done using the ve
buttons along the bottom of the display. Operation of the display
is as follows:
To read a water or sewer tank level:
1. Press the button corresponding to the tank to be checked and
release it, the display will show the level in percent on the LED
display. If no other button is pressed, then the display will
shut o after about 5 seconds.
2. If another button (including BATT or LPG) is pressed before
the 5 second time is up for the rst button, the display will
immediately switch to showing the new level or voltage. The
5 second timeout is restarted every time a button is pressed.
3. To continuously display a reading, press and release the
desired button, and then press the same button a second
time. When the button is released, the display will be in hold
mode, which is indicated by the decimal point on the right
hand side turning on. While the display is in the hold mode
it will recheck the held level every 2 - 3 seconds so the user
can watch the level change while the tank is being lled or
drained. The other tanks will continue to be scanned every
10 - 15 seconds. The display will automatically shut o after
5 minutes in hold mode. To end the hold mode before the 5
minutes is up, press any tank button, and the display will shut
o.
To read the LPG tank level:
1. Press the LPG button and release it, the display will show the
LPG level in percent on the LED display. If no other button is
pressed, then the display will shut o after about 5 seconds.
2. If another button is pressed before the 5 second time is up
for the LPG button, the display will immediately switch to
showing the new level or voltage. The 5 second timeout is
restarted every time a button is pressed.
3. There is no hold mode for the LPG. The LPG tank level cannot
change fast enough to justify the use of the hold function,
except during lling of the tank. The gauge should not be
used as a full tank shuto indicator since the LPG sender in
the tank is not reliable or accurate enough to be used as a
safe indicator of a full tank.
CHAPTER 3 - OPERATING INSTRUCTIONS

Page 7
709-BTP3 Manual
To read the battery voltage:
1. Press the BATT button and release it, the display will show the
battery voltage on the LED display.
2. If no other button is pressed, then the display will shut down
after about 5 seconds. If the BATT button is held down,
the display will continuously recheck the voltage and show
the updated value. The reading may icker back and forth
between two values, for example, 12.6 and 12.7 volts. This is
normal behavior for a digital voltage display.
3. If another button is pressed before the 5 second time is up
for the BATT button, the display will immediately switch to
showing the value for the new button. The 5 second timeout
is restarted every time a button is pressed.
4. There is no hold mode for the battery voltage.
NOTE: If using two displays (i.e. a primary and a secondary
display), then only the primary display should have a
connection to the LPG tank. If both displays are connected to
an LPG tank, then an incorrect reading will result. The primary
display relays LPG levels to the secondary display through the
sender wiring.

Page 8 709-BTP3 Manual
CHAPTER 4 - GARNET RV APP
The Garnet RV Bluetooth®App:
• The free Garnet RV App is available for any
compatible Android and Apple iOS device.
• Wireless technology enables your tank monitor
to send tank levels and battery voltage to any
compatible Android or Apple iOS device.
• One display can send data to several phones or tablets, the phone or
tablet does not need to be paired to your display unit.
• Bluetooth® has a limited range of up to approximately 9 meters (30 Ft.)
to function inside the RV and immediate surrounding area. Range can
vary dependent upon multiple environmental factors. The Display
cannot be mounted in a metal box as it will dramatically reduce
range. Mounting the display in a metal wall or next to large metal
surfaces may signicantly reduce range.
• The following section will instruct you on installation and operation of
the Garnet RV App.
System Requirements
Android
An Android phone or tablet with Bluetooth®4.1 running Android version
5.0 (Lollipop) or newer.
Apple iOS
An Apple iPhone, iPad or iPod touch running iOS version 11.3 or later.

Page 9
709-BTP3 Manual
For Android devices go to the
Google Play Store to download
and install the app.
ANDROID APP - GETTING STARTED
Download the app Connect to Bluetooth®
Enable the Bluetooth®by turning
it on in your device settings
Android Version App

Page 10 709-BTP3 Manual
The initial screen will load
showing the version number of
the app. Actual version numbers
will change as future updates are
provided.
Launch screen Find RV selection screen
Select the device named “709-BT”.
This device selection will be
saved for future use and will
automatically be selected the next
time you run the app.
The identication string shown
under the “709-BT” device is a
unique identier for the Garnet
hardware installed in your RV.
Note: The name of the RV “709-BT” can
be customized to identify your RV. This
will help if you are in an area with other
SeeLeveL tank monitoring systems.
ANDROID APP - GETTING STARTED

Page 11
709-BTP3 Manual
This screen displays the values for the selected sensors.
The “RV” icon lets you select a dierent RV.
The “Edit” icon allows you to name your RV.
The “user settings” icon is used to change the conguration
options for the app.
ANDROID APP - MAIN DISPLAY SCREEN

Page 12 709-BTP3 Manual
The user settings can be
congured by selecting the
“conguration” icon on the
main display of the Garnet RV
app.
The text size and color can be
changed here.
From the “User Settings” screen
under “Display Options” — “Select
Sensors to Display”. Select the
check boxes for the sensors that
have been installed in your RV.
Select “OK” to save.
User Settings Options Select Senders
ANDROID APP - APP CONFIGURATION
User Settings
Display Options Screen
User Settings Screen

Page 13
709-BTP3 Manual
This screen is accessed from the
“Edit” icon on the “Main
Display” screen, and allows you
to personalize your RV name.
Press “OK” to save the name,
or “CANCEL” to exit without
saving. The maximum length of
the name is 16 characters.
This name is stored on the
Android device, and is displayed
on the “Main Display” and “Find
RV” screens.
ANDROID APP - NAME RV
Select Edit Enter a Name for your RV
Edit Option
Main Display Screen
Find RV Selection Screen
Edit Screen

Page 14 709-BTP3 Manual
When the Main Display shows a
value of “---“ this is an indication
that no data is available for the
sensor. This is normal operation
when the app is rst started until
data values appear.
It can also be an indication that
you are more than 9m (30ft)
away from your RV and unable to
establish communication with the
sensors.
If no Garnet RV devices appear,
ensure that you are within 9m
(30ft) of the RV, and use the
“Refresh” icon or “Find RV” icon
to scan again for the RV.
Verify that Bluetooth®is ON.
Ensure that the Garnet RV
hardware is powered ON.
ANDROID APP - TROUBLESHOOTING
No Devices No Data/Stale Data

Page 15
709-BTP3 Manual
For Apple iOS devices go to the
Apple App Store to download and
install the app.
iOS APP - GETTING STARTED
Download the app
iOS Version App
Connect to Bluetooth®
Enable the Bluetooth®by turning
it on in your device settings

Page 16 709-BTP3 Manual
When the app is rst launched it
will scan to nd your RV device.
Once found select the device
name. This will remain selected
each time you run the app. This
screen can be accessed again by
selecting the “RV” icon from
the Home Screen.
The identication number shown
is a unique identier for the
Garnet hardware installed in your
RV.
Note: The name of the RV can be
customized to identify your RV. This
will help if you are in an area with other
SeeLeveL tank monitoring systems.
The initial screen will load
showing the version number of
the app. Actual version numbers
will change as future updates are
provided.
Launch screen Find RV selection screen
iOS APP - GETTING STARTED

Page 17
709-BTP3 Manual
This screen displays the values for the selected sensors.
The “RV” icon lets you select a dierent RV.
The “Edit” icon allows you to name your RV.
Exit the app and use “Settings” icon to change the conguration
for the app.
iOS APP - MAIN DISPLAY SCREEN

Page 18 709-BTP3 Manual
User Settings Select Sensors
From the Settings screen turn
on the sensors that have been
installed in your RV.
You can also change your text size
and text display color here.
The user settings can be
congured by selecting the
“Settings” icon on the
Apple device. Scroll through the
available settings and select the
Garnet RV app icon.
iOS APP - APP CONFIGURATION
Device Settings

Page 19
709-BTP3 Manual
This screen is accessed from
the “Edit” icon on the “Main
Display”, and allows you to
personalize your RV name.
Press “OK” to save the name,
or “CANCEL” to exit without
saving. The maximum length
of the name is 20 characters.
This name is stored on the iOS
device, and is displayed on the
“Main Display” and “Find RV”
screens instead of the hardware
identication number.
Andy’s RV
|
iOS APP - NAME RV
Edit Option
Select Edit Enter a Name for your RV
Find RV Selection Screen
Edit Screen
Main Display Screen

Page 20 709-BTP3 Manual
If no Garnet RV devices appear,
ensure that you are within 9m
(30ft) of the RV, and use the
“Refresh” icon or “Find RV” icon to
scan again for the RV.
Verify that Bluetooth®is ON.
Ensure that the Garnet RV
hardware is powered ON.
When the Main Display shows a
value of “---“ this is an indication
that no data is available for the
sensor. This is normal operation
when the app is rst started until
data values appear.
It can also be an indication that
you are more than 9m (30ft)
away from your RV and unable to
establish communication with the
sensors.
ANDROID APP - TROUBLESHOOTING
No Devices No Data/Stale Data
Other manuals for SeeLevel II
2
This manual suits for next models
1
Table of contents
Other Garnet Measuring Instrument manuals

Garnet
Garnet SeeLeveL II 709-P3 User manual

Garnet
Garnet SEELEVEL II 714 User manual

Garnet
Garnet SeeLeveL II 709-RVC User manual

Garnet
Garnet SeeLevel I 705 Series User manual

Garnet
Garnet Seelevel Special 808P2 Operating manual

Garnet
Garnet SeeLeveL Special 809-DM User manual

Garnet
Garnet PC-732G User manual

Garnet
Garnet SeeLevel II User manual

Garnet
Garnet SeeLeveL II 709-RVC PM User manual

Garnet
Garnet SeeLevel II 900-D4S Single User manual