Step 5 - Remove Front Control
Console
• Consult Service Guide 31-9226 or Mini-manual
for console removal process.
Remove
protective
tape from the
bottom of the
foam strip.
Step 6 - Remove Vent Conduit
• Remove the 2 -T15 Torx screws to remove the
vent conduit from the front console.
• Vent conduit can now be removed.
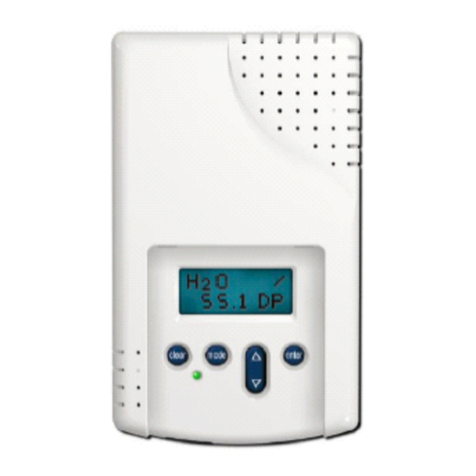
Step 7 - Install new Ul Control Board
Control
Details on main control access can be found in
either Service Guide 31-9226 or Mini-manual
Verify correct model personality jumpers are in
correct position, keys/buttons and LED's will
not function until appropriate personality is
selected.
PERSONALITY
Install new UI and re-install assembly into top
console.
Place the strip inside the
bottom of the vent area of
the console.
Step 9 - Re-assemble Vent Conduit
Carefully insert the vent conduit into the vent
area of the front control, using care not to
damage the newly installed foam strip.
Reinstall 2 - T15 Trox screws
Step 10 - Re-assemble Inner to
Outer Door Panels
Reverse the dis-assembly procedure in the
Service Guide or mini-manual, make sure all
tabs are aligned and appearance of gaps is
correct.
Step 11 - Re-install Door
, Reverse door removal process to re-install the
door and connect the door wire harness.
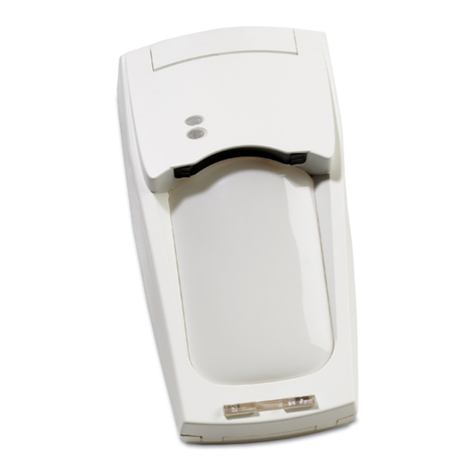
Step 8 - Install Foam Strip
This strip eliminates condensation pooling in the
outer vent area and must be installed.
• Make sure the vent area of the front control
console is clean and dry.
° Remove the protective paper from the foam
strip.
• Place the foam strip on the bottom of the vent
area of the console.
Step 12 -Install new Vent Cover
• Install the new vent cover on the inner door to
vent conduit. This new vent cover allows more
air flow.
Step 13 - Test Operation
• Re-apply power, verify control and dishwasher
operation.
