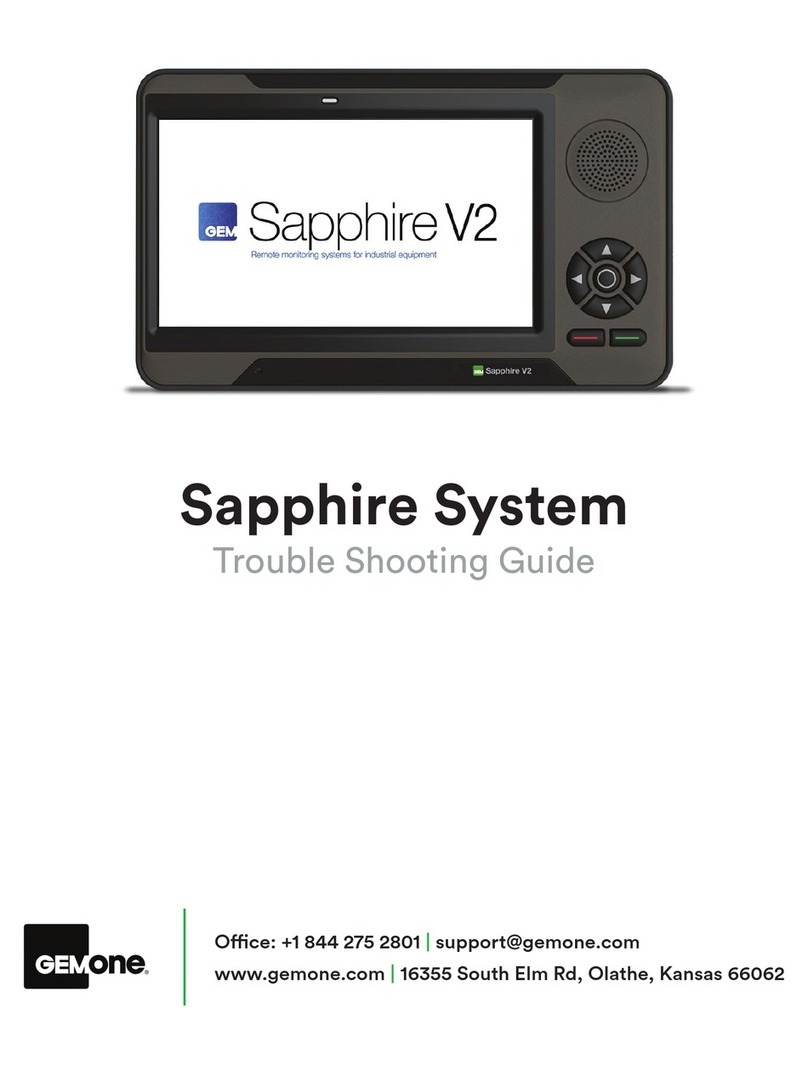
GemOne Sapphire V2S Manual

Sapphire V2S
Hardware Installation
Procedure Manual
16355 South Elm Rd, Olathe, Kansas 66062 | Office: +1 844-275-2801
[email protected] | www.gemone.com
1

Please contact the Gem One support desk at +1 844-275-2801 or [email protected]
after the table has been filled out.
Gem Serial
#
1
2
3
4
End User
End User
Address
Equipment
Make
Equipment
Model
Equipment
Serial #
Key Hours
at Install
Has Gem One been sent the customer setup sheet?
(drivers, override codes, admin users)
2

Table of Contents
1. Safety Precautions 4
2. Introduction 5
1. Purpose 5
2. Scope 5
3. Terminology 5
3. Sapphire V2S Technical Parameters 6
4. Sapphire V2S Components 7
5. Hardware Placement 8
6. Installation Guide 9
1. Connection V2HARNA (Black) and V2HARNB (Grey) to the Interface Box 9
2. Wiring Guide 10
3. Internal Combustion Wiring Diagram 11
4. Battery Electric Wiring Diagram 12
7. Sapphire V2S Operation 13
1. Powering Device 13
2. Relay Operation 14
1. Drive Inhibit Relay 14
2. Auxiliary Relay 14
3. Inputs 14
8. Installing Aux Device for Impact Lockout 15
1. Installation Diagram – Strobe/Alarm Combo 15
2. Activating the Aux Device 15
9. Installation of Overhead Mounting Bracket (optional) 16
1. Procedure 16
3

1. Safety Precautions
Read the following safety precautions before installation or operation.
Abnormal Conditions
Should the V2S display become hot, start to emit smoke, or a strange
odor; immediately turn the power off and contact Gem One. Continued
usage is dangerous and may result in fire or electrical shock.
LCD Screen
Never apply heavy pressure on the V2S display or subject it to strong
impact. Doing so may crack the screen or LCD panel glass, resulting in
personal injury or major damage to the device.
Power Supply
Do not use the Sapphire V2S with any voltage other than that specified.
Avoid situations that can cause damage to the power cable.
4

2. Introduction
1. Purpose
This document is to be used as a guide to install the Sapphire V2S onto various type of
equipment, whether they are internal combustion or electric equipment.
2. Scope
This document is to be used by a trained and authorized person(s) with the necessary PPE
as a guide for the installation, operation, and management of the Sapphire V2S. This
document provides information on the components of the Sapphire V2S, installation
procedure, and general troubleshooting methods.
3. Terminology
Terms
Description
Sapphire V2S
Sapphire V2S Display
NO
Normally Open
COM
Common
Aux
Auxiliary
PPE
Personal Protective Equipment
LV
Low Voltage
HV
High Voltage
IB
Interface Box
5

3. Sapphire V2S Technical Parameters
There are two types of interface boxes that connect up to the equipment. One (LV) has
12-24V input and should be used for internal combustion equipment and the other (HV)
has 36-80V input and should be used for battery electric equipment
There is a sticker at the back of the Sapphire V2S display with 8-36V input.
This is OK as the display will get power from the interface box.
Parameter
Minimum
Maximum
Unit
Sapphire V2S LV Interface Box
LV Interface Box
12
24
V
Equipment Detection - LV
7.5
24
V
Digital Input Detection - LV
5
24
V
Sapphire V2S HV Interface Box
HV Interface Box
36
80
V
Equipment Detection - HV
7.5
80
V
Digital Input Detection - HV
5
80
V
Sapphire V2S Outputs
Operation Inhibit Relay (NO)
-
10
A
Auxiliary Relay (NO)
-
10
A
Sapphire V2S Miscellaneous
Touch Sensitive Display
-
-
Ω
Gem RFID or HID Reader
-
-
-
Strobe Alarm
12
48
V
6

4. Sapphire V2S Components
The following section shows pictorial examples of components of the Sapphire V2S
system. The final product may vary slightly from what is depicted.
7

5. Hardware Placement
The following section shows pictorial example of components of the Sapphire V2S
system.
Item
Example
Placement
Sapphire V2S
Display with RFID
Option
The display should be in a location where both the
reader and touch screen display is easily accessible
and available to the operator.
Placement should also not impede on the operator to
view surrounding safely, i.e. mirrors.
Sapphire V2S
Interface Box
The interface box (IB) should be secured to a flat
surface with minimal movement. This is important as
the IB also contains the impact sensor. The IB needs to
be bolted to the frame and it cannot be installed onto
the firewall.
Consider space for cabling when selecting the
location.
Sapphire V2S
Strobe/Alarm
Option
Strobe/Alarm should be positioned to maximise
visibility to operator and surroundings. The V2S
display can be mounted to the same bracket or
separately.
Consider height restrictions if the strobe is mounted
outside the overhead guard.
Sapphire V2S
Cabling
Cabling must be secured and routed in a way that it is
free from excessive heat and moving components that
could damage the insulation.
8

6. Installation Guide
Now that suitable locations have been found to mount the hardware, wires need to be
installed onto the equipment in order to get the Sapphire V2S operational.
The type of connectors and methods used will vary from workshop to
workshop.
The section below will be generic guides for two main categories; internal combustion
and battery electric.
1. Connection V2HARNA (Black) and V2HARNB (Grey) to the
Interface Box
There are two positions on the interface box for the black and grey connector. Each
connector has a special notch so they can only be plugged into the correct position.
There are 4 loose wires (with spades) coming out of the black and grey
connectors. Connect the two wires coming out of the black connector to the
two wires coming out of the grey connector.
It does not matter where each wire is connected as long as those 4 wires are
connected.
9

2. Wiring Guide
The following information describes where to connect wires found on the grey connector.
Wire Color
Purpose
Connected To
Black
Ground
Ground/Earth/Negative
Red
Power
Battery Positive/ Constant Power Source
Yellow
Ignition Sense
Key switch - accessories position
Grey
Digital Input 1
Operator presence is most common for input 1.
Operator Presence is measured by either the
deadman or seat switch.
Brown
Digital Input 2
Forward or Reverse is most common for input 2.
White
Drive Inhibit Relay COM
Internal Combustion - Male spade at the end
Connected to Position 85 of starter relay coil
Electric Vehicle - Male spade at the end
Connected to seat/dead man switch
White/Purple
OR
White/Orange
Drive Inhibit Relay NO
Internal Combustion - Male spade at the end
Connected to Position 85 of starter relay coil
Electric Vehicle - Male spade at the end
Connected to seat/dead man switch
White/Black
Aux Relay COM
Relay for impact lockout
Connected to Ground/Earth/Negative
White/Blue OR
White/Yellow
Aux Relay NO
Relay for impact lockout
Connected to Aux device Ground/Earth/Negative
10

3. Internal Combustion Wiring Diagram
The following diagram is an overview of the installation required for internal combustion
equipment. It does contain the optional strobe/alarm combo and RFID Reader.
Inputs (grey and brown) wires do not affect the operation of the
equipment. They only count the time On and time Off.
Note down how the inputs trigger (normally 0V then it changes to +VE
upon active or vice versa) and inform Gem One.
11

4. Battery Electric Wiring Diagram
The following diagram is an overview of the installation required for battery electric
equipment. It does contain the optional strobe/alarm combo and RFID Reader.
Inputs (grey and brown) wires do not affect the operation of the equipment.
They only count the time On and time Off.
Note down how the inputs trigger (normally 0V then it changes to +VE upon
active or vice versa) and inform Gem One.
There should not be a need to install DC-DC converters if the 36-80V
interface box is installed on battery electric equipment.
Voltage input range for strobe alarm is 12-48V. DO NOT exceed 48V.
12

7. Sapphire V2S Operation
1. Powering Device
Depending on which equipment type, turn the key to Accessories (internal combustion)
or On (battery electric). This will engage the Sapphire V2S allowing operators to log into
the screen.
The yellow wire (ignition sense/equipment detection) will sense a voltage
and the Sapphire V2S display should turn On when the key is turned.
Please contact the helpdesk if an extended shutdown is required. This will
keep the display On for a period of time after the key I turned to Off and no
one is logged in.
13

2. Relay Operation
1. Drive Inhibit Relay
A NO relay is used to inhibit the operation of equipment. Operators must log into the
display first before the relay closes which allows the equipment to be used.
When the key is turned to Off, the relay will open back up and the equipment cannot be
used until another operator has logged in.
2. Auxiliary Relay
A NO relay is used for the auxiliary relay. The most common item connected to the
auxiliary relay is a strobe/alarm combo.
The relay will remain open until an exception occurs that exceeds the lockout threshold
and the display will lock out. Once the screen locks out, the relay will close and
depending on how it is wire, it will supply a ground signal to activate the strobe. See
section 8 below for more details on how to wire this up.
The relay will remain closed until the screen has been unlocked.
3. Inputs
There are two inputs currently available on the Sapphire V2S. These can be used to detect
operating values/times of various functions.
Inputs do not affect the operation of the equipment. They are only a counter
to determine the time On or time Off.
14

8. Installing Aux Device for Impact Lockout
If the impact lockout feature is available on the Sapphire V2S, an Aux device (such as an
alarm or light) can be fitted to activate upon impact. A threshold is set on the module so
impacts above this threshold will lock out the module and activate the device.
The default lockout threshold is 5.5 G
An override code is required to change the threshold on the module.
Alternatively, it can be changed remotely using the interface.
Voltage input range for strobe alarm is 12-48V. DO NOT exceed 48V.
1. Installation Diagram – Strobe/Alarm Combo
2. Activating the Aux Device
Installation of the device can be tested by lowering the impact threshold to 1.0 G then
triggering an impact above 1.0 G. This will lock out the device and close the Aux relay.
Be sure to change the impact threshold back to 5.5 G (unless the customer
utilizes a different value).
15

9. Installation of Overhead Mounting Bracket (optional)
The following components will be required to install the mounting bracket kit:
• 2 x Overhead Plates (optional)
• 1 x Overhead Hardware (optional)
• 1 x Strobe and Alarm (optional)
The mounting bracket kit and strobe/alarm combo reflected in the picture
below are optional accessories. These options are not standard in the Sapphire
V2S kits.
1. Procedure
Authorized and trained person/s must ensure correct use of appropriate PPE and safety
precautions are in place before installing to ensure person/s and equipment are free from
damage/injury.
See image below for finished product. Two plates are clamped on the overhead guard
with the strobe mounted on the top and the Sapphire V2S mounted underneath. The end
of the bolt will be facing up but they will be lower than the strobe.
●Select a location to mount the two plates
that will not interfere with the operation of
the equipment and will meet overall height
requirements
●Line up the holes on both plates and secure
using the nuts and bolts
●Select suitable holes on the top plate to
mount the strobe
●Select a suitable location to mount the
circular section of the Sapphire V2S
mounting bracket to the bottom plate
●Attach the Sapphire V2S Display
The image above should be used as an example only. A site evaluation may
be needed to verify that the placement meets site overall height and safety
requirements.
16
Table of contents
Other GemOne Safety Equipment manuals
Popular Safety Equipment manuals by other brands

Dor-O-Matic
Dor-O-Matic 1990 Series installation instructions

Federal Signal Corporation
Federal Signal Corporation G-SND manual

Petzl
Petzl D11 manual

l'echelle europeenne
l'echelle europeenne AZ 125 Instructions for use

TOOLCRAFT
TOOLCRAFT 1781067 operating instructions

Innotech
Innotech IND-GLEIT-10 instruction manual