GXDP-300® Contents
User Manual v
Contents
1. Introduction ....................................................................................................... 1
1.1 GXDP-300®X-ray unit................................................................................... 1
1.2 About this manual.......................................................................................... 1
1.3 Setup properties............................................................................................ 1
2. Unit description................................................................................................. 2
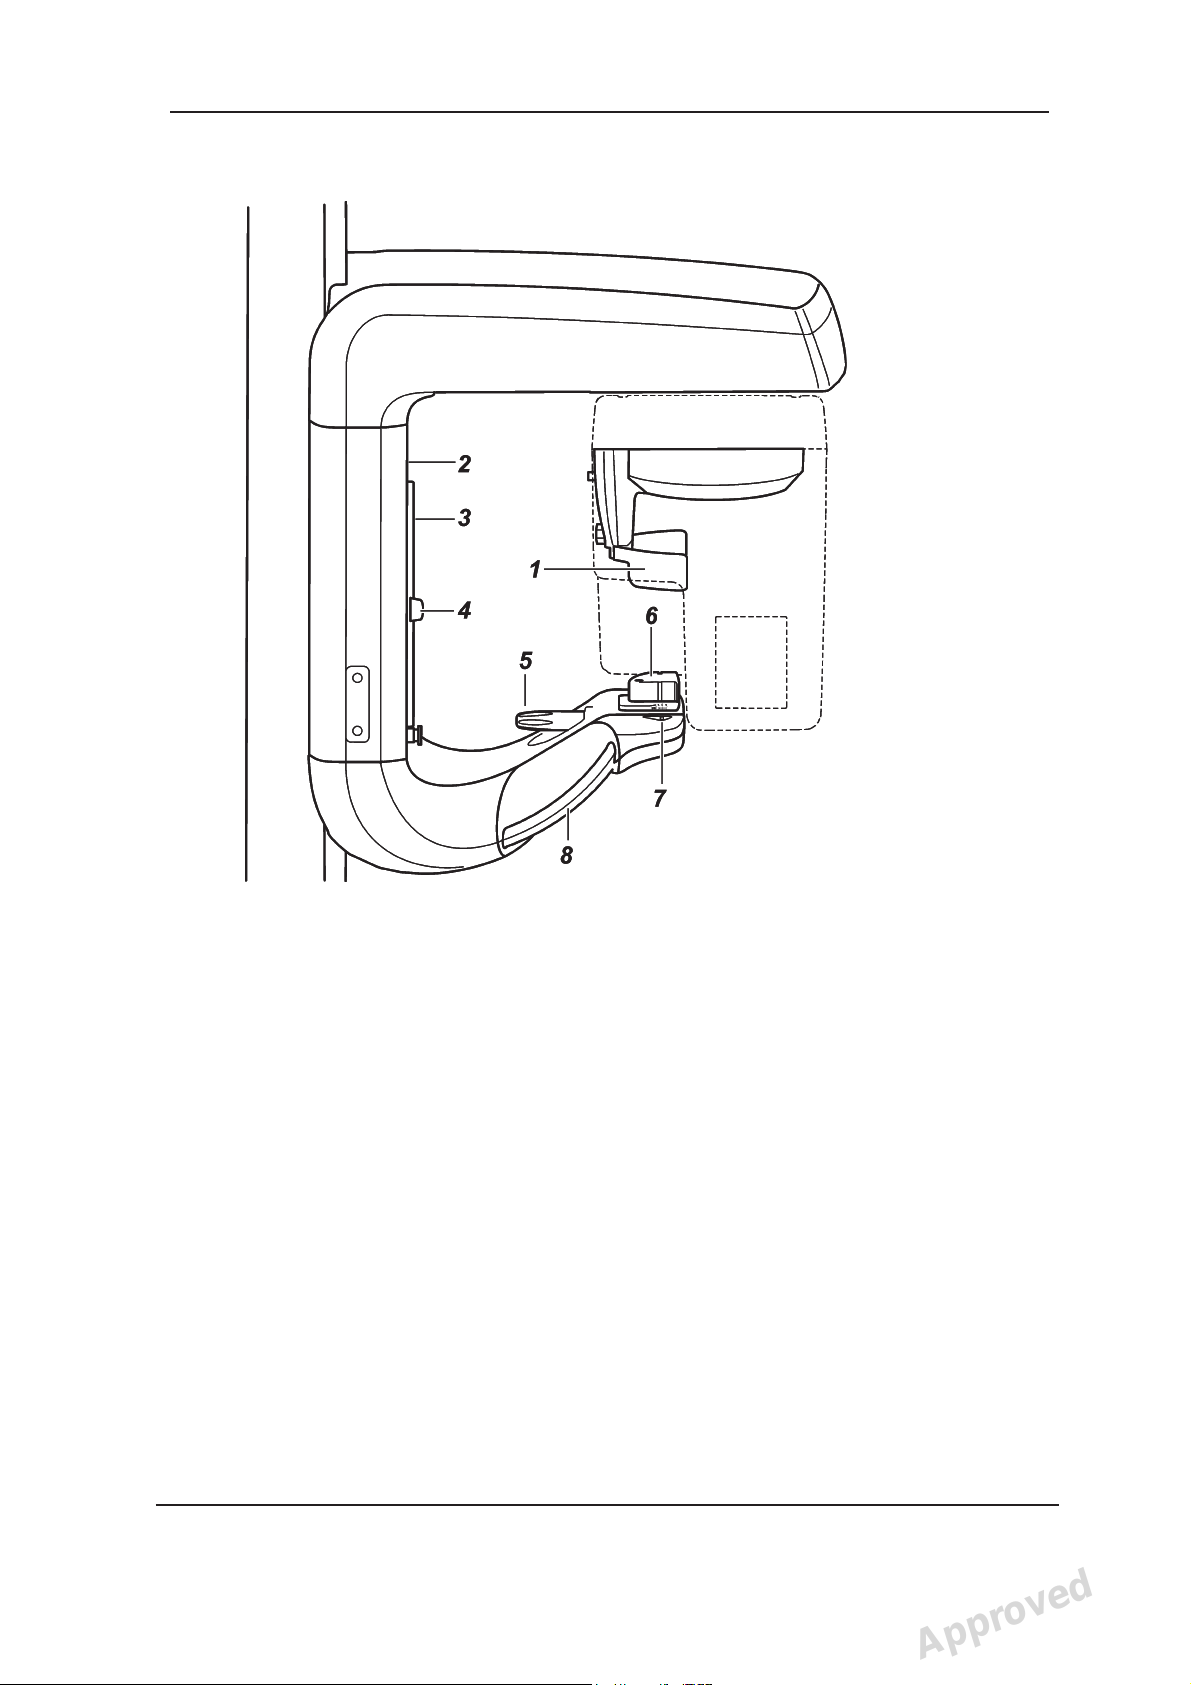
2.1 Main parts .....................................................................................................2
2.2 Unit controls..................................................................................................4
2.3 Accessories................................................................................................... 5
3. Using the Unit.................................................................................................... 6
3.1 Preparing the Unit.........................................................................................6
3.2 Taking Exposures.......................................................................................... 7
Panoramic adult, child and bitewing........................................................... 7
Temporomandibular Joint (TMJ)............................................................... 15
4. Operating the unit without x-rays.................................................................. 21
5. Troubleshooting and Maintenance................................................................ 22
5.1 Error messages and symbols...................................................................... 22
Error symbols............................................................................................ 23
User errors................................................................................................ 23
System errors ........................................................................................... 24
5.2 Care and Maintenance ............................................................................... 25
Cleaning and disinfecting the unit............................................................. 25
Surfaces that the patient touches.....................................................25
Unit surfaces .................................................................................... 25
Positioning mirror and laser cover.................................................... 25
Touch screen control panel.............................................................. 25
Correct operation of the unit..................................................................... 26
Yearly maintenance .................................................................................. 26
6. Warnings and precautions ............................................................................. 27
6.1 General warnings........................................................................................27
6.2 User / patient warnings ...............................................................................28
7. Disposal............................................................................................................ 30
Appendix A. Technical Information...................................................................... 1
A.1 Technical specifications ................................................................................ 1
A.2 Unit dimensions............................................................................................8
A.3 Symbols that appear on the unit................................................................... 9
A.4 EMC declaration..........................................................................................11
GXDP-300® Contents
User Manual v
Contents
1. Introduction ....................................................................................................... 1
1.1 GXDP-300®X-ray unit................................................................................... 1
1.2 About this manual.......................................................................................... 1
1.3 Setup properties............................................................................................ 1
2. Unit description................................................................................................. 2
2.1 Main parts .....................................................................................................2
2.2 Unit controls..................................................................................................4
2.3 Accessories................................................................................................... 5
3. Using the Unit.................................................................................................... 6
3.1 Preparing the Unit.........................................................................................6
3.2 Taking Exposures.......................................................................................... 7
Panoramic adult, child and bitewing........................................................... 7
Temporomandibular Joint (TMJ)............................................................... 15
4. Operating the unit without x-rays.................................................................. 21
5. Troubleshooting and Maintenance................................................................ 22
5.1 Error messages and symbols...................................................................... 22
Error symbols............................................................................................ 23
User errors................................................................................................ 23
System errors ........................................................................................... 24
5.2 Care and Maintenance ............................................................................... 25
Cleaning and disinfecting the unit............................................................. 25
Surfaces that the patient touches.....................................................25
Unit surfaces .................................................................................... 25
Positioning mirror and laser cover.................................................... 25
Touch screen control panel.............................................................. 25
Correct operation of the unit..................................................................... 26
Yearly maintenance .................................................................................. 26
6. Warnings and precautions ............................................................................. 27
6.1 General warnings........................................................................................ 27
6.2 User / patient warnings ...............................................................................28
7. Disposal............................................................................................................ 30
Appendix A. Technical Information...................................................................... 1
A.1 Technical specifications ................................................................................ 1
A.2 Unit dimensions............................................................................................8
A.3 Symbols that appear on the unit................................................................... 9
A.4 EMC declaration..........................................................................................11
Reviewed: Westling Lauri 22.06.11 11:27:45
Approved: Weckman Janne 22.06.11 13:46:25
See the PaloDEx Group Oy PDM system to determine the status of this document. Printed out: 05.09.11 15:25:27 D506222
Approved