German pool DHM-806 User manual

P.1
Please read these instructions and warranty information carefully
before use and keep them handy for future reference.
Online Warranty Registration
DHM-806Dehumidifier
USER MANUAL

P.3P.2
Tables of Contents
Notice Before Use 4
Product Structure 8
Operating Instructions 9
Cleaning & Maintenance 13
Troubleshooting 14
Technical Specications 16
Eco-Friendly Disposal 17
Warranty 31
Please register your warranty information now!
For Warranty Terms & Conditions,
please refer to the last page of this user manual.
請即進行保用登記﹗
有關保用條款細則,請看本說明書最後一頁。

P.5P.4
1. This appliance can be used by children aged from 8 years and above and persons with reduced
physical, sensory or mental capabilities or lack of experience and knowledge if they have been
given supervision or instruction concerning use of the appliance in a safe way and understand the
hazards involved.
2. Children shall not play with the appliance.
3. Cleaning and user maintenance shall not be made by children without supervision.
4. Disconnect the appliance from its power source during service and when replacing parts.
5. Warning: Before obtaining access to terminals, all supply circuits must be disconnected.
6. If the supply cord is damaged, it must be replaced by the manufacturer, its service agent or a
similarly qualied person in order to avoid a hazard.
7. Disconnect the power supply before cleaning and maintenance.
8. The appliance shall not be installed in the laundry.
9. Note: Check the nameplate for the type of refrigerant gas used in your appliance.
10. Specic information regarding appliances with refrigerant gas: R41OA, R134a, R290 is a
refrigerant that complies with European ecological standards; nevertheless, it is recommended
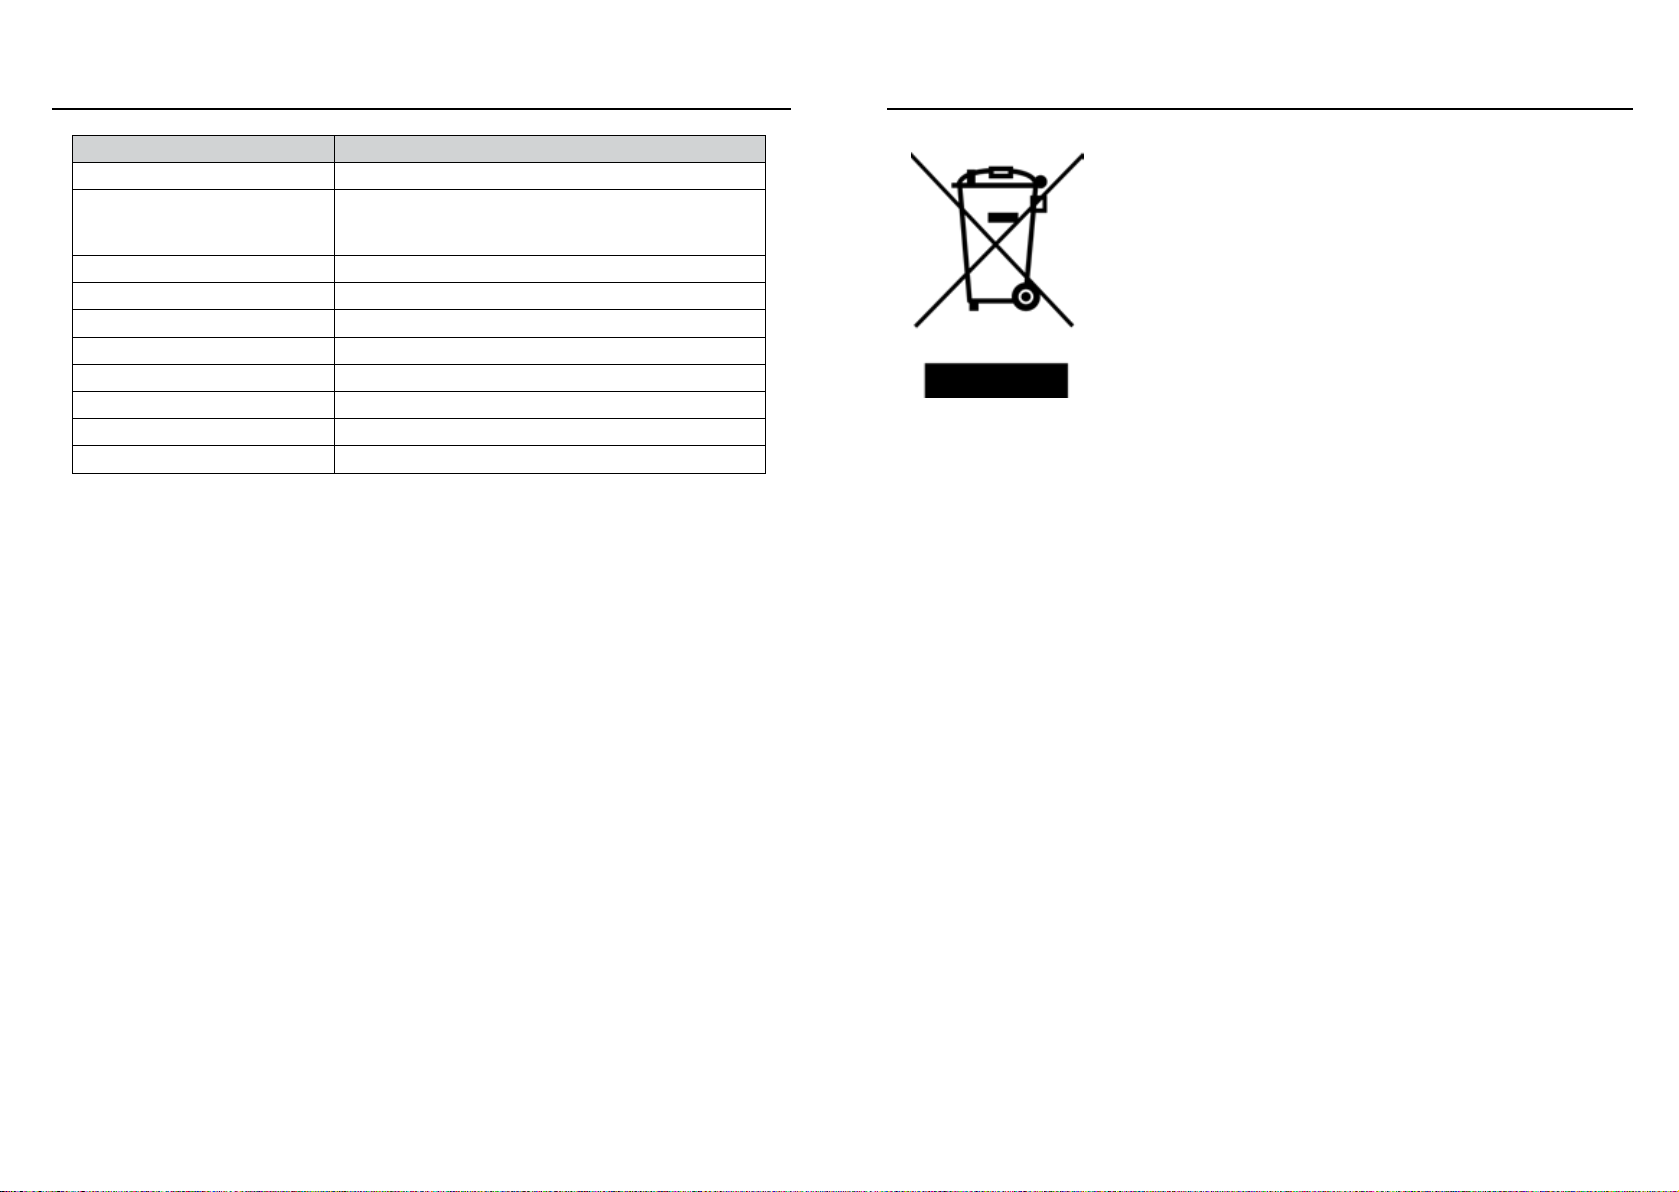
not to pierce the cooling circuit of the machine. At the end of its useful life, deliver the appliance
to a special waste collection centre for disposal.
11. This hermetically sealed system contains uorinated greenhouse gases.
12. ENVIRONMENTAL INFORMATION: This unit contains uorinated greenhouse gases covered by the
Kyoto Protocol.
13. GWP(Global Warming Potential): R410A: 2088, R134a: 1430, R290: 3.
14. The maintenance and disposal operations must be carried out by qualied personnel only.
15. Do not use this unit for functions other than those described in this instruction manual.
16. If the power cord becomes worn or damaged, the cord should only be replaced by a qualied
service technician using genuine replacement parts.
17. Make sure the plug is plugged rmly and completely into the outlet. It can result in the risk of
electric shock or re.
18. Do not plug other appliances into the same outlet, it can result in the risk of electric shock.
19. Do not disassemble or modify the appliance or the power cord, it can result in the risk of electric
shock or re. All other services should be referred to a qualied technician.
20. Do not place the power cord or appliance near a heater, radiator, or other heat source. It can
result in the risk of electric shock or re.
21. This unit is equipped with a cord that has a earthed wire connected to an earthed pin or
grounding tab. The plug must be plugged into a socket that is properly installed and earthed. Do
not under any circumstances cut or remove the earthed pin or grounding tab from this plug.
Notice Before Use
22. The unit should be used or store in such a way that it is protected from moisture e.g.
condensation, splashed water, etc. Unplug unit immediately if this occurs.
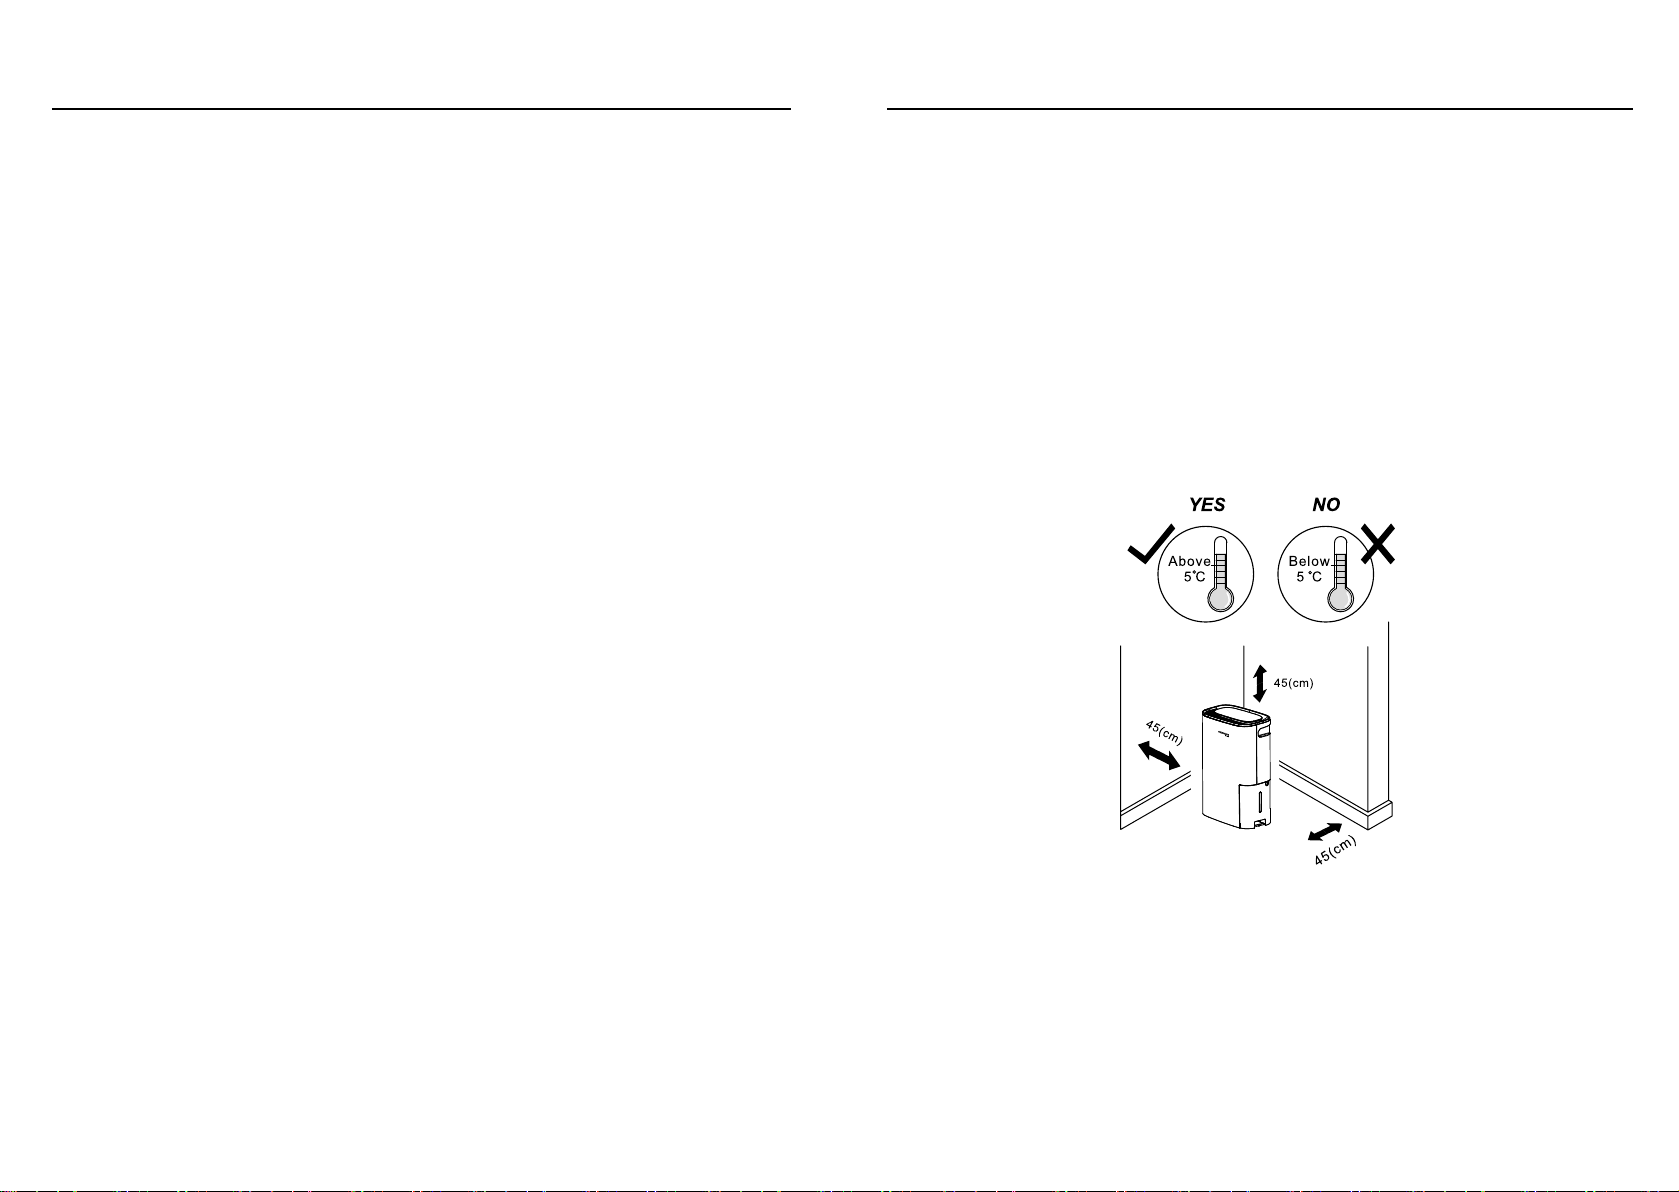
23. Always transport your appliance in a vertical position and place on a stable, level surface during
use. If the unit is transported laying on its side it should be stood up and left unplugged for 6
hours.
24. Always use the switch on the control panel to turn the unit or remote control off, and do not start
or stop operation by plugging in or unplugging the power cord. It can result in the risk of electric
shock.
25. Do not press the buttons on the control panel with your wet or damp ngers.
26. Do not use hazardous chemicals to clean or come into contact with the unit. To prevent damage
to the surface nish, use only a soft cloth to clean the appliance. Do not use wax, thinner, or a
strong detergent. Do not use the unit in the presence of inammable substance or vapour such as
alcohol, insecticides, gasoline, etc.
27. Young children should be supervised to ensure that they do not play with, operate or climb on the
appliance.
28. If the appliance is making unusual sounds or is emitting smoke or an unusual odor, unplug it
immediately.
29. Do not clean the unit with water. Water can enter the unit and damage the insulation, creating a
shock hazard. If water enters the unit, unplug it immediately and contact Customer Service.
30. Utilize two or more people to lift and install the unit.
31. Be sure all accessories are removed from the packing before use.
32. To avoid possible cuts, avoid contacting the metal parts of the appliance when removing or re-
installing the lter. It can result in the risk of personal injury.
33. Do not block the air inlet or outlet of the appliance. Reduced air ow will result in poor perform
ance and could damage the unit.
34. Always grasp the plug when plugging in or unplugging the appliance. Never unplug by pulling on
the cord. It can result in the risk of electrical shock and damage.
35. Install the appliance on a sturdy, level oor capable of supporting up to 110lbs(50kg). Installation
on a weak or unlevel oor can result in the risk of property damage and personal injury.
36. Close all doors and windows to the room for most efcient operation.
Important - Grounding Method
This product is factory equipped with a power supply cord that has a three-pronged grounded plug. It
must be plugged into a mating grounding type receptacle in accordance with the National Electrical
Code and applicable local codes and ordinances. If the circuit does not have a grounding type
receptacle, it is the responsibility and obligation of the customer to exchange the existing receptacle
in accordance with the National Electrical Code and applicable local codes and ordinances. The third
ground prong should not, under any circumstances, be cut or removed. Never use the cord, the plug
or the appliance when they show any sign of damage. Do not use your appliance with an extension
cord unless it has been checked and tested by a qualied electrical supplier. Improper connection of
Notice Before Use

P.7P.6
Notice Before Use
the grounding plug can result in risk of re, electric shock and/or injury to persons associated with
the appliance. Check with a qualied service representative if in doubt that the appliance is properly
grounded.
Electrical Connections
Before plugging the appliance into the mains socket, check that:
• The mains power supply corresponds to the value indicated on the rating plate on the back of the
appliance.
• The power socket and electrical circuit are adequate for the appliance.
• The mains socket matches the plug. If this is not the case, have the plug replaced.
• The mains socket is adequately earthed. Failure to follow these important safety instructions
absolves the manufacturer of all liability.
Notions on Humidity
Air always contains a certain amount of water in the form of vapour. This determines the level of
humidity in an atmosphere. The capacity of the air to hold water vapour increases with temperature.
This is why in our homes, as soon as the temperature decreases, the vapour contained in the air
condenses, as is evident on the colder surfaces in the room, such as the windows, walls etc. The
purpose of a dehumidier is to remove the excess moisture from the air, avoiding the damage caused
by condensation.
Experts have established that the optimum environmental conditions for our well being and for the
home are obtained between 40% and 60% relative humidity. With very low temperatures, you are
recommended to heat the room even minimally. This considerably increases the dehumidifying power
of the appliance. With heating, the condensation formed by the water vapour on windows and other
cold surfaces evaporates into the air to be collected by the dehumidier. Air leaving the dehumidier is
usually about 1°C-2°C warmer than room temperature.
Notice Before Use
Choosing a location
A Dehumidier operating in a basement will have little effect in drying out an adjacent enclosed storage
area, such as a closet, unless there is adequate circulation of air in and out of the area.
• Do not use outdoors.
• The dehumidier is intended for indoor use only. Place the dehumidier on a smooth, level oor
surface that is strong enough to support the unit with a full tank of water.
• Allow at least 45cm of air ow space at all sides.
• Place the dehumidier in an area where the temperature will not fall below 5 °C.
• Do not use the dehumidier in cooking, laundry, bathing and dishwashing areas that have
excessive moisture. Place the dehumidier away from a cloth dryer.
• Use the dehumidier to prevent moisture damage anywhere books or valuables are stored.
• Use the dehumidier in a basement to help prevent moisture damage.
• The dehumidier must be operated in an enclosed area to be most effective.
• Close all doors, windows and other outside openings to the room.

P.9P.8
Product Structure
1. Air outlet grille
2. Control panel
3. Handles
12
3
6
4
5
7
98
4. Water tank
5. Water level window
6. Continuous drainage hole
Control Panel
7. Air lter
8. Power cord
9. Drainage pipe
Humidity
Button
Humidity
Indicator
Mode
Indicator
Timer
Button
Fan Speed
Indicator
Timer
Indicator
Ionizer
Indicator Mode
Button
Defrost
Indicator
Tank Full
Indicator
Power
On/Off
Fan
Button
Operating Instructions
1. When rst operating the dehumidier, run it in Continuous mode for 24 hours.
2. Power On and Off - Press the POWER button once to manually turn the unit
on. Press the POWER button again to turn the unit off.
3. Fan button - Press the Fan button to cycle through the different fan speeds:
High “ ” and Low “ ”. The fan speed operating can be distinguished by
the fan speed indicators on the control panel.
4. Humidity selection - Press the Humidity Button to choose the desired relative
humidity in the room. The humidity is cycle display “70%-60%-50%-40%”.
5. Mode selection - press the Mode button to choose from “ ” Dehumidify, “ ” Turbo, “ “ Dry, “
“ Continuous. The corresponding indicator will light up.
6. Time - To program the unit to automatically turn on or off, press Timer button to cycle choose
“ 2h - 4h - 8h – off“
Note: Fan will continue to run even when the compressor is off. This is normal and allows the
unit to circulate air and operate more efciently.
7. Water Tank Full - When the water tank is full of water, the unit will automatically shut off, make a
beeping noise, and the water Tank Full Indicator will light up. The dehumidier will not function
until the water tank is emptied and placed back inside the unit. The water tank should be cleaned
every few weeks to prevent the growth of mold, mildew and bacteria. Use a mild detergent to
clean the water tank. Once clean, completely dry the water tank and place it back inside the
dehumidier.
Note:
1. Hold water tank with both hands when emptying.
2. When the water tank is full or removed from the machine, the compressor will turn off, but the
fan will continue to run for a few minutes. This is completely normal. The dehumidier will not
be removing moisture from the air at this time.
3. When removing moisture from the air, the dehumidier will exhaust warm air from top.
4. Do not place a full water tank on the oor, because the bottom is uneven.
Attention:
Before emptying the water tank. Open the corner of the tank cover and x it into unit to empty the
water. After emptying the water, put down the cover and x it back into unit.
Watch the video clip
Table of contents
Other German pool Dehumidifier manuals

German pool
German pool DHM-906 User manual

German pool
German pool KD-708B2 User manual

German pool
German pool DHM-522 User manual

German pool
German pool DH-310 User manual

German pool
German pool DHM-620 User manual

German pool
German pool DH-308D User manual

German pool
German pool DHM-914 User manual

German pool
German pool GP-818B2 User manual

German pool
German pool DHM-706S User manual

German pool
German pool DHM-911-SC User manual