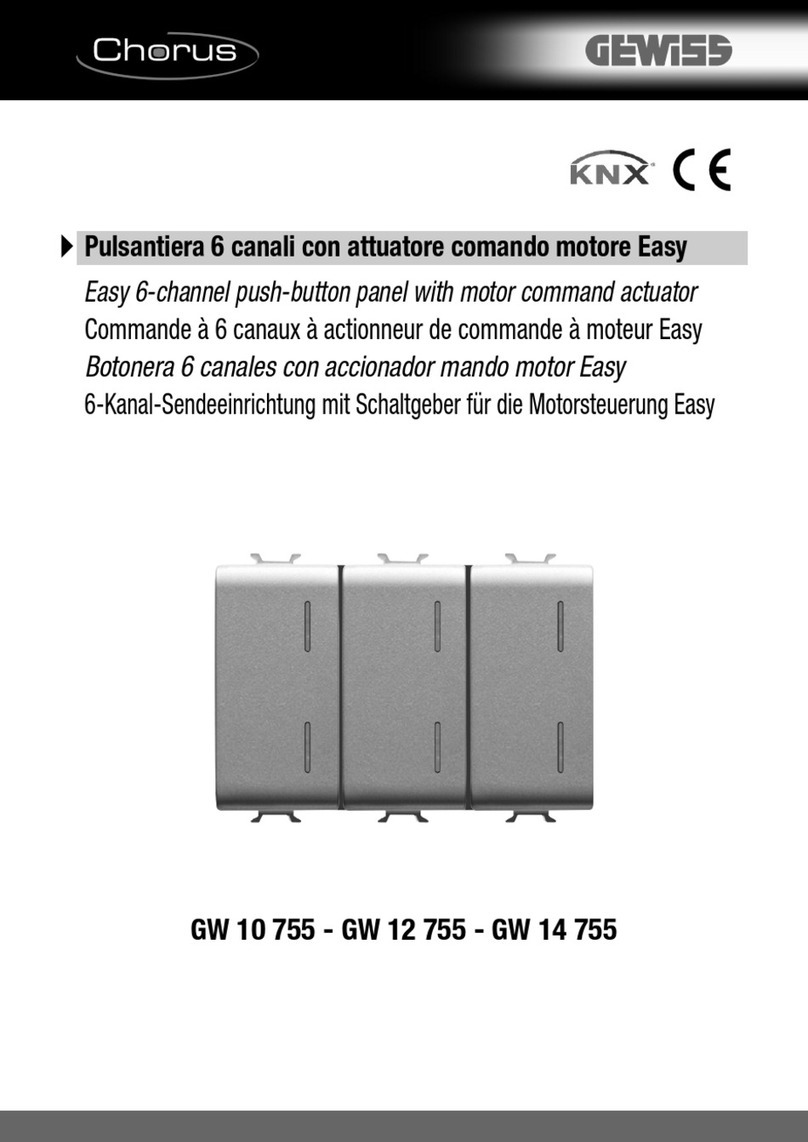
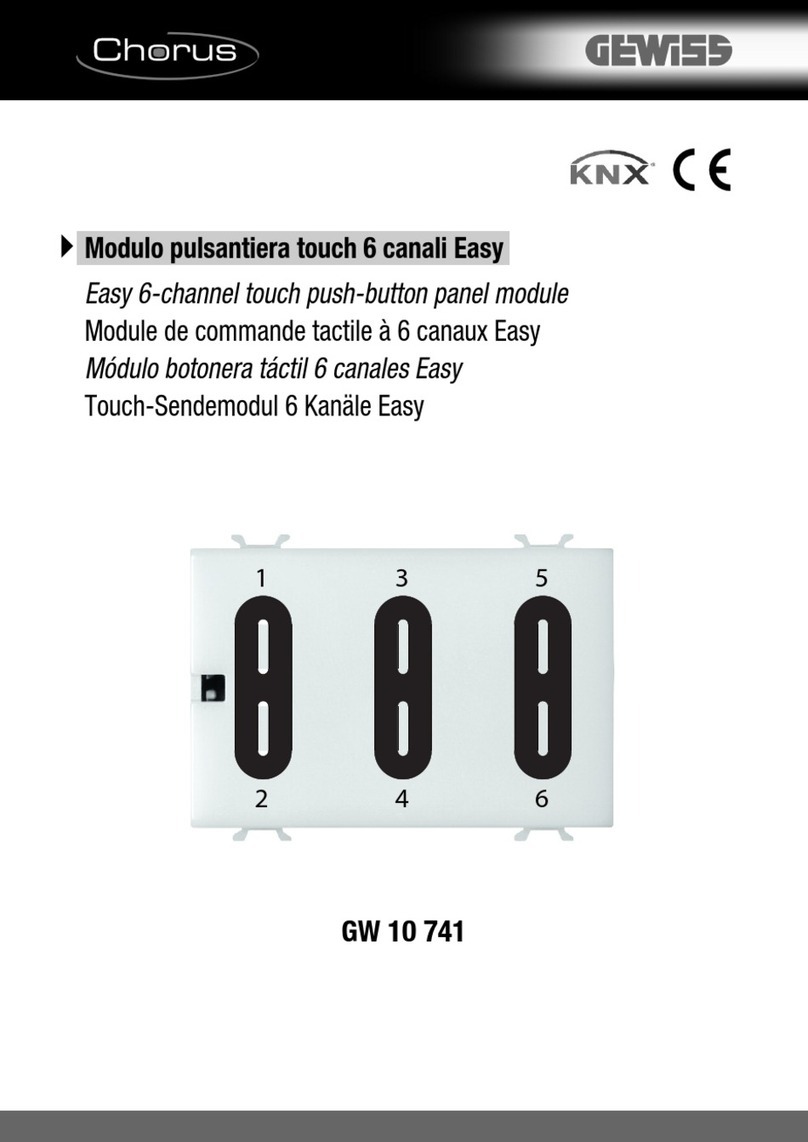
Gewiss Chorus GW1 783A Series User manual

1
KNX 6-channel push-button panel
GW1x783A
Technical Manual

2
Contents
1Introduction................................................................................................................................................. 3
2Application.................................................................................................................................................. 3
2.1 Association limits ............................................................................................................................... 3
3“Main” menu ............................................................................................................................................... 4
3.1 Parameters ........................................................................................................................................ 4
4“Channel x” menu (independent channels) ................................................................................................ 6
4.1 Parameters ........................................................................................................................................ 6
5Function “edges/sequence commands” ..................................................................................................... 8
5.1 Parameters ........................................................................................................................................ 8
6Function “1 push button + stop dimmer” .................................................................................................. 13
7Function “cyclic sending 1 push button dimmer” ...................................................................................... 15
7.1 Parameters ...................................................................................................................................... 16
8Function “1 push button shutter control” .................................................................................................. 17
9Function “scene management”................................................................................................................. 18
9.1 Parameters ...................................................................................................................................... 18
10 Function “switching sequences” .......................................................................................................... 19
10.1 Parameters ...................................................................................................................................... 19
11 “Channel X/Y” (coupled channels) menu............................................................................................. 22
11.1 Parameters ...................................................................................................................................... 22
12 “Temperature sensor” menu................................................................................................................ 23
12.1 Parameters ...................................................................................................................................... 23
13 “Led X” menu....................................................................................................................................... 25
13.1 Parameters ...................................................................................................................................... 26
13.2 “Personalize effect y” menu ............................................................................................................. 28
14 Communication objects ....................................................................................................................... 30
14.1 Communication object table ............................................................................................................ 31

3
1 Introduction
This manual describes the functions for the device “KNX 6-channel push-button panel” (GW10783A,
GW12783A, GW14783A) and how they are set and configured using the ETS configuration software.
2 Application
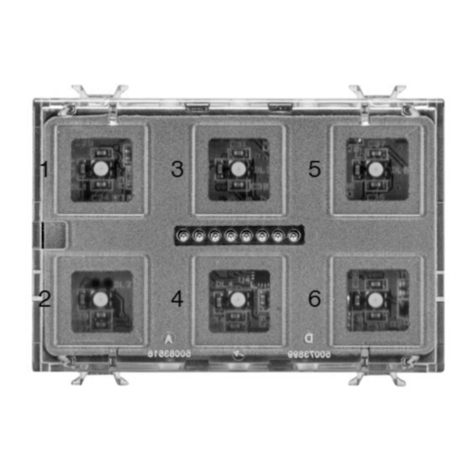
The flush-mounted KNX 6-channel push-button panel is a command device with 6 channels, which can be
used individually or combined.
The device is also equipped with a temperature sensor for carrying out the temperature probe function and
each channel has two light signalling LEDs, one amber and one green.
The device can perform the following functions:
load ON / OFF commands
timed commands
dimmer management (single or double button)
curtain / shutter management (single or double button)
scene management
A function can be associated to each channel by means of a specific parameter, as described below.
2.1 Association limits
The maximum number of communication objects available is 139.
The maximum number of associations that the device can store is 212.
The maximum number of group addresses is 212.

4
3 “Main” menu
The Main menu contains the application parameters for all the input channels implemented by the device.
The main operator parameters for the device (fig. 3.1).
Fig. 3.1
3.1 Parameters
3.1.1. Channels X/Y
Using these parameters, it is possible to select for each of the 6 input channels implemented by the push-
button panel if they should carry out an independent function or if it should be combined two at a time to
contribute towards carrying out a shared function. The values that can be set are:
-independent (default value)
-coupled
The database structure will vary depending on the values set for the above parameters: an independent
setting menu for each channel if the set value is independent and a common menu if a combined value is
set.
3.1.2 Long operation minimum time
Many functions that the independent or combined channels can carry out foresee the differentiation between
a short operation and a long operation. This parameter can be used to define a single time value for all
channels or a different one for each of the channels; The values that can be set are:
-the same for all channels (default value)
-diversify every channel

5
The following parameters are displayed depending on the selected value: “Value [x 0.1s]” (if an identical
value is set for all channels) or “Channel 1 value [x 0.1s]”, “Channel 2 value [x 0.1s]”, “Channel 3 value
[x 0.1s]”, “Channel 4 value [x 0.1s]”, “Channel 5 value [x 0.1s]” and “Channel 6 value [x 0.1s]” (if a
diversity value is set for each channel), which determine the minimum effective time during which the device
must detect the pressing of the button to differentiate between the short operation and the long operation
associated with the channel.
The possible values are:
-from 3 to 150 with step 1, 5 (default value)
The following example shows the meaning of the above parameters
3.1.3 Transmission delay after start
This parameter is used to define the time that must pass after which the device may transmit the telegrams
on the bus following a drop/recovery of the bus supply voltage, to ensure that, with multiple devices in the
line, the telegrams sent by the various devices do not collide when the bus voltage is restored.
The values that can be set are:
-11.. 21 seconds (depending on physical address) (default value)
-5.. 9 seconds
-11 seconds
-13 seconds
-15 seconds
-17 seconds
-19 seconds
-21 seconds
-no delay
Setting the values 11.. 21 seconds (depending on the physical address) and 5.. 9 seconds, the device
automatically calculates the transmission delay according to an algorithm that examines the physical
address of the device itself; the presented values (11/21 or 5/9) indicate the extremes of the value interval
that can be calculated.
Long operation
minimum time
Start of
pressing
detection
End of
pressing
detection
long operation
Long operation
minimum time
Start of
pressing
detection
End of
pressing
detection
short operation

6
4 “Channel x” menu (independent channels)
If channel operation is independent, a dedicated menu is shown for each channel called Channel x (x is the
channel index). The menu structure changes based on the value set for the “Matched function” parameter.
For the sake of simplicity, the parameters enabled according to the value set for the above parameter are
listed in the following paragraphs.
Figure 4.1 shows the basic structure of the menu:
Fig .4.1
4.1 Parameters
4.1.1 Matched function
This is used to define the function implemented by the channel; The values that can be set are:
none (default value)
edges/sequence commands
See chapter 5 Function “edges/sequence commands”
1 push button + stop dimmer
See chapter 6 Function “1 push button + stop dimmer”
cyclic sending 1 push button dimmer
See chapter 7 Function “cyclic sending 1 push button dimmer”
1 push button shutter control
See chapter 8 Function “1 push button shutter control”
scene management
See chapter 9 Function “scene management”
switching sequences
See chapter 10 Function “switching sequences”

7
4.1.2 Block
To inhibit the channel when sending commands associated with pressing/release the button, the block
function must be activated: this function inhibits the detection of button pressing/releasing, preventing the
device from sending the telegrams associated with these events on the bus; if activated, any change in
status that occurs will not be interpreted until a block deactivation command is received.
This parameter is used to enable/disable the function and can have the following values:
-disabled (default value)
-enabled
Setting the value enabled displays the parameters “Block activation value” and “Block function on bus
voltage recovery” and the communication object Ch.x - Block through which it is possible to activate the
function via a bus command.
The parameter “Block activation value” makes it possible to set which logic value the bit received via bus
telegram should assume to activate the block function; The values that can be set are:
-value “0”
-value “1” (default value)
The parameter “Block function on bus voltage recovery” is used to set the status of the block function on
recovery; The values that can be set are:
-disabled
-enabled
-as before voltage drop (default value)

8
5 Function “edges/sequence commands”
This function is used to set the type and number of commands to send after a status change has been
detected, for up to a total of eight commands per channel; it is possible to differentiate the type of command
depending on the event that is detected (pressing and releasing) and delay the sending of the commands
with a fixed settable time.
The basic structure of the menu is as follows (Fig. 5.1):
Fig. 5.1
5.1 Parameters
5.1.1 Functioning type recognized
This is used to define which type of button operation generates the sending of the sequence commands; the
values that can be set are:
-edges (pressing/releasing) (default value)
-short operation/long operation
5.1.2 Command objects number
This is used to define how many communication objects are managed by the channel in question; The
values that can be set are:
-1 (default value), 2, …, 8

9
Depending on the set value, the following parameters appear for each of the selected object “Sending
object format”, “Sending on operation (or short operation) detection”, “Sending on release (or long
operation) detection” and “Object sending delay [s]” grouped in the subset Channel x z object (z is the
index of the object associated with the channel, between A and H).
The parameter “Sending object format” makes it possible to set the format and code of the bus telegram
that will be sent by the device. The values that can be set are:
-1 bit (default value)
-2 bits
-1 byte unsigned value
-1 byte signed value
-1 byte percentage value
-1 byte HVAC mode
-2 bytes unsigned value
-2 bytes signed value
-4 bytes unsigned value
-4 bytes signed value
-14 bytes
The value set for this item will change as a result the values set for the parameters “Sending on operation
(or short operation) detection” and “Sending on release (or long operation) detection”.
The parameter “Sending on operation (or short operation) detection” is used to set the command or the
value to send when pressing of the button associated with the channel is detected.
The parameter “Sending on release (or long operation) detection” is used to set the command or the
value to send when the release of the button associated with the channel is detected.
If the format of the object to send is 1 bit, the communication object Ch.x - z object 1 bit value will be
visible and the values that can be set for the two above parameters are:
-no effect (release detection default value)
-0
-1 (pressing detection default value)
-cyclic switching
Selecting the value cyclic switching, the parameter “Status feedback object” will be shown, which
makes it possible to enable and display the communication object Ch.x - z object status feedback; by
enabling this object, when the status feedback telegram is received for the object in question, the
command that the push-button panel will send (via the object Ch.x - z object 1 bit value) when the
event associated with the cyclic sending is detected will be the opposite of the value generated by the
most recent event between the bus value received on object Ch.x - z object status feedback and the
last sent value (via the object Ch.x - z object 1 bit value).
The “Status feedback object” may have the following values:
-disabled (default value)
-enabled
Selecting the value enabled displays the communication object Ch.x - z object status feedback. Each
time bus voltage is reset, the device sends a status reading command for this object to update the push-
button panel about the status of the connected devices.
If the format of the object to send is 2 bits, the communication object Ch.x - z object 2 bits value will be
visible and the values that can be set for the two above parameters are:
-no effect (release default value)
-activate on (down) forcing (default pressing value)
-activate off (up) forcing
-disable forced positioning
-cyclical switching forcing on/forcing off
-cyclical switching forcing on/deactivate forcing

10
-cyclical switching forcing off/deactivate forcing
By selecting cyclical switching, in this case no communication object will be displayed as the device is
always updated about the function activation status.
If the format of the object to send is 1 byte unsigned, the communication object Ch.x - z object 1 byte
value will be visible and the values that can be set for the two above parameters are:
-no effect (release default value)
-value sending (pressing default value)
By setting value sending, it is possible to define the value to be sent via the new displayed parameter
“Value (0 .. 255)” which can assume the following values:
-from 0 (default value) to 255
If the format of the object to send is 1 byte signed, the communication object Ch.x - z object 1 byte
value will be visible and the values that can be set for the two above parameters are:
-no effect (release default value)
-value sending (pressing default value)
By setting value sending, it is possible to define the value to be sent via the new displayed parameter
“Value (-128 .. 127)” which can assume the following values:
-from -128 to 127, 0 (default value)
If the format of the object to send is 1 byte percentage, the communication object Ch.x - z object 1
byte value will be visible and the values that can be set for the two above parameters are:
-no effect (release default value)
-value sending (pressing default value)
By setting value sending, it is possible to define the value to be sent via the new displayed parameter
“Value (0% .. 100%)” which can assume the following values:
-from 0 (default value) to 100
If the format of the object to send is 1 byte HVAC mode, the communication object Ch.x - z object 1
byte value will be visible and the values that can be set for the two above parameters are:
-no effect (release default value)
-auto
-comfort (pressing default value)
-precomfort
-economy
-off (building protection)
-cyclical switching (thermostat)
-cyclical switching (chronothermostat)
By selecting cyclical switching, in this case no communication object will be displayed as the device is
always updated about the function activation status.
By selecting the value cyclical switching (thermostat), each time the associated event is detected
(pressing/releasing) the device sends a new thermoregulation mode (HVAC), following the order
Comfort→ Precomfort→ Economy→ Off→ Comfort …; By selecting the value cyclical switching
(chronothermostat), each time the associated event is detected (pressing/releasing) the device sends a
new thermoregulation mode (HVAC), following the order Comfort→ Precomfort→ Economy→ Off→
Auto→ Comfort …
11
If the format of the object to send is 2 bytes unsigned, the communication object Ch.x - z object 2
bytes value will be visible and the values that can be set for the two above parameters are:
-no effect (release detection default value)
-value sending (pressing detection default value)
By setting value sending, it is possible to define the value to be sent via the new displayed parameter
“Value (0 .. 65535)” which can assume the following values:
-from 0 (default value) to 65535
If the format of the object to send is 2 bytes signed, the communication object Ch.x - z object 2 bytes
value will be visible and the values that can be set for the two above parameters are:
-no effect (release detection default value)
-value sending (pressing detection default value)
By setting value sending, it is possible to define the value to be sent via the new displayed parameter
“Value (-32768 .. +32767)” which can assume the following values:
-from -32768 to +32767, 0 (default value)
If the format of the object to send is 4 bytes unsigned, the communication object Ch.x - z object 4
bytes value will be visible and the values that can be set for the two above parameters are:
-no effect (release detection default value)
-value sending (pressing detection default value)
By setting value sending, it is possible to define the value to be sent via the new displayed parameter
“Value (0 .. 4294967295)” which can assume the following values:
-from 0 (default value) to 4294967295
If the format of the object to send is 4 bytes signed, the communication object Ch.x - z object 4 bytes
value will be visible and the values that can be set for the two above parameters are:
-no effect (release detection default value)
-value sending (pressing detection default value)
By setting value sending, it is possible to define the value to be sent via the new displayed parameter
“Value (-2147483648 .. 2147483647)” which can assume the following values:
-from -2147483648 to 2147483647, 0 (default value)
If the format of the object to send is 14 bytes, the communication object Ch.x - z object 14 bytes value
will be visible and the values that can be set for the two above parameters are:
-no effect (release detection default value)
-value sending (pressing detection default value)
By setting value sending, it is possible to define the value to be sent via the new displayed parameter
“Value (ISO characters 8859-1)” which can assume the following values:
-14 alphanumeric characters with ISO/IEC coding 8859-1

12
5.1.3 Object sending delay [s] (0..255 seconds)
This is used to set the delay between the detection of the event associated with sending the command and
the effective sending of the command on the bus.
With regard to the objects that range from index B to index H, this parameter indicates the delay between
sending the command/value associated with the object with the previous index (z-1) and sending the
command/value associated with the object to which the parameter refers; The delay to which reference is
made in these cases is calculated from the moment in which the command/value is sent that is associated
with the object with the previous index (z-1) and not from the moment in which the event that generates
sending is detected (pressing/releasing or short operation).
The set delay will only be executed if the event in progress, associated to the object to which the parameter
refers, is associated with any value other than no effect; otherwise, the delay is ignored.
The parameter may assume the following values:
-from 0 (default value) to 255 seconds
NOTE : If a command sequence is being sent with delays, activated by the detection of a certain event
(pressing/releasing), the detection of the opposite event will stop the sending of the sequence only if at least
one of the actions associated with the detection of the last event is different than no effect; otherwise, the
command/value sequence will be continue to be sent until the last command/value is sent.

13
6 Function “1 push button + stop dimmer”
This is used to configure the channel to control a dimmer with a single button, increasing and decreasing
dimmer brightness always using the same button.
For sending on/off telegrams and brightness control telegrams.
As there is only one button to manage the On/Off and brightness control functions, the operation is managed
by differentiating between short operations and long operations:
a long operation is transformed into a brightness control command. When released, an adjustment stop
telegram is sent to stop the brightness increase/decrease operation for the dimmer and to fix the
brightness value reached at the moment the stop control command was received.
a short operation is transformed into an on/off command.
Using this type of function, brightness control depends on the so-called brightness control characteristic
curve, which varies from actuator to actuator, based on how the manufacturer designed the curve that
regulates power, and as a result brightness. This means that the speed with which brightness reaches its
maximum and minimum value does not depend on the commands sent from the push-button panel, but the
latter regulates the brightness itself by stopping its increase/decrease based on the desired value. The
communication objects that this function enables are Ch.x - Switching and Ch.x - Brightness dimming.
The basic structure of the menu is as follows (Fig. 6.1):
Fig. 6.1
The push-button panel makes sure that the command to be sent is the opposite of the last command that
was sent, which results as:
long operation: if the last sent command was an off command or a decrease brightness command, the
new command will be an increase brightness command; vice versa, if the last sent command was an on
command or an increase brightness command, the new command will be a decrease brightness
command. In both cases, when released, an adjustment stop telegram is sent to stop the brightness
increase/decrease operation for the dimmer and to fix the brightness value reached at the moment the
stop control command was received.
short operation: if the last sent command was an on command, the new command will be an off
command; vice versa, if the last sent command was an off command, the new command will be an on

14
command; the brightness increase/decrease control commands in this case do not determine the value
of the last command sent to distinguish the value of the new command to be sent.
This behaviour is changed if the user enables the communication object Ch.x - Dimmer status feedback,
via the parameter “Dimmer status feedback object”; this parameter may have the following values:
-disabled (default value)
-enable
Selecting the value enable displays the parameter “Brightness control commands with dimmer on” and
the communication object Ch.x - Dimmer status feedback, which makes it possible to receive status
feedback from the controlled dimmer actuator; the behaviour of the push-button panel is modified as follows:
long operation: the command that the push-button panel sends depend on the parameter “Brightness
control commands with dimmer on”, which can assume the following values:
-only brightness increase
-only brightness decrease
-brightness increase and decrease (default value)
By setting brightness increase and decrease, if the value of the last two events "last sent command"
and "dimmer status feedback" is ON, the new brightness control command to be sent will be the
opposite of the last sent command; when released, an adjustment stop telegram is sent to stop the
brightness increase/decrease operation for the dimmer and to fix the brightness value reached at the
moment the stop control command was received; if the value of the last of the two events "last sent
command" and "dimmer status feedback" is OFF, the first command to be sent is increase brightness
value, followed by sending the command opposite of the last one sent.
short operation: if the value of the last of the two events "last sent command" and "dimmer status
feedback" is ON, the new command will be an off command; vice versa, if the value of the last of the two
events "last sent command" and "dimmer status feedback" is OFF, the new command will be an on
command.
If the feedback object is enabled, each time bus voltage is reset, the device sends a status reading
command for this object to update the push-button panel about the status of the connected devices.

15
7 Function “cyclic sending 1 push button dimmer”
This is used to configure the channel to control a dimmer with a single button, increasing and decreasing
dimmer brightness always using the same button, with defined and settable control steps.
As there is only one button to manage the On/Off and brightness control functions, the operation is managed
so that each time the button is pressed the opposite command is sent in comparison to the last sent
command and by differentiating between short operations and long operations:
a long operation is transformed into a brightness control command. No telegram is sent when released.
a short operation is transformed into an on/off command.
Unlike the function 1 push button + stop dimmer, it is possible to define both the brightness various steps
as well as the time that passes between sending different commands, if the long operation continues over
time; therefore the sending of the control stop telegram is not necessary when releasing the button, even
though the control follows the power/brightness characteristic curve, as it is the command that is sent from
the push-button panel that determines the percentage variation. The communication objects that this function
enables are Ch.x - Switching and Ch.x - Brightness dimming.
The structure of the menu is as follows (Fig. 7.1):
Fig. 7.1

16
7.1 Parameters
7.1.1 Increase/decrease step
This is used to set the percentage value of the brightness variation associated with the brightness
increase/decrease commands. In this way, as soon as a long operation is detected, the device sends the
first increase/decrease command with the set percentage; The values that can be set are:
-100%
-50%
-25%
-12.5% (default value)
-6.25%
-3.125%
-1.56%
If pressing is maintained, the device will cyclically send the command until release is detected.
7.1.2 Cyclical sending period [x 0.1s]
This is used to set the time that passes between sending subsequent increase/decrease commands if
pressing is maintained. When released, no telegram is sent but only the cyclical sending of the brightness
control commands is stopped.
The values that can be set are:
-from 3 to 50, 5 (default value)
In summary, if a long operation is detected, the device sends the first increase/decrease command with the
set percentage and, if the pressing is maintained, it will cyclically send the command until release is
detected.
EXAMPLE: for example, if the value for item Long operation minimum time in the Main menu is set to 0.5
sec, the parameter Increase/decrease step is set to 12.5% and parameter Cyclical sending period [x
0.1s] is set to 3(0.3 sec) and pressing is detected:
0.5 seconds after detecting the pressing of the button, a long operation is recognised and as a result the
first 12.5% brightness increase/decrease telegram is sent
from this moment, for every 0.3 seconds that pressing is continued, the device will send a new 12.5%
brightness increase/decrease command until the release of the button is detected
when released, no telegram is sent but the cyclical sending is stopped
7.1.3 Dimmer status feedback object
Refer to chapter 6 for the settings of this parameter

17
8 Function “1 push button shutter control”
This is used to configure the channel to control a shutter with a single button, regulating the upward and
downward travel of the shutter and, depending on the device version, controlling louvres opening/closing.
As only one button manages the louvres up/down and control functions, the operation is managed so that
each time the button is pressed, a command is sent that is the opposite of the last movement signal received
by the actuator that manages the shutter; a differentiation is made between short and long operations:
a long operation is transformed into an up/down movement command. If the last received movement
signal was “up”, the new command will be a down command, and vice versa.
a short operation is transformed into a louvres control command. If the last received movement signal
was “up”, the new command will be a closing louvres control command; however, if the last received
movement signal was “down”, the new command will be an opening louvres control command. If the
shutter is moving, the louvres control command will only stop the shutter up/down movement.
The communication objects this function enables are Ch.x - Shutter movement, Ch.x - Shutter
stop/Louvres control and Ch.x - Movement feedback.
The structure of the menu is as follows (fig. 8.1):
Fig. 8.1

18
9 Function “scene management”
This is used to configure the channel to send scene memorising and execution commands, with the
possibility of sending the scene memorising command following a command received from the bus. Only one
scene can be managed for each channel.
A differentiation is made between short and long operations:
a long operation is transformed into a scene storing command.
a long operation is transformed into a scene execution command.
The communication objects that this function enables are Ch.x - Scene and Ch.x - Scene storing trigger.
When a long operation is recognised, to provide the user with a visual confirmation that the scene storing
command was sent, night signalling will be deactivated for a brief period (blink). If night signalling is disabled,
when the long operation is detected, a light signalling (blink) is briefly activated with the currently selected
color; this effect has priority over all the light effects activated by the bus (see chapter 13 “Led X menu”).
The structure of the menu is as follows (fig. 9.1):
Fig. 9.1
9.1 Parameters
9.1.1 Scene number (0..63)
This is used to set the value of the scene to be recalled/stored and as a result the relative values that are
sent via the object Ch.x - Scene. The possible values are:
-from 0 (default value) to 63
9.1.2 Scene storing by long operation
This enables the sending of a scene memorising command when a long operation is recognised.
The values that can be set are:
-disabled
-enabled (default value)
The device will send the scene storing command after a long operation is detected only if the value enabled
is selected; by selecting the value disabled, a long operation is not recognised and the long operation
triggers the sending of the scene execution command (as for a short operation).
Independently of the value set for the above parameter, it is possible to indirectly generate the sending of the
scene memorising command after receiving a bus telegram on the object Ch.x - Scene storing trigger (both
with value “1” as well as with value “0”); each time the device receives a telegram on that object, a scene
memorisation telegram will be sent immediately.

19
10 Function “switching sequences”
This is used to send a command sequence after a certain pressing has been detected.
The structure of the menu is as follows (fig. 10.1):
Fig. 10.1
10.1 Parameters
10.1.1 Command objects number
This is used to set the number of commands that make up the sequence itself; based on the value set for
this item, the communication objects Ch.x - Sequence z are enabled (with zbetween A and H).
The values that can be set are:
-from 2 (default value) to 8
10.1.2 Sequence type
This is used to set the type of sequence to be sent.
The values that can be set are:
-sequence 1 (filling) (default value)
-sequence 2 (sum)
-sequence 3 (random)
Sequence 1 (filling) consists in: each time pressing is detected (edge) the device sends a sequence that
follows the filling progress on the communication objects. This sequence consists in activating one
communication object a time, in cascade, until all the objects have the logical value “1” and in deactivating
the objects in cascade until they again have the logical value “0”. Taking into consideration a sequence that
includes 3 commands, at each iteration, the sent commands will be:
Edge no.
Value sent on
Ch.x - C sequence
Value sent on
Ch.x - B sequence
Value sent on
Ch.x - A sequence
1st edge
0
0
1
2nd edge
0
1
1
3rd edge
1
1
1
4th edge
0
1
1
5th edge
0
0
1
6th edge
0
0
0
Once the 6th edge is detected, the sequence will start from the beginning
The table shows how, considering the increasing/decreasing trend of the sequence, the most significant bit
of the sequence, in this particular case, is the one for the communication object Ch.x - C sequence whereas
the least significant is always the one for the object Ch.x - A sequence.

20
Sequence 2 (sum) consists in: each time pressing is detected (edge) the device sends a sequence that
follows the sum progress on the communication objects. This sequence consists in counting the detected
edges and converting this value into a binary format, distributing it on the enabled communication objects.
Taking into consideration a sequence that includes 3 commands, at each iteration, the sent commands will
be:
Edge no.
Value sent on
Ch.x - C sequence
Value sent on
Ch.x - B sequence
Value sent on
Ch.x - A sequence
1st edge
0
0
1
2nd edge
0
1
0
3rd edge
0
1
1
4th edge
1
0
0
5th edge
1
0
1
6th edge
1
1
0
7th edge
1
1
1
8th edge
0
0
0
Once the 8th edge is detected, the sequence will start from the beginning
The table shows how the trend of the sent commands depends on the count of the detected edge; in fact it
starts with the binary coding of value 1 up to, in this specific case, the coding of value 7 and then the
counting starts again for the next edge. Also in this case, the most significant bit in the sequence is the one
for the communication object Ch.x - C sequence whereas the least significant is always the one for object
Ch.x - A sequence.
Sequence 3 (random) allows the user to directly set the value for each command for each set edge; this
setting enables the parameter “Number of sequence iterations” and the configuration menu z object
channel x (one for each enabled command). The parameter “Number of sequence iterations” allows to
set the number of iterations (edges) that make up the sequence; The values that can be set are:
-from 2 (default value) to 16
Based on the value set for this item, the Channel x z object menu will display or hide the parameters
“Iteration 1 object value”, “Iteration 2 object value”, “Iteration 3 object value”, “Iteration 4 object
value”, “Iteration 5 object value”, “Iteration 6 object value”, “Iteration 7 object value”, “Iteration 8
object value”, “Iteration 9 object value”, “Iteration 10 object value”, “Iteration 11 object value”,
“Iteration 12 object value”, “Iteration 13 object value”, “Iteration 14 object value”, “Iteration 15 object
value” and “Iteration 16 object value”, which can assume the following values:
-value “0”
-value “1” (default value)
The structure of the menu Channel x z object is as follows(fig. 10.2):
Fig. 10.2
This manual suits for next models
3
Table of contents
Other Gewiss Control Unit manuals

Gewiss
Gewiss Chorus GW 10 755 User manual

Gewiss
Gewiss CHORUSMART GWA1291 User manual

Gewiss
Gewiss MSX/M 250c User manual

Gewiss
Gewiss CHORUSMART GW10677 User manual

Gewiss
Gewiss Chorus GW 90797A User manual

Gewiss
Gewiss Chorus GW 10 741 User manual

Gewiss
Gewiss Chorus GW 10 754 User manual

Gewiss
Gewiss CHORUS GW A9 471 User manual

Gewiss
Gewiss Chorus GW 10 361 User manual