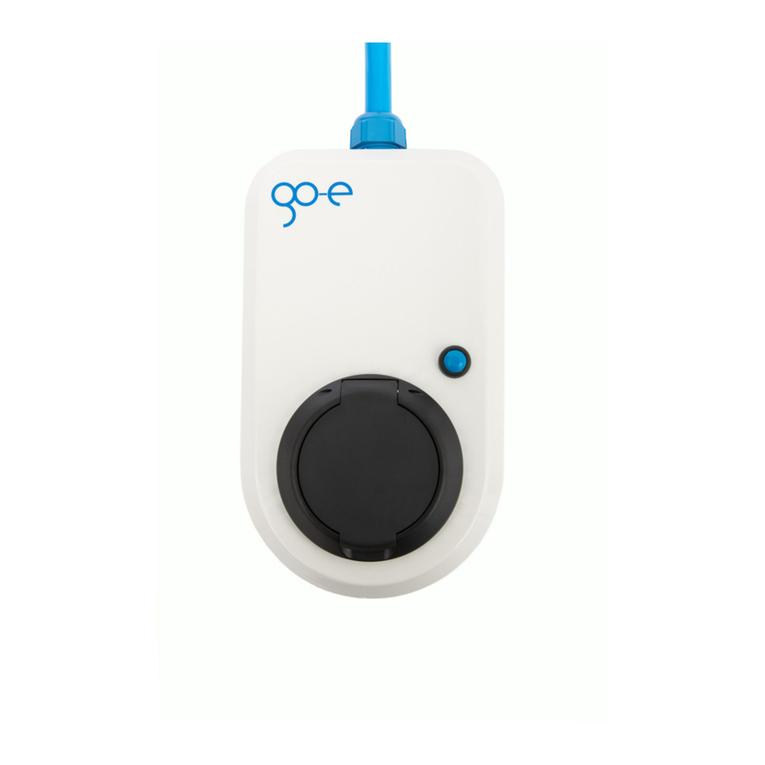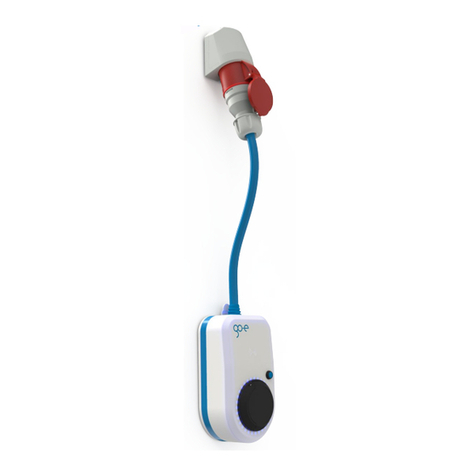
Then hook the device into the wall mounting plate and connect the supplied
connecting cable attached to the charger to the circuit provided for this purpose or
to the supply cable that may have been laid additionally. The connecting cable of
the charger can also be shortened for this purpose. If only one Charger is installed,
place phase 1 on phase 1, phase 2 on 2 and phase 3 on 3.
When installing several chargers, connect the phases of the first, second and third
charger to the house circuit in rotation, as shown in the adjacent figure, in order to
obtain an even load balance when charging single-phase vehicles.
Note: The go-eCharger app is required for static load management.
Commissioning
1 2 3NG
1 2 3 N G
2 3 1 NG 3 1 2NG
2 3
After connecting the charger to the power source, the LED ring lights up in different
colours. Now select the desired ampere strength via the setting button (1) on the front of
the charger (five predefined levels, adjustable via the app). One LED lighting up in blue
corresponds to 1 ampere. Therefore, a maximum of 16 LEDs light up blue on the go-
eCharger HOMEfix 11 kW.
Attention: Please note the maximum connected load of your household. If this is excee-
ded, the house fuse may trip.
Plug the charging cable into the type 2 socket of the charger. Please ensure that the
type 2 plug is inserted into the charger as far as possible.
Insert the vehicle plug of the charging cable into the charging port of the vehicle. The LEDs of the charger
light up yellow (2) (connection is being checked). After charging is enabled, the LEDs rotate in a circle.
The total number of lit LEDs as well as their rotation speed result from the preset amperes.
2
1
Installation (continued)
If you want to use all the other functions of the go-e Charger, download the go-
eCharger app. In addition, you can also use the web browser to operate the Charger
(app.go-e.co).
Set up Internet access for further functions
It may be necessary to deactivate both the mobile data of your phone and all connections to other
networks.
Either scan the QR code on the reset card (an external app may be required for this) or search for the
charger's network in the mobile phone settings.
Then enter the password that you will find on the reset card under "Hotspot key".
Once you have connected the smartphone to the hotspot, you can operate the charger locally using the
go-eCharger app.
1. Set up a connection to the go-eCharger via hotspot
If you want to control the go-eCharger via the Internet, open the go-eCharger app
and switch to "Cloud" (1). Under " WiFi" (2), enter the name (SSID) and password
(passphrase) of your home network (WiFi), tick "WiFi enabled" and save.
Open "Advanced settings" (3) in the app and check whether both ticks are set. Then
restart the Charger.
Now add the token in the "Cloud" tab of the app. To do this, scroll down in the app and
select "Add go-eCharger with token" (4). Then enter the "Cloud token" that you will
find on the reset card.
Now disconnect the mobile phone from the charger's hotspot, activate mobile data
or connect to a WLAN to control the charger remotely via app.
2. Setting up a connection to the go-eCharger via WiFi
Registration information
Depending on the country, the requirements of the authorities and electricity network operators have to
be observed, such as a reporting or approval requirement for charging equipment, or the limitation of 1-
phase charging. Please contact your network operator to find out whether the go-eCharger is subject to
registration or approval and whether other restrictions must be observed. Further information can be
found in the FAQ on our website at www.go-e.co/products/go-echarger-home/?lang=en or, especially
for Germany, in the complete user manual.
Any questions?
M a i l : of fi c e @ g o - e . c o
T e l : + 4 3 4 276 6 2 4 0 0 1 0
www.go-e.co
go-e GmbH
S a t e l l i t e n s t r a ß e 1
A T 9 5 6 0 F e l d k i r c h e n
Notes about the earth detection function
This function should only be used if the power supply has no grounding (IT mains). If you are not
sure, you should leave the setting at "Ground check enable"! The so-called Norway mode
(earth detection is deactivated) is visualised by 4 red LEDs on the go-eCharger (3, 6, 9, 12
o'clock) and can be managed via the app.
The go-eCharger has a safety function which checks that the power connection used is
sufficiently earthed and prevents charging if there is insufficient grounding.
In some regions, e.g. Norway, isolating transformers are used (IT mains). In order to charge
also in such regions with the go-eCharger, the function "Ground check" can be deactivated.
When operating in the usual European mains with earthing, switching off the „Ground check" in
case of insufficient earthing can lead to danger!
WARNING
ATTENTION
You can find an overview of frequently asked questions on our website in the FAQ section:
www.go-e.co/products/go-echarger-home/faq-home/?lang=en
Contact to customer service
1
2
3
4
