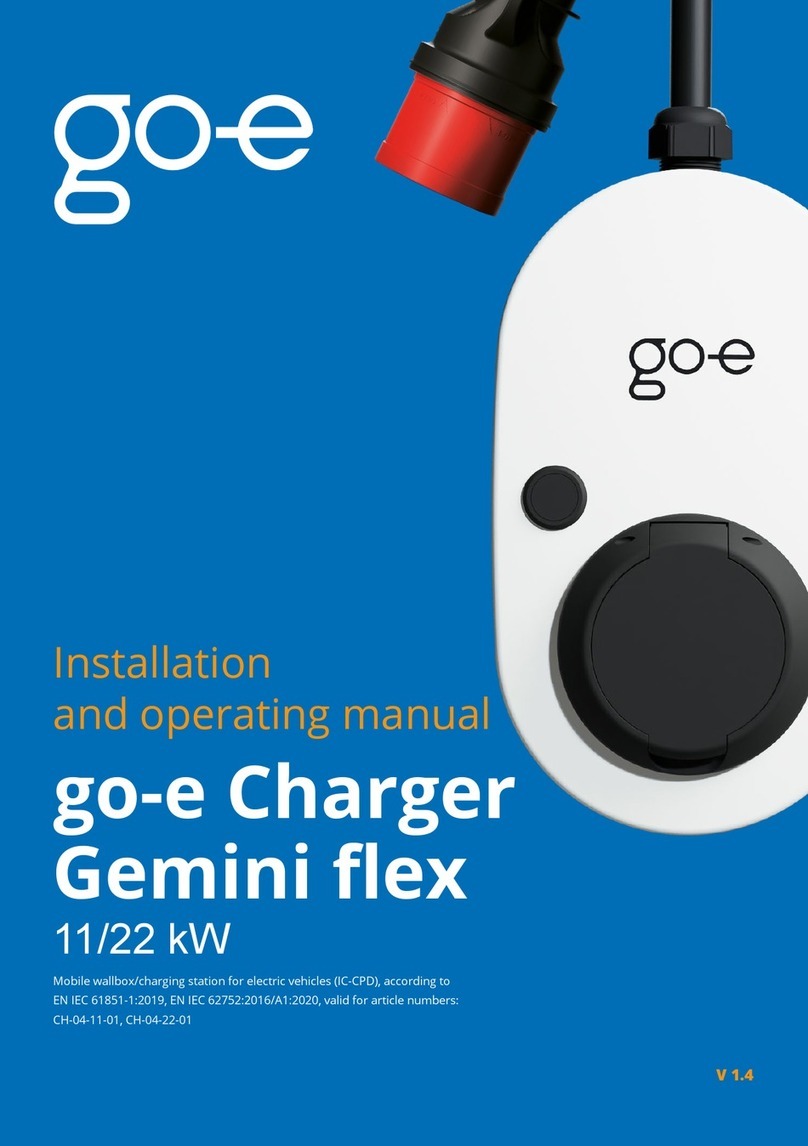
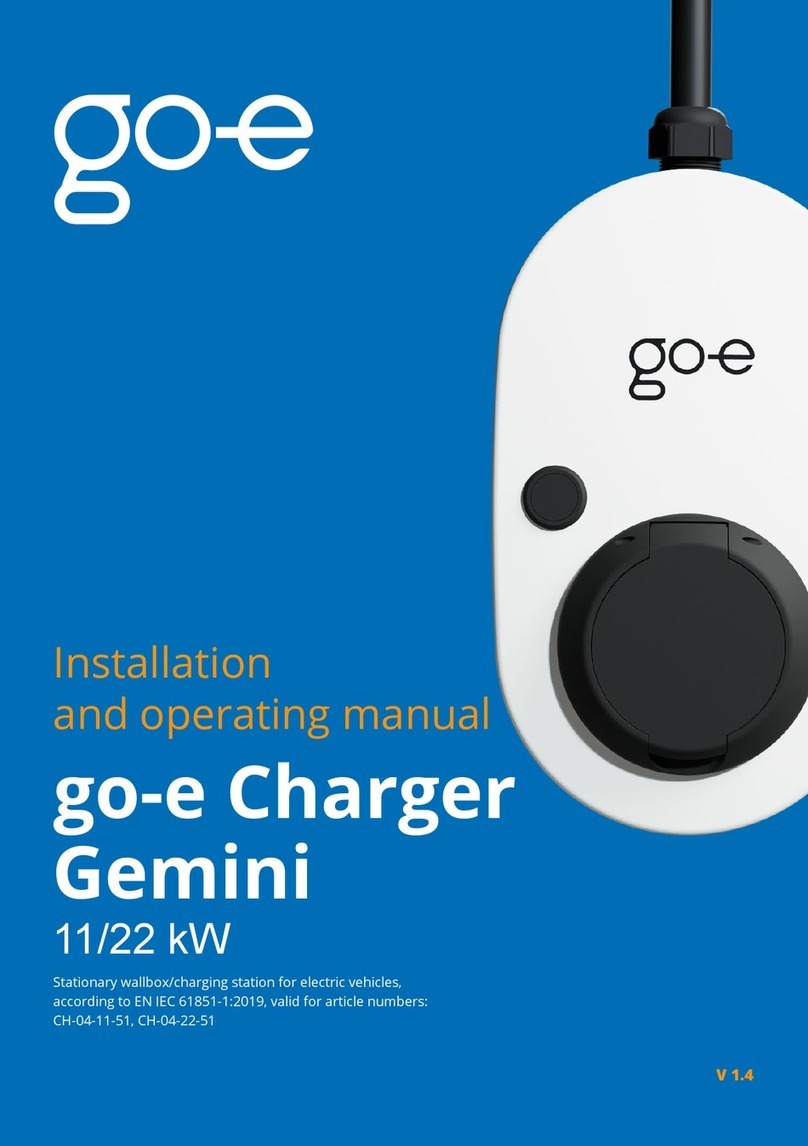
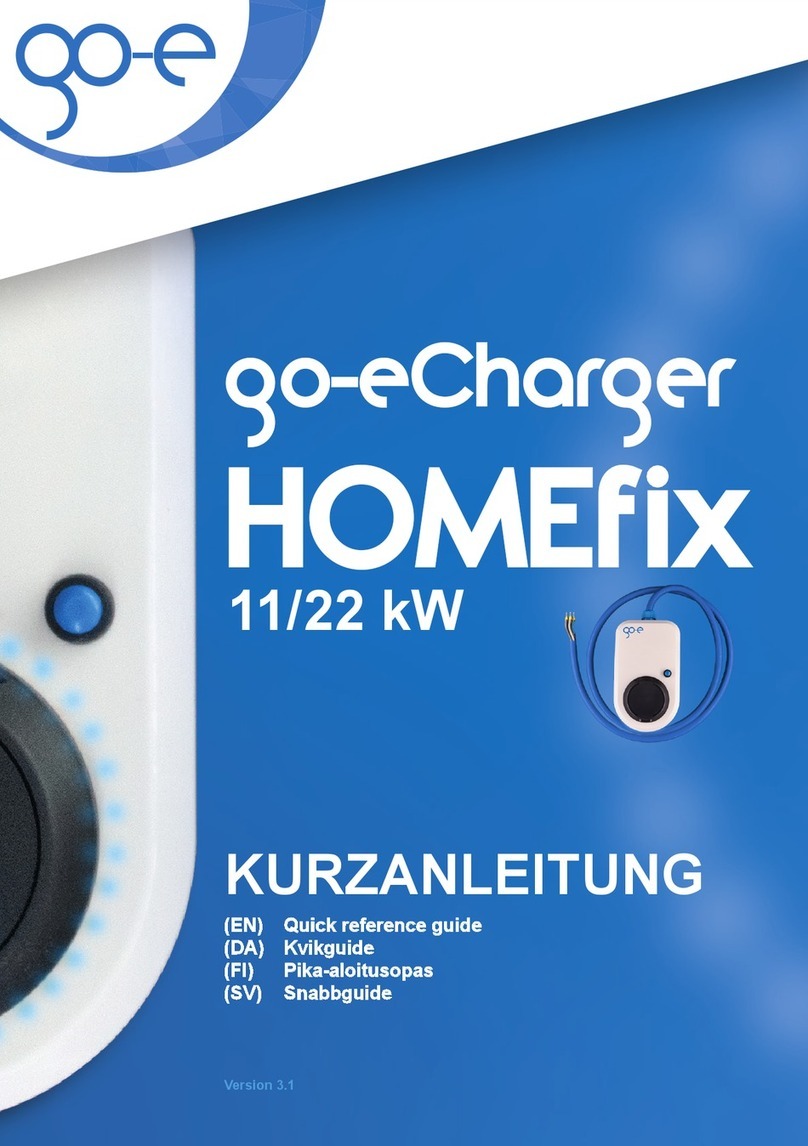
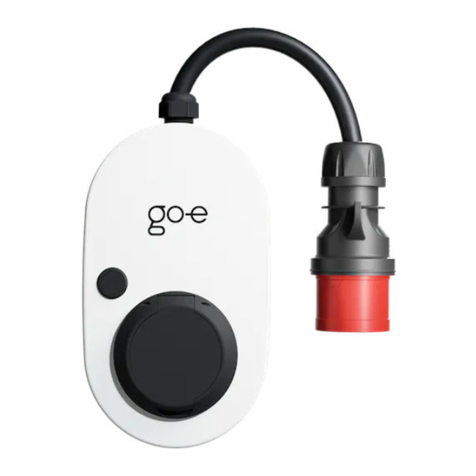
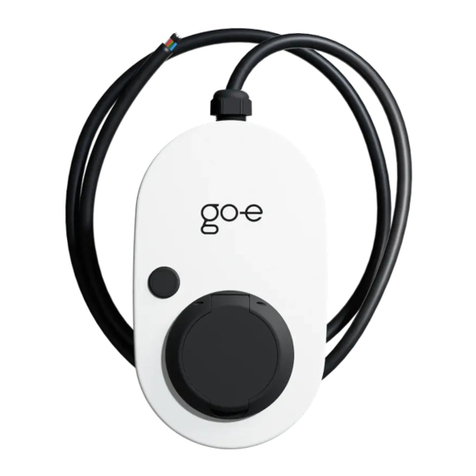
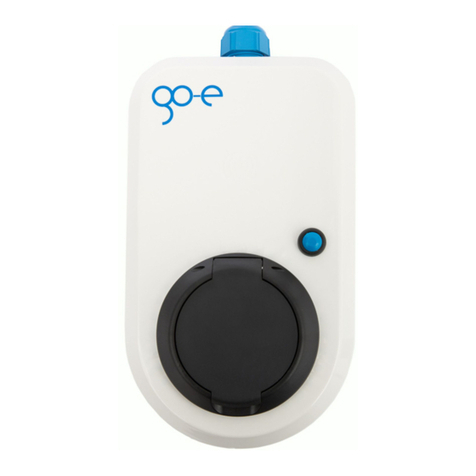
go-e Charger HOMEfix User manual

Operating instructions

The content of this document may not be copied partly or published or circulated in
any form other than that approved by go-e GmbH without the written permission of
go-e GmbH.
Copyright by go-e GmbH.
Page 2
Thank you for your purchase decision
We wish you much pleasure with your great product and
always enough electricity.
The go-eCharger was developed and tested by electric car
drivers for electric car drivers. To keep it up to date in the
future, we are constantly developing the firmware and
adapting it to the state of the art. So let us surprise you with
future features.
As a pure wallbox, the go-eCharger HOMEfix does not allow
mobile charging, unlike the go-eCharger HOME+. However,
the other functions correspond to the usual full range of go-e
features. Therefore smart and intelligent solutions that make
charging electric vehicles even more convenient are already
integrated in the go-eCharger HOMEfix.
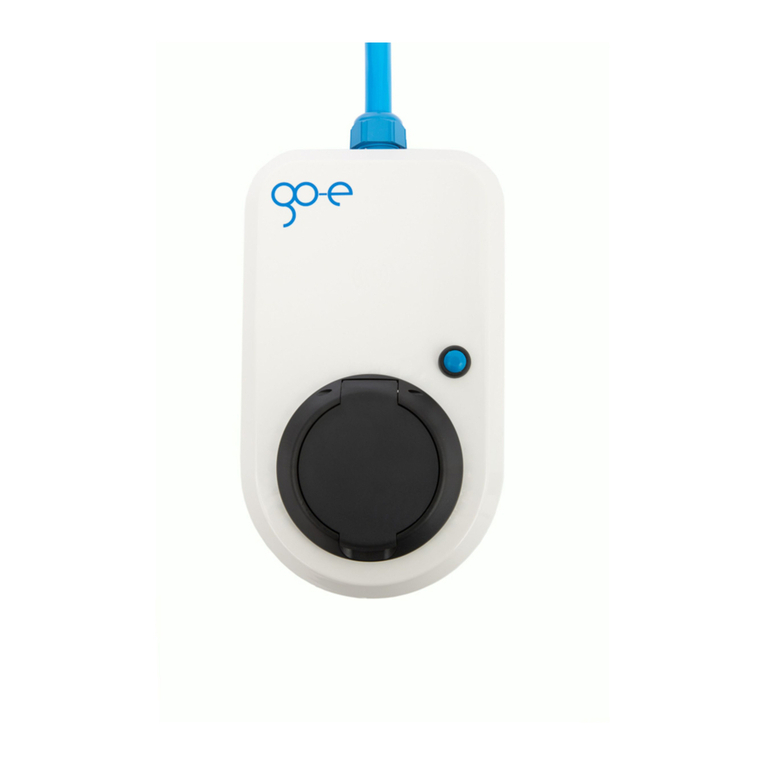
With the go-eCharger HOMEfix you have chosen a solid,
extremely compact and versatile product.
The Charger is intended for permanent installation at a fixed
mounting location. Great advantage over the classic wallbox
- the go-eCharger HOMEfix can be connected to an existing
junction box by an electrician very quickly. This saves time
and costs.
Your go-e team
Page 3

(founder go-e GmbH)
go-e will continue to work on making its products more energy-efficient and
environmentally friendly in the future for a major goal: a future without
emissions.
Frank Fox
Preface
Drivers of electric vehicles consciously choose this type of mobility. Electric
drives are quiet and do not emit any environmentally harmful gases. But
electric vehicles also need energy, which must be generated.
We are surrounded by energy. Every degree Celsius above absolute zero is
energy. If we use existing energy carefully, we do not need to expand fossil
power plants or nuclear power plants for electric mobility.
An important contribution we can all make is the use of surplus energy. If
possible, do not charge your car when you come home after work, as the
electricity grid is already the most heavily charged. In order to save energy
and charge in an environmentally friendly manner, you should transfer your
charging processes to lunchtime or early in the morning, as there is an
abundance of electricity in the networks during this time.
This becomes even more interesting with a contract with our partner
aWATTar, where you can profit from the strongly fluctuating electricity prices
on the electricity price exchange by purchasing the electricity when the
electricity is the cheapest. The technology for this is already built into each of
ou r ch arg ing box es. For more information, please vi sit
https://www.awattar.com/services/goe
Page 4
Table of Contents
Confirmation for subsidy Page 25
The app Page 15
Scope of delivery Page 10
WiFi settings Page 20
Commissioning Page 13
Error indication Page 14
Operating instructions Page 7
Prelude Page 6
Mounting Page 12
Registration information Page 6
CE declaration of conformity Page 26
Product overview Page 9
WiFi wizard Page 22
Technical specifications Page 11
Warranty Page 24
Contact details Page 27
Error analysis Page 23
Page 5

go-e GmbH does not assume any liability for damages caused by
disregarding these instructions!
Prelude
This manual should help you:
Please read carefully before using the device!
- to avoid damage
- to increase durability and reliability
- to prevent a hazard
- to use the product properly
Depending on the country, the requirements of the authorities and
electricity network operators have to be observed, such as a reporting or
approval requirement for charging equipment, or the limitation of 1-phase
charging. Please contact your network operator to find out whether the
go-eCharger is subject to registration or approval and whether other
restrictions must be observed.
Note for Germany: Most of the relevant regulations can be found in the
TAR Low Voltage (VDE-AR-N 4100:2019-04). According to this, every
charging station from 3.6 kW in Germany has to be registered at the
responsible electricity network operator according to his specifications
before you put it into operation. Up to 12 kW charging power, you only
need to inform the operator at which location you are using the charging
box. You can then immediately start charging your vehicle.
Registration information:
If the charging station has a power output of more than 12 kW (like the go-
eCharger HOMEfix 22 kW), you have to wait for the approval of the
German network operator after registration and before installation.
Based on research by go-e, the approval is almost always granted.
Sometimes a reinforcement of the house connection is necessary for
this.
Further information on registration and approval can be found on our
website at https://go-e.co/en/go-echarger-home-2/ in the FAQ.
Page 6
Operating instructions
Non-compliance with the operating instructions can have serious
consequences. go-e GmbH does not assume any liability for damage caused
by disregarding operating instructions or other warnings on the device itself.
Attention! High voltage, fire hazard! Never use the device if the housing is
damaged or opened!
Any modification or repair of hardware or software may only be carried out by
qualified personnel of go-e GmbH or personnel trained for this purpose. The
removal of warnings attached to the go-eCharger or the opening of the
device will result in the loss of any liability by go-e GmbH.
It‘s important to observe the maximum permissible charging current of the
connection at which you are charging. If you don't known this, charge with the
lowest charge current.
The circuit has to be equipped with a on which the go-eCharger is operated
residual current circuit breaker and a circuit breaker.
Never cover the go-eCharger during charging. Heat accumulation can lead
to permanent damage or even fire.
Never use wet or dirty plugs in conjunction with the go-eCharger.
Make sure that the connection to which the go-eCharger is to be connected
has been properly installed and is undamaged.
Do not use the go-eCharger if the cables attached or connected to the device
are damaged.
The go-eCharger may only be used for the purpose of charging EV batteries
in conjunction with the appropriate adapters and cables.
Observe the specifications of the electricity network operator with regard to
single-phase charging and the resulting asymmetrical grid load.
In the event of unusual heat generation, the charging process must be
stopped immediately. If you notice discoloration or deformation of the plastic
due to heat generation, it is imperative that you contact the customer service.
Page 7
!
Attention
!
Attention
The go-eCharger is suitable for charging gassing vehicle traction
batteries only in well ventilated rooms. In case of uncertainty, please
contact your vehicle manufacturer.
The go-eCharger has a built-in RCD protection device with DC current
detection (30 mA AC and 6 mA DC). Therefore an upstream RCD type B
is not necessary. If the go-eCharger is operated from a power outlet, it
must be preceded by a RCD type A, independent of the go-eCharger.
Use your go-eCharger exclusively in the wall mount. Never use the
charging box lying down! The type 2 connectors are not waterproof and
water could penetrate to the contacts while lying down!
Page 8
(1) Connection cable
(6) LED ring
(4) Button
(3) Housing
(5) Typ 2 socket
Page 9
(7) Fine-wire fuse on the back
Product overview
(2) Strain relief

Mounting set
Reset card
22 kW Charger
Page 10
Vehicle side connection:
ŸRFID access control
ŸWall mount incl. screws and dowels
ŸShort instructions
ŸConnection cable: 2 m, 5 x 6 mm² for fixed connection
Charging capacity:
Scope of delivery:
Ÿ3-phase up to 22 kW (6-32 A) | 1-phase up to 7,4 kW (6-32 A)
ŸAmpere and charging status readable via LED ring or app
ŸCharging box 22 kW with 2 meters connection cable for fixed installation,
without plug
ŸWeight: approx. 2.0 kg
Product specifications:
ŸDimensions: approx. 15 x 25 cm x 9 cm
ŸType 2 socket own type 2 cable required (not included in delivery)
ŸLocking device (theft protection)
ŸCharging power max. 22 kW (32 A three-phase)
ŸCharging power adjustable via button and app
Security features:
ŸOne Reset card (keep in safe custody) and one RFID chip
ŸVehicles with type 1 can be charged with adapter cable
ŸLock/Unlock functions
ŸManagement of the charging levels via button on the charging box
ŸTimer
ŸRCD protection device with DC detection, 30 mA AC, 6 mA DC
Ÿcustomer replaceable fine wire fuse for internal electronics (triggers if the
ŸLocal (WLAN hotspot) or worldwide (via home WLAN) usable
ŸPhotovoltaic connection via API interface or go-eController (separate product)
ŸIP54
App:
ŸElectricity price exchange connection with intelligent charge management
ŸCharge monitoring (voltage, current, power, energy)
Ÿsupply line is connected incorrectly)
ŸStart/stop function
ŸLED adjustment
ŸPhase test after contactor
ŸLoad balancing
ŸGround check (switchable grounding monitoring)
ŸElectricity meter (total kWh and per RFID card)
ŸUpdateable for later functions (Smart-Home,...)
ŸAccess management (RFID/App)
ŸRFID card management
ŸCurrent sensor 3-phase
ŸPhase and voltage test of the input voltage
ŸMax Wh Charging
ŸOCPP 1.6 Json (soon available through software update)
Page 11
RFID chip
Scope of delivery

Provide a power supply. If there is already a junction
box for three-phase current, insert the charging unit
onto the wall mount and connect the cable of the
charging unit as a test with the the junction box (this
may only be done by a qualified electrician) to
determine the best positioning of the wall mount. The
connection cable can also be shortened. Now mark
the top and side edges of the wall mount with a
pencil.
The wall mount is then used as a template to mark
the drill holes. Use a spirit level or a spirit level app to
align the wall mount.
Mounting the wall mount
Make sure that the surface is free of distortions, and
if the wall bracket is distorted, the charging box may
no longer be able to be attached. Use the spacers
provided to compensate for any unevenness.
Connect
Never use the go-eCharger lying on its back; it may
collect water in the Type 2 outlet when it rains.
Connect the go-eCharger firmly to a suitable power
source - at best to a junction box for three-phase
current (this should only be done by a qualified
electrician)
Page 12
ATTENTION:
Charging Process
Now insert your Type 2 cable into the charger box. All
LEDs light up yellow during the test. The charging
process is started with a clicking sound in the
charging box and indicated by switching the LEDs.
During charging, the LEDs run clockwise around the
charging socket. The number of "tails" corresponds
to the number of phases used to charge while the
rotation speed is dependent on the charging current.
If you want to interrupt charging prematurely, you can
do this via the function of your vehicle ("cable
unlocking") or via the app ("activation").
Exit charging process
After an initial self-test, the LEDs light up in the
number of the pre-set charging current in amps. The
button (4) can be used to select between 6 A and 32
A. The levels of the selection can be individually
adjusted in the app. It does not matter whether the
go-eCharger is connected in one or three phases.
The charging process is terminated by the vehicle.
This is usually the case when the vehicle's battery is
fully charged. The socket remains locked after
completion of the charging process until the cable is
removed from the vehicle (theft protection).
If the power supply is interrupted, the charging cable
remains locked in the charger box for reasons of theft
protection. To unlock it, it is necessary to put the
charger box under power again.
Page 13
!
Attention

Error Indication
A more detailed description of the causes and the
measures to be taken are described in the section
"Errors" at the end of this manual. You can read an
error message in the app under "Status" (see section
"App Charging").
Online Support
The go-eCharger has a number of security questions
in its program to check the used power source for
possible errors. For this reason, it is possible that the
go-eCharger may indicate a fault and refuse
charging, especially with unknown power sources.
In our online support section, we address the most
frequently asked questions in the FAQ. If you have
any questions about the operation of the go-
eCharger, you will surely find what you are looking
for. Please note that we will continue to offer the
product at the lowest possible price. Therefore,
please do not use the personal contact form unless
you find your question answered in the manual or on
our website.
Thank you for your support!
Page 14
The App
The app gives you full access to a wide range of go-eCharger functions via
direct (via hotspot) or worldwide (via the Internet). The app can be found in
the Apple App Store, the Google Play Store or at http://app.go-e.co/.
Connect the app to the go-eCharger by either manually coupling the charger
box in your WLAN settings (see Charging) or by scanning the QR code of the
reset card.
Charging
Indication of status
Offline: Your box is not connected to your mobile
device. Please connect the charging socket.
Waiting for charging: The charging is carried out
acc o rding t o pres et tim e contr o l (see
Settings/Scheduler)
Waiting for car: The go-eCharger waits for the
release from the vehicle.
Error: No charge possible (see error diagnosis).
Ready for charging: The go-eCharger is ready for
charging, connect the type 2 charging cable.
Activation needed: The charge must be approved
by the RFID card or the Activation Button of the app.
Finished: The charging process has been
completed.
Charging: The go-eCharger is in charging mode,
the LEDs on the charger rotate around the charging
socket.
Page 15
TIP

Activate or deactivate charging. Depending on the
settings under "Settings/Access Control", you must
authorize each charging process using this button or
an RFID card.
The cable remains locked in the standard setting
until it is disconnected from the vehicle.
Charging Info
The overview gives you an overview of the current
charging capacity in kW and the already charged
energy in kWh.
Under the button "show more" you get detailed
information about the charge, voltage etc.
The charging power can be freely selected between
6-32 A. This setting always applies to all phases.
Automatic stop
To change the default settings for the multifunction
button, go to "Settings/Button".
Activation
Change Ampere
Set the max. kWh that you want to charge into your
vehicle.
This function is very handy if you live on a mountain
and can recuperate during the downhill run, or if you
are regularly able to charge cheaper in public or at
the employer's office.
Page 16
Button
Serial
Charging begins after connection to vehicle
Settings
Displays the serial number and name of the
connected device.
Define the charge levels you want to load with the
button on your go-eCharger. Input fields set to "0" are
skipped during selection with the button.
Access control
Four different options are available:
- Open
- RFID/App
Cable unlock
Controls whether the cable should remain locked
after charging until it is disconnected from the
vehicle, unlocked immediately after charging or
locked until it is unlocked via the app.
- Set the desired charging time
- Set the charge cut-off time
Load balancing
(further information www.awattar.com/services/goe)
This function allows you to set a charging start at any
time.
- Load timer
- Electricity prices (only available online)
Activation necessary
Detailed instructions can be found in the App.
Page 17
TIP
TIP
TIP

Here the LED colours for "Ready","Charging" and
"Finish" can be individually adjusted.
The go-eCharger has a safety function which checks
that the power connection used is sufficiently
earthed and prevents charging if there is insufficient
grounding.
Controls the brightness of the LEDs through a slider.
Show RFID card settings
LED Brightness
LED Color
Attention: This function should only be used if the
power supply has no grounding (IT mains). If you are
not sure, you should leave the setting at "Ground
check enable"!
In some regions, e.g. Norway, isolating transformers
are used (IT mains). In order to charge also in such
regions with the go-eCharger, the function "Ground
check" can be deactivated. When operating in the
usual European mains with earthing, switching off
the „Ground check" in case of insufficient earthing
can lead to danger!
Ground check enable / disable
Under this menu item you can manage RFID-
enabled cards or chips.
For each card, the charged kWh is stored and the
cards can be named.
To do this, place any RFID card (but never put the go-
eCharger reset card) on the go-eCharger's RFID
card reader and press "Start". When the card has
been taught-in, the LED ring flashes briefly. Now the
card can be used for the go-eCharger.
Learn card
Page 18
Delete cards
You can delete trained cards.
With the card, all data in the memory space of the
charging box is deleted.
The app allows you to manage multiple go-
eChargers. See "Show RFID Settings" for more
details.
Page 19
!
Attention
!
Attention

WiFi
Internet
WiFi
Internet
<
WiFi
Internet
<
Hotspot
ŸSelect the go-eChargers (go-e-XXXXXXXX) from
the list of displayed devices to connect it.
In order to use the WiFi function of the go-eCharger,
you always need a direct connection of your
smartphone with the charger to be able to set up the
connection. You can perform all operations through
the interactive graphic by touching the individual
items or connections, or you can use the "Setup
Wizard" on the following page.
Set up via the interactive graphic
ŸTap on the box to connect to it via hotspot. You
should open the Wlan settings of your mobile
phone.
ŸAfter connecting, switch back to the go-eCharger
app. The arrow between the mobile phone icon
and the charger box should now turn blue.
ŸIf there are problems, you should temporarily
switch off mobile data…
<
Page 20
If the connection between the loading box and the
app is established, you can connect the go-eCharger
to the Internet.
ŸTap the Wlan device. A pop-up window opens.
ŸEnter the SSID (device recognition) and the
password of your Wlan device into the popup
window and confirm with "Save".
The arrows between the go-eCharger, the Wlan
device and the Internet Cloud should now appear
blue.
Access to the loading box via the Internet
internet connection
ŸEnd the hotspot connection between your mobile
phone and the charger box and reconnect to your
home wireless router in the mobile phone's wlan
settings.
ŸChange back to the go-eCharger app.
ŸTap on the Internet Cloud to start the connection
with the box.
Now you can access your go-eCharger from
anywhere, as long as your mobile phone and
charger box are connected to the Internet.
To switch between Internet access and hotspot, use
the Wlan settings of your mobile phone.
The connection from the mobile phone via the
Internet Cloud and the Wlan Router to the charging
box should now appear in blue.
ŸIn the opened window enter the TOKEN which
you find on the provided reset card and confirm
with "save".
Page 21
WiFi
Other manuals for Charger HOMEfix
4
Table of contents
Other go-e Batteries Charger manuals

go-e
go-e Gemini flex Installation guide

go-e
go-e Charger HOME+ User manual

go-e
go-e Gemini flex Installation guide

go-e
go-e Charger Gemini 11 kW User manual

go-e
go-e Charger HOME+ User manual

go-e
go-e Charger HOME+ User manual

go-e
go-e Charger HOMEfix User manual

go-e
go-e Gemini flex User manual

go-e
go-e Gemini Installation guide

go-e
go-e go-eCharger HOMEfix User manual