38 39
S1 Optic Control Unit Setting
In M manual flash mode, press <S1/S2> button so that this flash can function
as an optic S1 secondary flash with optic sensor. With this function, the flash
will re synchronously when the main flash res, the same effect as that by
the use of wireless triggers. This helps create multiple lighting effects.
S2 Optic Control Unit Setting
In M manual flash mode, press <S1/S2> button so that this flash can also
function as an optic S2 secondary flash with optic sensor. This is useful when
cameras have pre-flash function. With this function, the flash will ignore a
single “pre-flash” from the main flash and will only re in response to the
second, actual flash from the main flash.
1. S1 and S2 optic control triggering is only available in M manual flash mode.
2. Press function 3 button <S1/S2> to switch between S1/S2 optic control or turn off
this function.
Note:
Flash Mode — Multi: Stroboscopic Flash
With slow shutter speed in multi flash mode, a rapid series of flashes is red.
It can be used to capture multiple images of a moving subject in a single
photograph.
You can set the flash frequency (number of flashes per sec. expressed as
Hz), the number of flashes, and the flash output.
1. Press <MODE> mode button so that
<Multi> is displayed on the LCD panel.
2. Press the function button 2
<Times> to select the number of
flashes. Turn the select dial to set the
number, then press it to conrm the
settings. Press the function button
3 <Hz> to select the flash frequency.
Turn the select dial to set the
frequency, then press it to conrm
the settings.
3. Press <+/-> button to select flash
output amount. Turn the select dial
to set the amount, then press it to
conrm the settings.
Flash output range: 1/256-1/4.
Calculating the Shutter Speed
During multi ash, the shutter remains open until the ring stops. Use the
formula below to calculate the shutter speed and set it with the camera.
Number of Flashes / Flash Frequency = Shutter Speed
For example, if the number of ashes is 10 and the ash frequency is 5Hz,
the shutter speed should be at least 2 seconds.
Wireless Flash Shooting: 2.4G Wireless Transmission
This section explains wireless transmitting/receiving flash shooting.
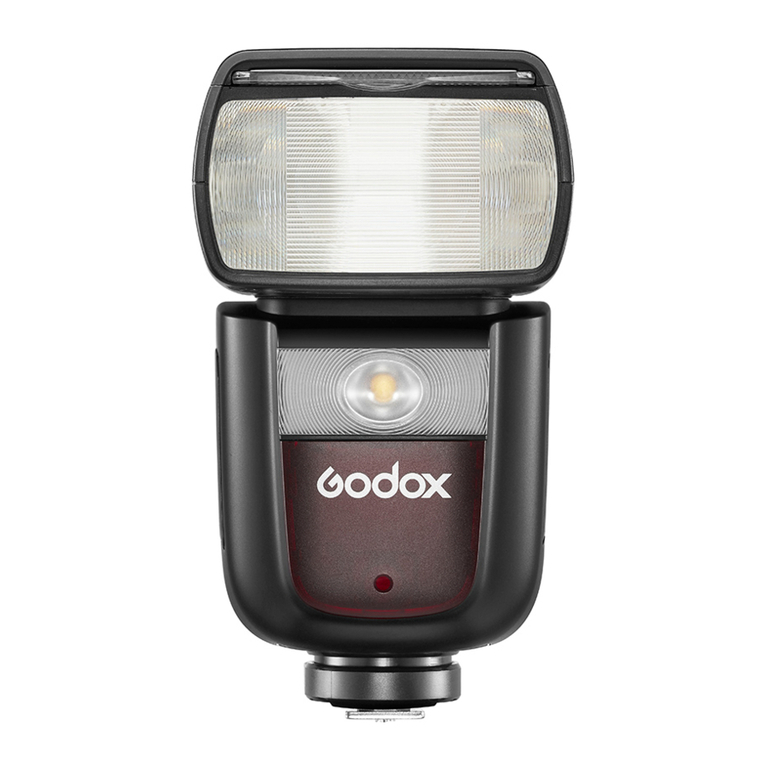
The V1Pro C attached to the camera is referred as the transmitter unit, while a
V1Pro C that is wirelessly controlled is referred as the receiver unit.
You can also wirelessly control the V1Pro C set as the receiver unit with the
TTL flash trigger XPROII (sold separately). For details on setting the flash
trigger functions, see the its instruction manual.
When the camera’s shooting mode is set to a fully automatic mode or an image
zone mode, the operations in this section are not available. Please set the camera’s
shooting mode to Fv/P/Tv/Av/M/B.
Note:
Using a flash with a radio transmission wireless shooting function make it
easy to shoot with advanced wireless multiple flash shooting, in the same
way as E-TTL II auto flash shooting.
As long as the channel, group, ID, and other relevant wireless settings of the
transmitter and receiver units are set to the same, the settings on the V1Pro
C (transmitter unit) will be automatically applied to the wirelessly controlled
V1Pro C (receiver unit). Therefore, there is no need to operate the receiver unit
during shooting.
1. Multi flash is most effective with a highly reflective subject against a dark
background.
2. Using a tripod and TTL flash trigger XPROII is recommended.
3. A flash output of 1/1 and 1/2 cannot be set for multi flash.
4. Multi flash can also be used with“buLb”mode.
5. Multi flash mode cannot be set in high-speed sync mode.
6. If the number of flashes is displayed as “--”, the ring will continue until the
shutter closes or the battery is exhausted. The number of flashes will be limited
as shown by the following table.
Note:
1/4
1/8
1/16
1/32
1/64
1/128
1/256
1
8
14
30
60
90
100
100
2
6
14
30
60
90
100
100
3
4
12
30
60
90
100
100
4
3
10
20
50
80
100
100
5
3
8
20
50
80
100
100
6-7
2
6
20
40
70
90
90
8-9
2
5
10
30
60
80
80
1/4
1/8
1/16
1/32
1/64
1/128
1/256
10
2
4
10
20
50
70
70
11
2
4
8
20
40
70
70
12-14
2
4
8
20
40
60
60
15-19
2
4
8
18
35
50
50
20-50
2
4
8
16
30
40
40
60-199
2
4
8
12
20
40
40
Maximum Time of Consecutive Flashes
To avoid overheating and deteriorating the flash head, do not use multi flash
more than 10 times in succession. After 10 times, allow the camera flash to rest
for at least 15 minutes. If you try to use the multi flash more than 10 times in
succession, the ring might stop automatically to protect the flash head. If this
happens, allow at least 15 minutes’ rest for the camera flash.
Flash output
Hz
Flash output
Hz
