Grace Company surestitch Elite User manual

Assembly Instructions
sure stitch
Instructions
Copyright 09/17/2021 Version 1.0 The Grace Company

Assembly - SureStitch Elite
2
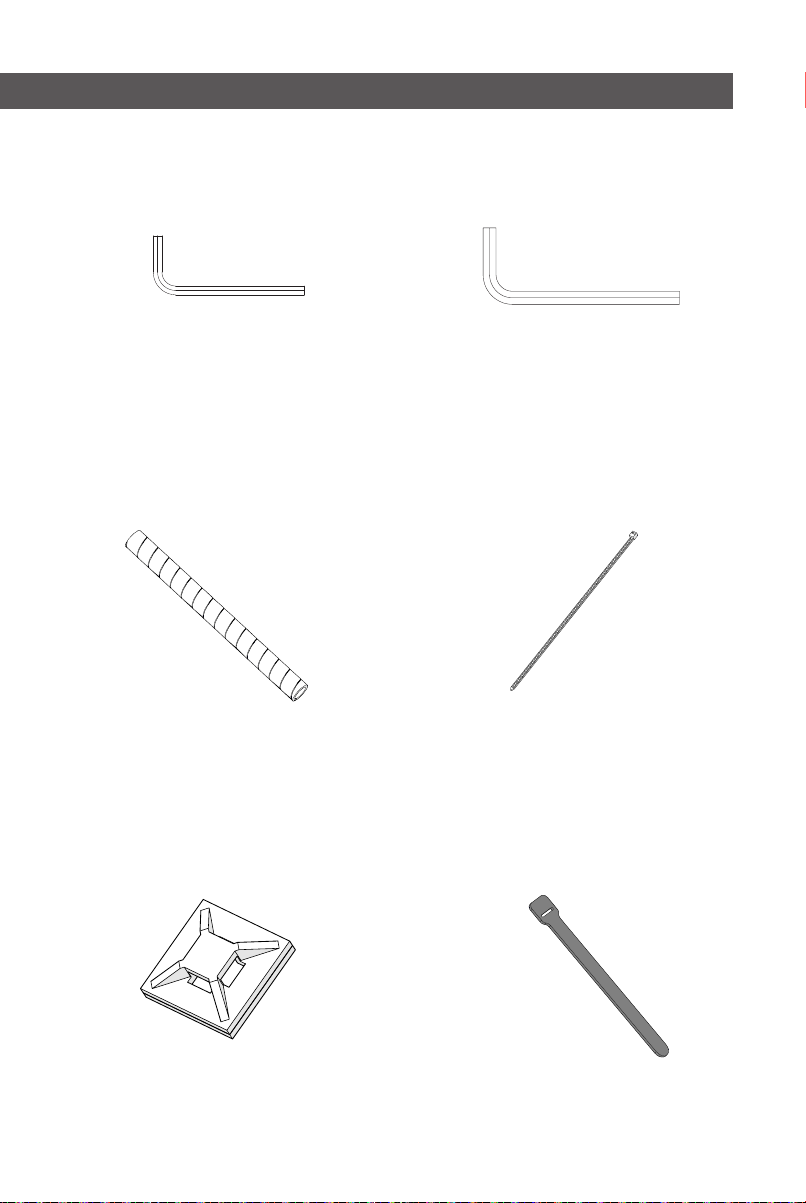
Included Parts & Tools ...............................................3
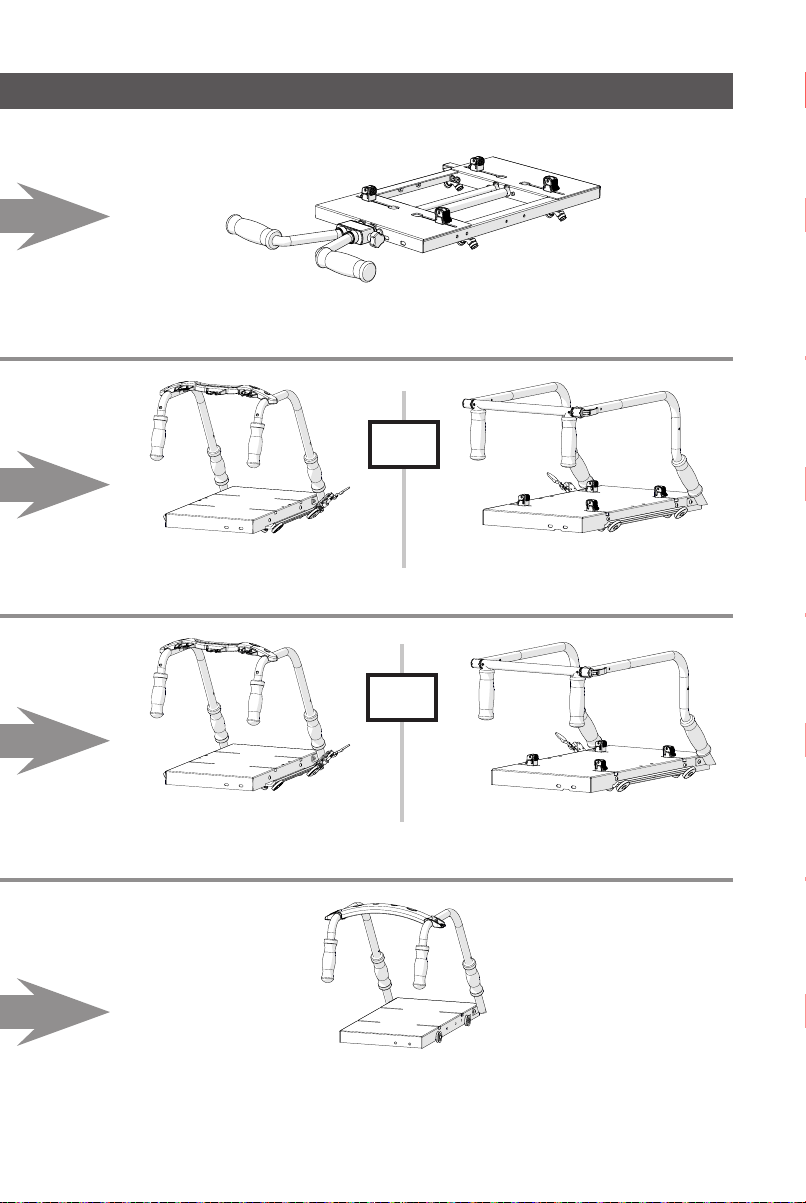
Start Here: Choose Your Carriage .............................. 6
Cutie Carriage & Top Plate............................................... 8
Continuum Carriage & G-Series Top Plate.........................19
Continuum Carriage & G-Series 2 Top Plate......................30
G-Series Carriage & G-Series Top Plate ............................41
G-Series Carriage & G-Series 2 Top Plate..........................53
Pro Carriage & Pro Top Plate...........................................65
Managing the Cables................................................ 77
Contents

Assembly - SureStitch Elite
3
Included Parts & Tools
SureStitch Elite
Control Box SureStitch Elite
Screen
SSE-09-20020 SSE-09-20021
Foot Pedal “A”
Cable
Power
Adapter
SSE-02-14994
SSE-02-11395
Please check that all of the following parts are included in
your kit.
Upper
Encoder V5
SSE-09-20026
Lower
Encoder V5
SMP-09-15700

Assembly - SureStitch Elite
4
Foot Pedal “C”
Cable
SSE-02-14989
Foot Pedal “B”
Cable
SSE-02-14995
Foot Pedal “E”
Cable
Foot Pedal “D”
Cable
SSE-02-14990 SSE-02-14991
Thread Cutter
Cable
Screen
Cable
SSE-02-14992 SSE-02-14988

Assembly - SureStitch Elite
5
14
17
Allen Wrench
2.5 mm
QTT-03-10165
14
17
Allen Wrench
4 mm
HDW-03-10167
Plastic Cable Wire
Wrap
MIS-08-10806
Zip
Ties (x4)
MIS-08-10804
Velcro
Straps
SSE-08-15000
Zip Tie
Mounts (x2)
MIS-08-10805

Assembly - SureStitch Elite
6
Start Here: Choose Your Carriage
Small
double wheels
Cutie Bottom Carriage
Large
double wheels
Continuum Bottom Carriage
Single wheels
Metal G-Series Bottom Carriage
Plastic Pro Bottom Carriage
Single wheels

Assembly - SureStitch Elite
7
Cutie Bottom Carriage & Top Plate
Go to page 8
...And Select Your Top Plate
G-Series Top Plate
Go to page 19 G-Series 2 Top Plate
Go to page 30
OR
G-Series Top Plate
Go to page 41 G-Series 2 Top Plate
Go to page 53
OR
Pro Bottom Carriage & Top Plate
Go to page 65

Assembly - SureStitch Elite
8
Cutie Carriage & Top Plate
Step One - Installing the Lower Encoder
Parts & Tools:
14
17
Allen Wrench
2.5 mm
14
17
Allen Wrench
4 mm
Lower Encoder V5
(green sticker)
Instructions:
Use the 2.5 mm Allen wrench to carefully loosen the
encoder lock collar screw. Do not remove this screw.
1
Lock Collar Screw
The lower encoder tracks the movement of the bottom
carriage across the frame. This helps SureStitch calculate the
length of each stitch as you quilt.

Assembly - SureStitch Elite
9
2Install the bottom carriage onto the frame if it is not
already installed.
With the 4 mm Allen wrench, screw the lower encoder
into the encoder bracket so the O-Ring is to the left of
the bracket.
3
Lower Encoder
O-Ring
Encoder
Bracket
Turn the lock collar to point up (12 o’clock) and tighten
the lock collar screw with the 2.5 mm Allen wrench.
4
Lock Collar
Cutie Carriage & Top Plate (Continued)

Assembly - SureStitch Elite
10
Step Two - Installing the Upper Encoder
The upper encoder tracks the machine movement across the
bottom carriage.
Upper Encoder V5
(purple sticker)
Parts & Tools:
14
17
Allen Wrench
2.5 mm
14
17
Allen Wrench
4 mm
Instructions:
Use the 2.5 mm Allen wrench to carefully loosen the
encoder lock collar screw. Do not remove this screw.
1
Lock Collar Screw
With the 4 mm Allen wrench, screw the upper encoder to
the encoder bracket on the top plate so the O-ring is
toward the front of the carriage.
2
Encoder Bracket
Encoder
O-Ring
Cutie Carriage & Top Plate (Continued)

Assembly - SureStitch Elite
11
Place the top plate on the bottom carriage if this is not
already done.
3
Turn the lock collar to point up (12 o’clock) and tighten
the lock collar screw with the 2.5 mm Allen wrench.
4
Lock Collar
Follow the instructions in your frame’s manual to install
your sewing machine onto the top plate.
5
Cutie Carriage & Top Plate (Continued)

Assembly - SureStitch Elite
12
Step Three - Install the Display & Control Box
The display interfaces with the control box so you are able to
select your stitch length or motor speed.
Parts & Tools
SureStitch Elite
Control Box SureStitch Elite
Screen Screen
Cable
Foot Pedal “E”
Cable
Foot Pedal “C”
Cable
Foot Pedal “D”
Cable
Foot Pedal “A”
Cable Foot Pedal “B”
Cable
OR
OR
OR
Thread Cutter
Cable
14
17
Allen Wrench
2.5 mm
Cutie Carriage & Top Plate (Continued)

Assembly - SureStitch Elite
13
Instructions:
Open the display clip and place the screen onto the
top plate handles.
1
Screen
Display Clip
Close the clip around the handlebar. Tighten it in place by
screwing on the M5 knob.
2
M5 Knob
Test out where to attach the control box to your machine.
Ensure there is enough space around each port for cables
to be plugged in.
3
Do not attach
control box so it:
Partially dangles
o machine
Covers machine
ports or buttons
Restricts room
for cables.
Attach vertically
or horizontally as
needed.
Cutie Carriage & Top Plate (Continued)

Assembly - SureStitch Elite
14
When you know where to attach the control box,
remove the sticker covering the adhesive side of the
velcro. Firmly press the control box onto the machine.
4
Adhesive Cover
Sticker
Control
Box
5Unplug your sewing machine and make sure it is
powered o.
STOP
The following steps may damage your sewing machine if
it is plugged in.
Plug the screen cable into the display and control box.
Tip: Use the machine clamps on the top plate to pin the
cable against the machine.
6
Cutie Carriage & Top Plate (Continued)
Screen
Cable

Assembly - SureStitch Elite
15
Plug the encoder with the purple sticker into the purple
encoder port.
7
Plug the encoder with the green sticker into the green
encoder port.
8
Plug SureStitch into your sewing machine’s foot pedal
port using the foot pedal cable that matches your
machine.
9
Foot Pedal
Port
Foot Pedal
Cable Note: Foot pedal
port location will vary.
Cutie Carriage & Top Plate (Continued)

Assembly - SureStitch Elite
16
If your sewing machine has a port for its thread cutter,
plug SureStitch into this as well with the thread cutter
cable.
10
Thread
Cutter Port
Note: Thread cutter port not
available on all machines.
Thread
Cutter Cable
Plug SureStitch into a power outlet with the power
cable. SureStitch will turn on automatically.
Do not power on your sewing machine at this time.
11
Power Cable
Cutie Carriage & Top Plate (Continued)

Assembly - SureStitch Elite
17
Step Four - Calibrating SureStitch for Your
Machine
Take the steps below to set up SureStitch to work with your
brand and model of sewing machine. Damage to sewing
machine may occur if your machine is powered on and
connected to SureStitch before SureStitch has been set up to
work with your machine.
Warning: Power o your sewing machine
before taking these steps.
Press the Settings icon and choose Machine Settings.
The Machine Settings menu will open. Press Select
Sewing Machine.
1
Choose the brand of
your machine and then
select the model.
2Press the Home icon at
the top to close out of
the menu.
3
Cutie Carriage & Top Plate (Continued)

Assembly - SureStitch Elite
18
Turn on your sewing
machine. You may hear
the motors in your
machine engage briey.
4
Bzzzz
Bzzzz
Bzzzz
Check your sewing
machine’s user
manual to set your
machine to quilting
mode. This is not
available on all machines,
but if it is available it
should be used.
5
Swap out the presser
foot on your machine
for a free-motion or
embroidery foot.
6
Free-motion
Foot
Lower the feed dogs on
your sewing machine so
they don’t catch on the
back of the quilt.
7
You’re almost ready to
get started! Go to page
77 for your nal steps.
8
Cutie Carriage & Top Plate (Continued)

Assembly - SureStitch Elite
19
Continuum Carriage & G-Series Top Plate
Step One - Installing the Lower Encoder
The lower encoder tracks the movement of the bottom
carriage across the frame. This helps SureStitch calculate the
length of each stitch as you quilt.
Parts & Tools:
14
17
Allen Wrench
2.5 mm
14
17
Allen Wrench
4 mm
Lower Encoder V5
(green sticker)
Instructions:
Use the 2.5 mm Allen
wrench to loosen the
encoder lock collar
screw without removing
it.
1
Lock Collar Screw
2Locate the front of the
bottom carriage.Shorter
Bolts
Toward
Rear
Taller
Bolts
Toward
Front

Assembly - SureStitch Elite
20
Find the left-rear
corner of the bottom
carriage.
3
Left-rear
Corner
With the 4 mm Allen
wrench, remove the
outermost left-rear
wheel and screw from
the bottom carriage.
4
Wheel
Screw Left-rear
Wheel
Place the carriage wheel
onto the encoder screw
so the wheel hub faces
away from the encoder.
5
Wheel
Hub
Screw the encoder and
wheel back into the
carriage so that the
encoder O-ring is to the
left of the wheel.
6
O-Ring
If the bottom carriage is
not already on the frame,
place it there now.
7
Note: Frame may
dier from type shown.
Turn the encoder lock
collar to point upwards
and tighten the lock
collar screw with the
2.5 mm Allen wrench.
8
Lock Collar
Continuum Carriage & G-Series Top Plate (Continued)
Other manuals for surestitch Elite
1
Table of contents
Other Grace Company Sewing Machine Accessories manuals