manuals.online logo
Brands
  1. Home
  2. •
  3. Brands
  4. •
  5. Graco
  6. •
  7. Paint Sprayer
  8. •
  9. Graco ULTRA MARK X Manual

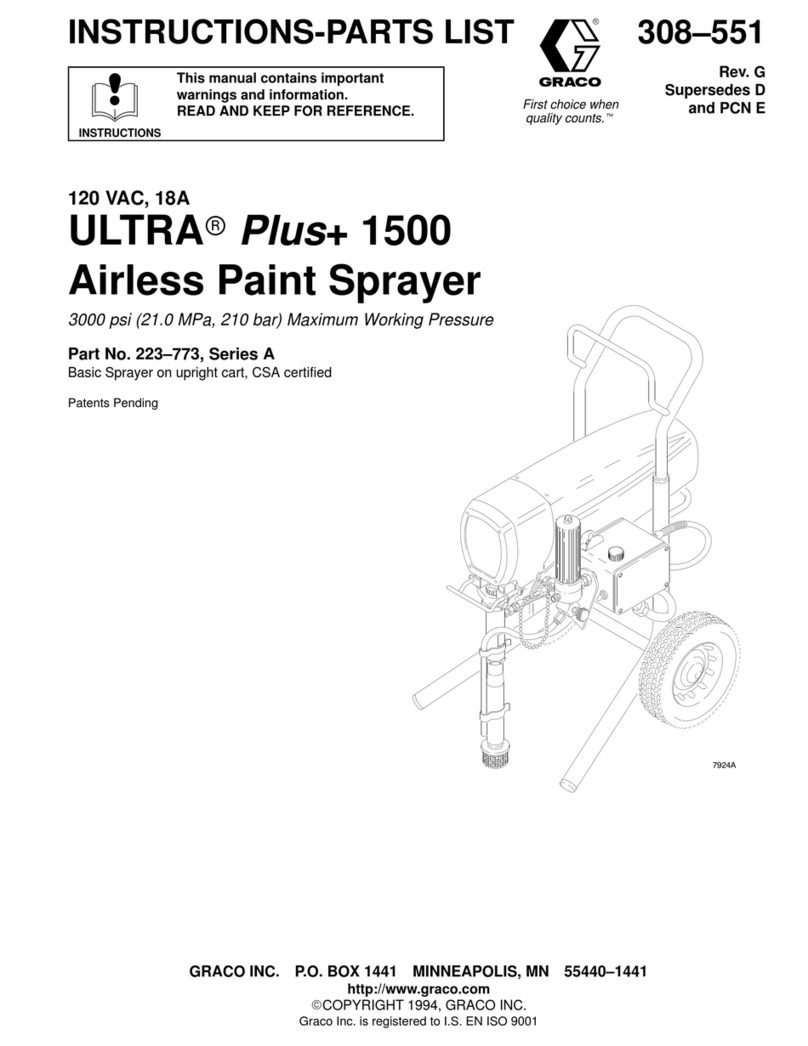
Graco ULTRA MARK X Manual

www.graco.be
ULTRA®MAX II - MARK V™
Premium & Platinum
MARK X™
SETUP
Connect hose to sprayer and gun.
Tighten hose connections with wrench. Unscrew tip & guard from gun.
Fill throat packing nut with TSL™
to prevent premature packing wear.
Make sure power
switch is set to OFF.
Plug electrical cord
into grounded outlet.
Turn prime valve
to Prime position (down).
Place siphon tube in pail
partially filled with water.
Turn pressure control knob to
lowest pressure (platinum range
only), and set power switch to ON.
Increase pressure until
sprayer starts and water
runs out of prime tube.
Let water run out of
prime tube for 15 seconds.
Decrease pressure until
sprayer stops. Make sure
you are not in E-Control*
mode. (*platinum range only).
Turn prime valve
to Spray position
(horizontal).
Make sure safety
lever of gun is OFF.
Aim gun at inside
wall of water pail
and squeeze trigger.
Increase pressure
until sprayer starts.
Keep gun triggered into
water pail for 1 minute.
Release trigger.
Turn prime
valve to Prime
position (down).
Place siphon tube in paint
pail, but leave drain tube
in water pail.
Aim gun at inside
wall of water pail,
and squeeze trigger.
Transfer drain
tube to paint pail.
Increase pressure until
sprayer starts and paint
comes out of drain tube.
Keeping gun triggered into
water pail, turn prime valve
to Spray position (horizontal).
When paint comes out of gun,
release trigger and turn safety
lever of gun to ON.
Screw tip & guard onto gun, making sure
arrow-shaped handle of tip is pointing forward.
You can reverse this tip to quickly clear clogs
without taking it apart.
WATCHDOG™ (Ultra®Max II range only)
This procedure is for water-base paints and flushing fluids. For solvent-base paints and flushing
fluids (i.e. mineral spirits), you must read Fire and Explosion Hazard in the Operating Instructions.
* check the Graco operations manual delivered with the unit for more details.
OPTIONS
WARNING
Quick Operator’s Guide
Empty displays/flashes and pump stops when WatchDog
protection system detects an empty material pail.
Turn WatchDog switch OFF. Add material or reprime sprayer.
Turn pump switch OFF and ON to reset WatchDog protection system.
Turn WatchDog switch ON
and WatchDog ON displays.
Set pressure high enough to spray. The E-Control
acts in place of the pressure control knob when
the sprayer is in E-Control mode.
Press the E-Control UP or DOWN
to increase or decrease the stall
pressure setting by 3 bar.
If the stall pressure reaches
the limit in either direction
the sprayer beeps 3 times.
If the E-Control UP or DOWN is pressed
and held, the stall pressure will change
to maximum sprayer setting or 0 bar.
E-Control™ (platinum range only)
SPRAYING
Turn safety lever
of gun to OFF.
Point gun at area to be sprayed about 30 cm from surface, and begin moving gun before triggering.
A good spray pattern is evenly distributed as it hits surface. Set pressure just high enough to spray without heavy edges.
Use smaller tip size for thinner material and a larger tip size for thicker material if pressure adjustment cannot achieve even spray pattern.
SHUTDOWN AND CLEANUP * for AutoClean2™: see bottom of this page
Set power
switch to OFF.
Trigger gun until
pressure is relieved.
Turn prime valve
to Prime position
(down).
Remove gun filter
assembly.
Unscrew tip & guard
from gun. Clean gun filter,
inlet screen, tip, guard
and manifold filter with
water and brush.
Set power switch to ON, and
increase pressure
until sprayer starts.
As soon as Pump Armor
comes out of drain tube,
set power switch to OFF.
Screw inlet screen onto
siphon tube, replace
manifold filter and spacer,
and assemble gun with
filter, tip and guard.
Wipe outside of sprayer, hose
and gun with rag soaked in
water or
mineral spirits.
Fill throat packing nut
with TSL™
Place drain
tube and
siphon tube
in pail of water.
Turn pressure control knob
to lowest setting, set power
switch to ON, and increase
pressure until sprayer starts.
Let sprayer run and flush itself for
2 minutes.
Keeping gun triggered
into water pail, turn prime
valve to Spray position
(horizontal).
Set power switch to OFF,
turn pressure control knob to
lowest setting, and turn prime
valve to Prime position (down).
Place drain tube in waste pail
and siphon tube in
container of Pump Armor™
Assemble gun
without filter.
Unscrew inlet screen
from siphon tube.
WAS TE
Keep gun triggered
into pail for 1 minute,
until water coming out
of gun is clean.
Remove manifold
filter and spacer.
GRACO N.V. Industrieterrein Oude Bunders
Slakweidestraat 31 • B-3630 Maasmechelen
Tel: +32 (89) 770 700 • Fax: +32 (89) 770 777
E-mail: [email protected] • http://www.graco.be
All information, illustrations, and specifications in this document are based on the latest product information
available at the time of publication. The right is reserved to make changes at any time without notice.
Place suction tube in
appropriate cleaning fluid.
To save paint from hose and pump,
trigger gun into paint pail and increase
pressure. When cleaning fluid appears,
release gun trigger.
Turn pressure all the way down.
Open drain valve.
Screw connector
onto gun.
Rotate trigger lock
clip 90° to lock
trigger open.
Turn valve to AutoClean™position
to start cleaning process.
Close drain valve.
Install tip and guard and briefly trigger
gun into waiste pail to clean tip.
Reverse tip if necessary.
Place gun in
AutoClean connector.
Slide open end
over back of handle.
AUTOCLEAN2™GUIDE + HEAVY DUTY PRIME VALVE
When finished, remove
trigger clip from gun handle.
Turn valve to prime position
and then back to AutoClean
to repeat cycle.
Unscrew connector from gun.
Remove gun from connector.
© 2002, 2006, 2009 Graco N.V. · Form No. 328006 E (rev.D)· 05/09 · Printed in Europe.
Graco is certified ISO 9001.
Remove suction and drain tubes from
paint. Place drain tube into waste pail
and wipe suction tube clean.
Close drain valve.
Switch power ON.
With clean fluid, briefly trigger gun
into waste pail several times to
clear any debris from front of gun.
H2
O

This manual suits for next models

1

Other Graco Paint Sprayer manuals

Graco RAZOR 288588 Operation manual

Graco

Graco RAZOR 288588 Operation manual

Graco GX series Guide

Graco

Graco GX series Guide

Graco HydraMax-225 233640 User manual

Graco

Graco HydraMax-225 233640 User manual

Graco 234237 User manual

Graco

Graco 234237 User manual

Graco GM 3500 Operation manual

Graco

Graco GM 3500 Operation manual

Graco SaniSpray HP ProPack 25T781 Use and care manual

Graco

Graco SaniSpray HP ProPack 25T781 Use and care manual

Graco 309410 Quick start guide

Graco

Graco 309410 Quick start guide

Graco Magnum XR5 User manual

Graco

Graco Magnum XR5 User manual

Graco 26C624 User manual

Graco

Graco 26C624 User manual

Graco 295530 Quick start guide

Graco

Graco 295530 Quick start guide

Graco XM Series User manual

Graco

Graco XM Series User manual

Graco Fusion CS20F1 Parts list manual

Graco

Graco Fusion CS20F1 Parts list manual

Graco Glascraft Formula-X User manual

Graco

Graco Glascraft Formula-X User manual

Graco ULTRA MAX 795 User manual

Graco

Graco ULTRA MAX 795 User manual

Graco 231-008 A Series User manual

Graco

Graco 231-008 A Series User manual

Graco Series A Operation manual

Graco

Graco Series A Operation manual

Graco 259079 Installation manual

Graco

Graco 259079 Installation manual

Graco 3A2589F Use and care manual

Graco

Graco 3A2589F Use and care manual

Graco TEXTURE 240–786 Operation manual

Graco

Graco TEXTURE 240–786 Operation manual

Graco 231-043 Operation manual

Graco

Graco 231-043 Operation manual

Graco Series A Operation manual

Graco

Graco Series A Operation manual

Graco Sharpe 5210 Parts list manual

Graco

Graco Sharpe 5210 Parts list manual

Graco 231-576 Operation manual

Graco

Graco 231-576 Operation manual

Graco ThermoLazer 258699 Operating instructions

Graco

Graco ThermoLazer 258699 Operating instructions

Popular Paint Sprayer manuals by other brands

Birchmeier REC 15 PZ1 operating manual

Birchmeier

Birchmeier REC 15 PZ1 operating manual

Mesto 3552 Instructions for use

Mesto

Mesto 3552 Instructions for use

WERKU WK403040 Original instructions

WERKU

WERKU WK403040 Original instructions

Truper PIPI-210 manual

Truper

Truper PIPI-210 manual

Parkside KH 3031 PAINT SPRAY GUN Operation and safety notes

Parkside

Parkside KH 3031 PAINT SPRAY GUN Operation and safety notes

Vist VORHUT HVLP Instructions for use

Vist

Vist VORHUT HVLP Instructions for use

Fimco 5302316 owner's manual

Fimco

Fimco 5302316 owner's manual

SMA 800-SS40DX owner's manual

SMA

SMA 800-SS40DX owner's manual

Gardena Backpack Sprayer 12L Operator's manual

Gardena

Gardena Backpack Sprayer 12L Operator's manual

Airofog Unique USL manual

Airofog

Airofog Unique USL manual

Kärcher EASY!Force manual

Kärcher

Kärcher EASY!Force manual

Hardi NAVIGATOR 3000 Supplement to Instruction book

Hardi

Hardi NAVIGATOR 3000 Supplement to Instruction book

Parkside 352096 2007 Operation and safety notes

Parkside

Parkside 352096 2007 Operation and safety notes

Ronix 1375T manual

Ronix

Ronix 1375T manual

Titan PowrLiner 2850 operating manual

Titan

Titan PowrLiner 2850 operating manual

Worx HYDROSHOT WG620E Safety and operating manual

Worx

Worx HYDROSHOT WG620E Safety and operating manual

Earlex SprayPort HV6002 Operating instructions manual

Earlex

Earlex SprayPort HV6002 Operating instructions manual

Toro 41642 installation instructions

Toro

Toro 41642 installation instructions

manuals.online logo
manuals.online logoBrands
  • About & Mission
  • Contact us
  • Privacy Policy
  • Terms and Conditions

Copyright 2025 Manuals.Online. All Rights Reserved.