manuals.online logo
Brands
  1. Home
  2. •
  3. Brands
  4. •
  5. GReddy
  6. •
  7. Automobile Accessories
  8. •
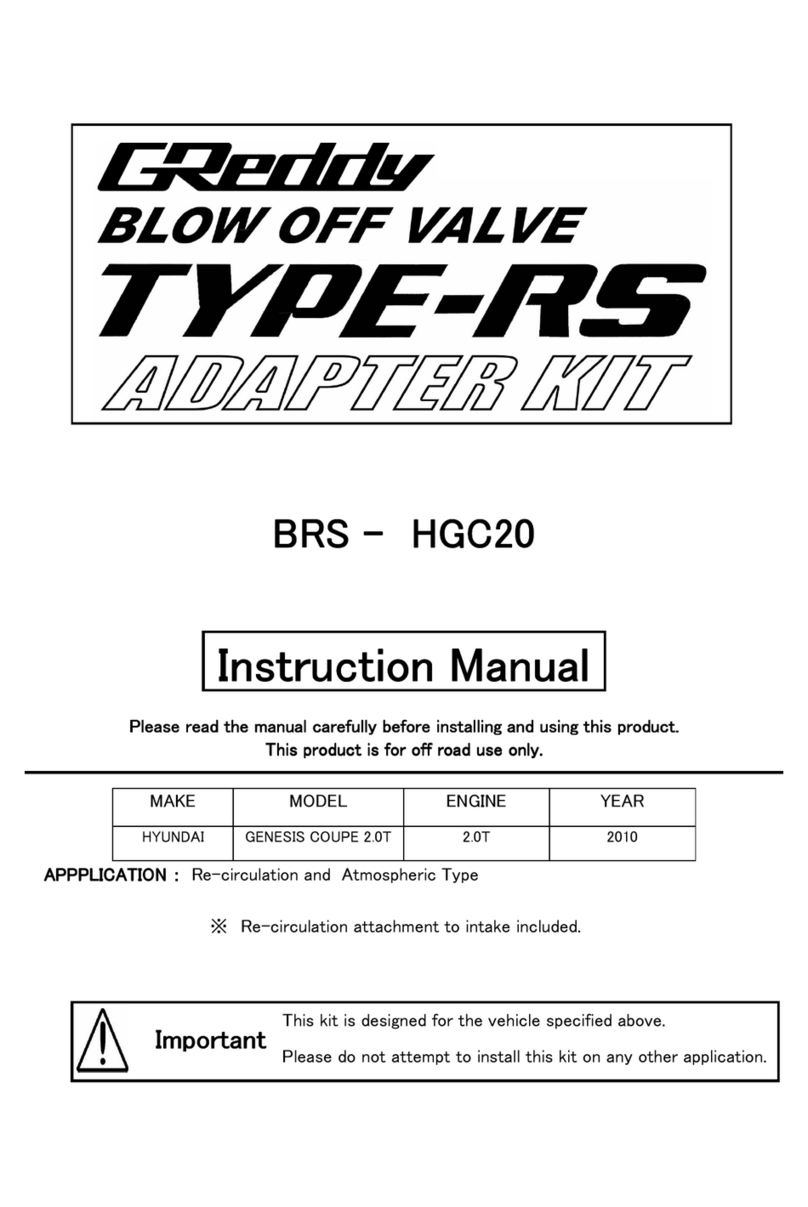
  9. GReddy 12519101 User manual

GReddy 12519101 User manual

Instruction Manual P/N: 12519101
Make: Scion/Subaru/Toyota Model: FR-S/BRZ/86 Year: 2013 Engine: H4-2.0L
Label Qty. Description Part Number
A 1 Pro Dry S Air Filter 61-90129
B 1 Tube 05-T2013B1
C 1 Housing 05-T2013B2
D 1 Coupling 3”ID x 2”L 05-01106
E 2 Clamp, 048 03-50007
F 1 Grommet 03-50033
G 1 Coupling 1-1/2”ID x 2”L 05-01198
H 1 Clamp, 096 03-50003
I 2 Screw, M4 x .7 x 8 03-50034
J 2 Mini Clamp, 024 03-50093
Installation will require the following tools:
Phillips screw driver, 8mm nut driver, ratchet, extension, 10mm socket & pliers
Note: Legal in California for use on race vehicles only. The use of this device on vehicles used on public
streets or highways is strictly prohibited in California and others states that have adopted California
emission regulations.
• Please read the entire instruction manual before proceeding.
• Ensure all components listed are present.
• If you are missing any of the components, call customer support at 949-588-8300.
• Ensure you have all necessary tools before proceeding.
• Do not attempt to work on your vehicle when the engine is hot.
• Disconnect the negative battery terminal before proceeding.
• Retain factory parts for future use.
Page 2
Label Qty. Description Part Number
A 1 Pro Dry S Air Filter 61-90129
B 1 Tube 05-T2013B1
C 1 Housing 05-T2013B2
D 1 Coupling 3”ID x 2”L 05-01106
E 2 Clamp, 048 03-50007
F 1 Grommet 03-50033
G 1 Coupling 1-1/2”ID x 2”L 05-01198
H 1 Clamp, 096 03-50003
I 2 Screw, M4 x .7 x 8 03-50034
J 2 Mini Clamp, 024 03-50093
GReddy.com
C
Page 3
D
A
B
E
F
G
H
I
J
Refer to Figure A for step 1-5
Step 1: Remove the three 10mm bolts on the OE housing 1 .
Step 2: Unplug the MAF sensor and unclip the wire harness from the OE intake tube 2 .
Step 3: Remove the crank case hose from the OE tube 3 .
Step 4: Loosen the clamp off the throttle body and cabin sound chamber tube, then remove the OE
intake system out of the vehicle 4 .
Step 5: Remove the five 10mm bolts and two push clips on the front bumper rail 5 .
REMOVAL
Page 4
1
2
5
1
1
2
3
4
4
5
5
5
Figure A
Refer to Figure B for step 6
Step 6: Remove the three push clips on the driver side fender well 6 connecting to the bumper, and
also the one by the amber light 7 .
REMOVAL
GReddy.com
Page 5
6
6
6
6
7
Figure B
Refer to Figure C for steps 7
Step 7: With a flat head screwdriver push on the bottom side of the amber and pry out. Pop out the
bottom side, then remove the rest of the amber light.
Figure C
REMOVAL
Page 6
Refer to Figure D for steps 8-9
Step 8: Gently pull the right side of the bumper to gain access to the OE scoop.
Step 9: Remove the OE scoop off the vehicle by removing the two 10mm bolts 8 and install bumper
back on.
Figure D
REMOVAL
GReddy.com
Page 7
8
8
Page left blank intentionally
Page 8
Refer to Figure E for steps 10-13
Step 10: Remove two of the OE grommets off the OE housing that you removed in step one and install
them on the housing (Refer to top right photo).
Step 11: Install the large hose clamp onto the housing and air filter as shown (Refer to top right photo).
Step 12: Install the Housing into the vehicle using the OE hardware 9 .
Step 13: Place the silicone coupling onto the throttle body with the supplied clamps 10 .
Figure E
INSTALL
Page
9
9
10
Page 9
L
J
Page left blank intentionally
GReddy.com
Refer to Figure F for steps 14-18
(If you would like to use the sound chamber, Drill out the intake tube as shown in Figure G)
Step 14: Install your intake tube into the vehicle.
Step 15: Remove the MAF sensor off the OE air box and install onto the tube with the supplied
hardware 11 .
Step 16: Install the supplied rubber grommet onto the intake tube 12 and reinstall your factory crank
case vent line.
Step 17: Attach the sound chamber to the intake tube using the supplied coupling and clamps 13 .
Step 18: Reconnect battery, your installation is now complete!
INSTALL
Page
11
12
13
Figure F
Figure G
To purchase any of the items above, view airflow charts, dyno graphs, photos, and video; please go to GReddy.com.
Page 10
Pro DRY S Air Filter
P/N: TF-9019D
GReddy.com
Page 11
Page left blank intentionally
GReddy Performance Products
9 Vanderbilt, Irvine CA 92618
TEL: 949.588.8300 • Tech@greddy.com
P/N: 06-80493

Other GReddy Automobile Accessories manuals
GReddy SW-20 User manual

GReddy

GReddy SW-20 User manual

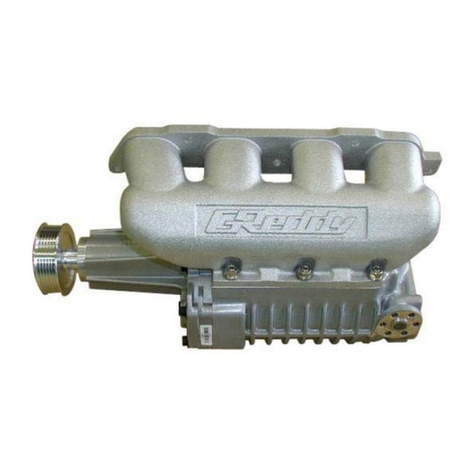
GReddy Supercharger Kit User manual

GReddy

GReddy Supercharger Kit User manual

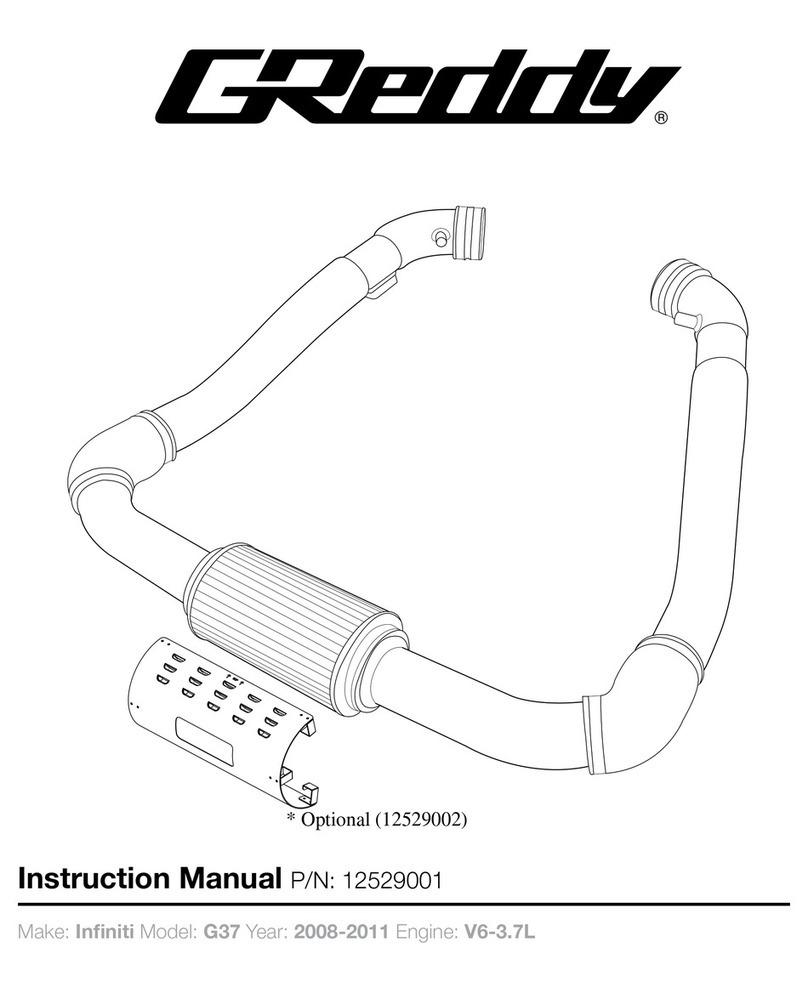
GReddy 12529001 User manual

GReddy

GReddy 12529001 User manual
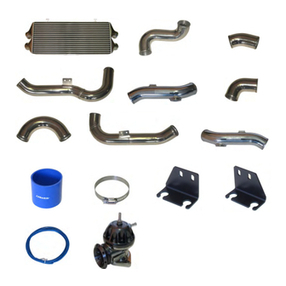
GReddy Turbo Kit User manual

GReddy

GReddy Turbo Kit User manual

GReddy Type 31 User manual

GReddy

GReddy Type 31 User manual

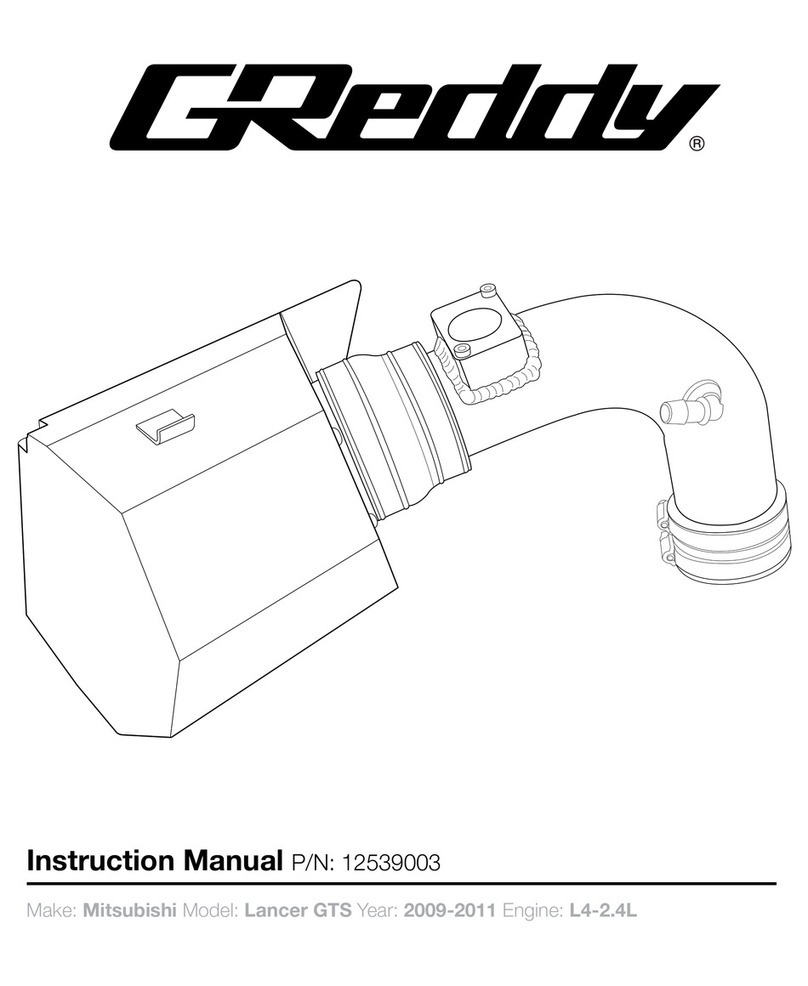
GReddy 12539003 User manual

GReddy

GReddy 12539003 User manual

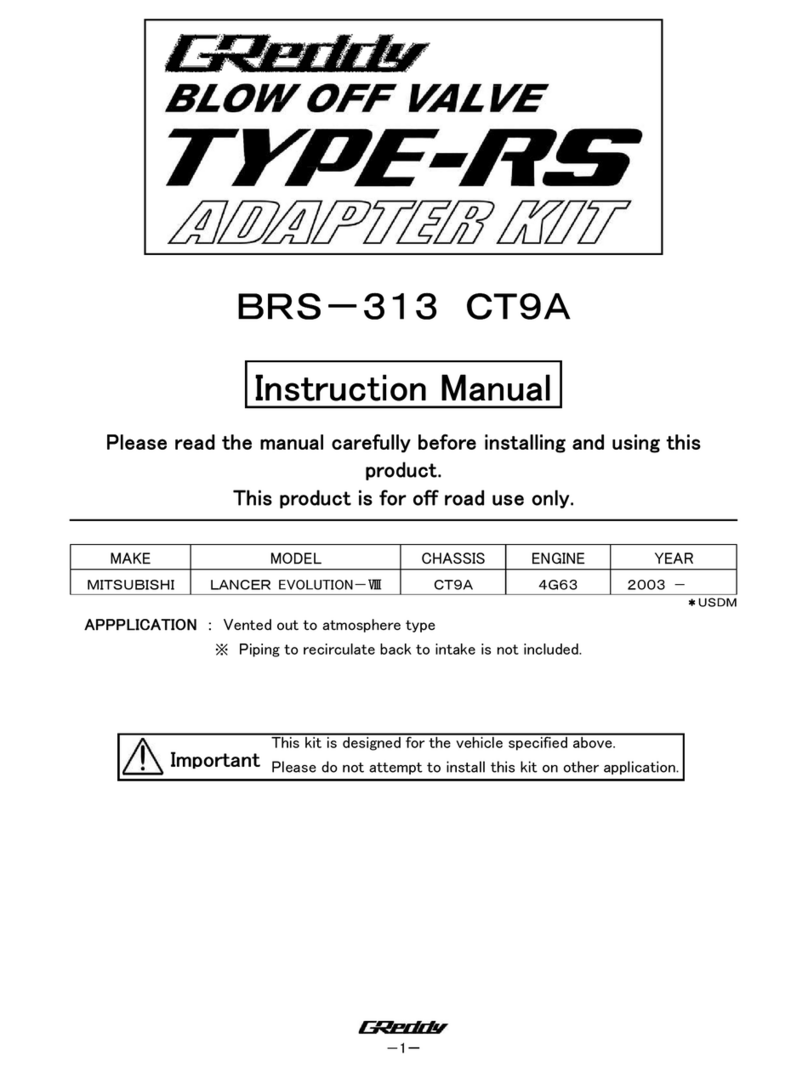
GReddy TYPE-RS BRS-313 CT9A User manual

GReddy

GReddy TYPE-RS BRS-313 CT9A User manual

GReddy 12529003 User manual

GReddy

GReddy 12529003 User manual

GReddy Turbo Kit User manual

GReddy

GReddy Turbo Kit User manual

GReddy 12559101 User manual

GReddy

GReddy 12559101 User manual
GReddy Turbo Kit User manual

GReddy

GReddy Turbo Kit User manual

GReddy Turbo Kit User manual

GReddy

GReddy Turbo Kit User manual

GReddy Turbo Kit User manual

GReddy

GReddy Turbo Kit User manual

GReddy Turbo Kit User manual

GReddy

GReddy Turbo Kit User manual

GReddy Turbo Kit User manual

GReddy

GReddy Turbo Kit User manual

GReddy Intercooler Kit User manual

GReddy

GReddy Intercooler Kit User manual

GReddy Turbo Kit Emanage Ultimate User manual

GReddy

GReddy Turbo Kit Emanage Ultimate User manual

GReddy Turbo Kit User manual

GReddy

GReddy Turbo Kit User manual

GReddy 12569001 User manual

GReddy

GReddy 12569001 User manual

GReddy BRS-503 User manual

GReddy

GReddy BRS-503 User manual

GReddy AERO KIT User manual

GReddy

GReddy AERO KIT User manual

GReddy Multi D/A Gauge User manual

GReddy

GReddy Multi D/A Gauge User manual

GReddy Full Auto Timer User manual

GReddy

GReddy Full Auto Timer User manual
GReddy Turbo Kit User manual

GReddy

GReddy Turbo Kit User manual

Popular Automobile Accessories manuals by other brands

Circutor Wallbox eNext Series installation guide

Circutor

Circutor Wallbox eNext Series installation guide

BOSSTOW S0927 quick guide

BOSSTOW

BOSSTOW S0927 quick guide

Whispbar K1002W Fitting Instructions for Basic Carrier

Whispbar

Whispbar K1002W Fitting Instructions for Basic Carrier

AFX MOTORSPORTS CAN006-S installation manual

AFX MOTORSPORTS

AFX MOTORSPORTS CAN006-S installation manual

Whispbar K606W Fitting instructions

Whispbar

Whispbar K606W Fitting instructions

ICI Alumilite Steps 840121412920 Direction for Installation and Use

ICI

ICI Alumilite Steps 840121412920 Direction for Installation and Use

Keba KeContact P30 b Series Functions & Procedures

Keba

Keba KeContact P30 b Series Functions & Procedures

STO N SHO SNS 360 Installation procedures

STO N SHO

STO N SHO SNS 360 Installation procedures

Code Alarm ca2LED5E owner's guide

Code Alarm

Code Alarm ca2LED5E owner's guide

Nav TV NTG3 Product description

Nav TV

Nav TV NTG3 Product description

Bimmer Retrofit GAT Next manual

Bimmer Retrofit

Bimmer Retrofit GAT Next manual

Yakima K1225 instructions

Yakima

Yakima K1225 instructions

FlashLogic HA4 Series install guide

FlashLogic

FlashLogic HA4 Series install guide

Setma E09ME22003 installation manual

Setma

Setma E09ME22003 installation manual

Guidosimplex GHOST user guide

Guidosimplex

Guidosimplex GHOST user guide

Curt Group ARIES S225045 installation manual

Curt Group

Curt Group ARIES S225045 installation manual

Huf HUF8432MS Technical description and user manual

Huf

Huf HUF8432MS Technical description and user manual

TruXedo TRUXPORT Pro X15 Special instructions

TruXedo

TruXedo TRUXPORT Pro X15 Special instructions

manuals.online logo
manuals.online logoBrands
  • About & Mission
  • Contact us
  • Privacy Policy
  • Terms and Conditions

Copyright 2025 Manuals.Online. All Rights Reserved.