manuals.online logo
Brands
  1. Home
  2. •
  3. Brands
  4. •
  5. GReddy
  6. •
  7. Automobile Accessories
  8. •
  9. GReddy 12559101 User manual

GReddy 12559101 User manual

Instruction Manual P/N: 12559101
Make: Honda Model: Civic Si Year: 2012 Engine: L4-2.4L
Label Qty. Description Part Number
A 1 Air Filter (Pro DRY S) 61-90129
B 1 Tube 05-T1018P1
C 1 Housing 05-T1018B2
D 2 Clamp, 044 03-50019
E 1 Coupling Silicone 05-01196
F 8.5 Hose, 3/8” ID 05-00110
G 8.0 Hose, 5/8” ID 05-00069
H 1 Clamp, 096 03-50003
Installation will require the following tools:
Phillips screw driver, 8mm nut driver, ratchet, extension, 10mm socket & pliers
Note: Legal in California for use on race vehicles only. The use of this device on vehicles used on public
streets or highways is strictly prohibited in California and others states that have adopted California
emission regulations.
• Please read the entire instruction manual before proceeding.
• Ensure all components listed are present.
• If you are missing any of the components, call customer support at 949-588-8300.
• Ensure you have all necessary tools before proceeding.
• Do not attempt to work on your vehicle when the engine is hot.
• Disconnect the negative battery terminal before proceeding.
• Retain factory parts for future use.
Page 2
Label Qty. Description Part Number
A 1 Air Filter (Pro DRY S) 61-90129
B 1 Tube 05-T1018P1
C 1 Housing 05-T1018B2
D 2 Clamp, 044 03-50019
E 1 Coupling Silicone 05-01196
F 8.5 Hose, 3/8” ID 05-00110
G 8.0 Hose, 5/8” ID 05-00069
H 1 Clamp, 096 03-50003
C
Page 3
D
A
B
E
F
G
H
GReddy.com
Refer to Figure A for step 1-4
Step 1: Loosen the clamp at the throttle body with a 10mm socket 1 .
Step 2: Unplug the MAF sensor, remove te clip holding the MAF sensor harness to the housing 2 .
Step 3: Remove the crank case breather from the OE tube 3 .
Step 4: Unclip the two clips off OE air box housing and remove top part of OE housing along with tube
out of vehicle 4 .
REMOVAL
Page 4
1
2
3
44
Figure A
Refer to Figure B for steps 5-8
Step 5: Remove the lower OE housing mount with a 10mm socket and extension 5 .
Step 6: Pull the bottom part of the OE housing off the rubber mounting grommets and remove out of the
vehicle.
Step 7: Pull the factory air duct out of the vehicle 6 .
Step 8: Remove the three OE rubber grommets from the bottom of the factory airbox.
REMOVAL
Page 5
5
6
GReddy.com
Figure B
Refer to Figure C for steps 9-11
Step 9: Install the three OE grommets onto the bottom of the Greddy Momentum housing as shown.
Step 10: Install the Greddy Momentum housing into the vehicle 7 .
Step 11: Install the top of the resonator tube that was removed in step 7 and tighten the OE housing
screw that was removed in step 5.
Figure C
INSTALL
Page 6
7
Refer to Figure D for steps 12-13
Step 12: Remove the crank case ventilation hose off of the valve cover 8 .
Step 13: Remove the coolant hose and replace it with the supplied hose 9 using the factory clips.
(Caution: Make sure vehicle has cooled down before removing this hose. Coolant can be
extremely hot and cause serious burns. Have a rag ready to catch any coolant that leaks out of
this hose. )
Figure D
INSTALL
Page 7
9
8
9
GReddy.com
Page left blank intentionally
Page 8
Refer to Figure E for steps 14-15
Step 14: Remove the MAF sensor off the OE intake tube.
Step 15: Install the MAF sensor onto the Greddy tube using the OE hardware 10 .
Figure E
INSTALL
Page
10
Page 9
L
J
Page left blank intentionally
Refer to Figure F for steps 16-21
Step 16: Install the silicone coupling onto the throttle body with the clamps provided.
Step 17: Install the Greddy filter into the housing using the suppied clamp 11 .
Step 18: Install the Greddy tube onto the silicone coupling and air filter.
Step 19: Re-connect the MAF plug onto the MAF sensor.
Step 20: Connect the new crank case hose onto the tube and valve cover 12 .
Step 21: Tighten and verify that all clamps are secure. Your installation is now complete!
Figure F
INSTALL
Page
11
12
GReddy.com
To purchase any of the items above, view airflow charts, dyno graphs, photos, and video; please go to Greddy.com.
Page 10
Pro DRY S Air Filter
P/N: 61-90129
GReddy.com
Page 11
Page Left Intentionally blank
P/N: 06-80498
GReddy Performance Products
9 Vanderbilt, Irvine CA 92618
TEL: 949.588.8300 • Tech@greddy.com

Other GReddy Automobile Accessories manuals

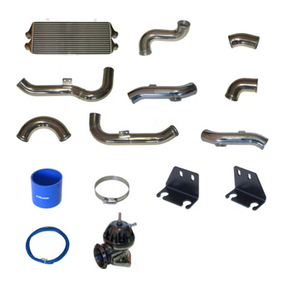
GReddy Intercooler Kit User manual

GReddy

GReddy Intercooler Kit User manual
GReddy Turbo Kit User manual

GReddy

GReddy Turbo Kit User manual

GReddy 12529001 User manual

GReddy

GReddy 12529001 User manual

GReddy Intercooler Kit User manual

GReddy

GReddy Intercooler Kit User manual

GReddy Turbo Kit User manual

GReddy

GReddy Turbo Kit User manual

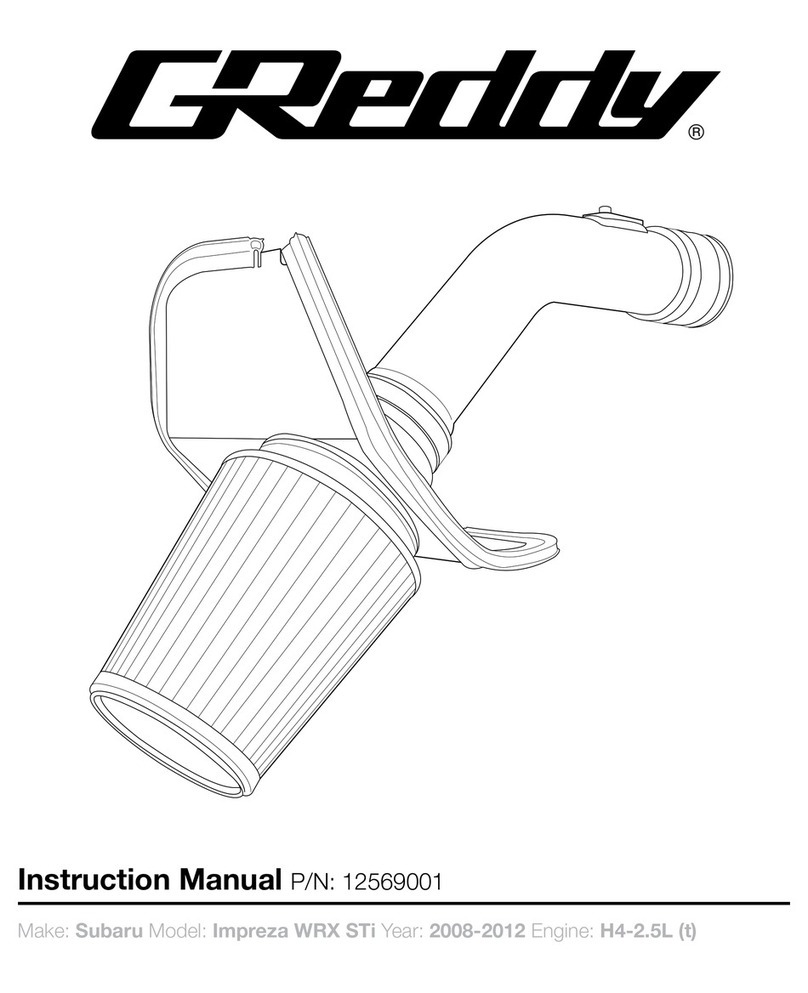
GReddy 12569001 User manual

GReddy

GReddy 12569001 User manual

GReddy Turbo Kit User manual

GReddy

GReddy Turbo Kit User manual

GReddy Turbo Kit User manual

GReddy

GReddy Turbo Kit User manual

GReddy Turbo Kit Emanage Ultimate User manual

GReddy

GReddy Turbo Kit Emanage Ultimate User manual

GReddy Supercharger Kit User manual

GReddy

GReddy Supercharger Kit User manual

GReddy Turbo Kit User manual

GReddy

GReddy Turbo Kit User manual

GReddy Turbo Kit User manual

GReddy

GReddy Turbo Kit User manual

GReddy Type-RS BRS-HGC20 User manual

GReddy

GReddy Type-RS BRS-HGC20 User manual

GReddy 12529003 User manual

GReddy

GReddy 12529003 User manual
GReddy Intercooler Kit User manual

GReddy

GReddy Intercooler Kit User manual

GReddy Full Auto Timer User manual

GReddy

GReddy Full Auto Timer User manual

GReddy TYPE-RS BRS-610 GDB User manual

GReddy

GReddy TYPE-RS BRS-610 GDB User manual

GReddy SW-20 User manual

GReddy

GReddy SW-20 User manual

GReddy Turbo Kit User manual

GReddy

GReddy Turbo Kit User manual

GReddy INFO TOUCH Assembly instructions

GReddy

GReddy INFO TOUCH Assembly instructions

GReddy Type 31 User manual

GReddy

GReddy Type 31 User manual

GReddy Multi D/A Gauge User manual

GReddy

GReddy Multi D/A Gauge User manual

GReddy BRS-503 User manual

GReddy

GReddy BRS-503 User manual
GReddy 12539003 User manual

GReddy

GReddy 12539003 User manual

Popular Automobile Accessories manuals by other brands

TrailFX TFX5526 quick start guide

TrailFX

TrailFX TFX5526 quick start guide

Porsche Wall Charger Connect OPERATING AND INSTALLATION Manual

Porsche

Porsche Wall Charger Connect OPERATING AND INSTALLATION Manual

MORryde STP54-011 Pre-installation instructions

MORryde

MORryde STP54-011 Pre-installation instructions

Aerpro ABT510B user guide

Aerpro

Aerpro ABT510B user guide

Havis-Shields C-TCB-27 installation instructions

Havis-Shields

Havis-Shields C-TCB-27 installation instructions

AlzaPower APW-CCWF420 user manual

AlzaPower

AlzaPower APW-CCWF420 user manual

Whelen Engineering Company Delta Independence installation guide

Whelen Engineering Company

Whelen Engineering Company Delta Independence installation guide

Motorola T225 quick start guide

Motorola

Motorola T225 quick start guide

Kenwood KPA-H2CFM installation guide

Kenwood

Kenwood KPA-H2CFM installation guide

SureCall Fusion2Go Max Quick setup guide

SureCall

SureCall Fusion2Go Max Quick setup guide

Carefree PARAMOUNT Service manual

Carefree

Carefree PARAMOUNT Service manual

Prorack K192 Fitting instructions

Prorack

Prorack K192 Fitting instructions

EMX LP D-TEK operating instructions

EMX

EMX LP D-TEK operating instructions

Edelbrock 1584 installation instructions

Edelbrock

Edelbrock 1584 installation instructions

Seizmik 50-50222KIT Installation & operation manual

Seizmik

Seizmik 50-50222KIT Installation & operation manual

Rydeen MV311S owner's manual

Rydeen

Rydeen MV311S owner's manual

Car-Interface c.LOGiC lite CI-C1-CCC manual

Car-Interface

Car-Interface c.LOGiC lite CI-C1-CCC manual

Brodit Passive Holders brochure

Brodit

Brodit Passive Holders brochure

manuals.online logo
manuals.online logoBrands
  • About & Mission
  • Contact us
  • Privacy Policy
  • Terms and Conditions

Copyright 2025 Manuals.Online. All Rights Reserved.