7
Français (Traduction à partir du mode d'emploi d'origine)
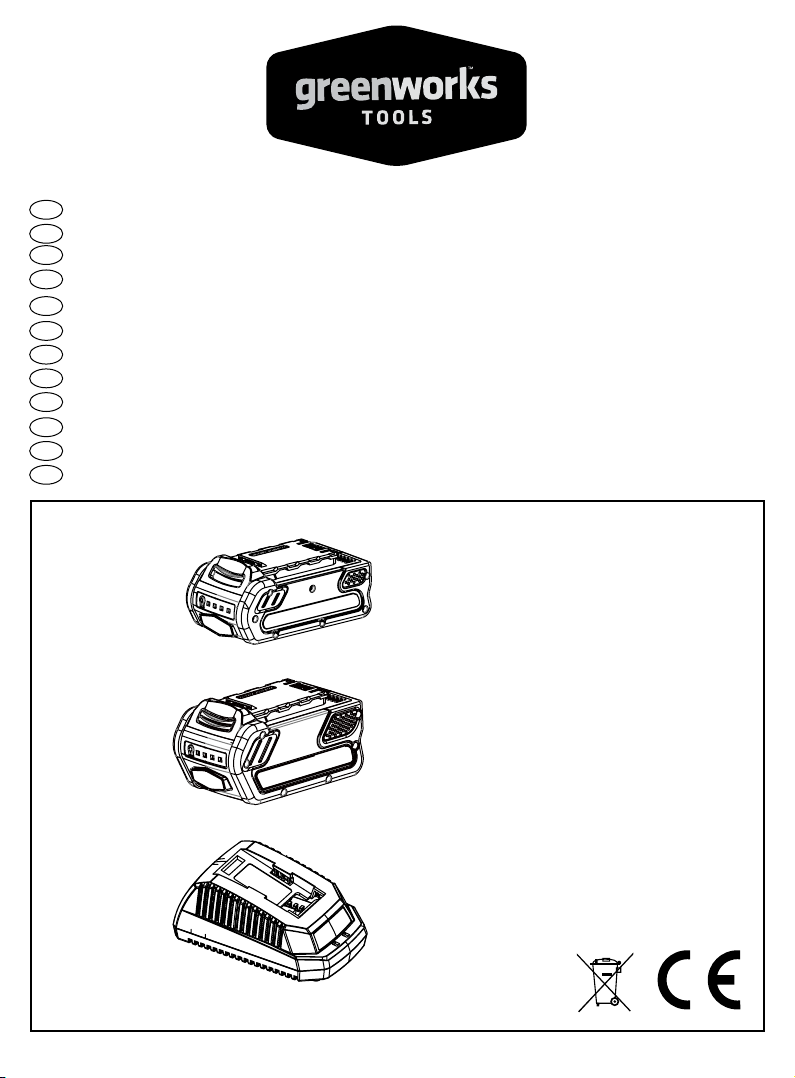
BATTERIE
CARACTÉRISTIQUES
29717
Batterie 40V 73Wh Maxi
Tension par élément : 3.6V ; Nombre d'éléments : 10
Durée de charge : 60 min
(utilisez le Chargeur 29417 (prise VDE) ou 29447(prise
BS))
29727
Batterie 40V 146Wh Maxi
Tension par élément : 3.6V ; Nombre d'éléments : 20
Durée de charge : 120 min
(utilisez le Chargeur 29417 (prise VDE) ou 29447(prise
BS))
Pour une bonne utilisation, un bon entretien et un bon
stockage de cette batterie, il est crucial que vous lisiez
et compreniez les instructions présentes dans ce manuel.
Pour éviter de graves blessures, les risques d'incendie,
d'explosion, et les décharges électriques ou électrocutions
:
■N'INTRODUISEZ PAS de matériaux conducteurs
dans le chargeur. Les bornes du chargeur véhiculent
une tension de 120 V.
■Si le boîtier du pack batterie est fêlé ou endommagé,
NE L'INTRODUISEZ PAS dans le chargeur.
Remplacez-la par un pack batterie neuf.
■NE CHARGEZ PAS ces packs batterie avec un autre
type de chargeur.
■NE LAISSEZ AUCUN liquide pénétrer dans le
chargeur.
■NE TENTEZ PAS d'utiliser le chargeur dans tout autre
but que celui décrit dans ce manuel.
■NE TENTEZ PAS de court-circuiter une quelconque
borne du pack batterie.
■
■Ne laissez pas le pack batterie ou le chargeur
surchauffer. S'ils sont chauds, laissez-les refroidir. Ne
procédez à la charge qu'à température ambiante.
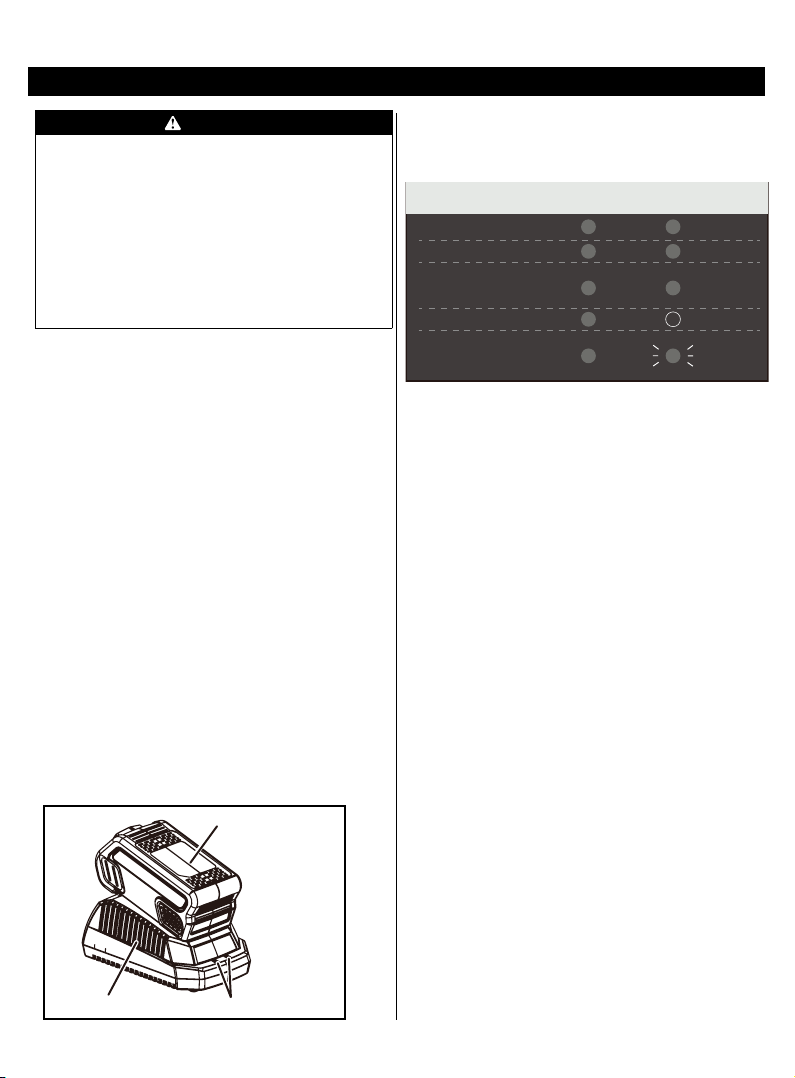
■Ne couvrez pas les fentes de ventilations situées sur
le dessus du chargeur. Ne posez pas le chargeur sur
une surface souple, telle qu'une couverture ou un
oreiller. Gardez les fentes de ventilation du chargeur
dégagées.
■Ne laissez pas de petits éléments en métal ou
des matériaux tels que la laine d'acier, du papier
aluminium, ou autres particules étrangères pénétrer
dans le chargeur.
■Débranchez le chargeur avant de le nettoyer et
lorsqu'aucune batterie n'y est connectée.
■Ne mettez pas le pack batterie au soleil ou dans un
environnement chaud. Gardez-le à température
ambiante.
■Ne tentez de relier deux chargeurs ensemble.
■Gardez la batterie et le chargeur dans un endroit frais
et sec, à l'abri du soleil, et chargez la batterie pendant
2 heures tous les 2 mois en cas de non-utilisation.
■Les éléments du pack batterie peuvent légèrement
fuir lors d'une utilisation intensive ou sous des
températures extrêmes. Si l'étanchéité extérieure est
défaillante et que du liquide de la batterie entre en
contact avec votre peau :
■Lavez immédiatement au savon et à l'eau.
■Neutralisez avec du jus de citron, du vinaigre, ou autre
acide faible.
■En cas de pénétration de liquide dans vos yeux, suivez
les instructions ci-dessus et contactez un médecin.
■Avant utilisation, vérifiez que la tension et le courant
de sortie du chargeur de batterie correspondent au
pack batterie à charger.
■N'utilisez page le chargeur dans des circonstances
telles que la Polarité de sortie ne corresponde pas à la
polarité de la charge.
■Utilisation à l'intérieur uniquement.
■Le capot ne doit être ouvert en aucun cas. Si le capot
est endommagé, le chargeur ne doit plus être utilisé.
■Ne rechargez pas les piles non rechargeables.
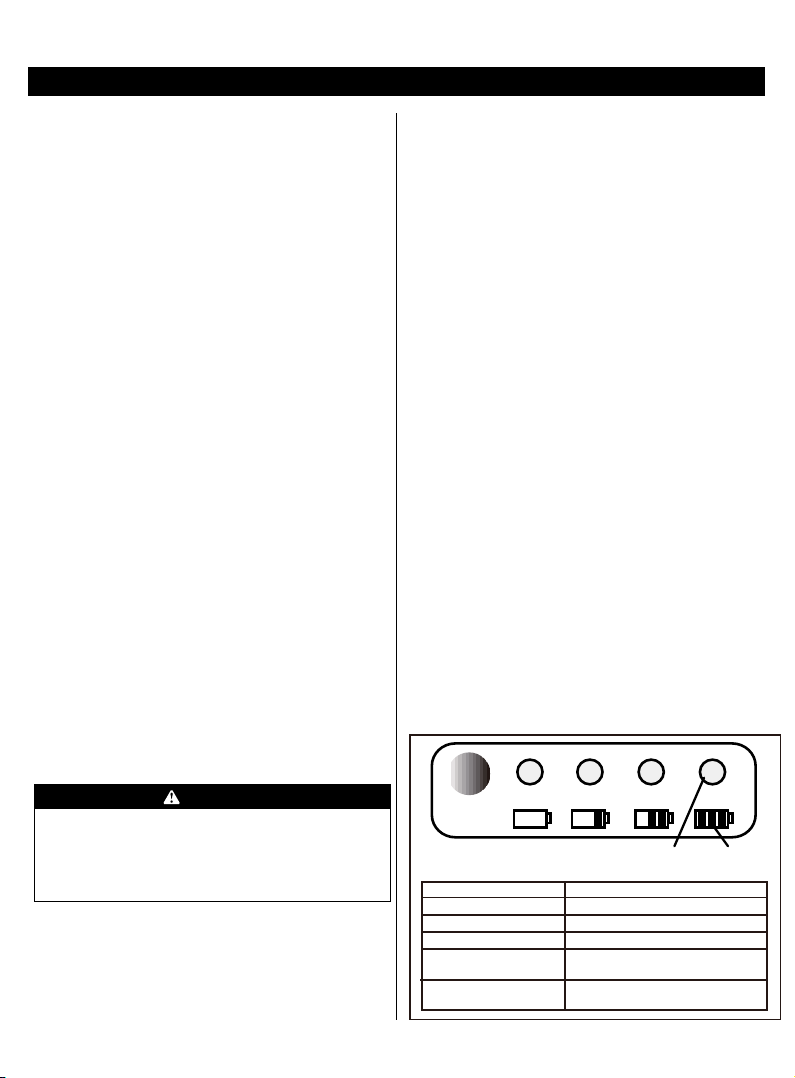
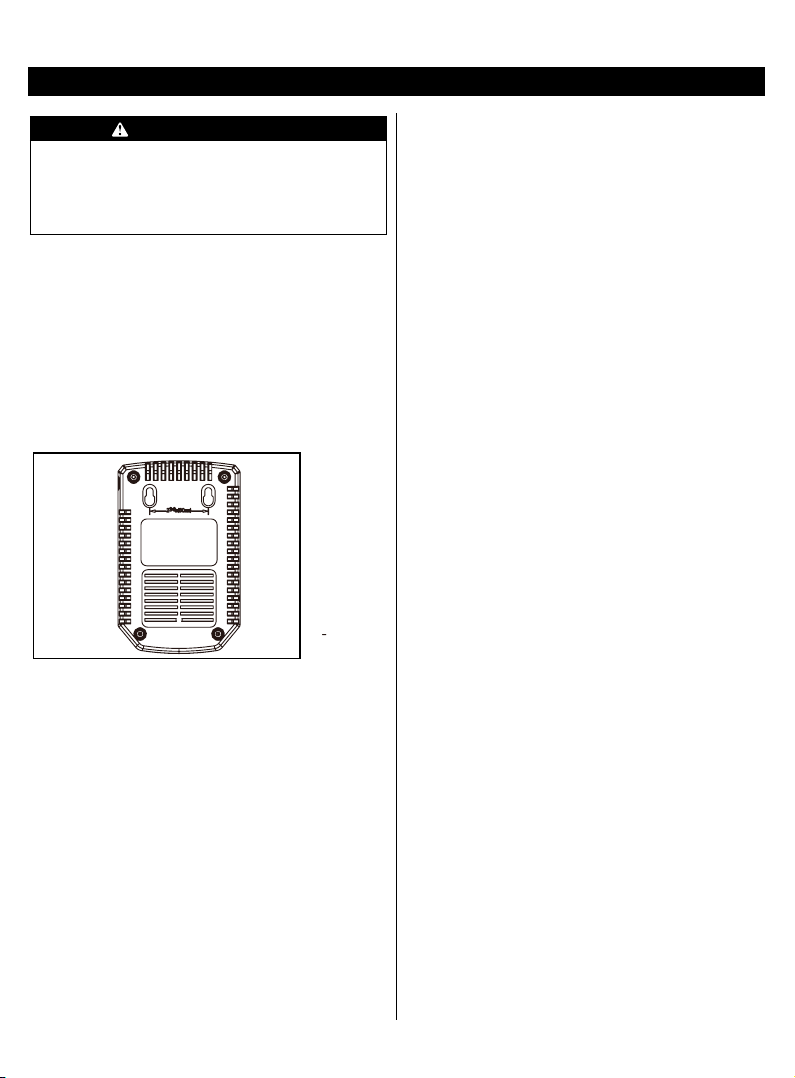
VÉRIFICATION DE LA CHARGE DE LA
BATTERIE
Appuyez sur le bouton de vérication de charge (BCI) de
la batterie. Les voyants s'illumineront en fonction de du
niveau de charge de la batterie. Reportez-vous au tableau
ci-dessous :
A V E R T I S S E M E N T
Si du liquide batterie entre en contact avec vos yeux,
rincez-les immédiatement à l'eau claire pendant au
moins 15 minutes. Contactez immédiatement un
médecin. Ne chargez pas le pack batterie sous la pluie
ou par conditions humides. Ne plongez pas l'outil, le
pack batterie, ou le chargeur dans l'eau ni dans aucun
autre liquide.
VOYANT
LUMINEUX
INDICATEUR DE BATTERIE
4 Voyants Verts La batterie est totalement chargée
3 Voyants Verts La batterie est chargée à 70%
2 Voyants Verts La batterie est chargée à 45%
1 Voyant Vert La capacité résiduelle de la batterie
est de 10%, il convient de la charger
sous peu
Voyants éteints La capacité résiduelle de la batterie
est inférieure à 10%, il convient de
la charger immédiatement