manuals.online logo
Brands
  1. Home
  2. •
  3. Brands
  4. •
  5. Gronomics
  6. •
  7. Outdoor Furnishing
  8. •
  9. Gronomics MFEGB 24-36 User manual

Gronomics MFEGB 24-36 User manual

WWW.gronomics.com East Bethel, MN USA 763-753-7374
Maintenance Free Elevated Garden Bed
(24” x 36”) Assembly Instruction
Continued
Parts List
ITEM QTY. PART # DESCRIPTION
14MF3100 Corner Post, 4" x 4" x 31"
22 MF2952 Side Rail w/ Cleat, 29.5" x 8.25" x 1"
31 MF2950L Side Rail w/ Logo 29.5" x 8.25" x 1"
41 MF2950 Side Rail, 29.5' x 8.25" x 1"
54 MF1800 Side Rail, 18" x 8.25" x 1"
63 MF1900 Bottom Board 19" x 5-3/4" x 3/4"
72MF1900N Corner Notched Bottom Board, 19" x 5-3/4" x 3/4"
81 FL3652 Fabric Liner
94 MF4040 Post Cap, 4" x 4" x 1-1/2"
10 8 LP1700 Locking Pin 16"-L
Stack matching pieces in piles. Using the parts list,
locate and count the individual pieces and verify that
you have received the correct number of pieces.
If any pieces are missing or replacement parts are
required, contact Gronomics at 1-855-299-6727.
NOTE: It is recommended to place a protective layer
between the ground and the pieces during assembly.
This will help prevent damage to the pieces.
NOTE: Ground preparation is optional, however we
recommend leveling area under frame of product, or
place product directly on a flat level surface before
filling with soil.
Parts Identification Item #: MFEGB 24-36
1
123
59
7
6
10
8
4
Packaged & Inspected by:Date:
Side Rail w/Cleat Assembly
2
Stand one 4” x 4” x 31” corner post (Item 1)
upright with slots facing you and slots facing to
the right.
Locate a 29.5" x 8.25" x 1" side rail w/cleat (Item
2). With the cleat located at the bottom and
facing you, install side rail w/cleat into the lower
slot and push inward until the lock pin hole of the
side rail w/cleat is inside the corner post.
2
Lower Slot Cleat
1
Edit 8/30/2016
WWW.gronomics.com East Bethel, MN USA 763-753-7374
Continued
Install the Side Rail w/ Logo 29.5" x 8.25" x 1" (Item 3)
(w/Logo facing away from you) onto the top of side rail
w/cleat.
Slide the side rail w/Logo into the slot on the corner
post until the lock pin hole of the side rail w/Logo is
inside the corner post. Install locking pin (Item 10)
through the locking pin hole of the side rail w/Logo and
the side rail w/cleat.
Side Rail Assembly
3
3
Logo Facing Away
10
Align the 4” x 4” x 31” corner post (Item 1) with slots
facing you and slots facing the ends of the 29.5" x 8.25"
x 1" side rail w/ cleat (Item 2) and 29.5" x 8.25" x 1"
side rail w/Logo (Item 3).
Slide the corner post onto the side rails until the lock
pin hole of the side rail w/Logo is inside the corner post.
Install locking pin through the locking pin hole of the
side rail w/Logo and the side rail w/cleat.
Repeat steps 1 - 4 for the two remaining 4” x 4” x 31”
corner posts, 29.5" x 8.25" x 1" side rail w/cleat and
29.5" x 8.25" x 1" side rail.
Side Rail Assembly Continued
4
31
2
Align two 18" x 8.25" x 1" side rails (Item 5) to the 4” x
4” x 31” corner post slots.
Slide the side rails into the corner post slots until the
lock pin hole of the side rail is inside the corner post.
Install locking pin through the locking pin hole of the
side rails.
End Rail Assembly
5
5
5
Align the other side rail assembly (as shown).
Align the corner post (Item 1) slots to the 18" x 8.25" x
1" side rails (Item 5).
Slide the side rails into the corner post slots until the
lock pin hole of the side rail is inside the corner post.
Install locking pin through the locking pin hole of the
side rails.
End Rail / Side Rail Assembly
6
1
Side Rail assembly
5
WWW.gronomics.com East Bethel, MN USA 763-753-7374
Place the two remaining 18" x 8.25" x 1" side rails (Item
5) together and place between the two 4” x 4” x 31”
corner posts (Item 1).
Slide the side rails into the corner post slots until the
lock pin holes of the side rails are inside the corner
posts. Install locking pin through the locking pin hole of
the side rails.
Final End And Side Rail Assembly
7
1
5
1
Place one 19" x 5-3/4" x 3/4" corner notched bottom
board (Item 7) on each end of the garden bed.
Corner Notched Bottom Board Assembly
8
7
Place three 19" x 5-3/4" x 3/4" bottom boards (Item 6)
into the garden bed.
(Gap boards evenly to allow for water drainage).
Install the 4” x 4” x 1-1/2” post caps (Item 9) onto the
corner posts.
Place fabric liner (Item 8) into the garden bed.
Bottom Board And Post Cap Assembly
9
6
9
9
9
Completed Assembly
10

Other Gronomics Outdoor Furnishing manuals
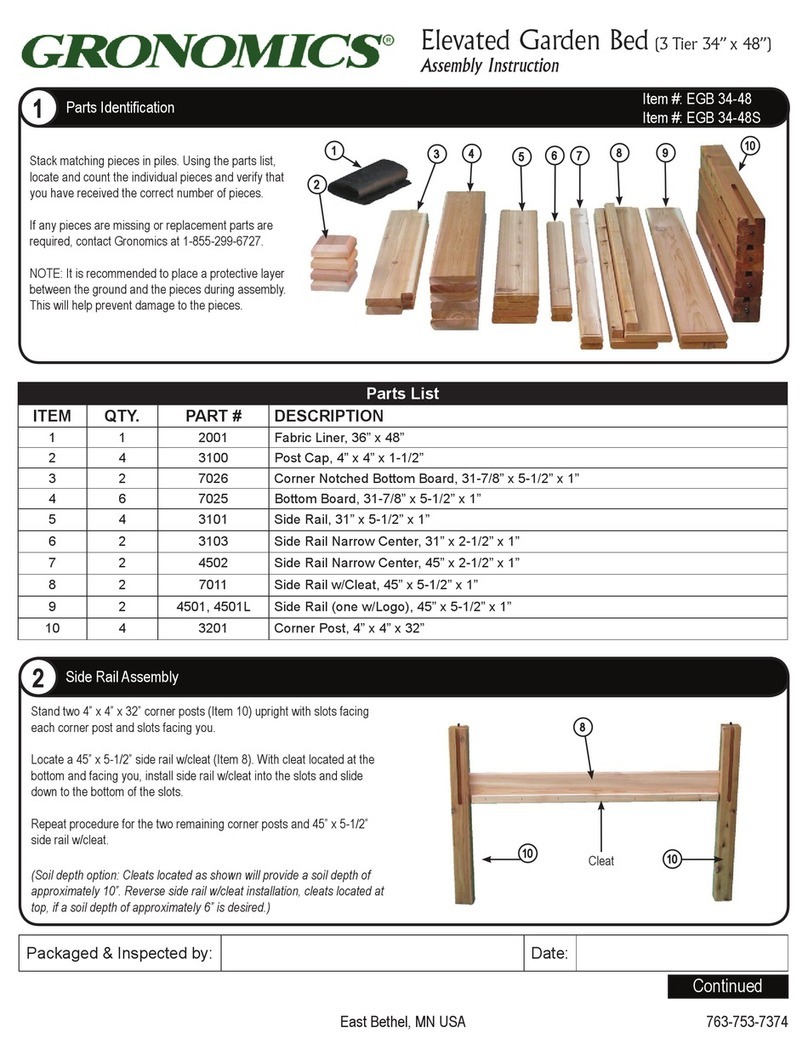
Gronomics EGB 34-48 User manual

Gronomics

Gronomics EGB 34-48 User manual
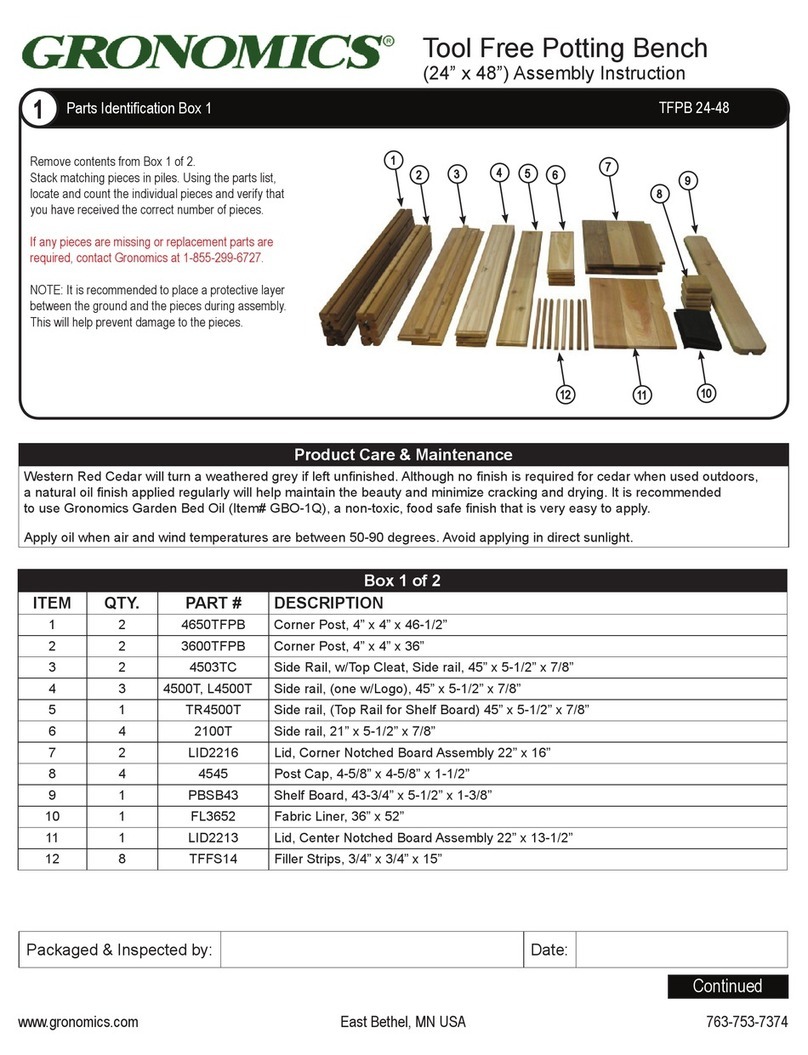
Gronomics TFPB 24-48 User manual

Gronomics

Gronomics TFPB 24-48 User manual
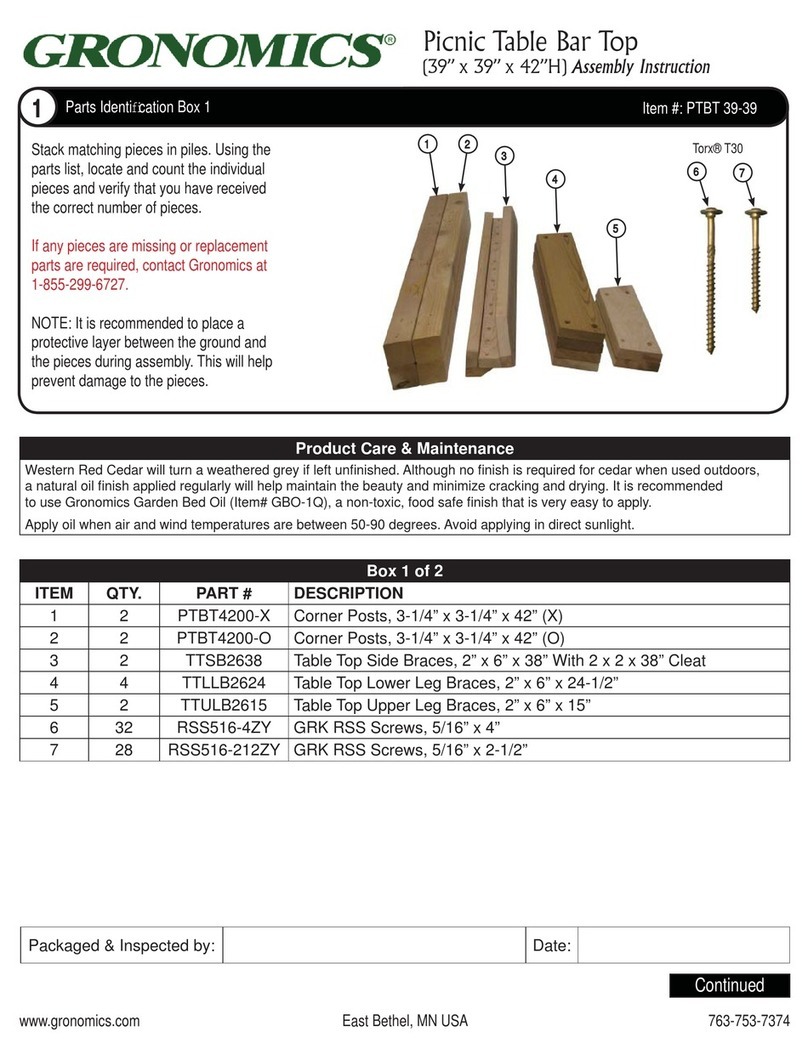
Gronomics PTBT 39-39 User manual

Gronomics

Gronomics PTBT 39-39 User manual
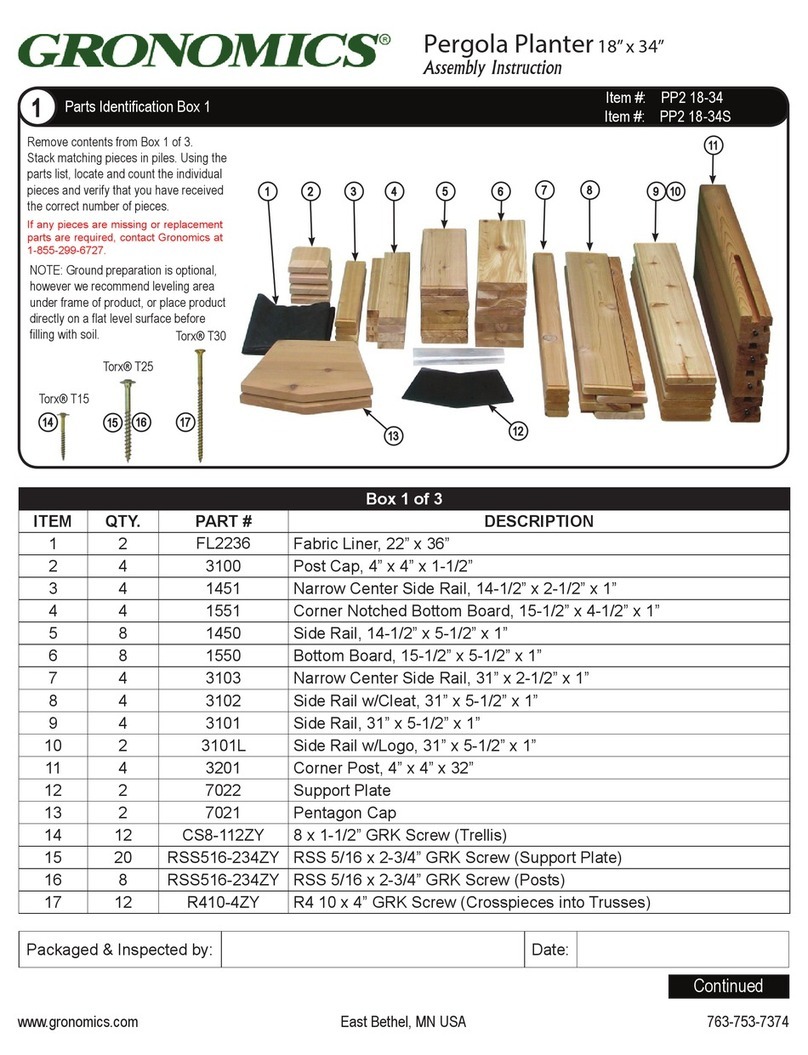
Gronomics PP2 18-34 User manual

Gronomics

Gronomics PP2 18-34 User manual
Gronomics VG 32-45UA User manual

Gronomics

Gronomics VG 32-45UA User manual
Gronomics MFRGB 24-48-18 User manual

Gronomics

Gronomics MFRGB 24-48-18 User manual
Gronomics VG 32-45 User manual

Gronomics

Gronomics VG 32-45 User manual
Gronomics EPB 24-82 User manual

Gronomics

Gronomics EPB 24-82 User manual
Gronomics PTBT 59-39 User manual

Gronomics

Gronomics PTBT 59-39 User manual
Gronomics FT 24-72 User manual

Gronomics

Gronomics FT 24-72 User manual

Popular Outdoor Furnishing manuals by other brands

felton industries FELEPG5T6 Assembly instruction

felton industries

felton industries FELEPG5T6 Assembly instruction

Dreamo OTF-503S quick start guide

Dreamo

Dreamo OTF-503S quick start guide

Garden Furniture Direct Borrowdale Assembly instructions

Garden Furniture Direct

Garden Furniture Direct Borrowdale Assembly instructions

Rowlinson Clarendon Assembly instructions

Rowlinson

Rowlinson Clarendon Assembly instructions

Garden Treasures 8201268 Assembly instructions

Garden Treasures

Garden Treasures 8201268 Assembly instructions

Safavieh Outdoor Marson PAT7062 quick start guide

Safavieh Outdoor

Safavieh Outdoor Marson PAT7062 quick start guide

SSC-LUXon 990070716 Assembly & operating instructions

SSC-LUXon

SSC-LUXon 990070716 Assembly & operating instructions

supremo LEISURE 2-Seat Stool 110*40cm Assembly instruction

supremo LEISURE

supremo LEISURE 2-Seat Stool 110*40cm Assembly instruction

Hatteras Hammocks DCA1-K-HH instructions

Hatteras Hammocks

Hatteras Hammocks DCA1-K-HH instructions

Lemeks Palmako PA120-5959 Assembly, installation and maintenance manual

Lemeks

Lemeks Palmako PA120-5959 Assembly, installation and maintenance manual

OLT 24 Assembly manual

OLT

OLT 24 Assembly manual

forest-style HACIENDA 2354 Building instructions

forest-style

forest-style HACIENDA 2354 Building instructions

Courtyard Creations RUS0188-WM Assembly instructions

Courtyard Creations

Courtyard Creations RUS0188-WM Assembly instructions

kingsley-bate MC-55 Assembly instructions

kingsley-bate

kingsley-bate MC-55 Assembly instructions

Weltevree Carrier product manual

Weltevree

Weltevree Carrier product manual

Grange Fencing Elite Arch Assembly instructions

Grange Fencing

Grange Fencing Elite Arch Assembly instructions

Grosfillex AUVENT YR14 Assembly instructions

Grosfillex

Grosfillex AUVENT YR14 Assembly instructions

X-METAL EAGLE 33511 Assembly instructions

X-METAL

X-METAL EAGLE 33511 Assembly instructions

manuals.online logo
manuals.online logoBrands
  • About & Mission
  • Contact us
  • Privacy Policy
  • Terms and Conditions

Copyright 2025 Manuals.Online. All Rights Reserved.