manuals.online logo
Brands
  1. Home
  2. •
  3. Brands
  4. •
  5. Gronomics
  6. •
  7. Outdoor Furnishing
  8. •
  9. Gronomics TFPB 24-48 User manual

Gronomics TFPB 24-48 User manual

www.gronomics.com East Bethel, MN USA 763-753-7374
Continued
3
1
Parts Identification Box 1
Remove contents from Box 1 of 2.
Stack matching pieces in piles. Using the parts list,
locate and count the individual pieces and verify that
you have received the correct number of pieces.
If any pieces are missing or replacement parts are
required, contact Gronomics at 1-855-299-6727.
NOTE: It is recommended to place a protective layer
between the ground and the pieces during assembly.
This will help prevent damage to the pieces.
Tool Free Potting Bench
(24” x 48”) Assembly Instruction
TFPB 24-48
1
Packaged & Inspected by: Date:
Box 1 of 2
ITEM QTY. PART # DESCRIPTION
1 2 4650TFPB Corner Post, 4” x 4” x 46-1/2”
2 2 3600TFPB Corner Post, 4” x 4” x 36”
3 2 4503TC Side Rail, w/Top Cleat, Side rail, 45” x 5-1/2” x 7/8”
4 3 4500T, L4500T Side rail, (one w/Logo), 45” x 5-1/2” x 7/8”
5 1 TR4500T Side rail, (Top Rail for Shelf Board) 45” x 5-1/2” x 7/8”
642100T Side rail, 21” x 5-1/2” x 7/8”
7 2 LID2216 Lid, Corner Notched Board Assembly 22” x 16”
8 4 4545 Post Cap, 4-5/8” x 4-5/8” x 1-1/2”
9 1 PBSB43 Shelf Board, 43-3/4” x 5-1/2” x 1-3/8”
10 1 FL3652 Fabric Liner, 36” x 52”
11 1 LID2213 Lid, Center Notched Board Assembly 22” x 13-1/2”
12 8 TFFS14 Filler Strips, 3/4” x 3/4” x 15”
234567
10
10
11
11
12
12
8
9
Product Care & Maintenance
Western Red Cedar will turn a weathered grey if left unfinished. Although no finish is required for cedar when used outdoors,
a natural oil finish applied regularly will help maintain the beauty and minimize cracking and drying. It is recommended
to use Gronomics Garden Bed Oil (Item# GBO-1Q), a non-toxic, food safe finish that is very easy to apply.
Apply oil when air and wind temperatures are between 50-90 degrees. Avoid applying in direct sunlight.
www.gronomics.com East Bethel, MN USA 763-753-7374
Continued
2
Parts Identification Box 2
Remove contents from Box 2 of 2.
Stack matching pieces in piles. Using the parts list, locate and
count the individual pieces and verify that you have received
the correct number of pieces.
If any pieces are missing or replacement parts are required,
contact Gronomics at 1-855-299-6727.
NOTE: It is recommended to place a protective layer between
the ground and the pieces during assembly. This will help
prevent damage to the pieces.
15
15
14
14
13
13
16
16
17
17
18
18
19
19
3
Corner Post / Side Rail Assembly
6
6
4
2
2
1 1
Stand two 4” x 4” x 46-1/2” corner posts (Item 1) upright. Install a
45” x 5-1/2” x 7/8” side rail (Item 4) between the posts and slide to
the ground.
Stand two 4” x 4” x 36” corner posts (Item 2) upright. Install a 45”
x 5-1/2” x 7/8” side rail (Item 4) between the posts and slide to the
ground.
NOTE: Install side rail boards with groove down and tongue up.
Install one 21” x 5-1/2” x 7/8” side rail (Item 6) at each end of the
potting bench and slide down.
Box 2 of 2
ITEM QTY. PART # DESCRIPTION
13 2 4502TC Side Rail, w/Bottom Cleat, Side rail, 45” x 5-1/2” x 7/8”
14 2 4503TC Side Rail, w/Top Cleat, Side rail, 45” x 5-1/2” x 7/8”
15 4 2100T Side rail, 21” x 5-1/2” x 7/8”
16 2 2178BB Bottom Board, 21-7/8” x 5-1/2” x 1”
17 6 2178BN Bottom Notched Board, 21-7/8” x 5-1/2” x 1”
18 2 LID2216 Lid, Corner Notched Board Assembly 22” x 16”
19 1 LID2213 Lid, Center Notched Board Assembly 22” x 13-1/2”
Tongue of Side
Rails
located up
www.gronomics.com East Bethel, MN USA 763-753-7374
Continued
4
Side Rail w/Top Cleat Assembly
Install a 45” x 5-1/2” x 7/8” side rail w/top cleat (Item 3) on each side,
with the cleat located at the top and the cleat facing inward. Slide the
side rails w/top cleat between the posts and slide down.
Install one 21” x 5-1/2” x 7/8” side rail (Item 6) at each end of the potting
bench and slide down.
NOTE: Make sure the boards tongue and grooves fully seat together.
15
15
15
15
13
13
6
Side Rail w/ Bottom Cleat Assembly
Install a 45” x 5-1/2” x 7/8” side rail w/bottom cleat (Item 13) on each
side, with the cleat located at the bottom and the cleat facing inward.
Slide the side rails w/bottom cleat between the posts and slide down
until the side rails contact the filler strip.
Install a 21” x 5-1/2” x 7/8” side rail (Item 15) between the posts at each
end and slide down until the side rails contact the filler strip.
3
6
6
Place one 22” x 16” lid corner notched board assembly (Item 7) on each
end of the potting bench.
Place the 22” x 13-1/2” lid center notched board assembly (Item 11) onto
potting bench.
Install two 3/4” x 3/4” x 14” filler strips (Item 12) into the grooves on
adjacent sides of each post as shown and slide the filler strip down.
5
Bottom Storage Lid And Filler Strip Assembly
7
7
15
15
15
15
7
Side Rail w/Top Cleat Assembly
Install a 45” x 5-1/2” x 7/8” side rail w/top cleat (Item 14) on each side,
with the cleat located at the top and the cleat facing inward. Slide the
side rails w/cleat between the posts and slide down.
Install a 21” x 5-1/2” x 7/8” side rail (Item 15) between the posts at each
end and slide down.
NOTE: Make sure the boards tongue and grooves fully seat together.
14
14
12
12
12
12
11
11
12
12
12
12
12
12
12
12
www.gronomics.com East Bethel, MN USA 763-753-7374
Install one 45’ x 5-1/2” x 7/8” side rail (Item 4) (w/Logo) between the
posts and slide down.
Install the 45“ x 5-1/2” x 7/8” top rail for shelf board (Item 5) and slide
down.
NOTE: Make sure the boards tongue and grooves fully seat together.
Place one 22” x 16” lid corner notched board assembly (Item 18) on
each end of the potting bench.
Place the 22” x 13-1/2” lid center notched board assembly (Item 19)
onto potting bench.
8
Bottom Board Installation
Install the one 21-7/8” x 5-1/2 x 1” bottom notched board (Item 16) at
each end of the potting bench.
Place six 21-7/8” x 5-1/2 x 1” bottom boards (Item 17) onto potting
bench.
Gap boards evenly to allow for water drainage.
Fabric Liner Installation
9
Side Rail Shelf And Top Bench Board Assembly
10
10
16
16
17
17
16
16
Shelf Board And Post Cap Assembly
11
11
Logo
5
4
Place the 36” x 52” fabric liner (Item 10) into the potting bed.
10
10
Install the 43-3/4” x 5-1/2” x 1-3/8” shelf board (Item 9) onto the side rail.
Remove the rubber cap from the corner posts.
Align the hole of the 4-5/8” x 4-5/8” x 1-1/2” post cap (Item 8) with stud
and tighten until the cap makes contact with the post. Do not overtighten.
Repeat procedure on all corner posts.
9
8
18
18
18
18
19
19

Other Gronomics Outdoor Furnishing manuals
Gronomics MFRGB 24-48-18 User manual

Gronomics

Gronomics MFRGB 24-48-18 User manual

Gronomics PTBT 59-39 User manual

Gronomics

Gronomics PTBT 59-39 User manual

Gronomics VG 32-45UA User manual

Gronomics

Gronomics VG 32-45UA User manual

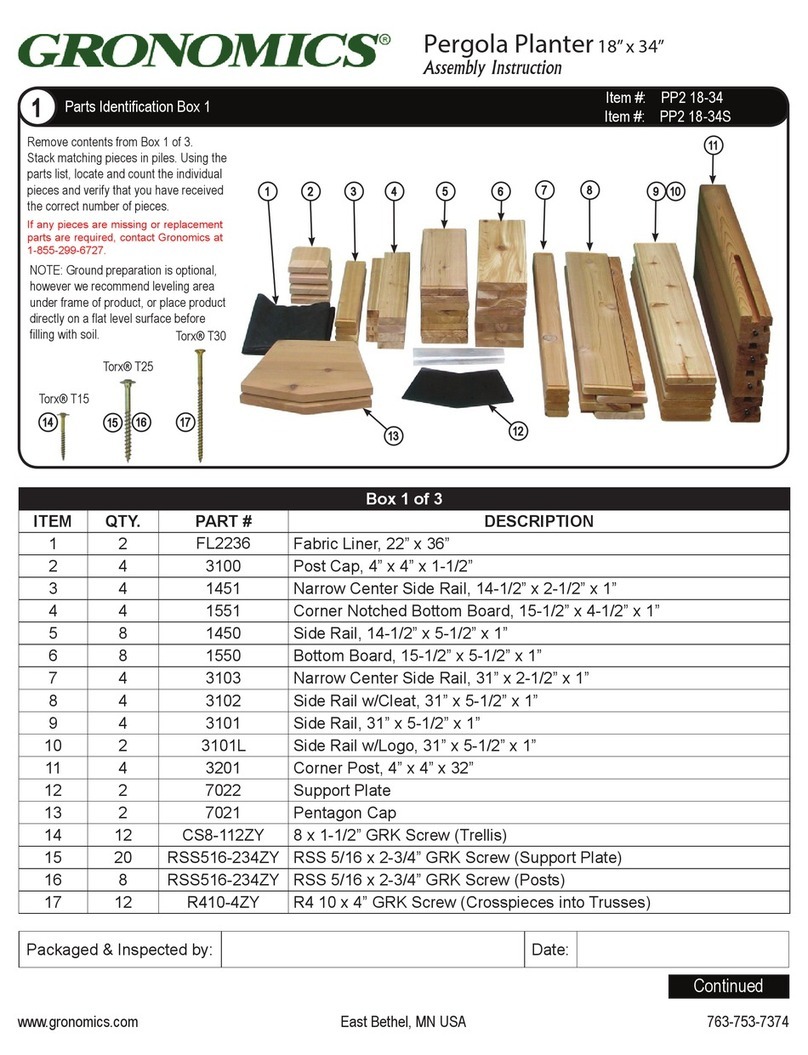
Gronomics PP2 18-34 User manual

Gronomics

Gronomics PP2 18-34 User manual

Gronomics EGB 34-48 User manual

Gronomics

Gronomics EGB 34-48 User manual

Gronomics EPB 24-82 User manual

Gronomics

Gronomics EPB 24-82 User manual

Gronomics VG 32-45 User manual

Gronomics

Gronomics VG 32-45 User manual
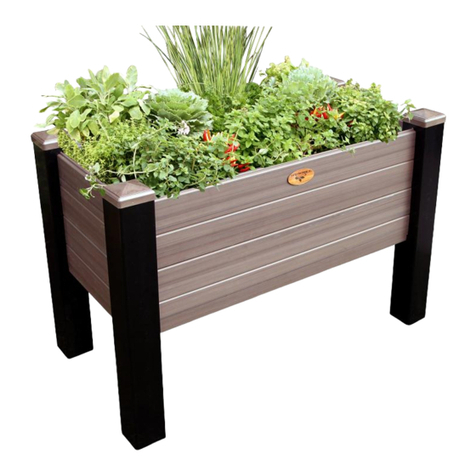
Gronomics FT 24-72 User manual

Gronomics

Gronomics FT 24-72 User manual

Gronomics PTBT 39-39 User manual

Gronomics

Gronomics PTBT 39-39 User manual

Gronomics MFEGB 24-36 User manual

Gronomics

Gronomics MFEGB 24-36 User manual
Popular Outdoor Furnishing manuals by other brands

Replas Premier 3S FS 1800 Assembly instructions

Replas

Replas Premier 3S FS 1800 Assembly instructions

real living ROCKBRIDGE GBO22-019-2 Assembly instructions

real living

real living ROCKBRIDGE GBO22-019-2 Assembly instructions

Tuindeco Platdak Oslo XL 42.7905 Assembly instructions

Tuindeco

Tuindeco Platdak Oslo XL 42.7905 Assembly instructions

U-Line H-5871 manual

U-Line

U-Line H-5871 manual

Costway NP10247 user manual

Costway

Costway NP10247 user manual

Hanover Lavallette 5-Piece Dining Set LAVDN5PCSW-BLU owner's manual

Hanover

Hanover Lavallette 5-Piece Dining Set LAVDN5PCSW-BLU owner's manual

Costway HW63212 user manual

Costway

Costway HW63212 user manual

Abble 300319 Assembly instructions

Abble

Abble 300319 Assembly instructions

Gazebo penguin PSM0404 instruction manual

Gazebo penguin

Gazebo penguin PSM0404 instruction manual

Clas Ohlson 710.032.013 manual

Clas Ohlson

Clas Ohlson 710.032.013 manual

Belson Outdoors T40-02 instruction sheet

Belson Outdoors

Belson Outdoors T40-02 instruction sheet

Tournesol Siteworks Wilshire Screen Assembly instructions

Tournesol Siteworks

Tournesol Siteworks Wilshire Screen Assembly instructions

AuthenTeak Kingsley-Bate BO77 Assembly instructions

AuthenTeak

AuthenTeak Kingsley-Bate BO77 Assembly instructions

Costco A102009700 manual

Costco

Costco A102009700 manual

Verano Tumba V642 manual

Verano

Verano Tumba V642 manual

Allen + Roth FRM80974R-YD quick start guide

Allen + Roth

Allen + Roth FRM80974R-YD quick start guide

sweeek. ELUSA PGSKD3X3 manual

sweeek.

sweeek. ELUSA PGSKD3X3 manual

Costway Acacia HW66353 user manual

Costway

Costway Acacia HW66353 user manual

manuals.online logo
manuals.online logoBrands
  • About & Mission
  • Contact us
  • Privacy Policy
  • Terms and Conditions

Copyright 2025 Manuals.Online. All Rights Reserved.