6. Dismantling and assembly
WARNING
Before starting any service work, remove the fuses or
switch off the power supply. Make sure that the power
supply cannot be accidentally switched on.
All rotating parts must have stopped moving.
WARNING
All regulations applying to mixers or flowmakers installed
in potentially explosive environments must be observed.
Make sure that no work is carried out in potentially
explosive environment.
Before starting any work on mixers or flowmakers used in liquids
which could constitute a hazard to health, thorough cleaning/venting
of mixer or flowmaker, tank, etc. must be carried out according to
local regulations.
6.1 Explosion-proof versions
Explosion-proof versions must be serviced and repaired by
Grundfos or by a service partner appointed by Grundfos.
Spare parts
Damaged parts should always be replaced by new approved parts.
Motor parts must not be reconditioned by machining, retapping,
welding, etc.
6.2 General information
Position numbers of parts (digits) refer to section Sectional
drawings.
Before dismantling
• Switch off the power supply.
• Disconnect the power supply cable in accordance with local
regulations.
Before assembly
• Clean and check all parts.
• Replace defective parts by new parts.
• Order the necessary service kits.
• Always replace gaskets and O-rings.
During assembly
• Lubricate and tighten screws and nuts according to section
Tightening torques and lubricants.
Related information
4. Tightening torques and lubricants
7. Sectional drawings
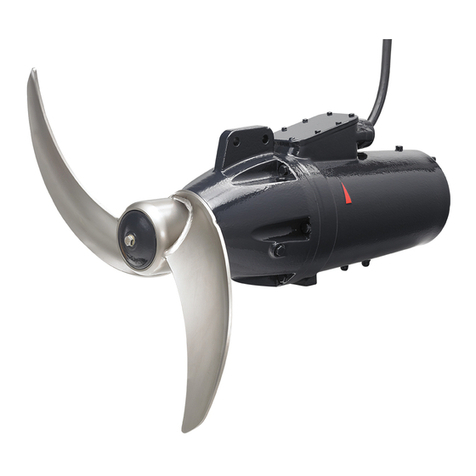
6.3 Dismantling
6.3.1 Propeller
1. Remove screw (pos. 1113), cover plates (pos. 1132) and washer
(pos. 1114) from the propeller blade.
2. Refit screw (pos. 1113) and tap on the end of the screw to
loosen the blade from the hub.
3. Carefully lift the blade out of the hub with a suitable lifting
equipment.
6.3.2 Hub
1. Remove upper plug (pos. 1102).
2. Remove plug (pos. 1101) and drain the oil into a suitable
container.
3. Remove screw (pos. 1111), washer (pos. 1110) and hub cover
(pos. 1109).
4. Unlock lock washer (pos. 1107) from slotted nut (pos. 1106).
5. Remove outer slotted nut (pos. 1106) with a suitable tool.
6. Remove lock washers (pos. 1107).
7. Remove inner slotted nut (pos. 1106).
8. Remove O-ring (pos. 1108) or gasket (pos. 1157) from the
propeller.
9. Gently tap on the back of the propeller with a plastic hammer to
remove it from the shaft.
6.3.3 Sealing system of propeller hub and gear casing
1. Remove lip seals (pos. 1104) from the inside of the hub.
2. Remove key (pos. 1105) from the shaft.
3. Remove sleeve (pos. 1096) from wear ring (pos. 1097).
Caution Take care not to damage the surface of the wearing
ring.
4. Remove rotating shaft seal part (pos. 1098) from gear shaft
(pos. 1093).
5. Gently tap on the side of the wear ring to remove it from the
gear casing.
6. Remove stationary shaft seal part (pos. 1098) from the wear
ring.
7. Remove intermediate ring (pos. 1095) from the wear ring.
6.3.4 Motor and cable
1. Place the motor in vertical position with the shaft upwards.
Remove plug (pos. 1052) and drain the oil into a suitable
container.
2. Place the motor in horizontal position with the terminal box
upwards.
3. Remove screws (pos. 1024).
4. Cut with a knife along terminal box cover (pos. 1023) to protect
the paint.
5. Remove the terminal box cover and O-ring (pos. 1025).
6. Write down the numbers on the wires to ensure correct
connection.
7. Disconnect the cable conductors from the motor windings
including screw (pos. 1028).
8. Remove cable relief (pos. 1009) from cable (pos. 1001).
9. Cut with a knife between the terminal box and cable flange (pos.
1002) to protect the paint.
10. Remove screws (pos. 1008), cable flange (pos. 1002) and cable
(pos. 1001).
11. Remove small cable seal (pos. 1006), thrust washer (pos.
1005), large cable seal (pos. 1004), cable guide (pos. 1003) and
cable flange (pos. 1002) with O-ring (pos. 1007).
12. Place the motor in vertical position with the shaft upwards.
13. Remove screws (pos. 1021).
14. Cut with a knife between motor flange (pos. 1020) and motor
housing (pos. 1017) to protect the paint.
15. Screw two screws into the threaded holes of the motor flange to
separate the motor flange and motor housing.
16. Remove the motor flange from the motor housing.
Note Take care not to damage the wires of water-in-oil
sensor (pos. 1049).
17. Remove water-in-oil sensor (pos. 1049).
18. Remove seal washer (pos. 1173) from the water-in-oil sensor.
19. Place the motor in horizontal position.
20. Remove compensation disc (pos. 1038) from the N-end of the
motor housing.
21. Remove bearing (pos. 1039) from rotor shaft (pos. 1019).
22. Place the motor flange and rotor in a hydraulic press and
separate them using a special pin tool.
23. Remove bearing (pos. 1047) from the rotor shaft.
10
English (GB)
