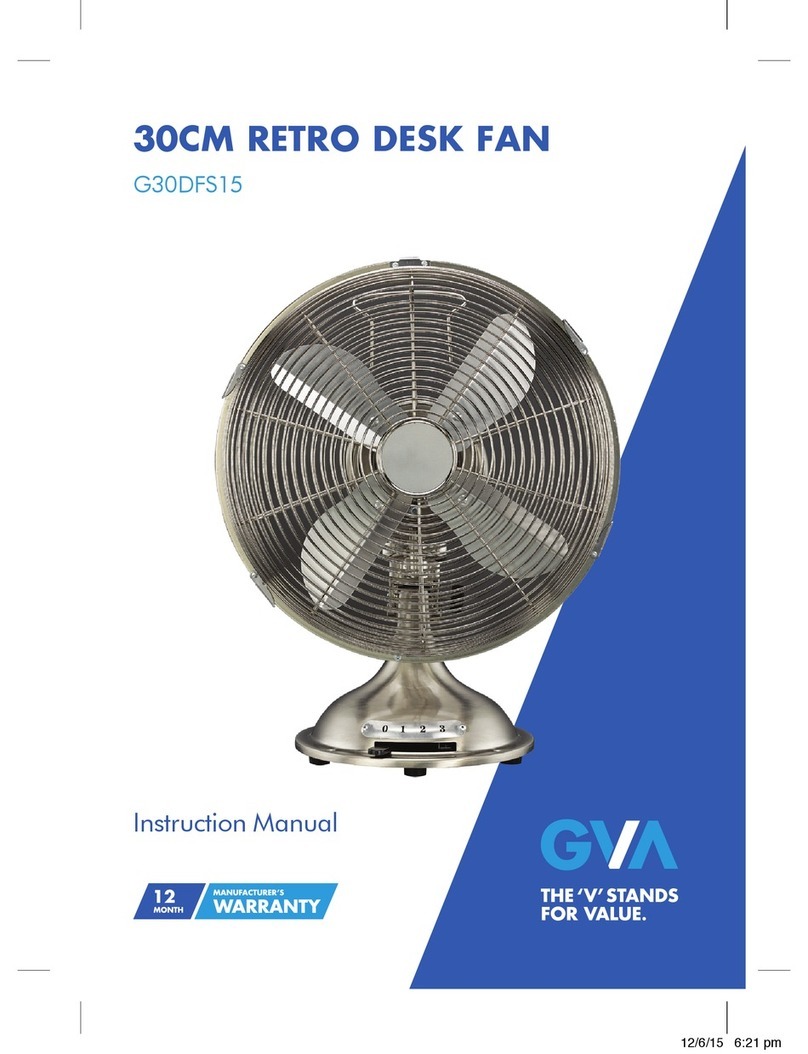
GVA G30DFC15 User manual

Instruction Manual
G30DFC15
30CM RETRO DESK FAN

Contents
1
Guide to the Appliance 2
Caring for the Environment 3
Safety Information and Warnings 4
Assembly Instructions 5
Operation Instructions 6
Care and Maintenance 7
Technical Specications 8

Guide to the Appliance
2
1. Grill
2. Tilt Control
3. Blade
4. Speed Control Switch
5. Oscillation Control
6. Base
NOTE: Due to production improvements, the appliance may differ slightly from the diagram shown.
Diagrams in this instruction manual are for reference only.
3
5
2
6
1
4

Caring for the Environment
3
Responsible disposal of the packaging
The packaging of your appliance has been selected from environmentally friendly materials and can usually be
recycled. Please ensure these are disposed of correctly.
Plastic wrapping can be a suffocation hazard for babies and young children, please ensure all packaging materials
are out of reach and are safely disposed of. Please ensure they are offered for recycling rather than throwing these
materials away.
Responsible disposal of the appliance
At the end of its working life, do not throw this appliance out with your household rubbish. An environmentally
friendly method of disposal will ensure that valuable raw materials can be recovered and used again.
Electrical and electronic appliances contain materials and substances which, if handled or disposed of incorrectly,
could be potentially hazardous to the environment and human health.
Observe any local regulations regarding the disposal of electrical consumer goods and dispose of it appropriately
for recycling.
The plug must be rendered useless and the cable cut off directly behind the appliance or the machine to
prevent misuse.

Safety Information and Warnings
4
Thank you for choosing this GVA product. This GVA appliance has been designed and manufactured to high
standards of engineering and with proper use and care, as described in this leaet, will give you years of useful
service. Please read these instructions carefully and keep them for future reference.
1. only the voltage specied on the rating label of the
appliance.
2. Keep all objects at least 1 metre from the front, sides
and rear of the appliance. Do not place appliance
close to radiant heat source.
3. Do not operate in areas where petrol, paint or other
ammable liquids are used or stored.
4. Do not insert or allow foreign objects to enter any
ventilation or exhaust opening, as this may cause an
electric shock, re or damage to the appliance. Do
not sit on the appliance.
5. Do not operate this appliance with a damaged cord,
plug or after the appliance malfunctions or has been
dropped or damaged in any manner. Return to a
qualied electrical person for examination, electrical
service or repair.
6. This appliance is intended for household use only
and not for commercial or industrial use.
7. Use this appliance only as described in this
manual. Any other use is not recommended by the
manufacturer and may cause re, electrical shock or
injury.
8. The common cause of overheating is deposits of dust
or uff in the appliance. Ensure these deposits are
removed regularly by unplugging the appliance and
vacuum cleaning the air vents and grills.
9. Do not use abrasive cleaning products on this
appliance. Clean with a damp cloth (not wet) rinsed
in hot soapy water only. Always remove plug from
the mains supply before cleaning.
10. Do not connect the appliance to mains supply until
completely assembled and adjusted.
11. Switch off when moving the appliance.
12. Do not operate with cord set coiled up as a heat
build up is likely, which could be sufcient to
become a hazard.
13. It is recommended that this appliance is plugged
directly into the wall socket. Power boards are not
rated to supply power to high wattage appliances.
14. A correctly specied, undamaged extension cord
may be used with this appliance provided it is used
in a safe manner.
15. Do not remove plug from power socket until the
appliance has been switched off.
16. Do not remove plug from power socket by pulling
cord; always grip plug.
17. Always unplug appliance when not in use.
18. Do not locate the appliance directly below any
power socket during operation.
19. Do not twist, kink or wrap the cord around the
appliance, as this may cause the insulation to
weaken and split. Always ensure that all of the cord
has been removed from any cord storage area and
is unrolled before use.
20. This appliance is not intended for use by persons
(including children) with reduced physical, sensory
or mental capabilities or lack of experience and
knowledge, unless they are supervised or have been
given instruction concerning the use of the appliance
by a person responsible for their safety..
21. Do not use this appliance in the immediate
surrounds of a bath, a shower, or a swimming
pool or other liquids. The appliance must not be
immersed in any liquids.
22. When the appliance has been unpacked, check
it for transport damage and ensure all parts have
been delivered. If parts are missing or the appliance
has been damaged, contact GVA after sales
support.
23. If your appliance does not work, or is not working
properly, contact the place of purchase or GVA
after sales support. Repair work on the appliance
by unqualied persons can cause serious risk to the
user.
24. There are no user serviceable parts installed in the
appliance.
25. Do not place the appliance in wardrobes or other
enclosed spaces as this may cause re hazards.
26. This appliance is not supposed to be used in or
around locations where foodstuffs, works of art or
delicate articles of science, etc are stored.
27. Indoor use only.
28. Children should be supervised to ensure that they
do not play with the appliance.
29. Ensure appliance is on a at, stable, heat-resistant
surface.
30. It is important that you do not cover this appliance.

Assembly Instructions
5
1. Front Grill
2. Blade
3. Rear Guard Fixing Screws
4. Rear Grill
5. Fan Blade Shaft
6. Motor
7. Oscillation Control
8. Control Switch
9. Knob
10. Pipe
11. Base
12. Locating Ring
13. Base Locking Screw
The Fan head and the pipe are assembled.
Unscrew the Fastener & Ring and Base Locking Screw from the Pipe.
Insert the Pipe through the hole in the centre of the Base and twist into position.
Secure the Pipe to the Base with the Fastener, Locating Ring and Base Locking Screw, in that order. (see picture
above)
Fasten the Rear Grill onto the Motor with the four Rear Grill Screws provided.
Install the Fan Blade onto the Fan Blade Shaft and tightening the Blade Screw onto the shaft
Centre the Front Grill by aligning the logo on the grill Hub so it is horizontal and parallel to the oor. Then secure the
Front and Rear Grills completely together by snapping grill clips into place. Lastly, insert and tighten the Grill Locking
Screw at the bottom of the Rear Grill.

Operation Instructions
NOTE: Always choose a safe location for the appliance, keeping in mind the safety precautions outlined. Ensure
all packaging has been removed from the appliance before use. This appliance requires no installation, it should
be used solely as a portable appliance.
WARNING keep all objects at least 1 metre from the front, sides and rear of the appliance.
Fan control switch
The control switch positions are:
0 = OFF
1 = Low Speed
2 = Medium Speed
3 = High Speed
Place the Fan on a dry, level and sturdy surface.
Plug the power cord into the socket, making sure the speed control is at OFF position.
To operate the fan turn speed control dial clockwise until desired wind speed is achieved.
Adjust the tilt by loosening the screw on the side of the neck and tilting the fan head to the desired wind direction
(i.e. either upward or downward) and then retighten the screw.
To activate the oscillation function, push down the oscillation pin on the top of the motor. The fan will then oscillate
until the pin is pulled back up.
CAUTION do not leave the appliance operating unattended.
WARNING do not cover this appliance.
6

Care and cleaning
To avoid risk of electric shock, before cleaning, you MUST ALWAYS switch off and unplug the Fan before cleaning.
Use only a soft, damp cloth to gently wipe the Fan and dry well.
Do not immerse the Fan in water and never allow water to enter the motor housing.
To access the fan blade, unclip the front guard clips and remove securing screw.
Do not use harsh chemicals to clean the Fan.
Do not use this appliance with a programmer, timer, separate remote-control system or any other device that
switches the appliance on automatically.
Do not attempt to dismantle the appliance. There are no user serviceable parts. For service or repair, contact an
authorised electrical service technician.
Proof of purchase
To receive warranty retain receipt as proof of purchase.
Care and Maintenance
7

Technical Specifications
Model No: G30DFC15
Supply: 220-240VAC 50Hz
Wattage: 35W
Subject to technical change without notice
8

M.E.W. (Australia) Pty Ltd
15 Vaughan St
Essendon Fields VIC 3041
ACN 152 719 036
1300 725 885
customercare@gvaproducts.com.au
gvaproducts.com.au
While every effort has been made in the preparation of this instruction manual, the publishers cannot be held
responsible for the accuracy of the information contained herein or any consequences arising from it.
This manual suits for next models
1
Table of contents
Other GVA Fan manuals
Popular Fan manuals by other brands

Craftmade
Craftmade Union UN52-LED installation guide

iCES
iCES IFS-1045 instruction manual

Broan
Broan B6LC Installation, operation and service instructions

Kichler Lighting
Kichler Lighting Lija instruction manual

Sulion
Sulion NATI quick start guide

Fanimation
Fanimation Bourbon Street FP510 Series owner's manual

NMB-MAT
NMB-MAT 3115PS Specification sheet

Panasonic
Panasonic Whisper Value-Lite FV-10VSL2 Service manual

Monte Carlo Fan Company
Monte Carlo Fan Company 5DI44 Owner's guide and installation manual

TJERNLUND
TJERNLUND GPAK-J manual

Litex Industries
Litex Industries RCE-103LW Installation and operating instructions

Flexit
Flexit ProNordic S Series Start-Up Checklist