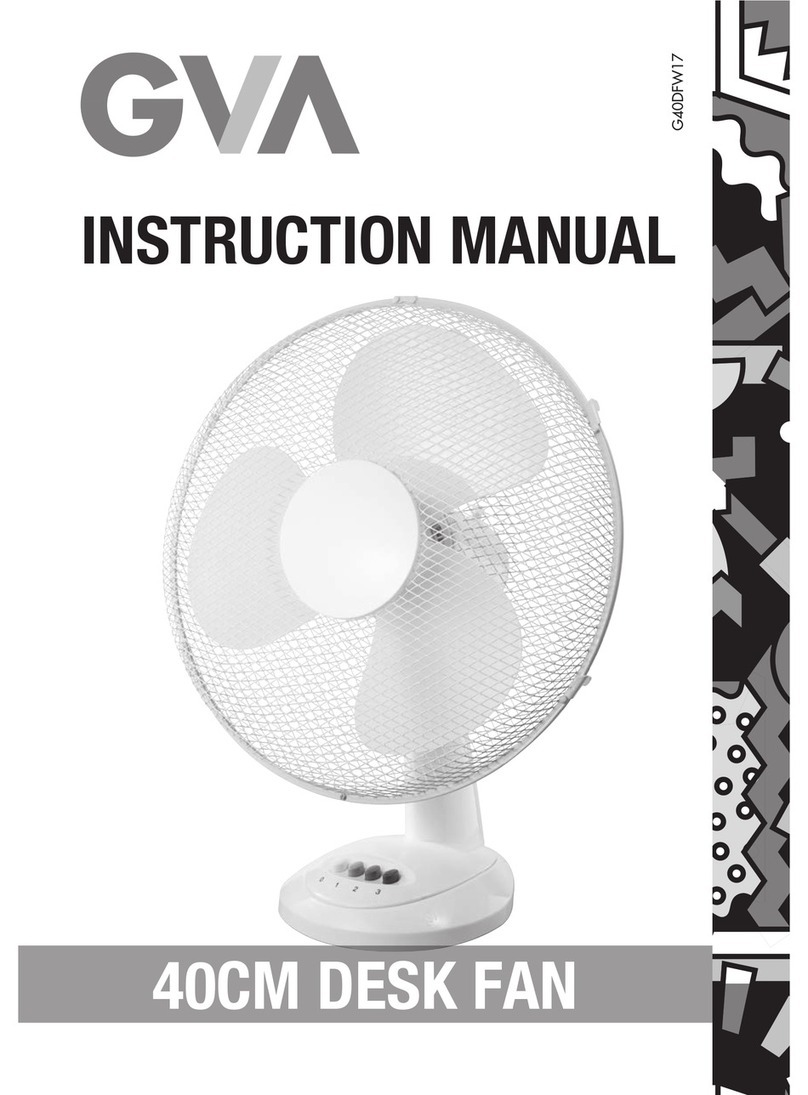
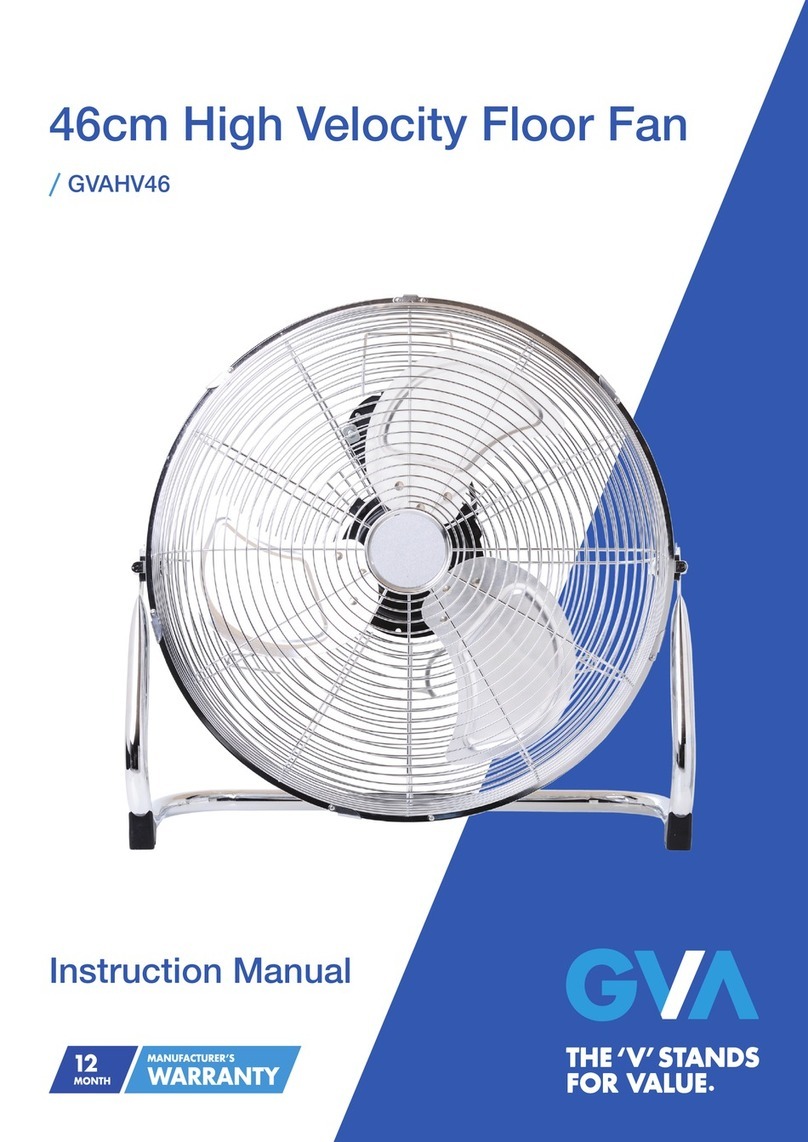
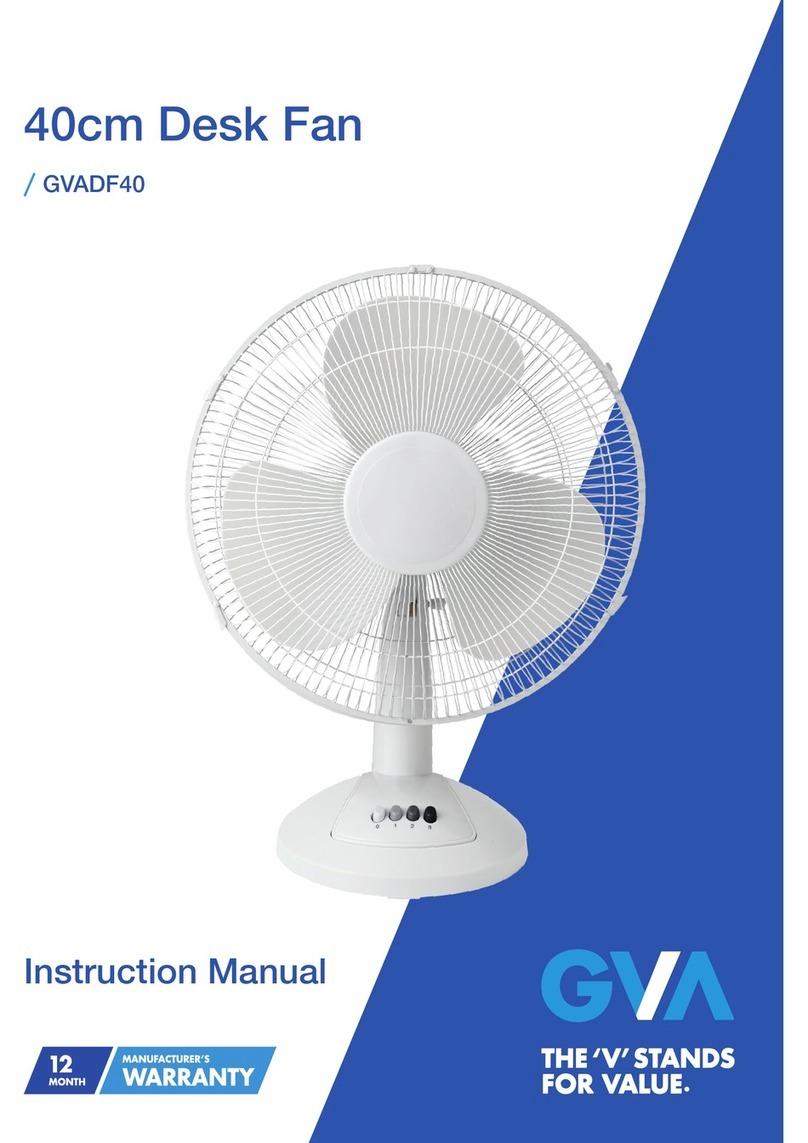
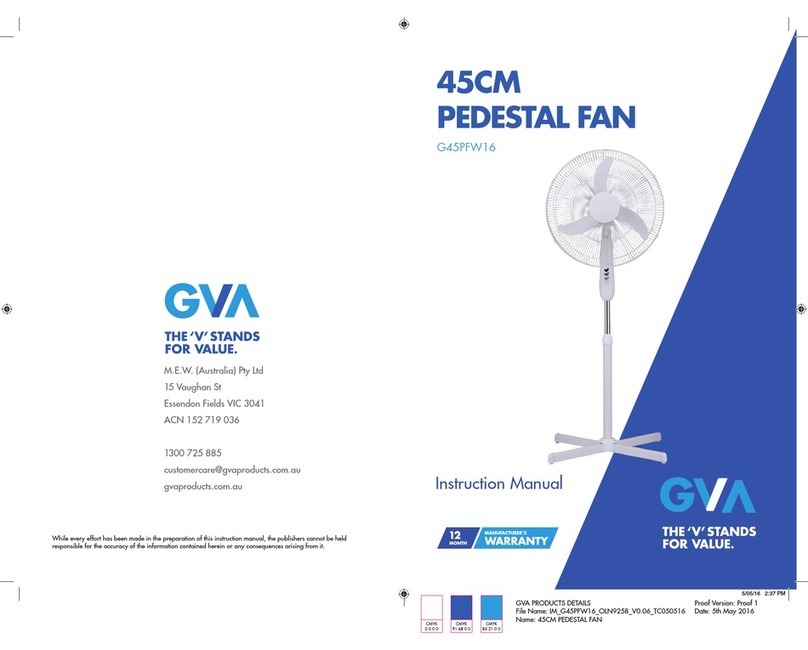
GVA G40PFW17 User manual

INSTRUCTION MANUAL
40CM PEDESTAL FAN
G40PFW17

2
Contents
Guide to the Appliance 3
Caring for the Environment 3
Safety Information and Warnings 4-5
Items in the Box 5
Assembly and Operation 6-7
Operation of Your Pedestal Fan 8
Technical Specications 9
Care and Cleaning 9

3
Guide to the Appliance
1. Blade Assembly (inside)
2. Safety Grille
3. 3-Speed Push Button Control
4. Height Adjustable Ring
5. Topple Resistant / Non-Scratch Base
Caring for the Environment
Responsible disposal of the packaging
The packaging of your appliance has been selected from environmentally friendly materials and can
usually be recycled. Please ensure these are disposed of correctly.
Plastic wrapping can be a suffocation hazard for babies and young children, please ensure all
packaging materials are out of reach and are safely disposed of. Please ensure they are offered for
recycling rather than throwing these materials away.
Responsible disposal of the appliance
At the end of its working life, do not throw this appliance out with your household rubbish. An
environmentally friendly method of disposal will ensure that valuable raw materials can be recovered
and used again.
Electrical and electronic appliances contain materials and substances which, if handled or disposed of
incorrectly, could be potentially hazardous on the environment and human health.
The plug must be rendered useless and the cable cut off directly behind the appliance or the machine to
prevent misuse.
1
2
3
4
5

4
Safety Warnings
Read this Instruction Manual carefully before assembling or operating the appliance and keep it for
future reference. If you pass the product on to a third party, include these instructions.
When using electrical appliances, basic precautions should always be followed to reduce the risk of re,
electric shock and injury to persons, including the following:
1. To prevent re or shock hazard, DO NOT expose this appliance to rain or moisture.
2. Dangerous high voltages are present inside this enclosure. To avoid electric shock, DO NOT open
the cabinet. Refer servicing to qualied personnel only.
3. This appliance is intended for household use only and not for commercial, industrial or outdoor use.
Other use not recommended may cause re, electric shock or injury.
4. Make sure the fan is not placed near drapes, curtains, or any objects that may be drawn into the
fan.
5. To protect against re, electrical shock and injury to persons, do not immerse, plug or cord the unit
in water or spray it with liquids.
6. The apparatus shall not be exposed to dripping or splashing and no objects lled with liquids, such
as vases, shall be placed on the product.
7. No naked ames sources, such as candles, should be placed on the product.
8. Ventilation should not be impeded by covering the ventilation openings. Slots and opening
are provided for ventilation to ensure reliable operation of the product and to protect it from
overheating.
9. Place the fan on a stable level surface when operating to avoid overturning.
10. Only connect to a suitably AC 220-240V~50Hz mains socket.
11. Do not operate the fan in the presence of explosive and/ or ammable fumes. Do not place the fan
or any parts near an open ame, cooking or other heating appliance.
12. Do not operate the fan with a damaged cord or plug, after a malfunction or if it is dropped or
damaged in any manner.
13. Do not place the fan close to an open window. Rain splashing on the fan could cause an electric
shock hazard.
14. Do not use fan near curtains, plants, window treatment, or where other objects can become caught
in the blades. Do not let the power cord hang over the edge of a table or counter or let it touch any
hot surfaces.
15. This appliance is not intended for use by persons (including children) with reduced physical,
sensory or mental capabilities, or lack of experience and knowledge, unless they have been given
supervision or instruction concerning use of the appliance by a person responsible for their safety.
16. Children should be supervised to ensure that they do not play with the appliance.

5
17. Do not leave the appliance running or operable in a place where young children or animals could
have access to it without supervision.
18. Turn the fan OFF and unplug it from the outlet when it is not in use, when moving fan from one
location to another and before cleaning.
19. To disconnect, grip the plug and pull it from the wall outlet. Never pull by the cord.
20. Do not attempt to repair, disassemble or modify the appliance. There are no user-serviceable parts
inside.
21. If the fan is knocked over during use, turn off the unit and unplug it from the mains socket
immediately.
22. Do not operate your fan in the bathroom.
23. Never allow children to point their ngers into any power sockets or moving parts.
24. Do not operate this appliance with anything other than your hands. Do not use the appliance with
wet hands.
25. The use of attachments which are not recommended or sold by the appliance manufacturer may
cause a risk of injury to persons.
Warnings
Do not insert or allow foreign objects to enter the grille openings as this may cause damage to the
appliance and/or injury to the user.
Do not use the fan if the grille becomes damaged or loose.
Do not use the fan without fully assembled. The fan must operate standing upright.
Do not operate without the fan grilles properly in place. Do not use if grille becomes deformed,
damaged or loosen to avoid injury to persons.
If the supply cord is damaged, it must be replaced by the manufacturer, its service agent
or similarly qualied persons in order to avoid a hazard.
Do not use hazardous chemicals to clean or come into contact with the fan. Never attempt to use the fan
without the base parts assembled or in a horizontal position.
The appliance is only intended for the purpose described in the user manual. Do not use the appliance
or any part of the appliance out of the intended use to avoid risk.
Fan slots and oscillating feature are a potential nger entrapment hazard for toddlers and small
children. Parental supervision is required.
When the fan is assembled, the fan guard should not be taken off anymore.

6
Items in the Box
Contents included in the box
Assembly and Operation
Your Pedestal Fan has been boxed unassembled to minimise packaging waste. Each part is designed to
t together and be disassembled easily for cleaning or storage.
Assemble the base to the support pole using the fasteners provided.
Place the base cover over the cross base.
Loosen the height adjustable ring and extend the support pole to your desired height.
Retighten the height adjustment ring to prevent slipping, then place the fan assembly onto the pole and
tighten the pole screw manually.
To assemble the safety grille and blade assembly, remove locking nut (by turning it anticlockwise) from
the motor housing.
Main Unit Instruction Manual

7
Place the back safety grille into position.
Ensure the safety grille ts onto the locating lugs (Fig. 1). If this is done correctly. The hole for xing
screw and nut will be at the bottom.
Fix the safety grille into position by replacing the locking nut tightly by hand (Fig. 1). Do not force the
locking nut.
Fig. 1 - Locating lugs and locking nut
Locking nut
(Fig.1)
The groove in the centre of the fan blade aligns with a T-bar on the motor spindle to ensure correct
positioning.
Fix the blade into place by gently hand tightening the spinner (Fig. 2) anticlockwise onto the end of the
motor spindle. The spinner is self-tightening; do not force it. (Fig. 2 Spinner tightens anti-clockwise)
(Fig.2)
Lift out all locking clips on the front safety grille. (Fig.3)
(Fig.3)
Place the safety grille into position and secure it by fastening the clips over the outer rim. The screw and
nut at the bottom of the grille must be tted (Fig. 4).
(Fig. 4)

8
Operation of Your Pedestal Fan
Remove the cable tie and unravel the cable before operation.
This pedestal fan incorporates an adjustable tilt head for greater air coverage. To adjust the angle of
the motor head, loosen tilt-adjustable knob, securely holding the shaft of the pedestal tube, simply lift or
lower the motor head housing, the head will click as it is being adjusted, then tighten the tilt-adjustable
knob.
Press button 1 for a low speed, 2 for a medium speed and 3 for a high speed. Press 0 to switch the
Pedestal Fan off.
To blow air in one direction and stop oscillation, allow the Pedestal Fan to move into the desired position
and pull the clutch knob up. Press the clutch knob down to return to a normal oscillating function (Fig.5).
Clutch (Fig.5)

9
Specications
Voltage: 220-240V, 50Hz,
Power consumption: 38W
Insulation class: Class II
Climate class: T
NOTE: As a result of continual improvements, the design and specications of the product within may
differ slightly to the unit illustrated on the packaging.
Care and Cleaning
Always disconnect electrical appliances before cleaning them.
Wipe them clean with a slightly damp sponge.
Clean the motor housing and body assembly with a clean, damp cloth and wipe dry.
Never spray the Pedestal Fan with liquids or submerge it in water or any other liquid.

10
Notes

11
Notes

12
M.E.W. (Australia) Pty Ltd.
15 Vaughan Street Essendon Fields, Vic 3041
ACN 152 719 036
After sales support: Aus - 1300 725 885
gvaproducts.com.au
While every effort has been made in the preparationof
this Instruction Manual, the publishers can not be
held responsible for the accuracy of the information
containedherein or any consequences arising from it. E2284
Table of contents
Other GVA Fan manuals
Popular Fan manuals by other brands

Goldair
Goldair GCPF160 operating instructions

KDK
KDK 25TGQ7 Installation and operating instruction manual

STIEBEL ELTRON
STIEBEL ELTRON LWZ 130 Operation and installation instructions

NOMA
NOMA 043-7023-2 user manual

Casablanca
Casablanca M6020-01 user manual

Soleus Air
Soleus Air FF-50-A operating instructions

Trox Hesco
Trox Hesco QL-WE-O Assembly instructions

Makita
Makita DCF300 instruction manual

Makita
Makita DCF201Z instruction manual

LUNOR
LUNOR VA-40 operating manual

PennBarry
PennBarry RAU Operation and maintenance manual

Delta Electronics
Delta Electronics GFB0812DHU Dimensions and installation information