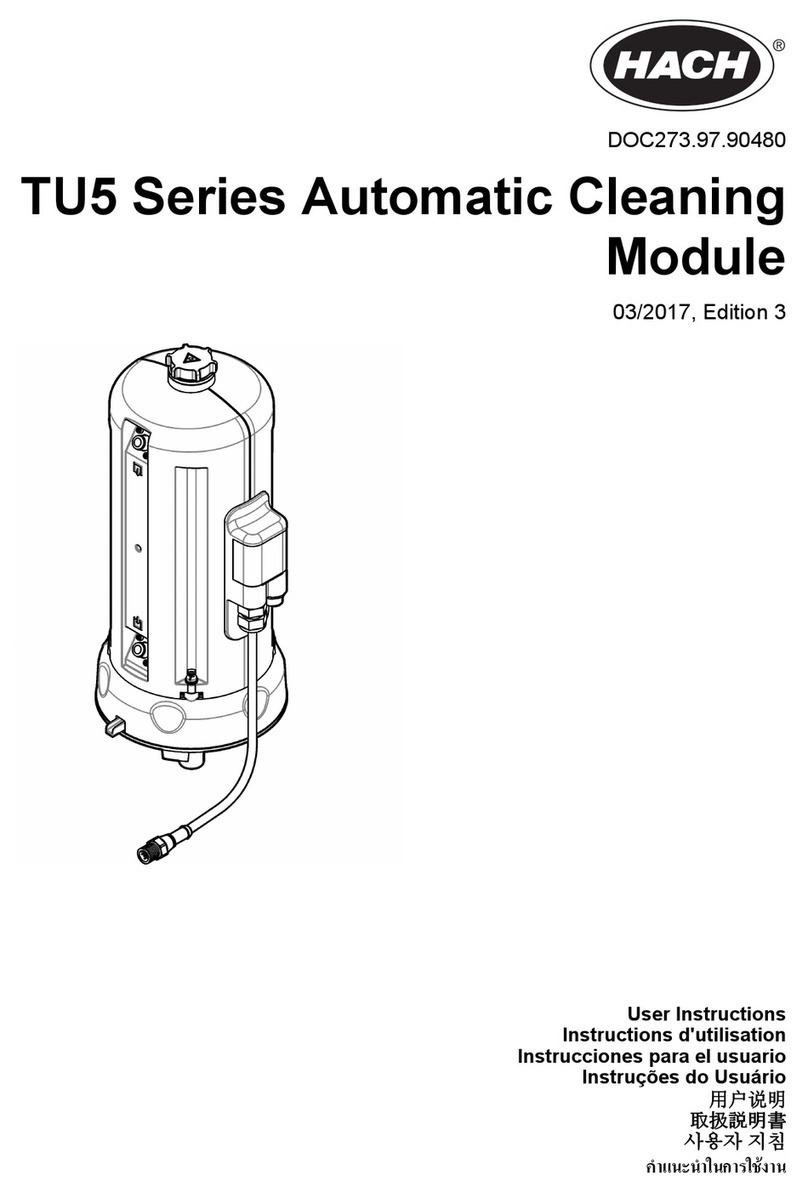
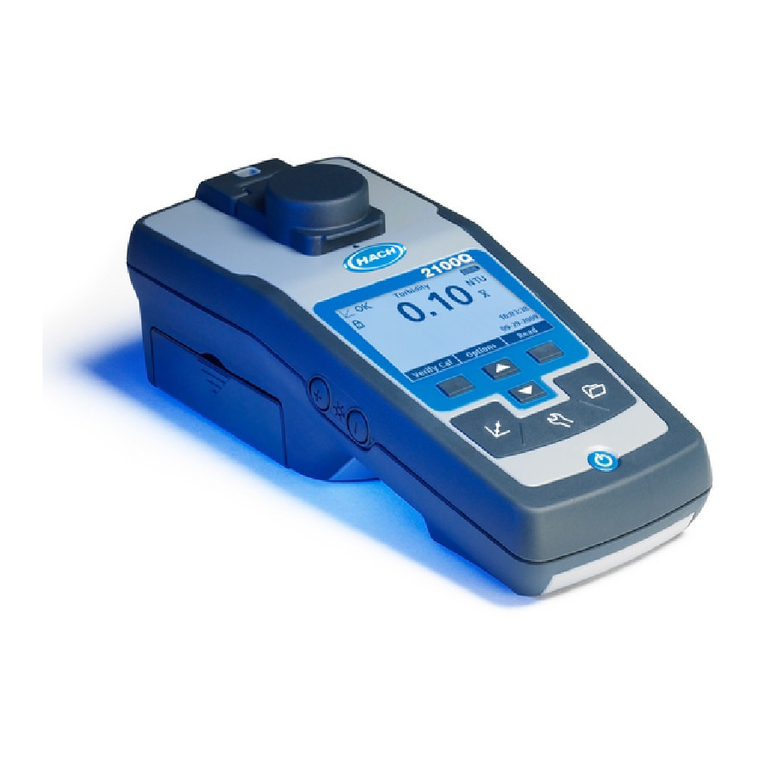
Hach TU5 Series User manual

DOC273.97.90480
TU5 Series Automatic Cleaning
Module
09/2019, Edition 4
User Instructions
Instructions d'utilisation
Instrucciones para el usuario
Instruções do Usuário
使用说明
取扱説明書
사용자 지침
คำแนะนำในการใช้งาน

Table of Contents
English..............................................................................................................................3
Français......................................................................................................................... 19
Español.......................................................................................................................... 36
Português...................................................................................................................... 53
中文................................................................................................................................. 70
日本語............................................................................................................................. 86
한글............................................................................................................................... 103
ไทย.................................................................................................................................. 119
2

Table of Contents
1 General information on page 3
2 Installation on page 6
3 Startup on page 12
4 Operation on page 12
5 Maintenance on page 13
6 Replacement parts and accessories on page 18
Section 1 General information
In no event will the manufacturer be liable for direct, indirect, special, incidental or consequential
damages resulting from any defect or omission in this manual. The manufacturer reserves the right to
make changes in this manual and the products it describes at any time, without notice or obligation.
Revised editions are found on the manufacturer’s website.
1.1 Safety information
N O T I C E
The manufacturer is not responsible for any damages due to misapplication or misuse of this product including,
without limitation, direct, incidental and consequential damages, and disclaims such damages to the full extent
permitted under applicable law. The user is solely responsible to identify critical application risks and install
appropriate mechanisms to protect processes during a possible equipment malfunction.
Please read this entire manual before unpacking, setting up or operating this equipment. Pay
attention to all danger and caution statements. Failure to do so could result in serious injury to the
operator or damage to the equipment.
Make sure that the protection provided by this equipment is not impaired. Do not use or install this
equipment in any manner other than that specified in this manual.
1.1.1 Use of hazard information
D A N G E R
Indicates a potentially or imminently hazardous situation which, if not avoided, will result in death or serious injury.
WARNING
Indicates a potentially or imminently hazardous situation which, if not avoided, could result in death or serious
injury.
CAUTION
Indicates a potentially hazardous situation that may result in minor or moderate injury.
N O T I C E
Indicates a situation which, if not avoided, may cause damage to the instrument. Information that requires special
emphasis.
1.1.2 Precautionary labels
Read all labels and tags attached to the instrument. Personal injury or damage to the instrument
could occur if not observed. A symbol on the instrument is referenced in the manual with a
precautionary statement.
Electrical equipment marked with this symbol may not be disposed of in European domestic or public
disposal systems. Return old or end-of-life equipment to the manufacturer for disposal at no charge to
the user.
This symbol, if noted on the instrument, references the instruction manual for operation and/or safety
information.
English 3
This symbol indicates that a risk of electrical shock and/or electrocution exists.
This symbol indicates the need for protective eye wear.
This symbol indicates a laser device is used in the equipment.
This symbol identifies a risk of chemical harm and indicates that only individuals qualified and trained
to work with chemicals should handle chemicals or perform maintenance on chemical delivery
systems associated with the equipment.
This symbol indicates radio waves.
This symbol indicates the presence of a strong magnetic field.
1.2 Product overview
WARNING
Pacemaker precautions. The instrument has an internal magnet. Keep the instrument a minimum of
5 cm (2 in.) from the user. A magnetic field can:
• Stop the stimulating pulses from the pacemaker that control the rhythm of the heart.
• Cause the pacemaker to supply the pulses irregularly.
• Cause the pacemaker to ignore the rhythm of the heart and supply pulses at a set interval.
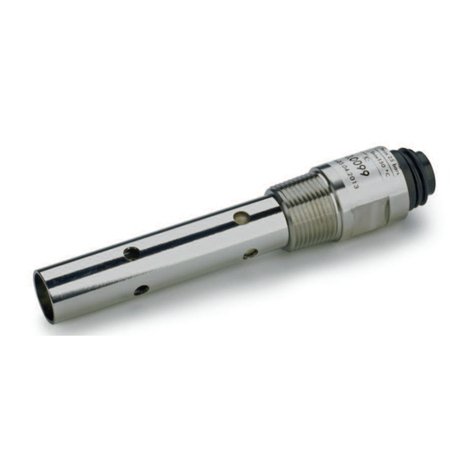
The automatic cleaning module is an accessory for the TU5300 sc and the TU5400 sc turbidimeters.
Refer to Figure 1. The automatic cleaning module cleans the vial at a selected time interval or
turbidity reading limit. As an alternative, start the cleaning manually or with a Modbus connection.
4 English

Figure 1 Product overview
1 Sample outlet 5 Process vial
2 Service lid16 Vial replacement tool
3 Connector for the flow sensor or other accessories 7 Sample inlet
4 Automatic cleaning module cable
1.3 Product components
Make sure that all components have been received. Refer to Figure 2. If any items are missing or
damaged, contact the manufacturer or a sales representative immediately.
Figure 2 Product components
1 Automatic cleaning module 2 Silicone vial wiper (replacement) 3 Fiber vial wiper2
1For service use only
2Use the fiber vial wiper for more stringent cleaning requirements.
English 5

Section 2 Installation
WARNING
Pacemaker precautions. The instrument has an internal magnet. Keep the instrument a minimum of
5 cm (2 in.) from the user. A magnetic field can:
• Stop the stimulating pulses from the pacemaker that control the rhythm of the heart.
• Cause the pacemaker to supply the pulses irregularly.
• Cause the pacemaker to ignore the rhythm of the heart and supply pulses at a set interval.
CAUTION
Multiple hazards. Only qualified personnel must conduct the tasks described in this section of the
document.
2.1 Installation overview
Figure 3 shows the installation overview with all of the clearances necessary.
Install the turbidimeter and do a leakage test on the system. Refer to the turbidimeter documentation.
Then, install the Automatic Cleaning Module.
6 English

Figure 3 Installation overview
1 Service bracket 5 Sample inlet
2 Automatic cleaning module 6 Sample outlet
3 Flow regulator 7 TU5300 sc or TU5400 sc
4 Flow sensor (optional)
2.2 Install the service bracket
Refer to the TU5300 sc/TU5400 sc documentation to install the service bracket. The service bracket
is supplied with the turbidimeter.
2.3 Install the automatic cleaning module
WARNING
Explosion hazard. Make sure that the drain tube is free of all obstructions. If the drain tube has a
blockage or is pinched or bent, high pressure can build up in the instrument.
English 7

WARNING
Personal injury hazard. The sample line contains water under high water pressure that can burn skin if
hot. Qualified personnel must remove the water pressure and wear personal protective equipment
during this procedure.
N O T I C E
Do not let water get in the vial compartment or instrument damage will occur. Before the automatic cleaning
module is installed on the instrument, make sure that there are no water leaks. Make sure that all tubing is fully
seated. Make sure that the vial nut is tight.
N O T I C E
Hold the automatic cleaning module vertically when it is installed on the instrument or the vial can break. If the vial
breaks, water will get in the vial compartment and instrument damage will occur.
Set the controller power to off. If the turbidimeter is not plumbed, do illustrated steps 1A to 7A. If the
turbidimeter is plumbed, do illustrated steps 1B to 10B. Do a leakage test after plumbing of the
cleaning module. Make sure that there are no water leaks, then install the cleaning module on the
turbidimeter.
For more stringent cleaning requirements, replace the silicone vial wiper with the supplied fiber vial
wiper. Refer to Replace the wiper on page 17.
Tubing is supplied by the user. Refer to Replacement parts and accessories on page 18.
8 English

English 9

10 English

English 11

Section 3 Startup
3.1 Set the power to on
CAUTION
Personal injury hazard. Do not look into the vial compartment when the instrument is connected to
power.
After the Automatic Cleaning Module is installed, set the controller power to on.
Section 4 Operation
WARNING
Chemical exposure hazard. Obey laboratory safety procedures and wear all of the personal protective
equipment appropriate to the chemicals that are handled. Refer to the current safety data sheets
(MSDS/SDS) for safety protocols.
12 English

4.1 Set the automatic cleaning options
After the automatic cleaning module is installed, set the cleaning options.
1. Push menu.
2. Select SENSOR SETUP>[select analyzer]>CONFIGURE>CLEANING MODULE.
3. Select ON.
The menu options for the automatic cleaning module are shown on the display.
4. Select SENSOR SETUP>[select analyzer]>CONFIGURE>CLEANING.
5. Select an option.
Option Description
CLEAN. INTERVAL Sets the cleaning interval. Options: 2, 6 or 12 hours (default) or 1 or 7 days. The
frequency of the cleaning interval selected depends on the sample composition.
Note: To manually start a cleaning cycle, select SENSOR SETUP>[select
analyzer]>START WIPE.
WIPER REMINDER When set to on, the reminder for wiper replacement shows on the display when it is
time to replace the wiper (default: OFF).
CLEAN. LEVEL When set to on, a cleaning cycle is done when the reading is more than the
THRESHOLD setting (default: OFF).
When set to off, a cleaning cycle is done at the time frequency of the cleaning interval.
THRESHOLD Sets the threshold for a cleaning cycle. Options: 0 to 1000 NTU (or FNU).
Note: This menu option only shows when the CLEAN. LEVEL setting is set to on.
Use caution when the threshold is set. High turbidity levels may be the result of critical
process issues where immediate attention is necessary.
OUTPUT DELAY Sets the time for the hold condition of the output after the cleaning cycle. Options: 0 to
120 seconds (default: 30 seconds).
SOFT VERSION Shows the software version of the cleaning module
4.2 Show maintenance information of the cleaning module
1. Push menu.
2. Select SENSOR SETUP>[select analyzer]>DIAG/TEST>COUNTERS.
3. Select an option.
Option Description
WIPER REPLACE Shows the remaining number of wiper cycles before a wiper replacement is necessary.
VIAL TIME Shows the date of the last vial installation or replacement.
Section 5 Maintenance
WARNING
Burn hazard. Obey safe handling protocols during contact with hot liquids.
CAUTION
Multiple hazards. Only qualified personnel must conduct the tasks described in this section of the
document.
English 13

CAUTION
Personal injury hazard. Never remove covers from the instrument. This is a laser-based instrument and
the user risks injury if exposed to the laser.
CAUTION
Personal injury hazard. Glass components can break. Handle with care to prevent cuts.
N O T I C E
Do not disassemble the instrument for maintenance. If the internal components must be cleaned or repaired,
contact the manufacturer.
N O T I C E
Stop the sample flow to the instrument and let the instrument become cool before maintenance is done.
To set the output behavior during maintenance, push menu and select SENSOR
SETUP>TU5x00 sc>DIAG/TEST>MAINTENANCE>OUTPUT MODE.
5.1 Maintenance schedule
Table 1 shows the recommended schedule of maintenance tasks. Facility requirements and
operating conditions may increase the frequency of some tasks.
Table 1 Maintenance schedule
Task 1 year As necessary
Replace the vial on page 14 X3
Replace the wiper on page 17 X
Replace the tubing on page 18 X
5.2 Clean spills
CAUTION
Chemical exposure hazard. Dispose of chemicals and wastes in accordance with local, regional and
national regulations.
1. Obey all facility safety protocols for spill control.
2. Discard the waste according to applicable regulations.
5.3 Clean the instrument
Clean the exterior of the instrument with a moist cloth, and then wipe the instrument dry.
5.4 Replace the vial
N O T I C E
Keep water out of the vial compartment or instrument damage will occur. Before the automatic cleaning module is
installed on the instrument, make sure that there are no water leaks. Make sure that all tubing is fully seated.
Make sure that the green O-ring is in place to seal the vial. Make sure that the vial nut is tight.
3Sample conditions can increase the frequency of vial replacement.
14 English

N O T I C E
Hold the automatic cleaning module vertically when it is installed on the instrument or the vial can break.
If the vial breaks, water will get in the vial compartment and instrument damage will occur.
N O T I C E
Do not to touch or scratch the glass of the process vial. Contamination or scratches on the glass can cause
measurement errors.
N O T I C E
Based on the environmental conditions, is necessary to wait a minimum of 15 minutes to let the system
become stable.
Note: Make sure that no particles fall into the vial compartment.
1. Push menu.
2. Select SENSOR SETUP>[select analyzer]>DIAG/TEST>MAINTENANCE>VIAL
REPLACEMENT.
3. Complete the steps that show on the controller display. The date the vial was replaced is
automatically saved after the last screen shows.
Refer to the illustrated steps that follow to replace the vial. To protect the new vial from
contamination, use the vial replacement tool to install the vial.
At illustrated step 3, put the automatic cleaning module on its side on a flat surface if a service
bracket is not installed near the instrument.
English 15

16 English

5.5 Replace the wiper
To make sure that the vial is cleaned fully, replace the wiper periodically.
1. Push menu.
2. Select SENSOR SETUP>[select analyzer]>DIAG/TEST>MAINTENANCE>WIPER REPLACE.
3. Stop the sample flow.
4. Remove the cleaning module.
5. Remove the vial. Refer to steps 1 to 5 of Replace the vial on page 14.
6. Complete the steps that show on the controller display. Install the vial wiper (silicone or fiber) that
is applicable to the sample type. Refer to the illustrated steps that follow.
The date that the wiper was replaced is automatically saved after the last screen shows.
7. Install the vial. Refer to steps 8 to 12 of Replace the vial on page 14.
English 17

5.6 Replace the tubing
N O T I C E
Keep water out of the vial compartment or instrument damage will occur. Before the automatic cleaning module is
installed on the instrument, make sure that there are no water leaks. Make sure that all tubing is fully seated.
Make sure that the vial nut is tight.
Replace the tubing when the tubing has a blockage or has damage.
1. Set the flow shut-off valve to off. Install the automatic cleaning module on the service bracket.
Refer to steps 1 to 3 of Replace the vial on page 14.
2. Replace the tubing.
3. Set the flow shut-off valve to on. Make sure that there are no water leaks. Refer to steps 5B and
6B of Install the automatic cleaning module on page 7.
4. Install the automatic cleaning module on the turbidimeter. Refer to step 8B of Install the automatic
cleaning module on page 7.
Section 6 Replacement parts and accessories
WARNING
Personal injury hazard. Use of non-approved parts may cause personal injury, damage to the
instrument or equipment malfunction. The replacement parts in this section are approved by the
manufacturer.
Note: Product and Article numbers may vary for some selling regions. Contact the appropriate distributor or refer to
the company website for contact information.
Replacement parts
Description Item no.
Seal, process vial LZY918
Fiber vial wiper, automatic cleaning module LZQ176
Silicone vial wiper, automatic cleaning module LZQ165
Vial with seal, process LZY834
Vial replacement tool LZY906
Accessories
Description Quantity Item no.
Micro fiber cloth, vial cleaning 1 LZY945
Service bracket 1 LZY873
Tubing, inlet and outlet of TU5x00 sc, ¼ in. OD 4 m LZY911
18 English

Table des matières
1 Généralités à la page 19
2 Installation à la page 22
3 Mise en marche à la page 28
4 Fonctionnement à la page 28
5 Maintenance à la page 29
6 Pièces de rechange et accessoires à la page 34
Section 1 Généralités
En aucun cas le constructeur ne saurait être responsable des dommages directs, indirects, spéciaux,
accessoires ou consécutifs résultant d'un défaut ou d'une omission dans ce manuel. Le constructeur
se réserve le droit d'apporter des modifications à ce manuel et aux produits décrits, à tout moment,
sans avertissement ni obligation. Les éditions révisées se trouvent sur le site Internet du fabricant.
1.1 Consignes de sécurité
A V I S
Le fabricant décline toute responsabilité quant aux dégâts liés à une application ou un usage inappropriés de ce
produit, y compris, sans toutefois s'y limiter, des dommages directs ou indirects, ainsi que des dommages
consécutifs, et rejette toute responsabilité quant à ces dommages dans la mesure où la loi applicable le permet.
L'utilisateur est seul responsable de la vérification des risques d'application critiques et de la mise en place de
mécanismes de protection des processus en cas de défaillance de l'équipement.
Veuillez lire l'ensemble du manuel avant le déballage, la configuration ou la mise en fonctionnement
de cet appareil. Respectez toutes les déclarations de prudence et d'attention. Le non-respect de
cette procédure peut conduire à des blessures graves de l'opérateur ou à des dégâts sur le matériel.
Assurez-vous que la protection fournie avec cet appareil n'est pas défaillante. N'utilisez ni n'installez
cet appareil d'une façon différente de celle décrite dans ce manuel.
1.1.1 Informations sur les risques d'utilisation
D A N G E R
Indique une situation de danger potentiel ou imminent qui entraînera la mort ou de graves blessures si elle n'est
pas évitée.
AVERTISSEMENT
Indique une situation de danger potentiel ou imminent qui peut entraîner la mort ou de graves blessures si elle
n'est pas évitée.
ATTENTION
Indique une situation de danger potentiel qui peut entraîner des blessures mineures ou modérées.
A V I S
Indique une situation qui, si elle n'est pas évitée, peut occasionner l'endommagement du matériel. Informations
qui doivent être soulignées.
1.1.2 Etiquettes de mise en garde
Lisez toutes les informations et toutes les étiquettes apposées sur l’appareil. Des personnes peuvent
se blesser et le matériel peut être endommagé si ces instructions ne sont pas respectées. Tout
symbole sur l'appareil renvoie à une instruction de mise en garde dans le manuel.
Le matériel électrique portant ce symbole ne doit pas être mis au rebut dans les réseaux domestiques
ou publics européens. Retournez le matériel usé ou en fin de vie au fabricant pour une mise au rebut
sans frais pour l'utilisateur.
Si l'appareil comporte ce symbole, reportez-vous au manuel d'instructions pour consulter les
informations de fonctionnement et de sécurité.
Français 19

Ce symbole indique qu'il existe un risque de choc électrique et/ou d'électrocution.
Ce symbole indique la nécessité de porter des lunettes de protection.
Ce symbole indique qu'un dispositif laser est utilisé dans l'équipement.
Ce symbole identifie un risque chimique et indique que seules les personnes qualifiées et formées
pour travailler avec des produits chimiques sont autorisées à les manipuler ou à réaliser des
opérations de maintenance sur les systèmes associés à l'équipement et utilisant des produits
chimiques.
Ce symbole signale la présence d'ondes radioélectriques.
Ce symbole signale la présence d'un puissant champ magnétique.
1.2 Présentation générale du produit
AVERTISSEMENT
Précautions relatives aux stimulateurs cardiaques. L'instrument comporte un aimant interne.
Maintenez-le à une distance d'au moins 5 cm (2 pouces) de l'utilisateur. Un champ magnétique peut :
• Interrompre les impulsions du stimulateur cardiaque qui contrôle le rythme du cœur.
• Perturber la régularité des impulsions du stimulateur cardiaque.
• Empêcher le stimulateur cardiaque de tenir compte du rythme du cœur, l'obligeant à donner des
impulsions à un intervalle défini.
Le modèle de nettoyage automatique est un accessoire des turbidimètres TU5300 sc et TU5400 sc.
Reportez-vous à la section Figure 1. Le module de nettoyage automatique nettoie le tube à
intervalles réguliers ou en fonction de la limite de lecture de la turbidité. Vous pouvez également
démarrer le nettoyage manuellement ou par le biais d'une connexion Modbus.
20 Français
Other manuals for TU5 Series
2
Table of contents
Languages:
Other Hach Control Unit manuals

Hach
Hach SIGMATAX 2 User manual

Hach
Hach LANGE LZV813 User manual

Hach
Hach IO9000 User manual

Hach
Hach TU5 Series User manual

Hach
Hach Lachat QuikChem User manual

Hach
Hach RTC101 Quick manual

Hach
Hach 8398 Series User manual

Hach
Hach RTC User manual

Hach
Hach sc200 4-20 User manual

Hach
Hach TU5400 User manual
Popular Control Unit manuals by other brands

Moog
Moog D651 series Mounting and Installation Notes

Water Specialist
Water Specialist WS1TT Drawings and Service Manual

Emerson
Emerson RAIMONDI Installation and maintenance instructions

API
API Weinschel 420 Series manual

tell
tell Compact GSM 2 Installation and application manual

Lawler
Lawler 911 E/F Series quick start guide